If you want to start native flowers without turning a windowsill into a seed nursery, a clean translucent milk jug can act as a small outdoor winter greenhouse. The method is simple, but success depends on three unglamorous details: drainage holes, a suitable seed’s cold requirement, and an open top for rain and air. This guide shows each physical stage so you can see what the jug should look like before it goes outside.
Timing: Gather supplies in fall, but for many cold-winter locations, sow hardy perennials in December through March rather than putting a sealed jug out in a warm October. Exact timing depends on your climate and the seed packet. Choose a species native to your area whose packet calls for cold, moist stratification or outdoor fall/winter sowing. A milk jug cannot create a cold period where winter temperatures never provide one.
Follow your seed packet and local extension guidance for species, sowing depth and transplant timing.
Supplies and Seed Choice
- One clean, translucent one-gallon plastic milk or water jug per seed species, with its cap removed
- Seeds of a locally appropriate native flower that benefits from outdoor cold exposure; keep one species per jug
- Fresh, light seed-starting or potting mix, not heavy garden soil
- Drill with a small bit or another suitable hole-making tool, plus a utility knife or sturdy scissors for an adult
- Light-colored weather-resistant tape, a durable plant label and weatherproof marker or pencil
- A watering can with a gentle rose and an open plastic crate if your site is windy
Read the seed packet before cutting the jug. Some seeds need light and should stay on the surface; others need a specific covering depth or a longer cold period. The Penn State Extension winter-sowing guide recommends matching the seed to the method instead of treating every flower identically. If you are unsure whether a plant is native or appropriate for your area, check your state or regional extension service before buying seed.
How to Winter Sow Native Flower Seeds in a Milk Jug
Step 1: Wash the Jug and Set Out One Seed Species
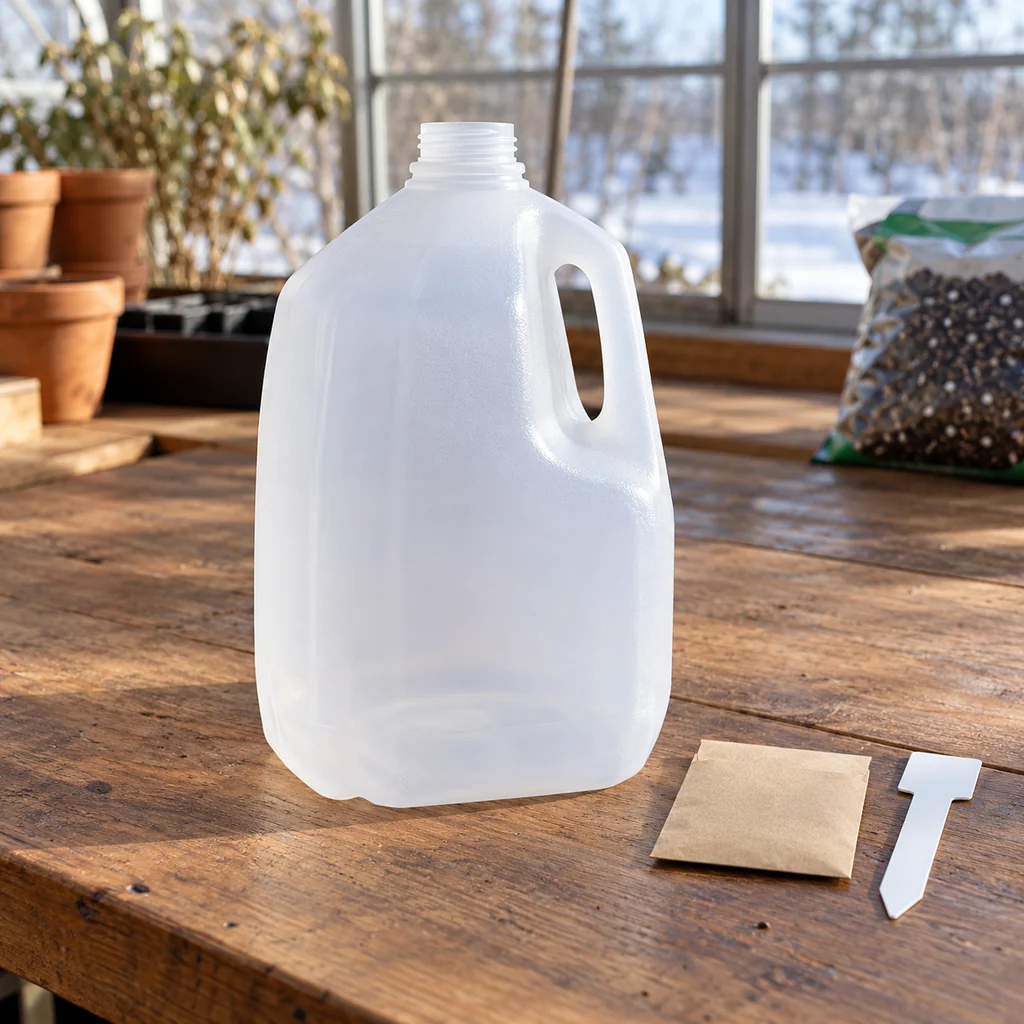
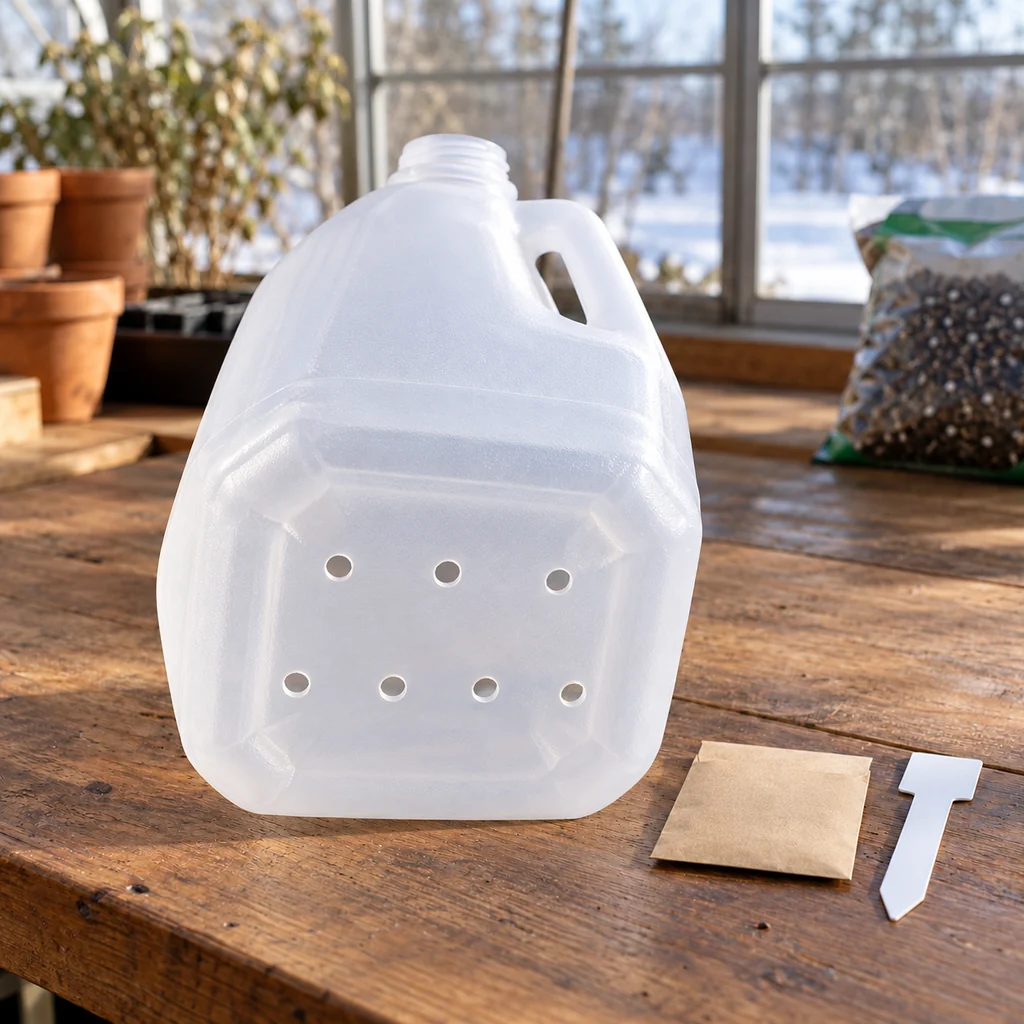
Wash a translucent gallon jug with warm, soapy water, rinse thoroughly and let it dry. Remove the cap and keep it off for the entire winter; the opening lets air and precipitation enter. Set out the seed packet and label so the species does not get mixed with another jug. Do not use a jug that held household chemicals. The first image shows the clean, still-intact container before any holes or cuts.
Step 2: Make Drainage Holes Before Cutting the Jug
While the plastic is still rigid, have an adult make several drainage holes across the bottom. Six to eight holes roughly a quarter inch across are a practical starting pattern for a gallon jug; the exact number matters less than free drainage. Keep hands clear of the drill bit and support the jug on a scrap board, not on your lap. Tip it gently and check that the holes are open. Without them, winter rain can leave seed and roots in standing water. The underside view shows the holes spread across the base rather than clustered in one corner.
Step 3: Cut a Hinged Lid Above the Soil Line
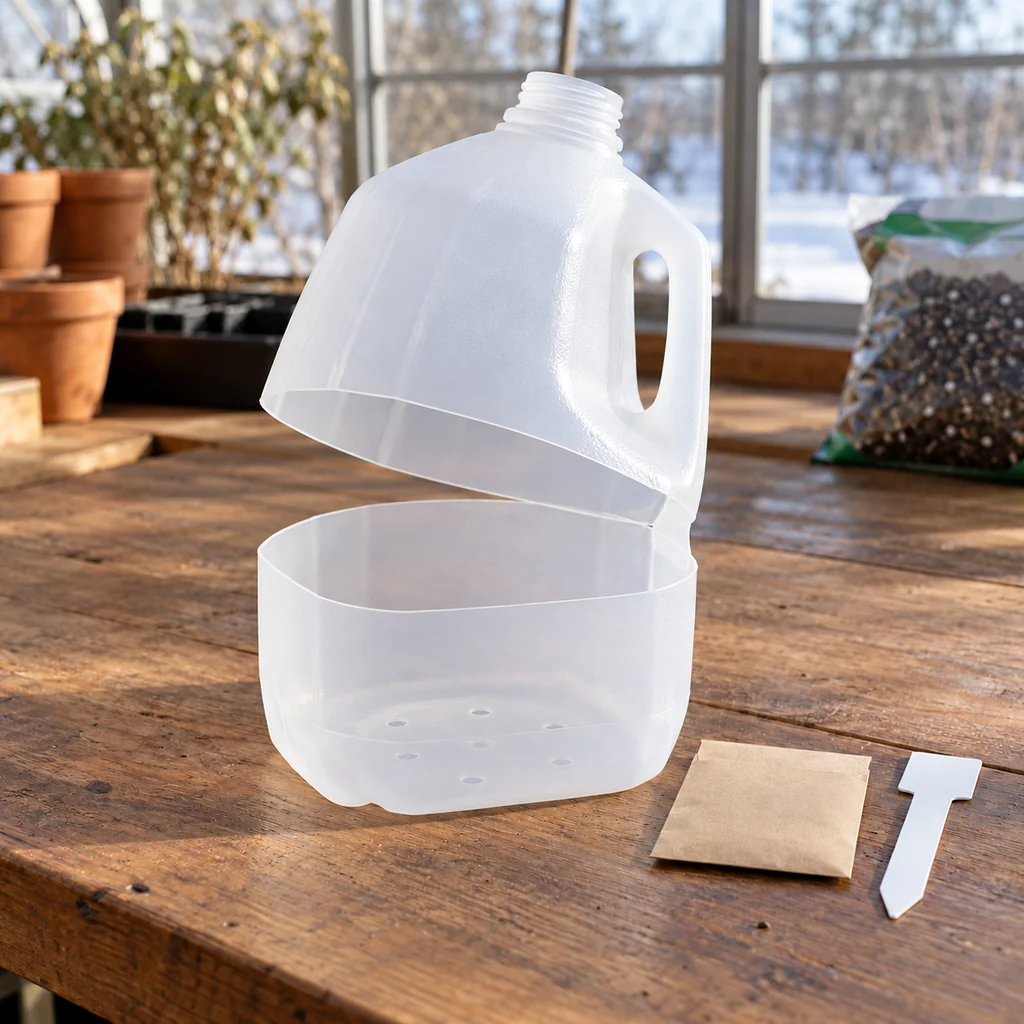
Mark a horizontal line about four inches above the base. An adult should cut around most of the jug on that line with a sharp utility knife or sturdy scissors, leaving an uncut strip under the handle as a hinge. Keep the cap off. Open and close the top once; it should swing without tearing and still meet the lower half closely enough to tape later. The cut edge is sharp, so smooth any projecting plastic and keep children away from the cutting step.
Step 4: Add Three Inches of Light, Damp Mix
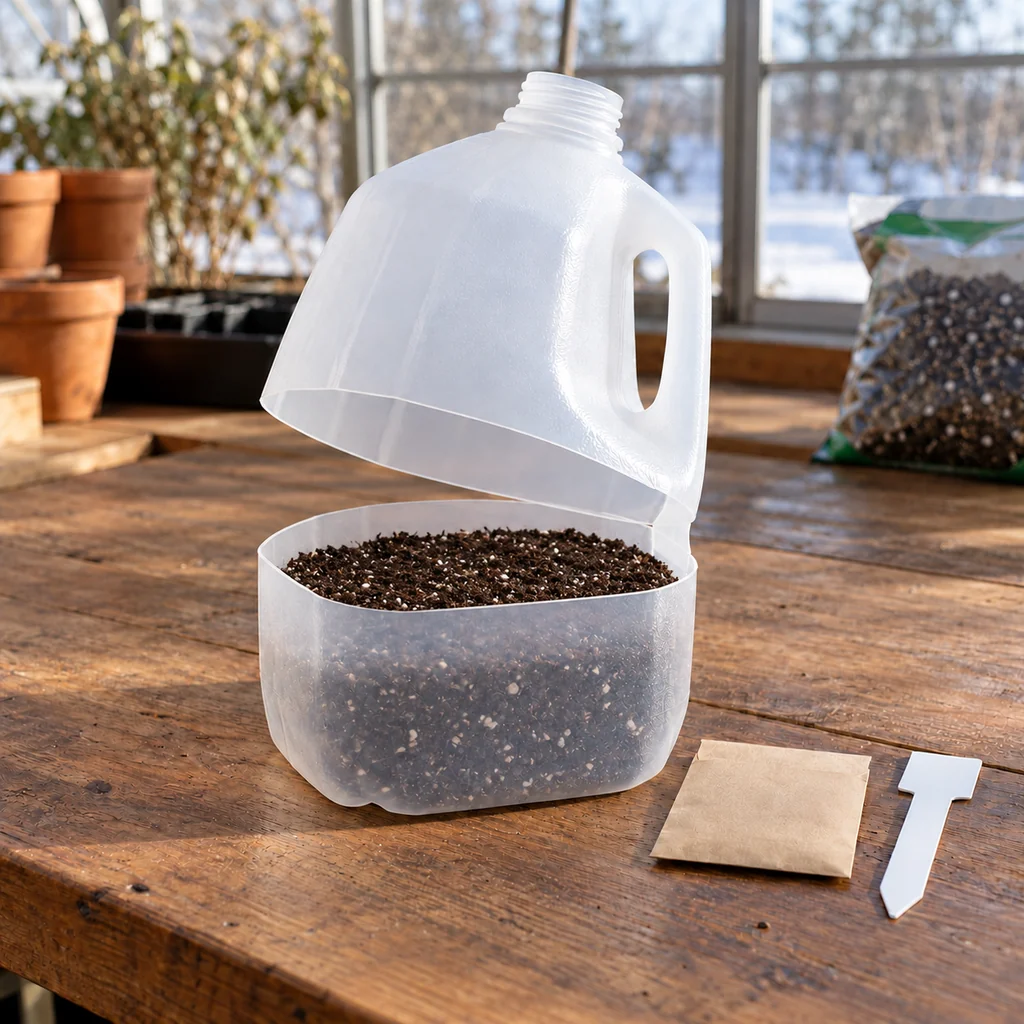
Moisten fresh seed-starting mix until it feels like a wrung-out sponge, not dripping mud. Add about three inches to the jug’s lower half, keeping the soil below the cut. Gently level it without packing it hard, then let excess water drain through the holes. Garden soil is usually too dense for this small container and can carry weed seeds. The photo shows the depth and texture before seeds are added.
Step 5: Sow at the Packet Depth and Label Inside
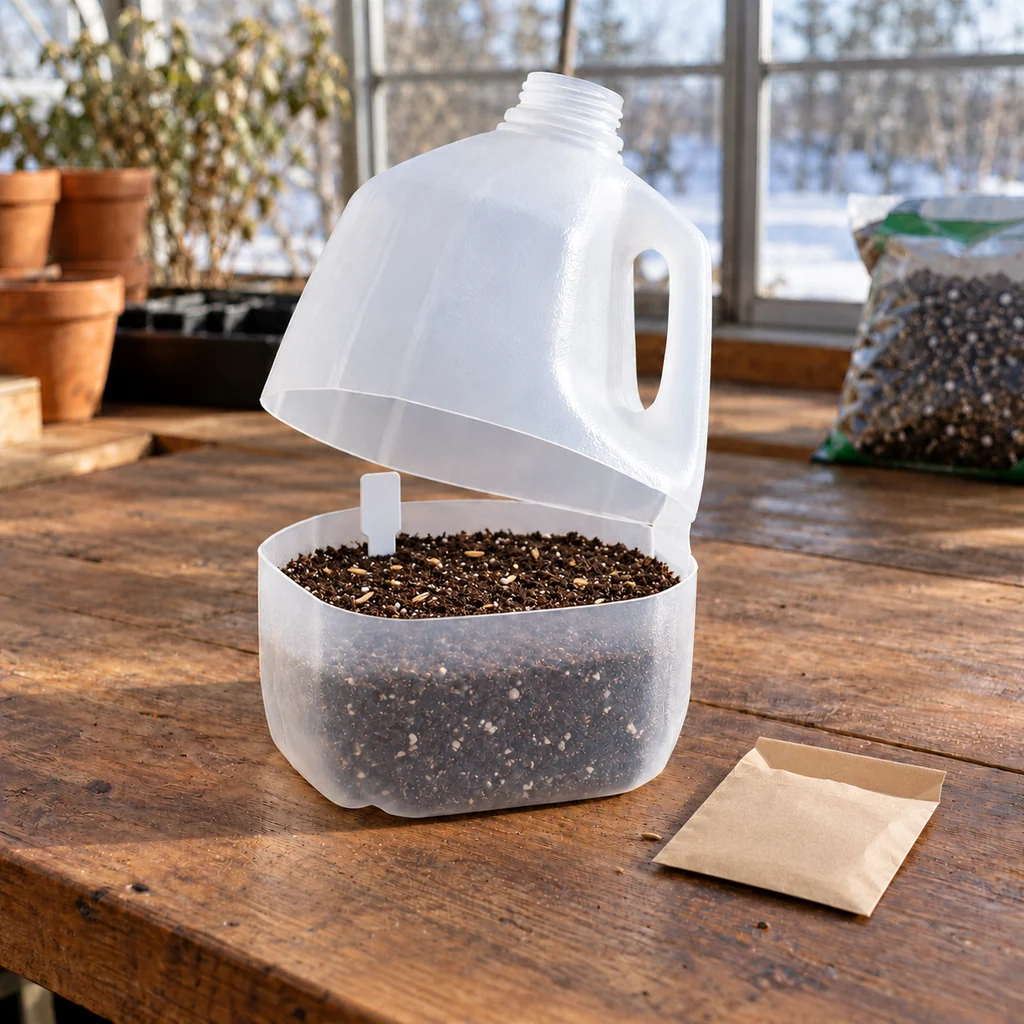
Sow a modest number of seeds of one species over the surface, leaving room for seedlings to grow. Follow the packet’s depth: surface-sow light-requiring seeds; cover others only as directed. Press gently for seed-to-mix contact, then add an internal plant label with the species and sowing date. An internal label stays with the seedlings if exterior writing fades. Do not assume all native seeds need the same depth or cold duration. In the close view, seeds sit on the damp mix before any required covering is added.
Step 6: Tape the Seam and Leave the Spout Open
Close the hinged top and tape the cut seam all the way around, leaving the cap off. Add the species and date to the outside as a second label; use weather-resistant writing and keep the internal label too. The tape should hold the sides together without covering the spout or sealing the bottom drainage holes. This is a mini greenhouse, not an airtight terrarium. The finished jug is ready for outdoor winter exposure.
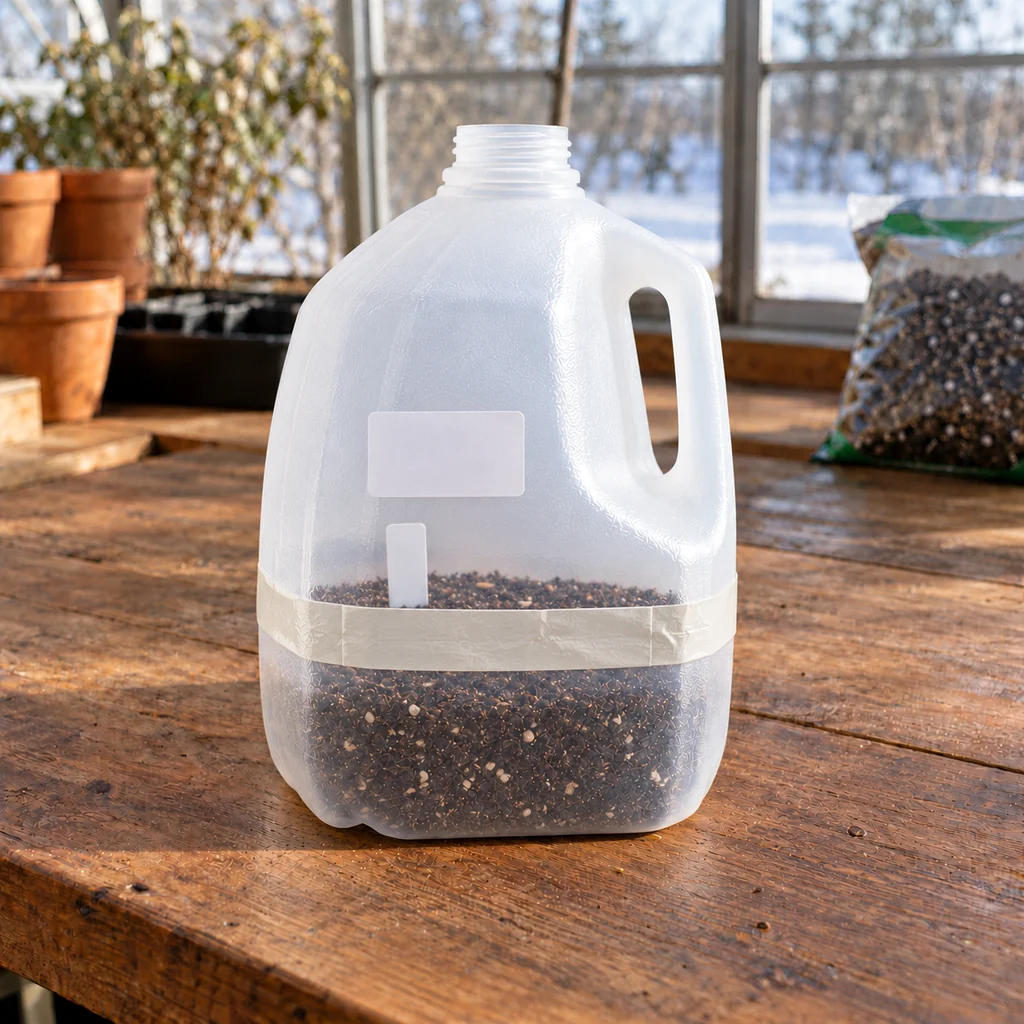
Step 7: Set the Jug Outside Where Weather Can Reach It
Put the jug outdoors in a bright, protected spot that receives rain or snow; a covered porch defeats the moisture part of the method. Use an open crate or another stable arrangement if wind could tip it, and keep drainage holes off a solid surface that would plug them. Check occasionally through winter: the mix should remain damp, not waterlogged or bone dry. If it dries, water gently through the open spout. Do not bring the jug into a warm room for routine checks, which can interrupt the natural cold period.
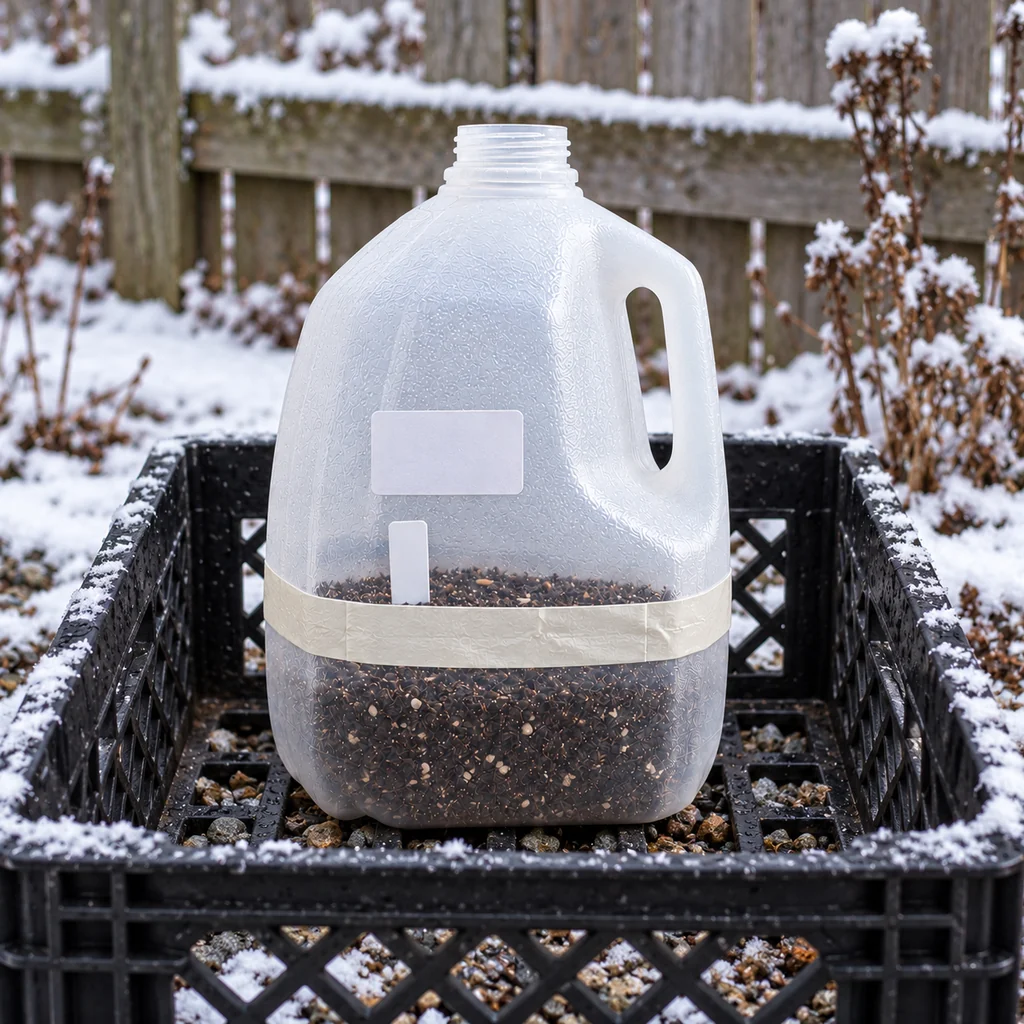
Step 8: Vent the Jug as Seedlings Emerge
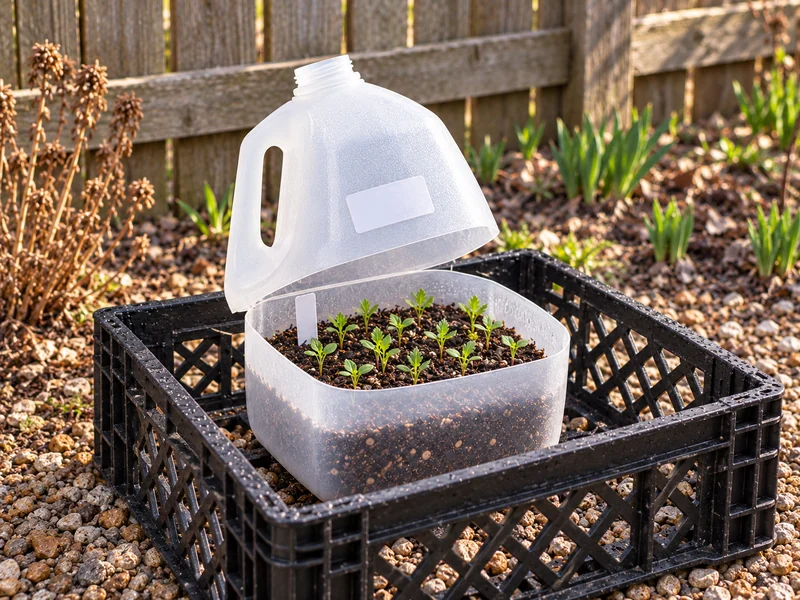
As days warm and seedlings appear, monitor the jug more often. On a warm sunny day, open or partly vent the hinged top so the inside does not overheat; close it again if a damaging cold snap is forecast for the particular seedlings. Keep the mix lightly moist. The photo shows a small, plausible group of young seedlings rather than a full flowering plant inside the jug.
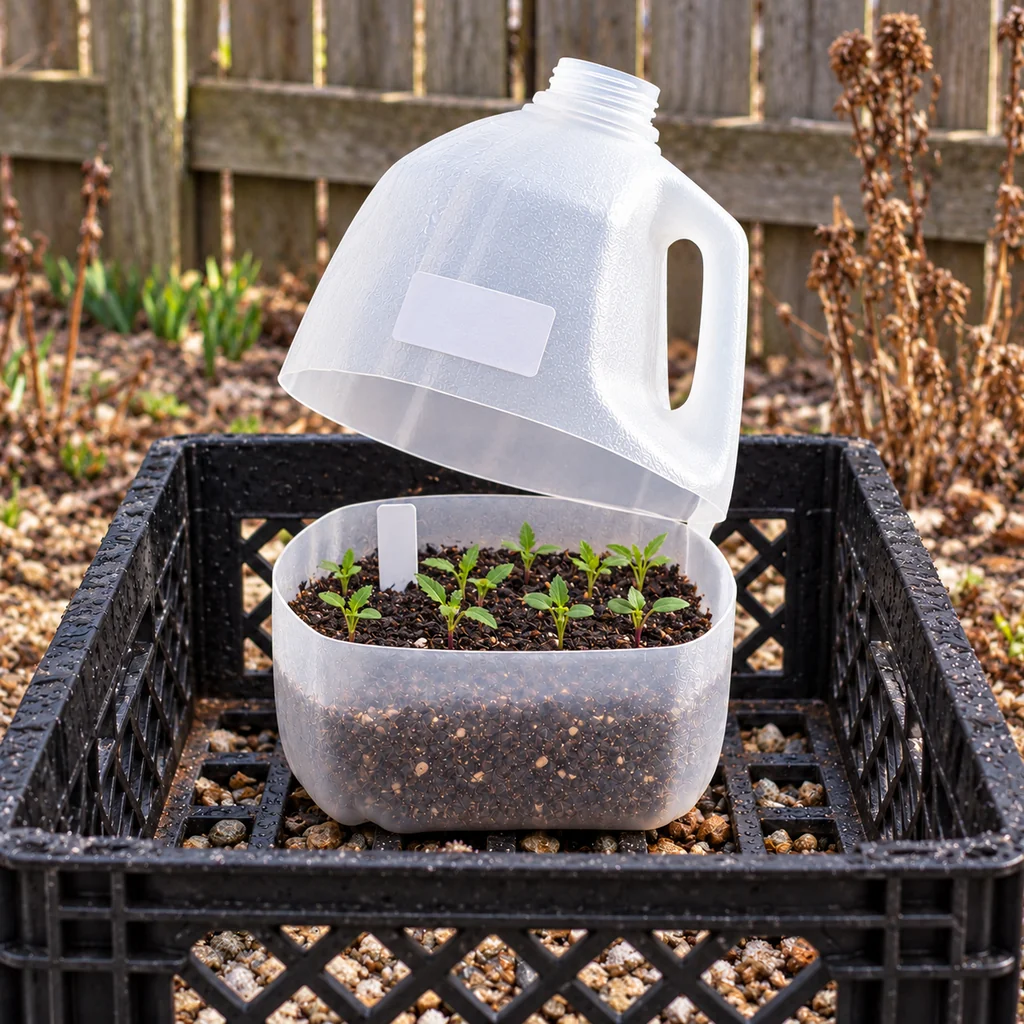
Step 9: Lift Soil Clumps and Transplant When Ready
When seedlings have true leaves and outdoor planting conditions suit that species, open the jug and use a small trowel to lift a seedling or small group with its soil attached. Set the intact soil clump into a shallow garden hole at the same growing depth, firm soil gently around it, and water it in. Space transplants according to the seed packet and avoid tugging on stems. If the species needs gradual hardening before full sun or wind, follow its local guidance. The photo shows the root-and-soil clump supported in a planting hole, with other seedlings still in the open jug.
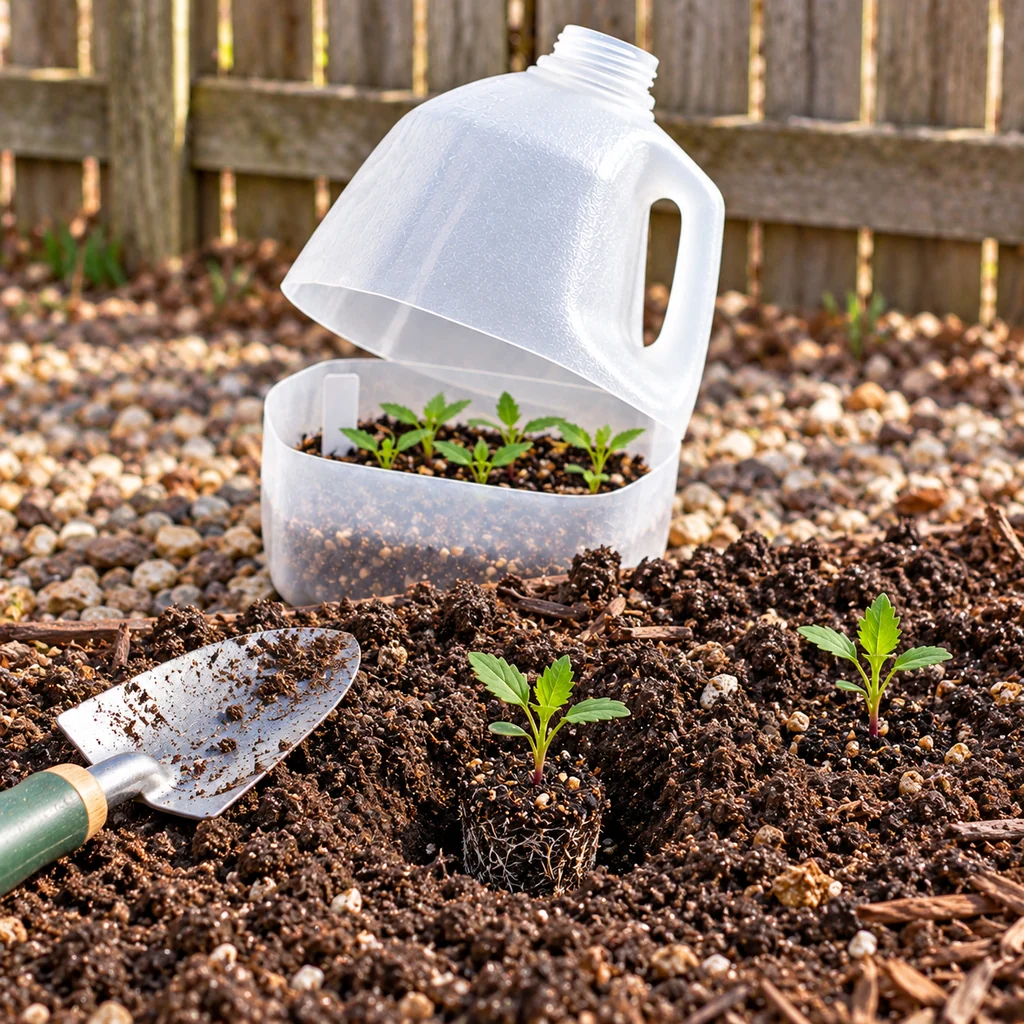
What Can Go Wrong?
- Standing water: Recheck the base holes and lift the jug off a flat surface that blocks them. Do not solve it by sealing out rain entirely.
- Mix is dry: Water gently through the uncapped spout and check again after windy weather.
- Early sprouting in a warm spell: Vent on hot sunny days and protect vulnerable seedlings according to their species and your forecast.
- No spring seedlings: Check the packet’s germination window, the seed’s age and its required cold period before discarding the jug. Some species germinate slowly or unevenly.
- Jug falls over: Put it in a vented crate without obstructing its drain holes.
For another winter garden job, our strawberry bed winterizing guide covers outdoor cold protection. If you are storing tender plants instead, see the dahlia tuber storage guide. Winter sowing is different: the selected seeds remain outdoors so the season can help prepare them to germinate.