
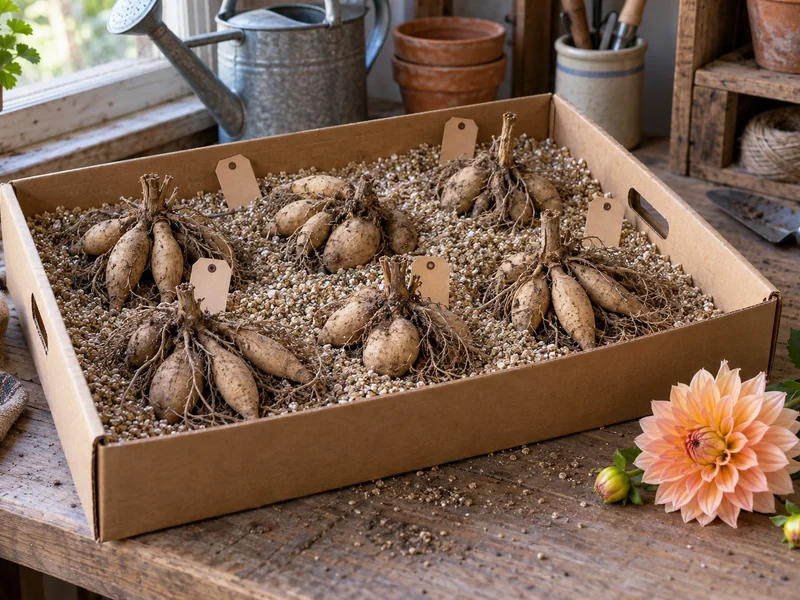
If you want to keep your favorite dahlias for next year, the winter storage decision starts before you pick up a fork. In gardens where the ground freezes or stays wet, lift the tubers after the top growth is damaged by frost, let the clumps dry, then store them cool and above freezing. This guide shows what each stage should look like, including the narrow tuber necks that are easy to break.
At a glance: Wait for damaged top growth; lift the whole clump; remove loose soil; air-dry it; pack the healthy clumps separately in a cool, frost-free place; check them about once a month. The exact digging date depends on your local frost and weather, not a fixed calendar week.
The step photographs are AI-generated visual aids. Follow the written measurements and inspect your actual plants and storage conditions.
Should You Dig Up Your Dahlias?
In a cold garden where soil freezes, lifting and storing the tubers is the safer way to keep a named variety. In a mild, well-drained garden, some growers leave them in the ground under a thick mulch; a severe or very wet winter can still cause losses. If you are unsure of your site, protect a valued clump by lifting it. Oregon State University Extension’s dahlia guide explains when in-ground overwintering may work.
Have a garden fork, clean pruners, a tarp, a soft brush or gentle water supply, labels, an open shallow box, coarse vermiculite or clean wood shavings, and a thermometer ready. Choose a storage spot that stays roughly 40–50°F (4–10°C), never freezes, and does not get warm enough to encourage early shoots. Check the real temperature over several days before relying on a garage or shed.
How to Dig and Store Dahlia Tubers for Winter
Step 1: Wait for the right digging window
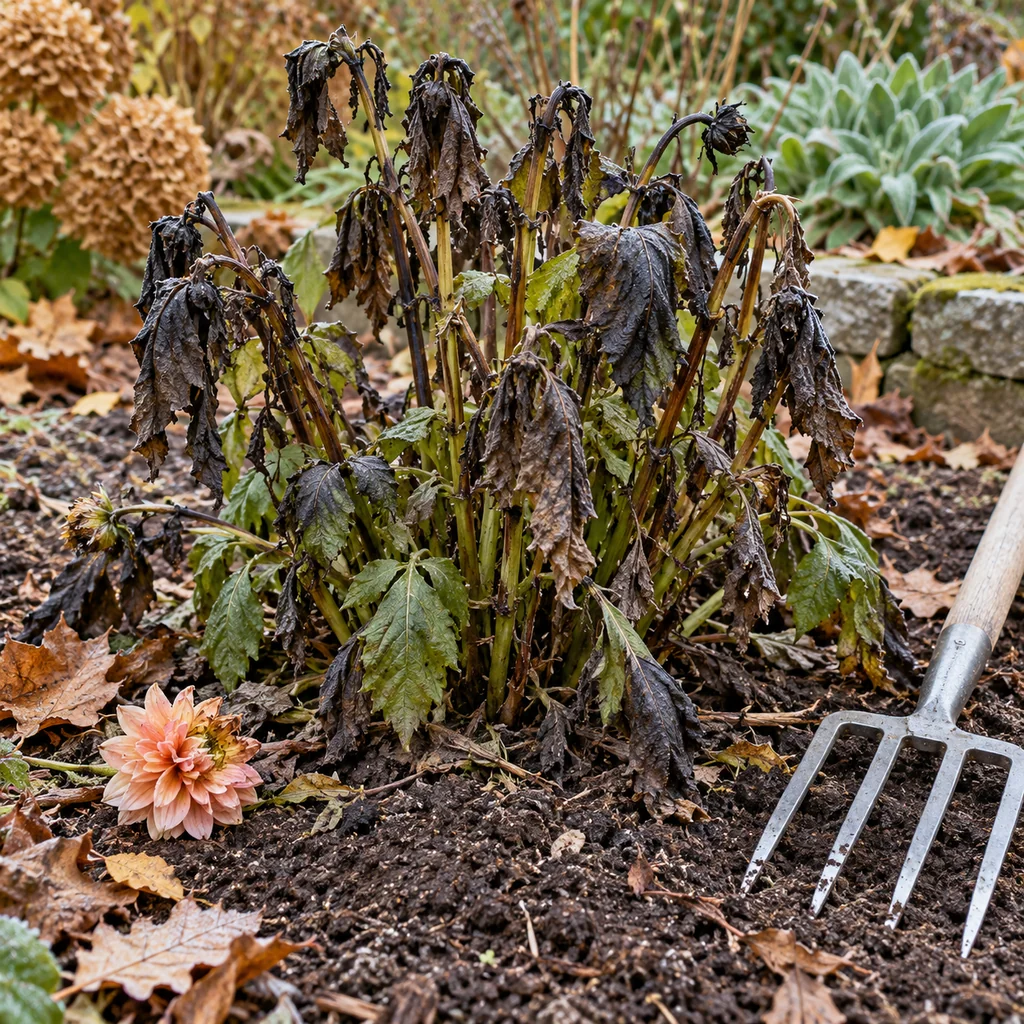
Let the dahlia keep growing as long as practical. When a hard frost blackens or collapses the top growth, plan to lift the clump while the soil is still workable and before a deep freeze or prolonged soaking rain. Do not cut hollow stems weeks ahead of digging: water can collect in them and reach the crown. If a freeze is imminent, lift before the ground freezes. The foliage in the image shows the damaged top growth that signals this stage.
Step 2: Cut back stems and loosen a wide circle
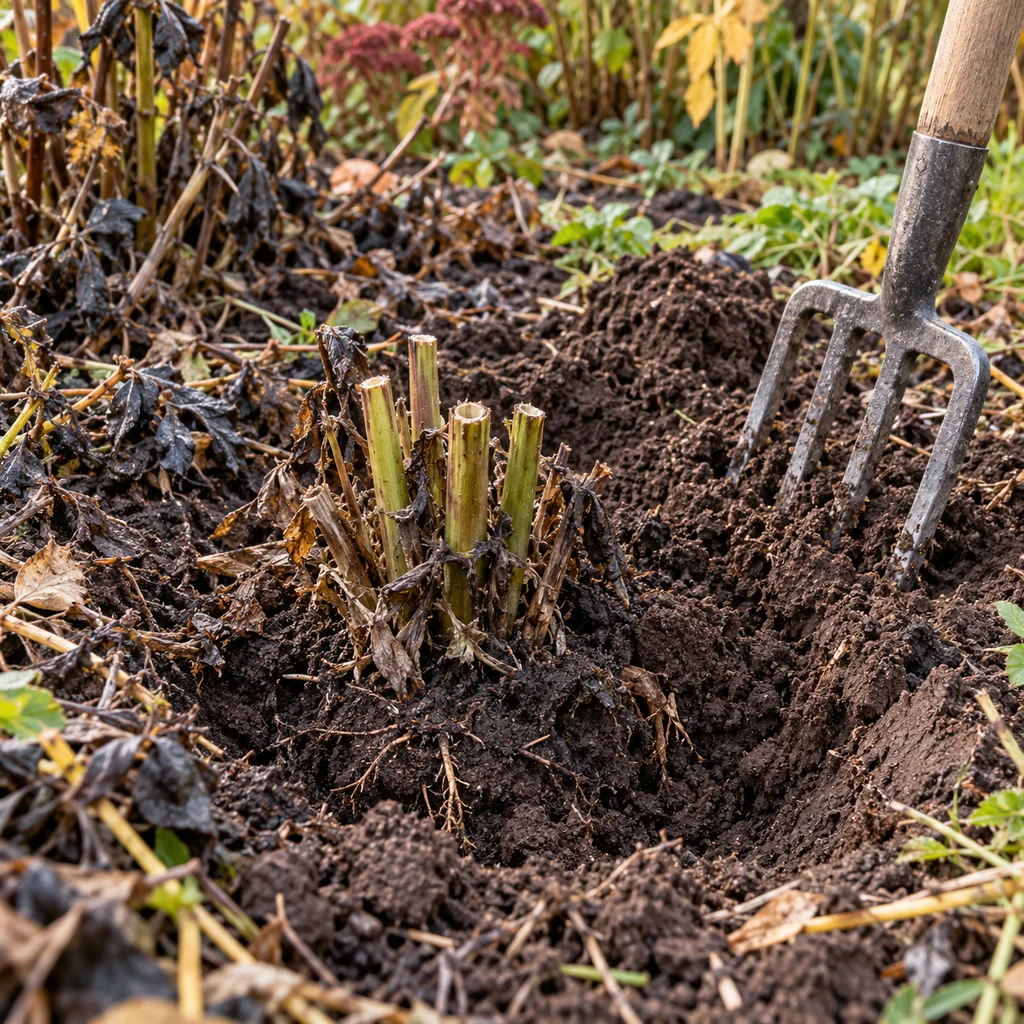
Immediately before digging, use clean pruners to leave about 4–6 inches (10–15 cm) of stem as a handle. Place the fork around 12 inches (30 cm) from the central stalk, then loosen soil on all sides. Keep the tines outside the clump’s expected footprint. The tubers connect to the crown through fragile narrow necks, so avoid driving the fork into the center.
Step 3: Lift the whole clump without pulling on the stems
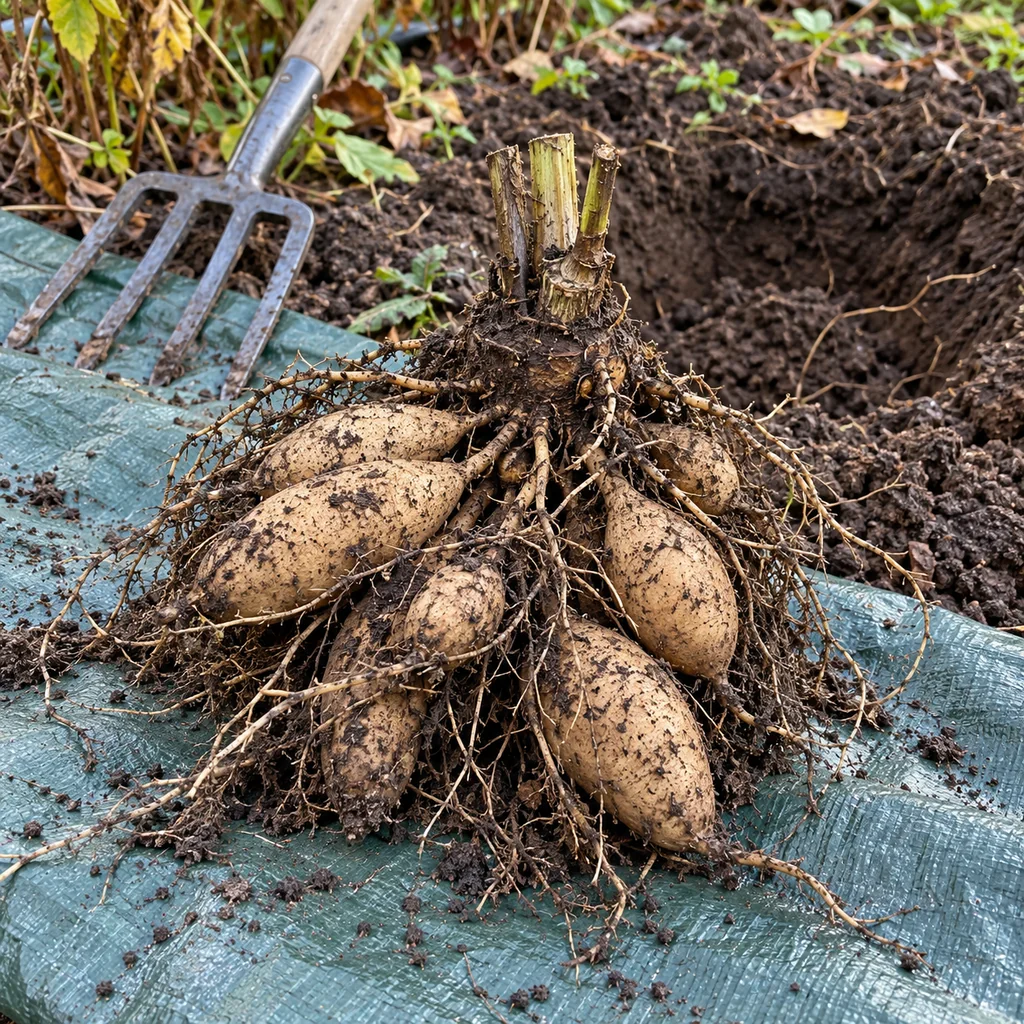
Slide the fork underneath and raise the clump with the surrounding soil. Support it from below rather than tugging the stem stub. Set it on a tarp and let loose soil fall away. Keep the crown, necks, and attached tubers together; a tuber separated from the crown may lack the growing point needed for next season. If the clump is heavy, use both hands to support its underside.
Step 4: Clean gently and inspect for damage
Brush off loose dirt. If heavy soil hides the crown, rinse it gently with a hose or swish the clump in water, then let all surfaces dry before packing. Look for soft spots, deep cuts, broken necks, and signs of disease. Discard badly damaged or rotting material. For a beginner, leave sound clumps intact and divide them in spring; fresh cuts increase the chance of storage rot. UNH Extension also notes that careful cleaning and intact necks matter during storage.
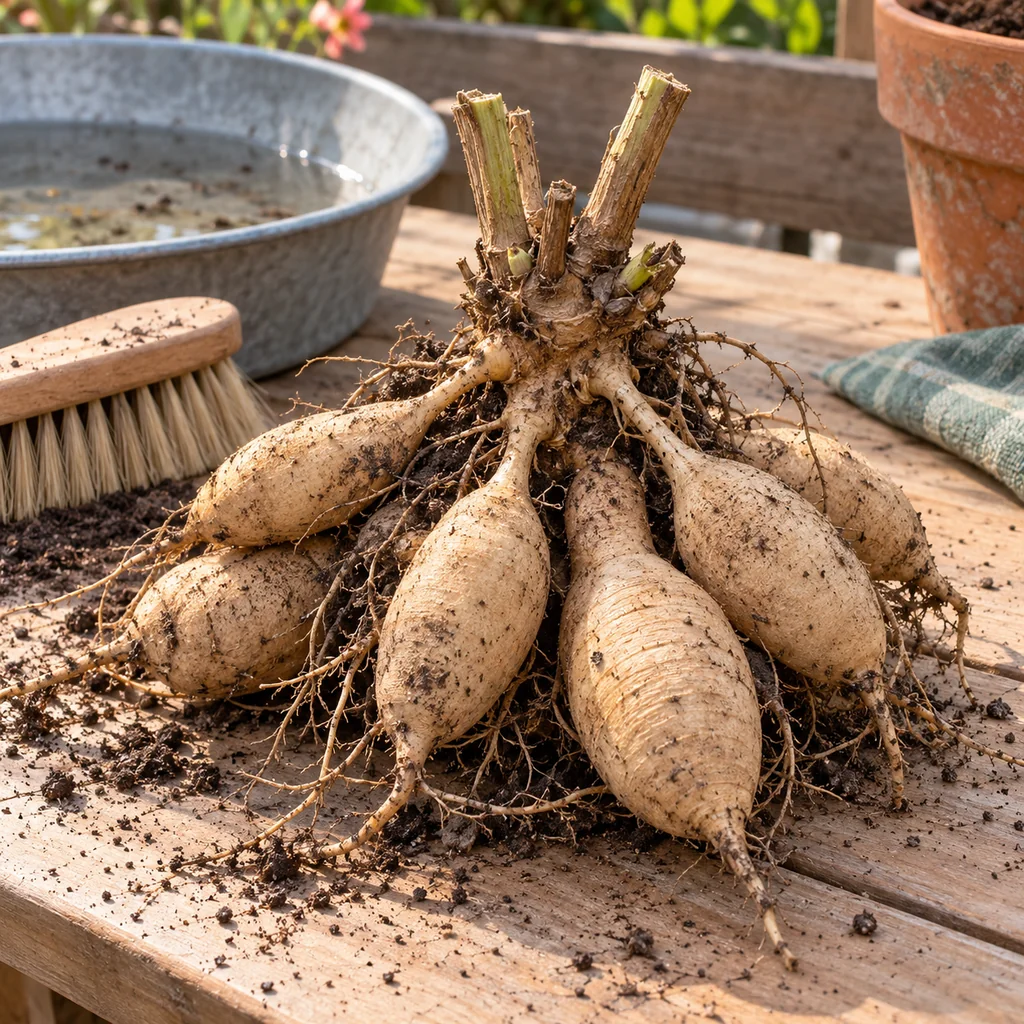
Step 5: Air-dry the clumps before packing
Spread the cleaned clumps in a single layer in a shaded, well-ventilated place around 60–70°F (16–21°C) for a few days, until the outside feels dry. Use a mesh rack, trays, or cardboard with space between clumps. If hollow stem stubs contain water, tip the clump to drain them. Do not bake the tubers in sun or leave them so long in hot, dry indoor air that they shrivel. The dry surface is the cue to move to storage.
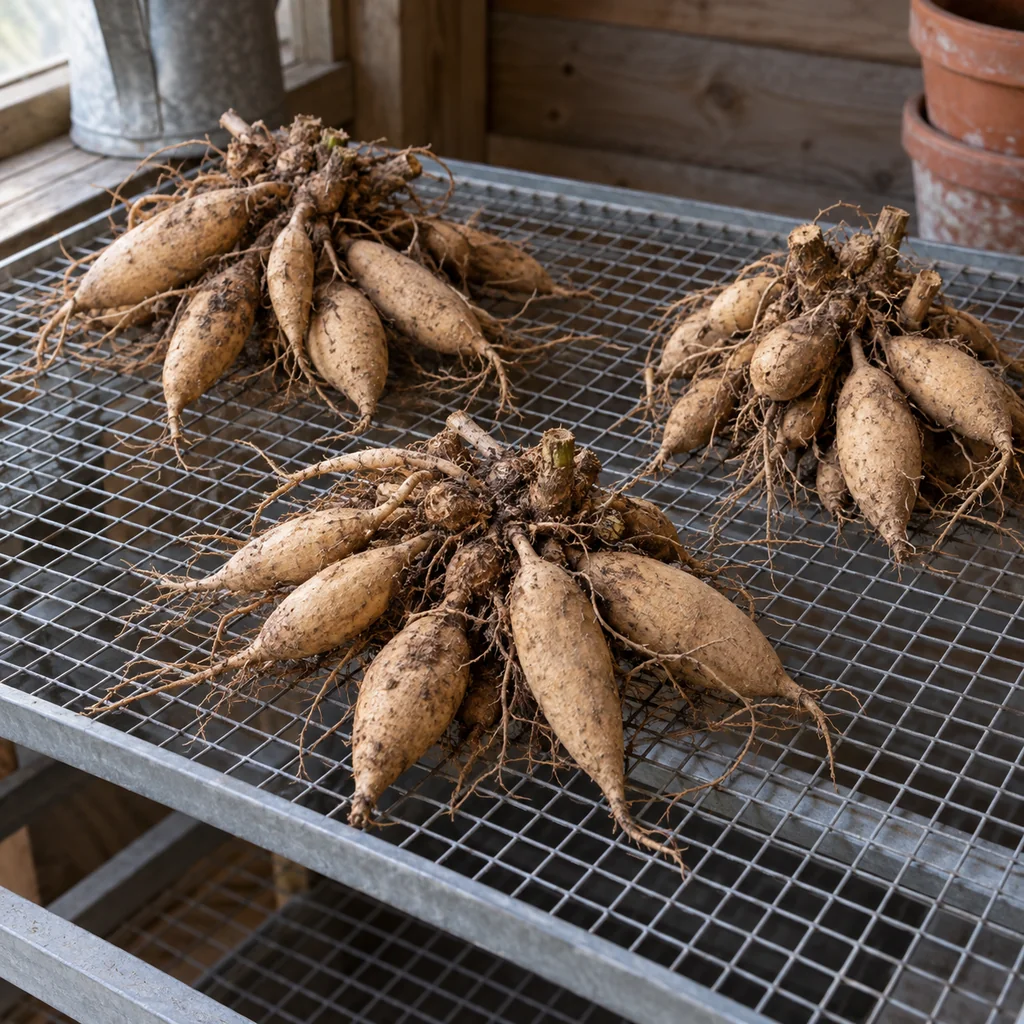
Step 6: Label and pack the healthy clumps
Write the variety or flower color on a tag and attach it to the stem stub. Put a thin layer of coarse, barely moist vermiculite or clean wood shavings in a shallow box, add dry healthy clumps without crowding them, and fill between them so they do not rub together. The medium should not feel wet or clump when squeezed. Keep the box in a cool, dark, frost-free location; avoid airtight packing that traps condensation. A simple thermometer is more useful than guessing how cold the room feels.
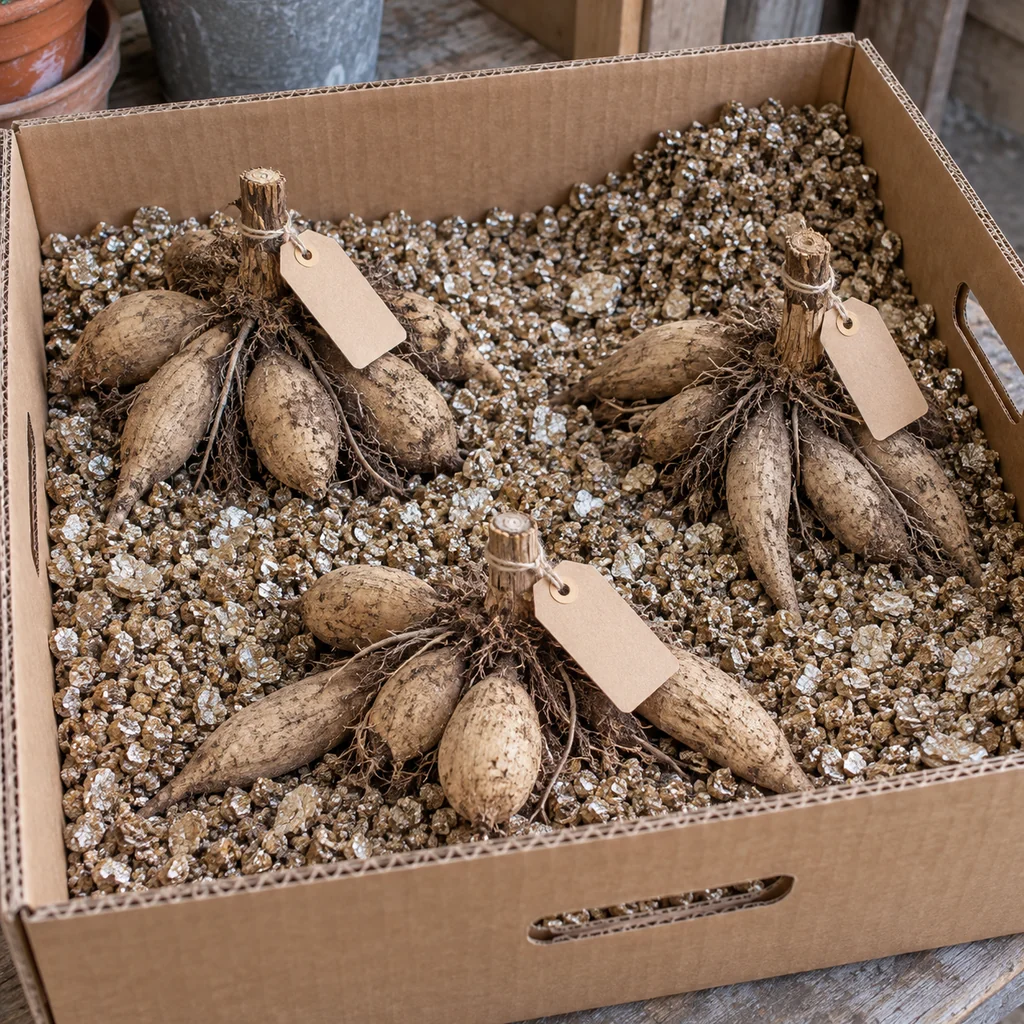
Step 7: Check the tubers about once a month
Open the box regularly. Firm tubers with sound necks can stay in storage. Remove any soft, dark, leaking, or moldy clump promptly so decay does not spread. If tubers are wrinkling, the air or medium may be too dry; lightly moisten the medium, not the tubers, and check again. If the box feels wet or smells musty, replace damp medium, improve airflow, and look for rot. Keep the box above freezing until spring planting time.
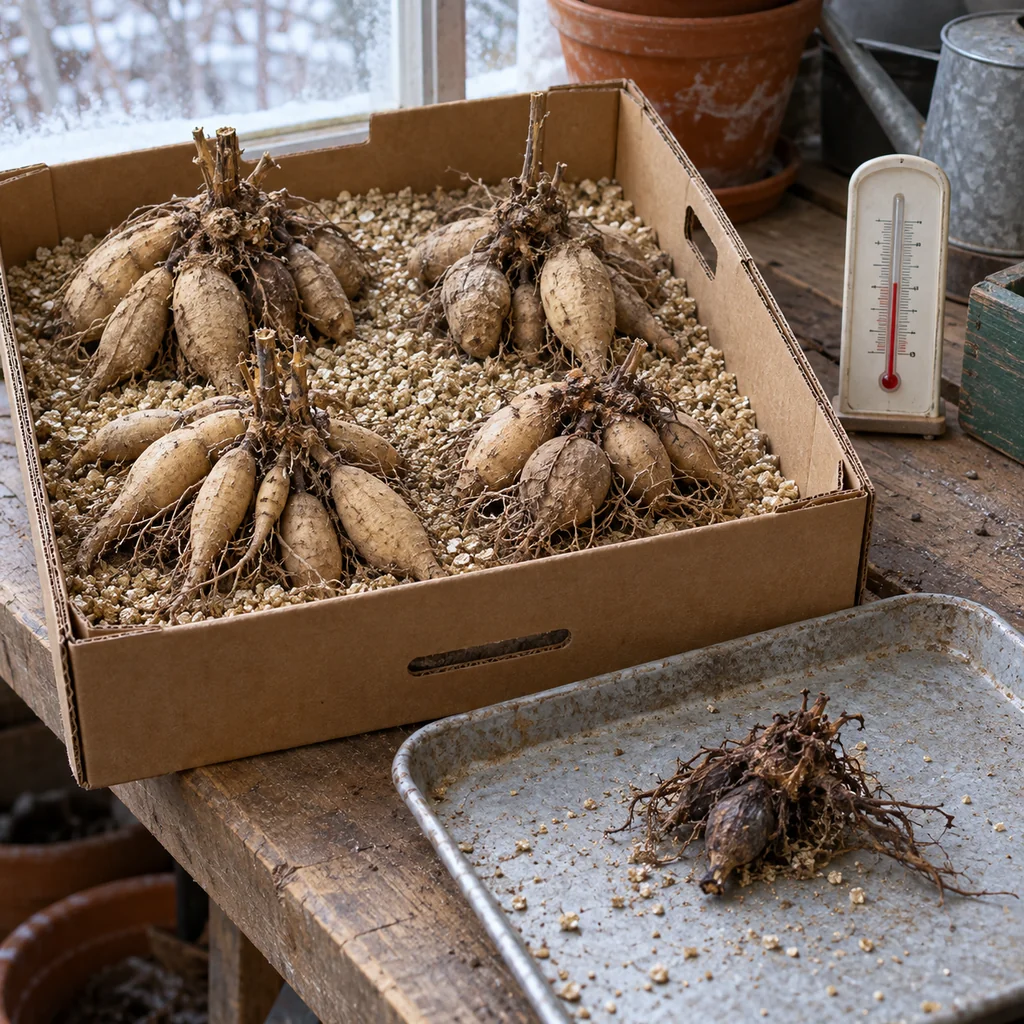
What If Your Storage Spot Is Too Warm or Too Cold?
A garage can swing below freezing even when it feels sheltered; a heated living room can dry tubers and encourage premature growth. Check the box location with a thermometer, especially during a cold snap. Move the box to a steadier, frost-free place if needed. A basement away from heaters or a protected root cellar may work better than an exposed shed. There is no single packing medium that makes up for a freezing or soaking-wet location.
Common Winter Storage Mistakes
- Digging through the clump: Start farther from the stem and lift from beneath.
- Packing while wet: Let cleaned clumps surface-dry first.
- Leaving cut hollow stems exposed to rain: Trim just before digging and drain any collected water.
- Sealing in wet medium: Use only a little moisture and inspect the box regularly.
- Forgetting the label: Name each clump before different varieties look alike.
Dahlia Tuber Storage FAQ
Can I leave dahlias in the ground all winter?
Sometimes, in a mild garden with well-drained soil and mulch. It is a gamble where soil freezes deeply or winter rain keeps the ground saturated. Lift a favorite clump if losing it would be disappointing.
Should I divide dahlia tubers in fall?
You can, but storing intact clumps is simpler for a beginner. Divide in spring when the crown’s growing points are easier to identify and the new cuts will not spend months in storage.
Should the storage medium be completely dry?
It should be only slightly moist, never soggy. Too little moisture can lead to shriveling; too much can cause rot. Adjust after checking the tubers and the actual conditions in your storage area.
When can I plant stored tubers again?
Wait until the danger of frost has passed and the soil has warmed for outdoor planting. Inspect the crown and discard fully rotted material first. If you are planning another spring display, our bulb lasagna pot guide covers a different, fall-planted project. For established garden plants, see how to divide perennials.