

Easter egg tree tutorial fans love this project because it is colorful, budget-friendly, and reusable year after year. With a foam cone, glitter foam eggs, Easter grass, and a hot glue gun, you can build a cheerful spring centerpiece for a mantel, entry table, or Easter brunch display in one afternoon.
This step-by-step Easter egg tree tutorial walks through supplies, prep, gluing order, gap filling, styling, and storage. Adults should handle the hot glue, but kids can help sort eggs, choose colors, trim ribbons, and add grass once the glue cools. For more easy seasonal projects, see our easy handmade paper flower ideas and 10 easy DIY home crafts for a cozy space.
Guide Snapshot
- Skill level: Beginner-friendly with adult supervision for hot glue
- Time: About 45 to 90 minutes depending on cone size
- Cost: Low — dollar-store style supplies work well
- Best for: Easter mantels, entry tables, kids crafts, and spring centerpieces
- Reusable: Store upright after the holiday and bring it out again next spring
What You Need
- 1 foam craft cone (9 to 12 inches works well)
- 3 to 4 packs of lightweight glitter foam egg ornaments
- 1 bag of paper Easter grass
- Hot glue gun and glue sticks
- Scissors for removing ribbon hangers
- Covered work surface or craft tray
Step-by-Step Easter Egg Tree Tutorial
Follow these steps in order for the neatest finish. The photos show each stage so you can see how the tree comes together from supplies to styled display.
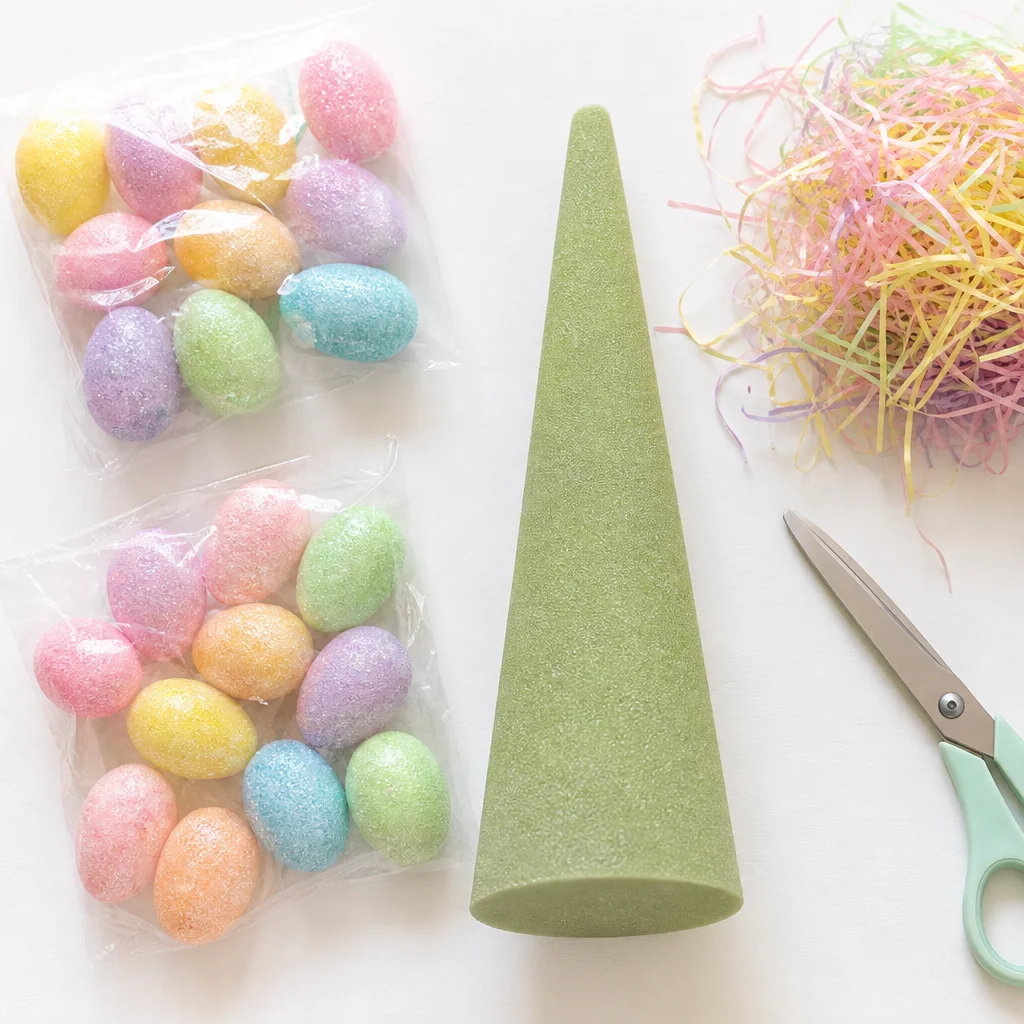
1. Gather Your Supplies
Start with a foam cone, lightweight glitter foam egg ornaments, paper Easter grass, a hot glue gun, and scissors. A covered craft table or tray keeps glitter and ribbon scraps contained while you work.
Count your eggs before you begin so you know whether you need three or four packs for full coverage. Smaller cones need fewer eggs; a 12-inch cone usually looks best with about 48 to 60 foam eggs depending on size.

2. Prep the Eggs
Pour the eggs onto your work surface and sort them by color if you want a pattern. Cut off the hanging ribbons or loops so each egg sits flat against the cone without bulk behind it.
Lay out a rough color order before gluing. Alternating pastels, grouping by shade, or mixing brights evenly all work well. Prepping first makes the assembly stage much faster.
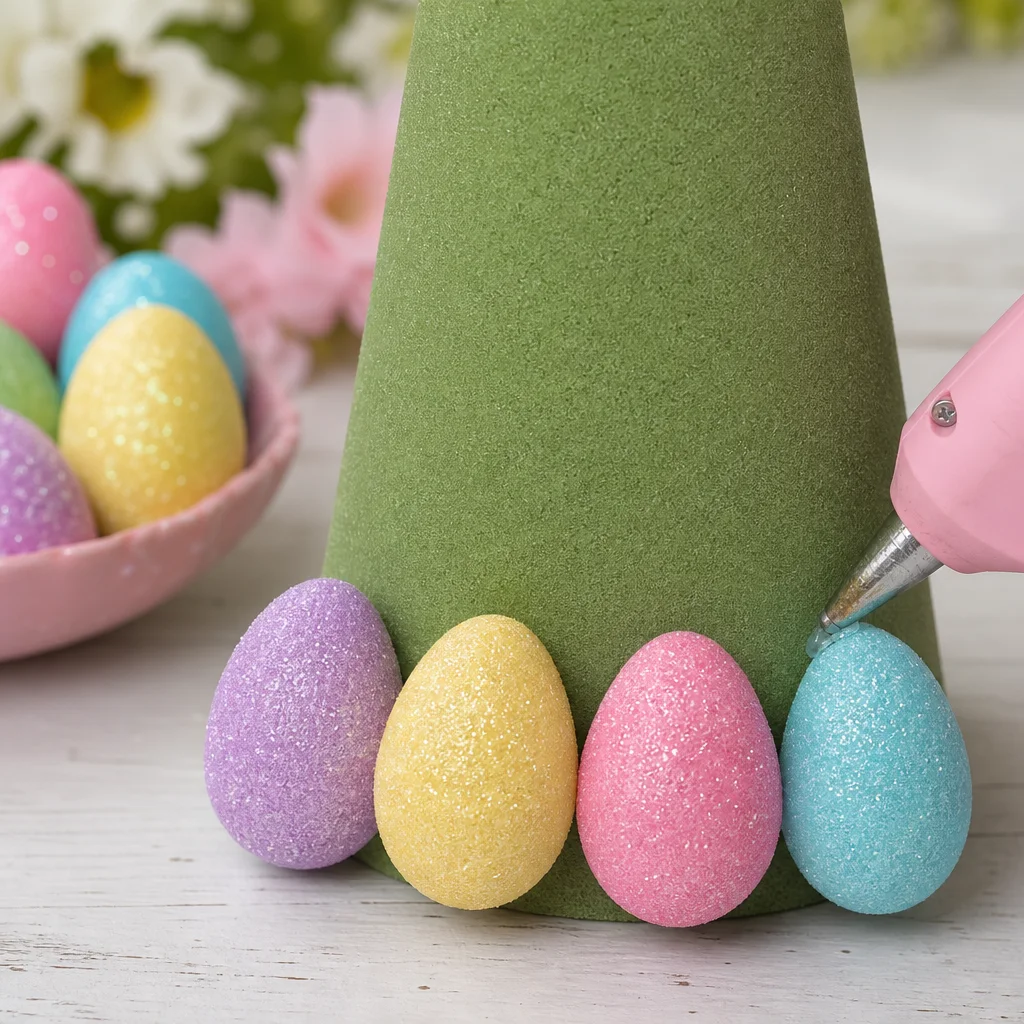
3. Glue the Bottom Row
Add a small dab of hot glue to each egg and press it onto the bottom edge of the foam cone. Hold for a few seconds until the glue sets. Work in a continuous row around the base so the tree has a stable foundation.
Keep the bottom row level and tight. Gaps at the base are harder to hide later, so take your time on the first circle before moving upward.
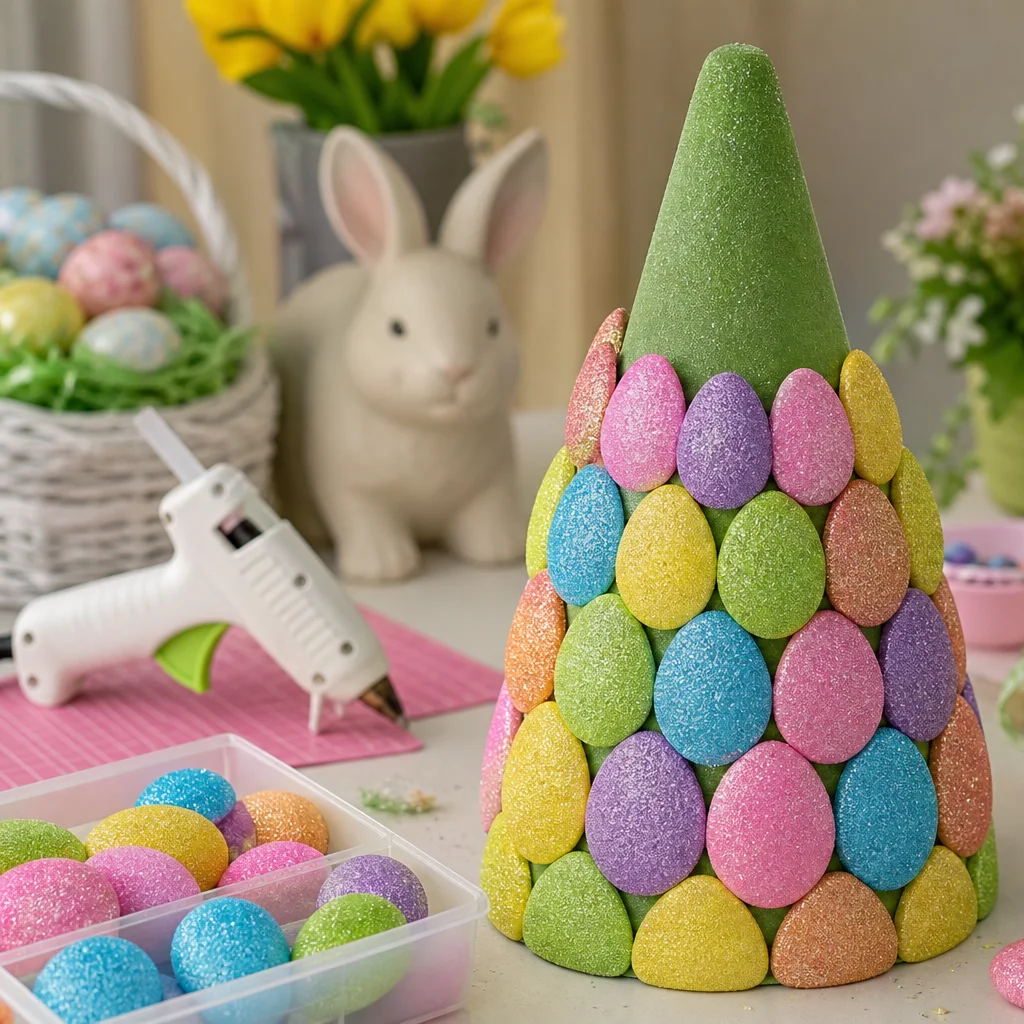
4. Work Your Way Up the Cone
Continue gluing eggs in overlapping rows from bottom to top. Stagger the seams like brickwork so the cone does not show through. The project moves quickly once you find a rhythm.
If you want a fuller look, angle a few eggs slightly instead of pressing every one flat. Slight variation adds texture and helps the finished tree look more polished.
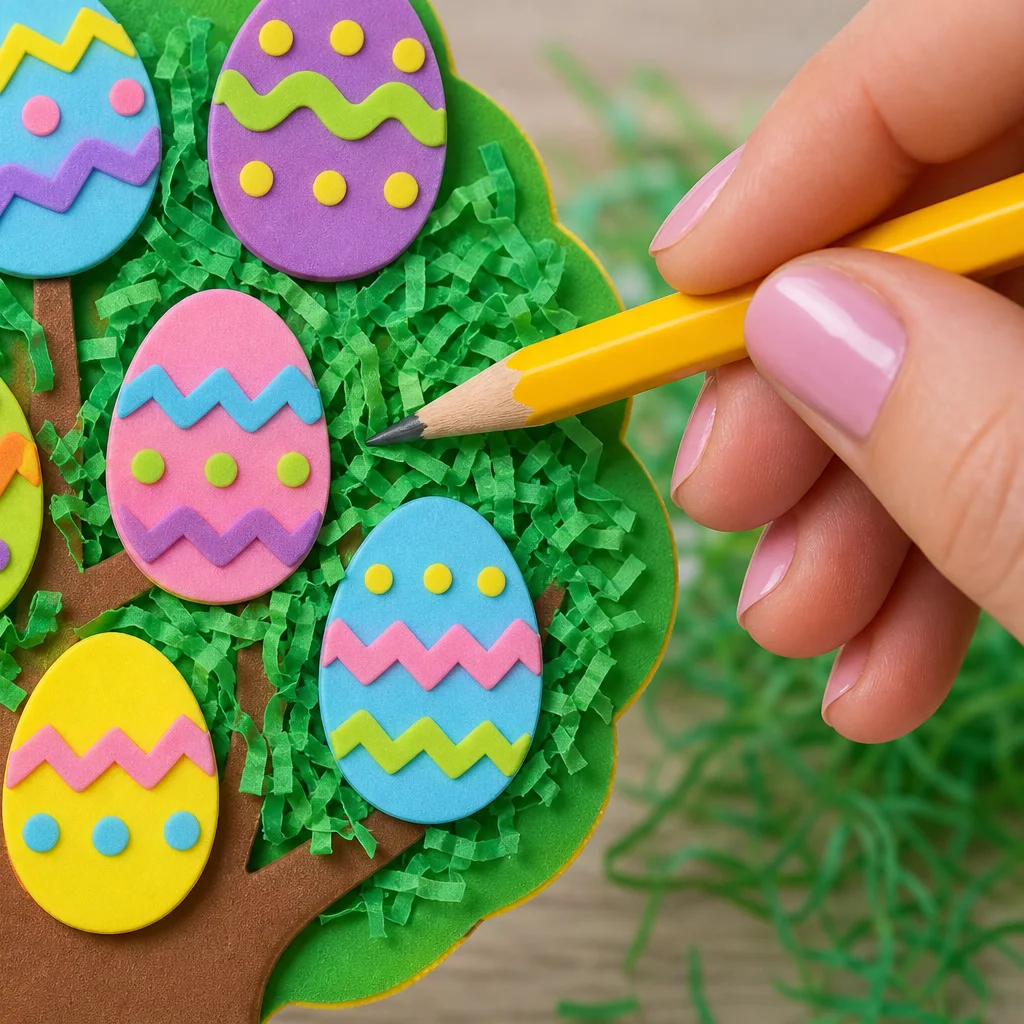
5. Fill Gaps with Easter Grass
Wait until the glue is fully dry before filling gaps. Tuck small tufts of paper Easter grass between eggs using a pencil tip or tweezers. This step hides the foam cone and gives the tree a finished, fluffy look.
Do not add grass while you are still gluing eggs. Waiting until the end is much easier and keeps loose strands from sticking to wet glue.
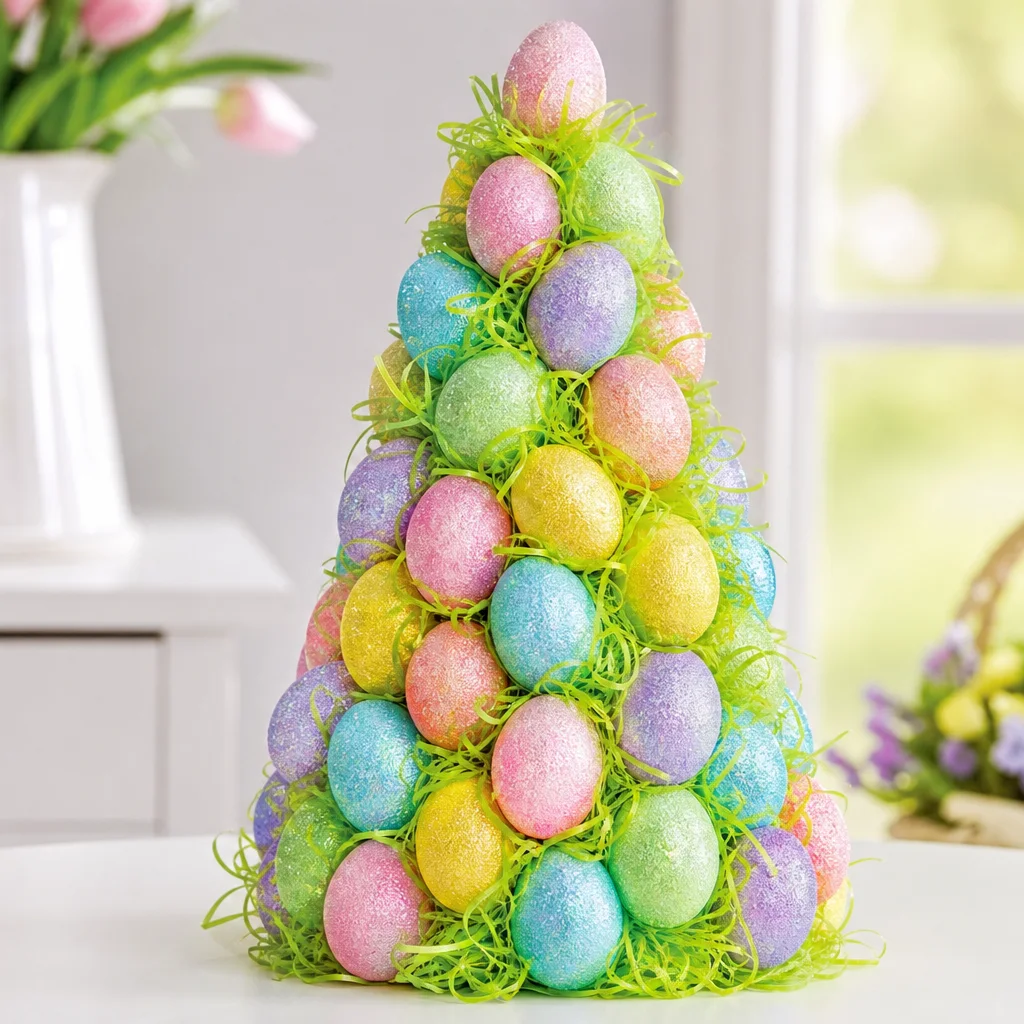
6. Style Your Finished Tree
Place the finished Easter egg tree on a mantel, entry table, Easter brunch buffet, or kitchen island. Pair it with a simple runner, spring flowers, or a pastel candle for an easy seasonal vignette.
Because this is a reusable decoration, store it upright in a box with tissue paper after Easter. Avoid stacking heavy items on top so the eggs keep their shape for next year.

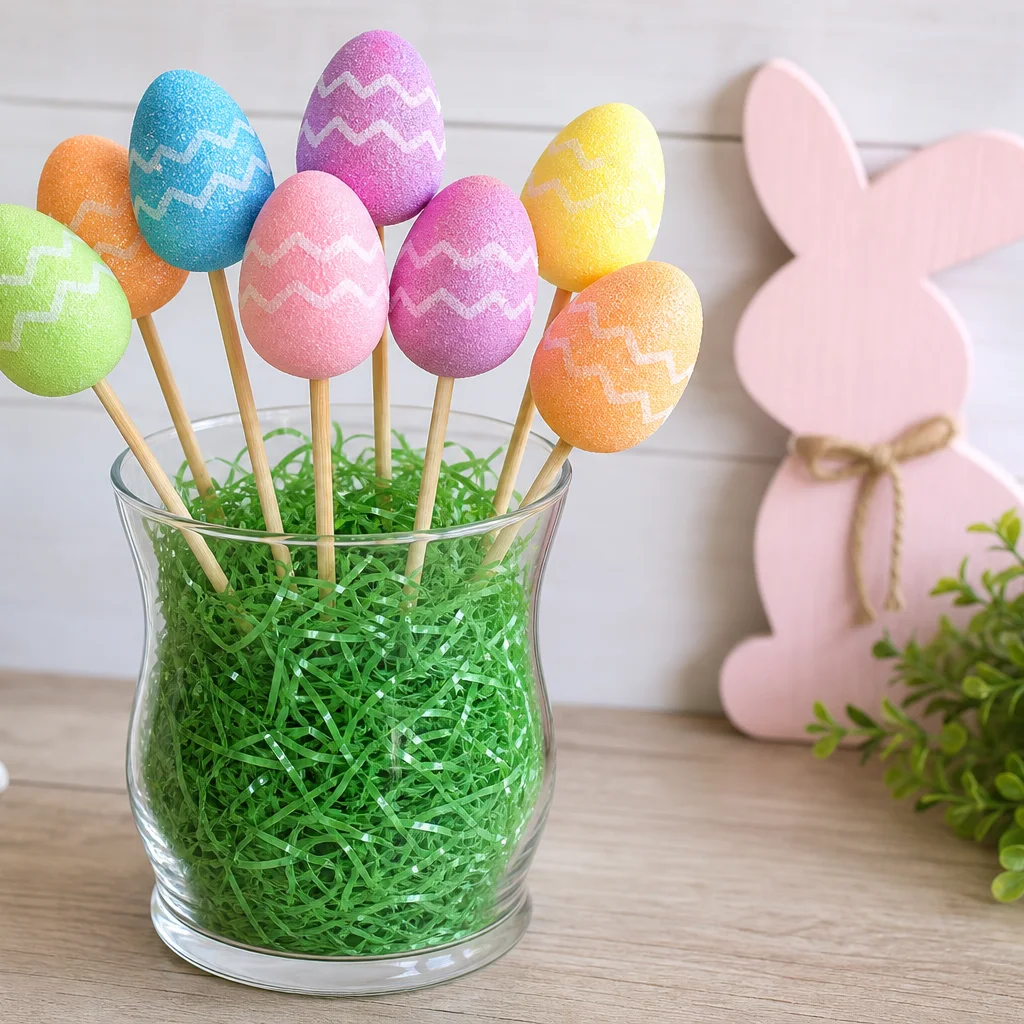
7. Bonus: Eggs on Sticks in a Vase
Use leftover eggs to make a quick companion display. Push each egg onto a wooden craft stick or skewer and arrange them in a glass vase with Easter grass. It is an inexpensive accent that matches the tree perfectly.
Trim sticks to different heights for visual interest. One vase and a few eggs can fill out a side table without starting a second full project.
8. Color Patterns That Always Work
Pastel rainbow rows create a classic spring look. Bold mixed colors feel playful for kids spaces. Monochrome trees in all pink, all blue, or all yellow look surprisingly chic on a modern table.
If you are crafting with children, let them choose the order but keep one color rule, such as no matching neighbors, so the final tree still looks intentional.

Safety and Storage Tips
Use a low-temperature glue gun if children are nearby, and keep a bowl ready for ribbon scraps. Never fill gaps with grass while glue is still hot. After Easter, wrap the tree loosely in tissue paper and store it upright in a box so the eggs do not crush.
If you need another quick spring craft for the same tablescape, our easy DIY candle holder ideas use a similar glue-and-layer approach with different seasonal materials.
Easter Egg Tree Checklist
- Foam cone sized for your table or mantel
- Enough foam eggs to cover the cone fully
- Ribbon hangers trimmed from every egg
- Bottom row glued level and tight
- Rows staggered as you move up the cone
- Glue fully dry before adding Easter grass
- Gaps filled with grass for a finished look
- Tree stored upright for reuse next year
FAQ
Can kids help make this Easter egg tree?
Yes. Kids can sort eggs, choose colors, trim ribbons, and add grass after the glue cools. An adult should operate the hot glue gun or supervise closely.
Can I use plastic eggs instead of foam eggs?
Yes, but lightweight foam eggs attach more easily to the cone. Plastic eggs may need stronger glue and longer drying time.
How do I make the tree look fuller?
Work in tight rows, angle a few eggs slightly, and tuck Easter grass into gaps after the eggs are attached.
How many eggs do I need?
Most 12-inch cones need about 48 to 60 small foam eggs for full coverage. Buy one extra pack so you have options for color placement.
Can I reuse this decoration?
Yes. Store it upright in a box after Easter so the eggs and grass keep their shape for next year.
Where should I display an Easter egg tree?
Mantels, entry tables, kitchen islands, and Easter brunch buffets all work well. Keep it away from direct heat and busy bump zones.
What glue works best?
Hot glue is fastest for foam eggs on a foam cone. Low-temp glue guns are a good choice when crafting with kids nearby.