
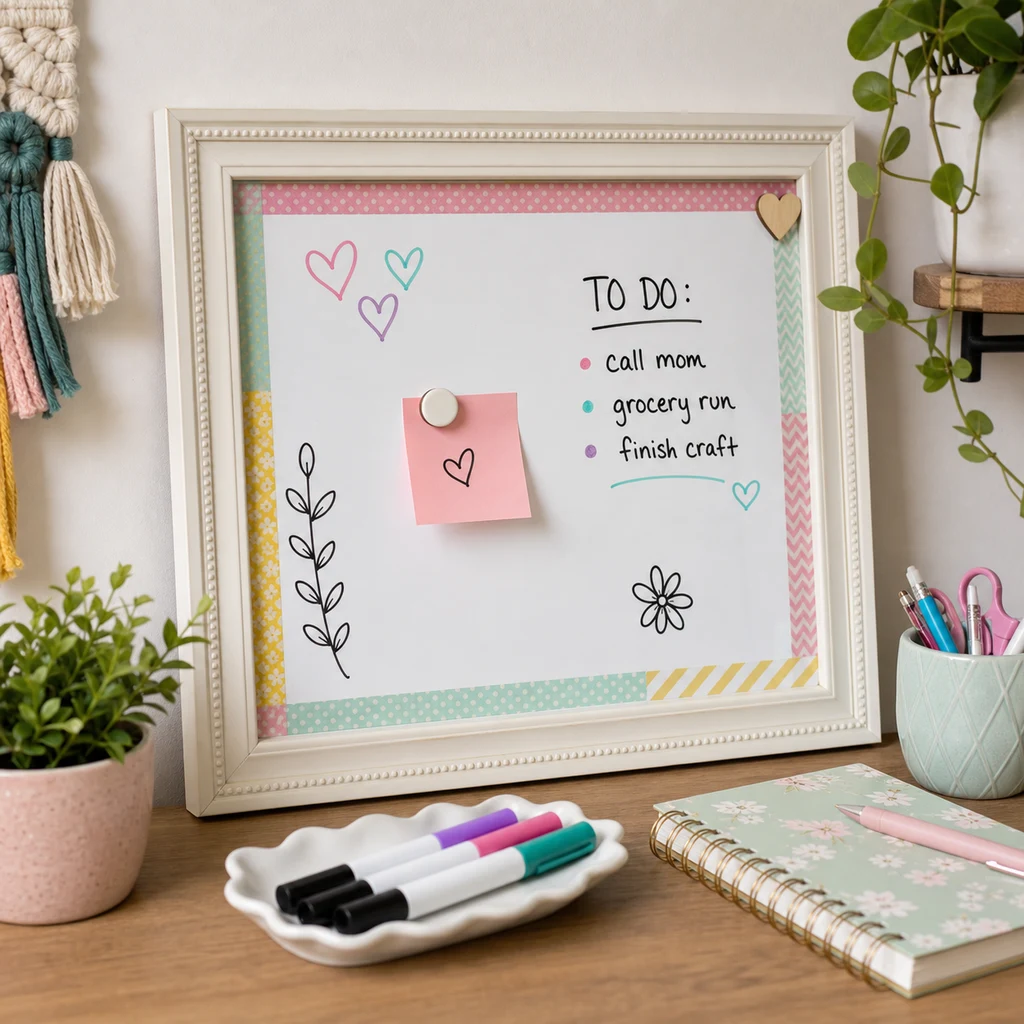
Cute and Easy DIY Whiteboard is a simple project for turning an ordinary picture frame into a wipe-off note board for a desk, kitchen command center, dorm room, craft space, or homework corner. The idea is straightforward: glass works with dry erase markers, and the paper behind the glass becomes the background.
This project is best when it stays practical. A whiteboard should look cute, but it also needs a clean writing area, a frame that closes securely, and decorations that do not get in the way. The steps below keep the craft beginner-friendly while showing the small details that make the finished board easier to use every day.
Why Make a DIY Whiteboard
A framed whiteboard is useful because it can be made in the size and style you actually need. A small frame can become a desk reminder board. A larger frame can hold a weekly menu, chore list, habit tracker, or school assignment notes. Since the background paper can be changed, the board can also shift with seasons, room colors, or a new workspace setup.
It is also a good low-cost project because most of the materials are common craft or office supplies. The important part is choosing the right frame and keeping the writing surface smooth.
Best Uses for This Project
This project works especially well for light daily notes: a short to-do list, dinner plan, homework reminder, craft supply list, appointment note, or desk checklist. It is not the best choice for heavy classroom-style writing because the frame edge limits the writing area, but it is excellent for a small personal command center.
Materials Needed
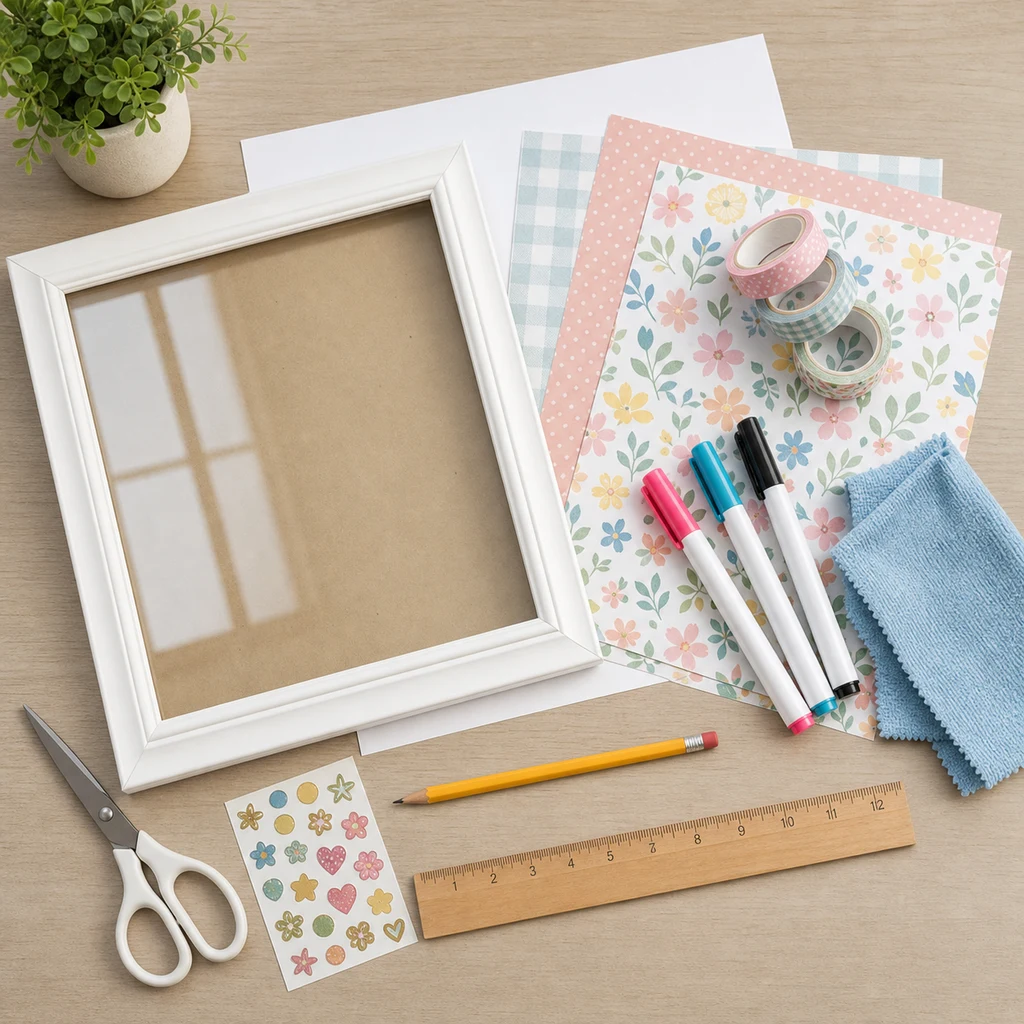
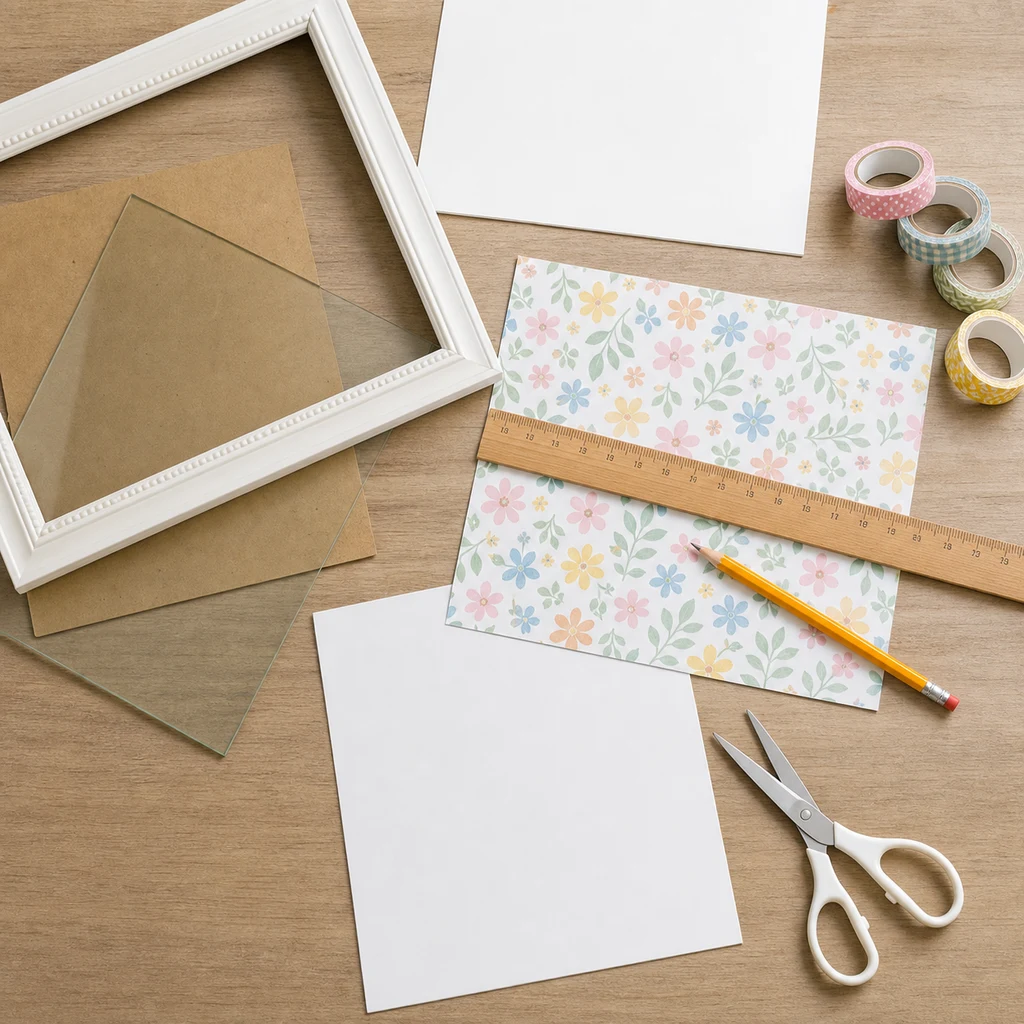
- Picture frame with glass or a smooth acrylic front
- White poster board, cardstock, scrapbook paper, or light patterned paper
- Ruler or measuring tape
- Pencil
- Scissors or paper trimmer
- Dry erase markers
- Microfiber cloth or small eraser
- Washi tape, stickers, corner accents, or small paper embellishments
- Optional: removable mounting strips, small hook, or easel stand
Glass or Acrylic Surface Note
Glass usually wipes cleanest, but acrylic can work if it is smooth and not scratched. Test a tiny corner with a dry erase marker before assembling the full project. Some plastics hold marker stains more than glass.
Step 1: Choose Your Frame
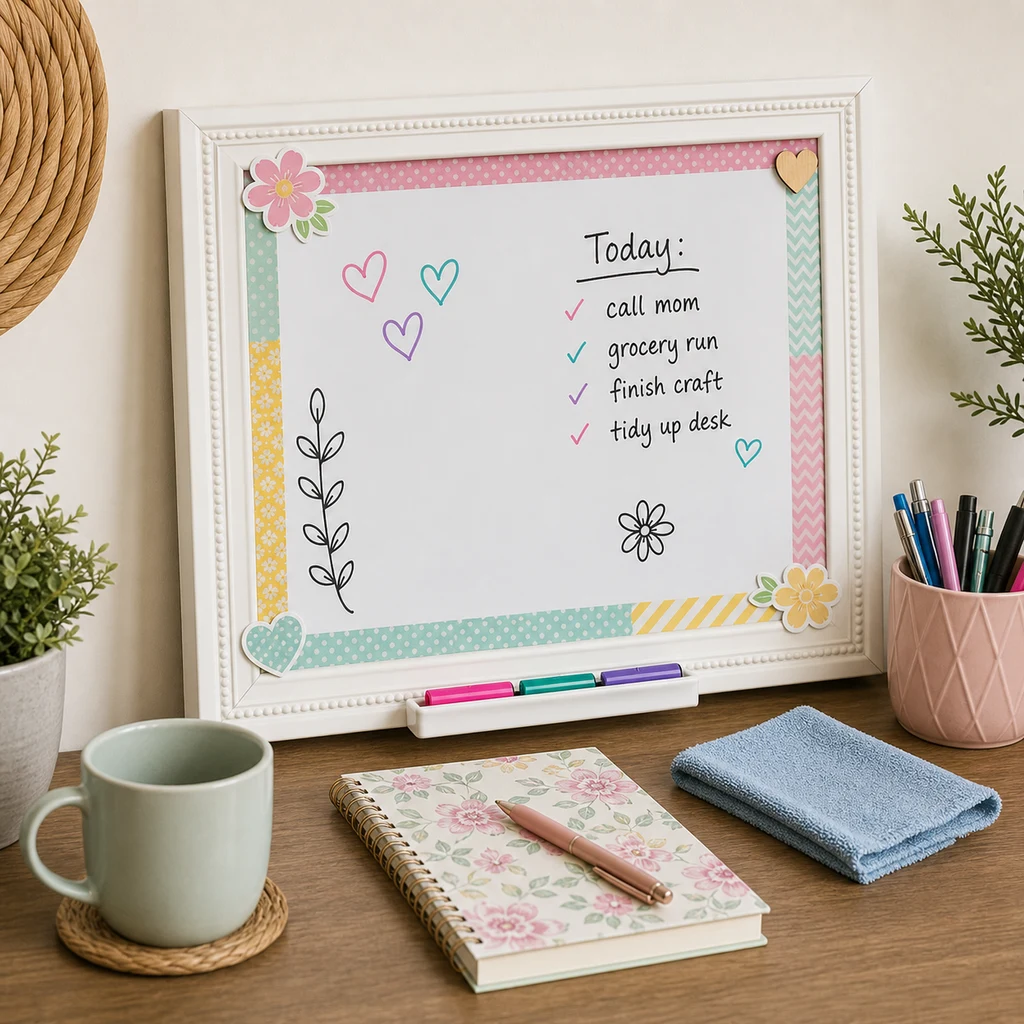
Pick a frame with a secure backing and a front surface that sits flat. A frame with loose clips or warped backing can let the paper shift, which makes the finished board look uneven. For a desk board, a 5×7 or 8×10 frame is easy to handle. For a family command center, a larger frame gives more room for lists.
Check the frame orientation before you start. Decide whether the finished board will hang vertically, sit horizontally, or lean on a shelf. That choice affects where you place decorative tape and how much writing space you leave open.
Frame Size Guide
A 5×7 frame is best for a nightstand, dorm shelf, or single daily reminder. An 8×10 frame is the most flexible size for desks and small kitchens. An 11×14 frame gives enough room for a weekly menu or family notes, but it needs stronger hanging hardware. Very large frames can work, but they should have sturdy backing so the glass does not shift.
Step 2: Prepare the Background
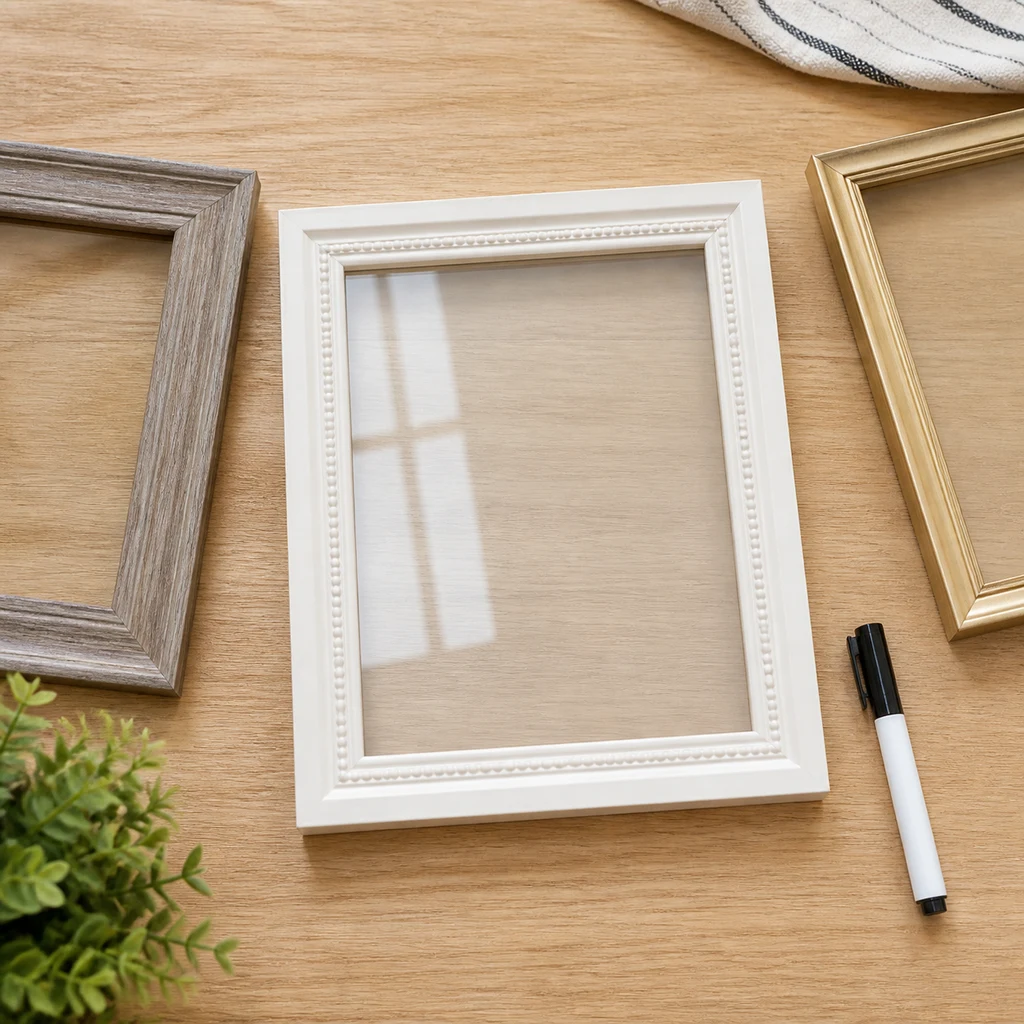
Remove the frame backing and take out any photo insert. Use that insert as a template, or measure the inside of the frame with a ruler. Cut white poster board, cardstock, or patterned paper to the same size.
White paper gives the clearest writing surface. Light patterns can look cute, but avoid busy prints in the center because marker lines become harder to read. If you want color, keep the pattern subtle or use decorative paper only as a border.
Step 3: Assemble the Whiteboard
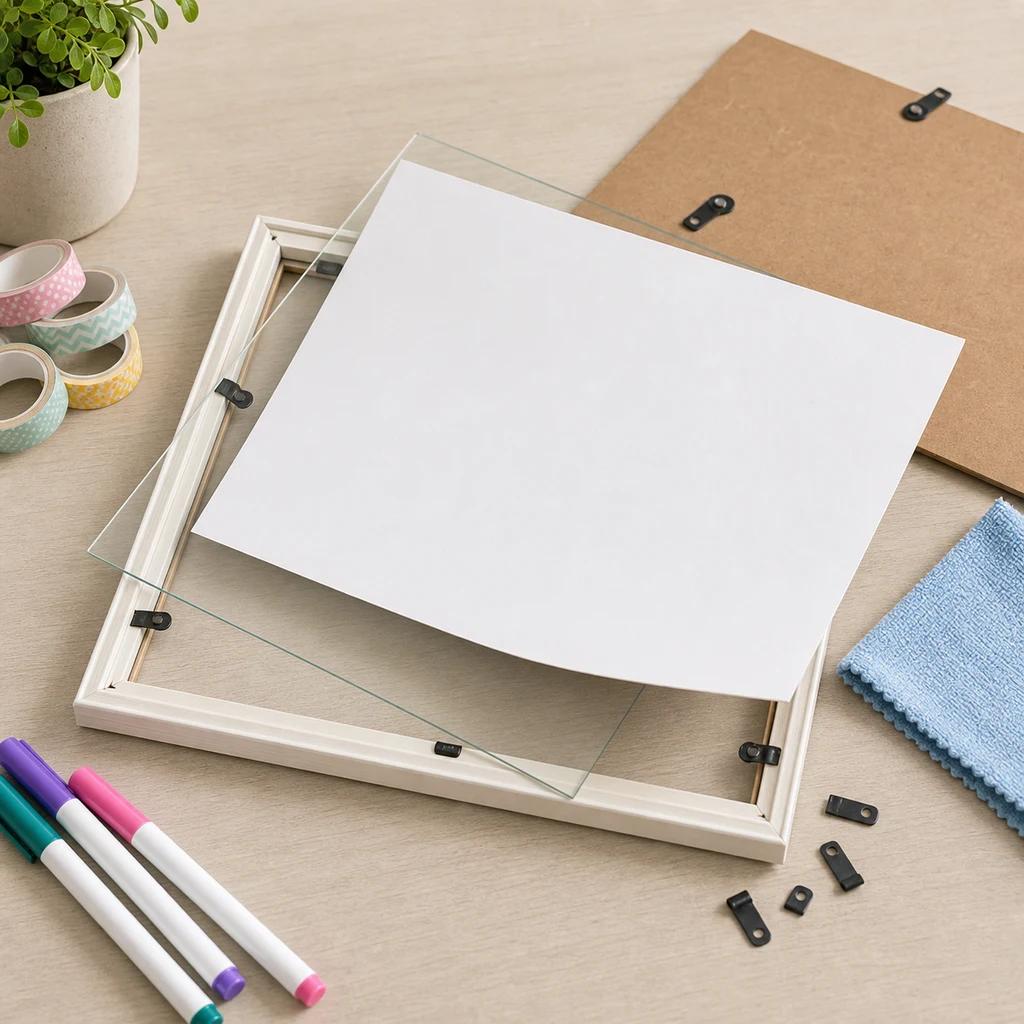
Clean the inside of the glass before closing the frame. Dust trapped inside will show every time light hits the board. Place the cut paper behind the glass, smooth it flat, and secure the backing.
Before decorating, write a small test mark on the front and wipe it away. If the marker leaves a shadow, try a different marker or clean the glass with a little glass cleaner and a lint-free cloth.
Step 4: Decorate the Frame
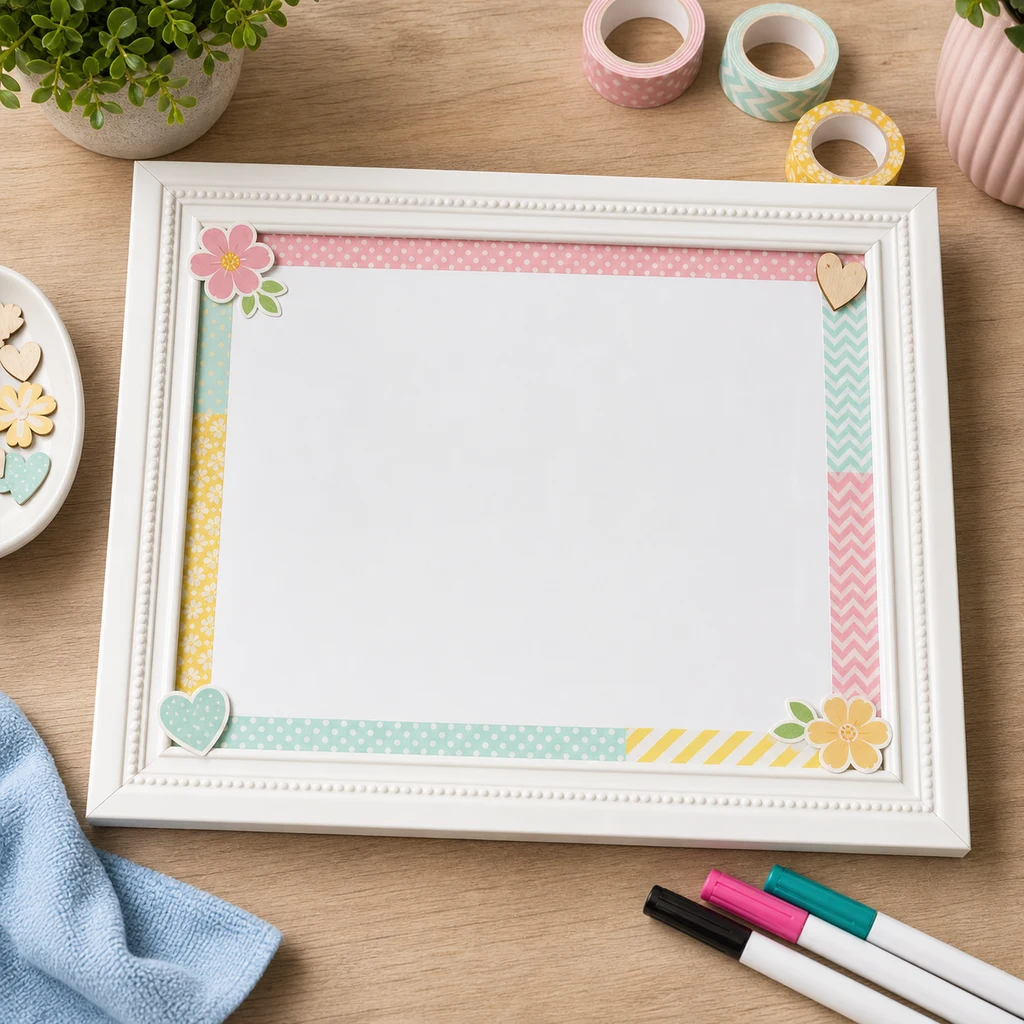
Decorate the edges, not the main writing area. Washi tape works well because it is light, colorful, and easy to replace. Stickers, paper flowers, small corner pieces, or painted accents can make the board feel finished without making it harder to use.
Keep decorations flat if the board will hang on a wall. Thick embellishments can catch dust, fall off, or make the frame awkward to clean.
Step 5: Display and Use
Place the whiteboard where it will actually be used. A cute board hidden behind a stack of papers will not help much. Good spots include an entry table, home office desk, kitchen wall, dorm shelf, homework station, or craft room.
Keep a marker and cloth nearby. You can attach a small adhesive pen loop to the frame, set markers in a cup, or keep a cloth folded beside the board. The easier it is to erase and rewrite, the more useful the board becomes.
Safe Display Tips
If the board will hang on a wall, use hardware that matches the frame weight. Lightweight frames can often use removable strips, but heavier frames should hang from a hook or proper wall fastener. For a child’s room, acrylic is usually safer than glass, and the board should be mounted where it cannot be knocked down easily.
Cleaning and Care
Use a microfiber cloth for daily wiping. If marker residue builds up, clean the glass with a small amount of glass cleaner or rubbing alcohol on a cloth. Do not soak the frame, especially if it is wood, painted, or made from compressed material.
Avoid permanent markers near the board. If one gets used by mistake, trace over the mark with a dry erase marker and wipe quickly; this sometimes lifts the permanent ink from glass. Test gently first if the front is acrylic.
Easy Ways to Customize It
For a weekly menu board, use a pale lined background and leave space for seven rows. For a homework board, add a simple subject list along one side. For a craft room, use a cheerful paper border and leave the center blank for project reminders.
The background can be swapped whenever the room changes. Open the frame, replace the paper, and keep the same glass surface. That flexibility is what makes this project more useful than a store-bought board with a fixed design.
You can also make seasonal inserts. Use a soft floral paper for spring, a simple grid for school season, or a neutral linen-look paper for a home office. Keep the design pale enough that marker ink stays readable. If the paper competes with the writing, the board becomes decoration instead of a tool.
Common Mistakes to Avoid
The most common mistake is choosing paper that is too dark or too busy. Dry erase marker needs contrast. Another issue is decorating across the glass instead of the frame, which reduces the useful writing space and makes wiping harder.
Do not skip cleaning the inside of the glass. Fingerprints and dust trapped inside the frame are distracting, and you cannot wipe them away once the board is assembled. Finally, avoid permanent adhesive on the glass unless you are sure you will never want to change the design.
More DIY Organization Ideas
If this project fits your space, you may also like DIY wipe-off weekly menu, mason jar organizer for small bathrooms, easy DIY wall art anyone can make, and DIY Mother’s Day gift photo tiles.