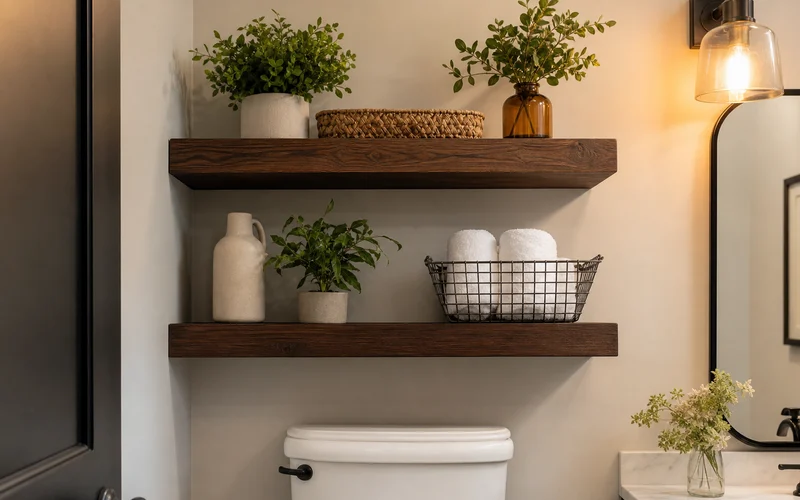
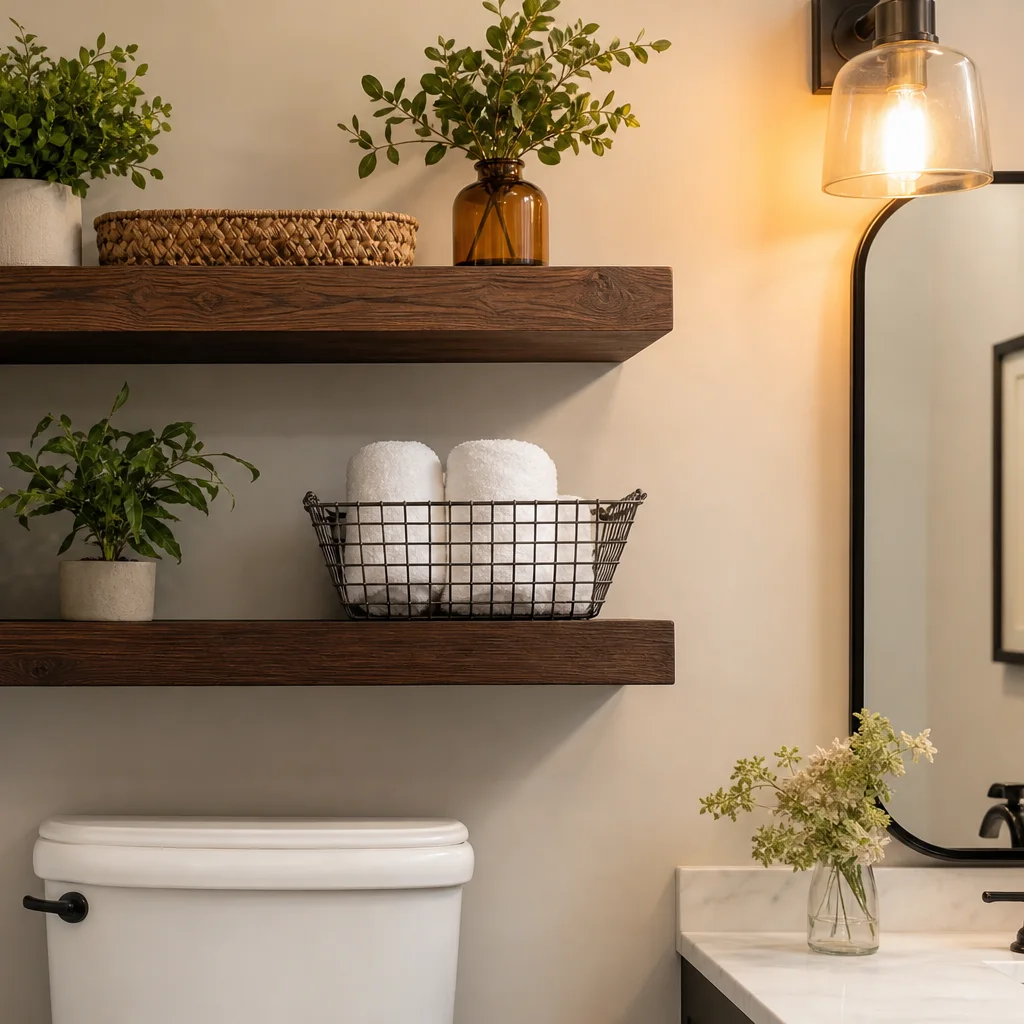
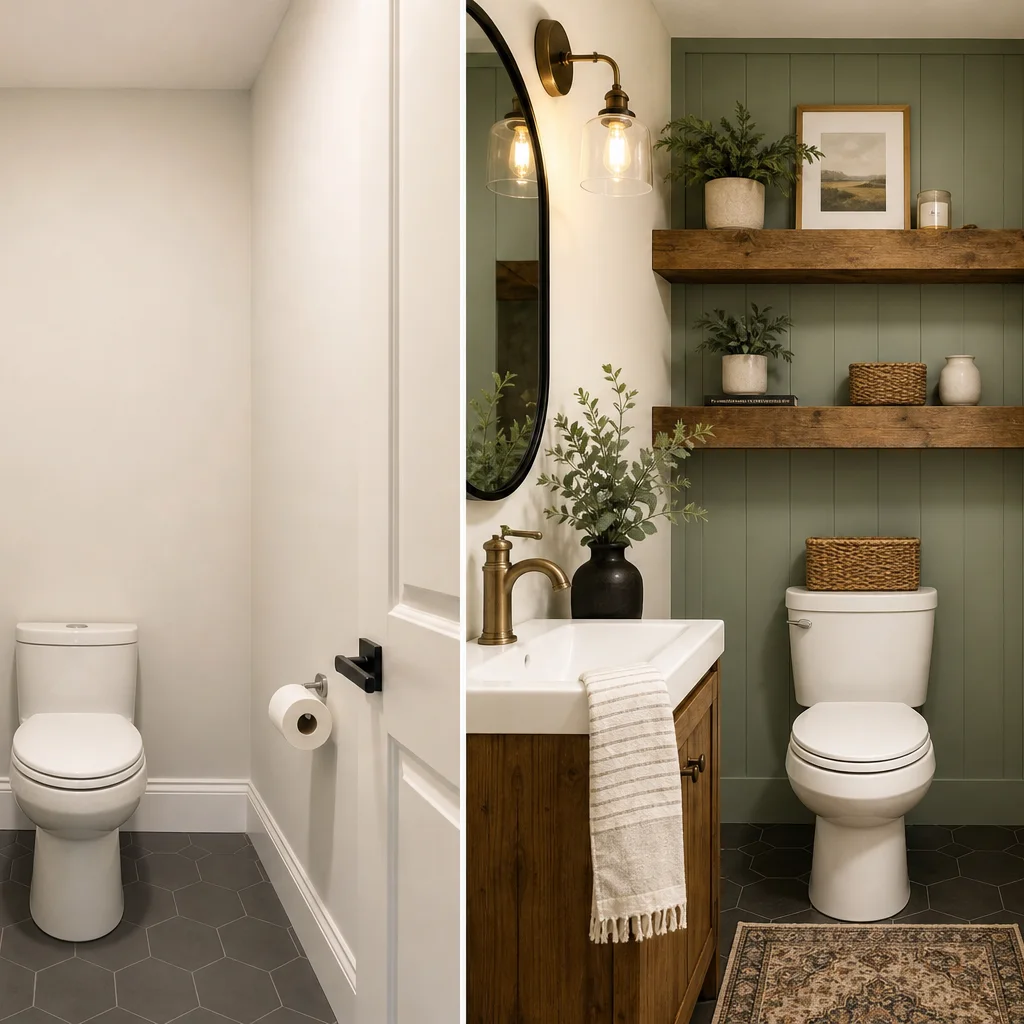
Chunky wooden floating shelves look like solid timber but cost far less when you build them with a hidden inner frame. I made two thick shelves for our powder room for about $15 per shelf using whitewood boards, furring strips, and basic tools from the hardware store.
This tutorial shows how to plan, build, mount, and finish DIY chunky wooden floating shelves that feel custom without a custom price tag. For another shelf project with a softer look, see our DIY scalloped floating shelves for a soft summer refresh.
Project Snapshot
- Project time: one weekend (cutting, staining, assembly)
- Cost: about $29 total (~$15 per shelf)
- Skill level: intermediate DIY
- Best for: bathrooms, powder rooms, narrow walls
- Finish: dark walnut stain with lacquer or poly
Why Build Chunky Floating Shelves?
Standard bracket shelves can look utilitarian. A thick front board hides the frame and creates a seamless, furniture-like profile. The hidden inner frame carries the weight while top, bottom, and front boards give the chunky appearance.
If you are refreshing the room around the shelves, pair this build with 6 budget-friendly ideas to refresh your bathroom for a full powder room upgrade.
Materials and Tools
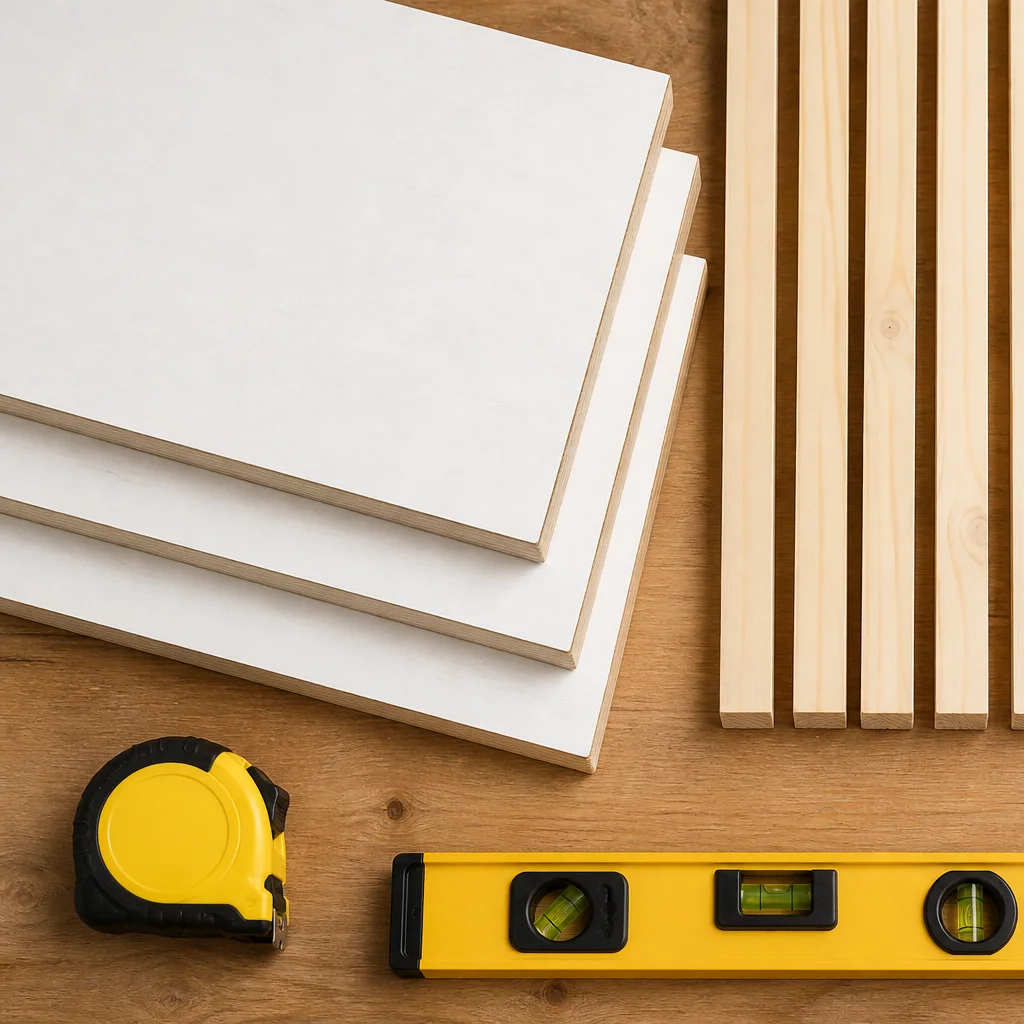
- Front pieces: 1×6×6 whitewood board, cut to two 31¾-inch widths, ripped to 4-inch height
- Top and bottom: 1×10×12 whitewood board, cut into four 31¾-inch pieces
- Hidden frame: 1×3 furring strips for back, side, and middle supports
- Fasteners: wood screws, finishing nails (optional), wood glue, Liquid Nails for front piece if needed
- Finish: dark walnut stain plus lacquer or polyurethane
- Tools: miter saw, drill, tape measure, level, clamps (recommended)
Tip: Furring strips can vary in width. For a cleaner frame, choose straighter lumber or upgrade to select pine if your store stock is uneven.
Shelf Design: How the Hidden Frame Works
Each shelf uses a box-like inner frame screwed to the wall. The top and bottom boards attach to the frame, and a thick front board covers the edge so the shelf looks like one solid chunk of wood.
Plan so the combined thickness of the top board, frame, and bottom board matches the height of the front piece. That alignment is what creates the seamless chunky look at eye level.
Step-by-Step: DIY Chunky Wooden Floating Shelves
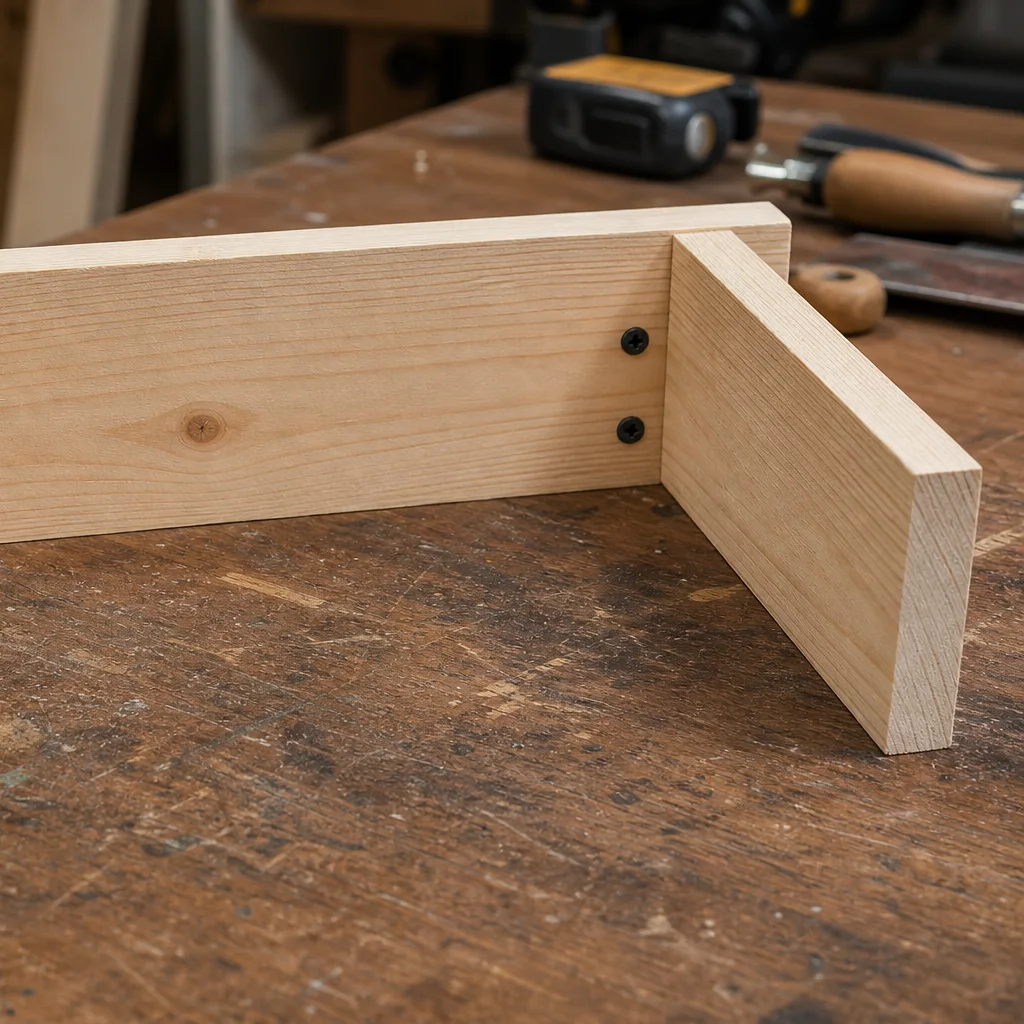
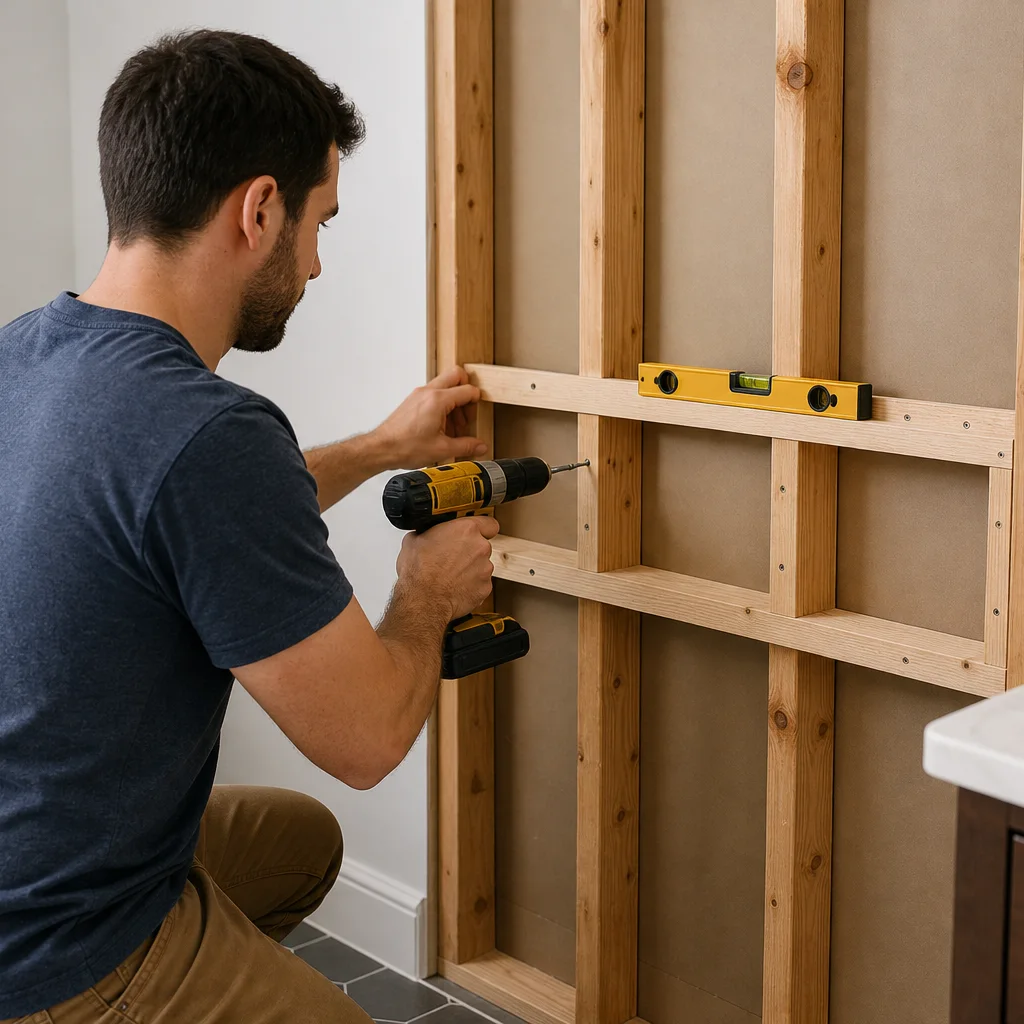
1. Build the hidden inner frames
Cut furring strips into back, side, and middle support pieces for each shelf. Screw the 8-inch supports into the 31¾-inch back piece from behind. Line up side pieces flush with the edges; middle supports can be spaced evenly since they will be hidden.
2. Mark and mount the lower frame
Measure up from the floor to set shelf height—we used about 48 inches to the bottom shelf. Mark the overall 4-inch shelf height, then mark where the inner frame sits between the top and bottom board lines.
Screw the frame into wall studs. Leave clearance around plumbing pipes behind the toilet. Secure side supports into studs when possible.
3. Mount the upper frame
Space the second shelf about 12 inches above the lower shelf. Repeat the same measuring and mounting steps. Test-fit top and bottom boards before finishing if your whitewood is bowed.
4. Stain and seal the boards
Label each board by position, then stain all visible faces. Let stain sit about 20 minutes before wiping. Allow overnight drying, then apply lacquer or polyurethane outdoors or in a ventilated area.
5. Attach top and bottom boards
Run wood glue along the inner frame edges (except the open front). Press the top board in place, then attach the bottom board with screws set back from the front edge so they stay hidden.
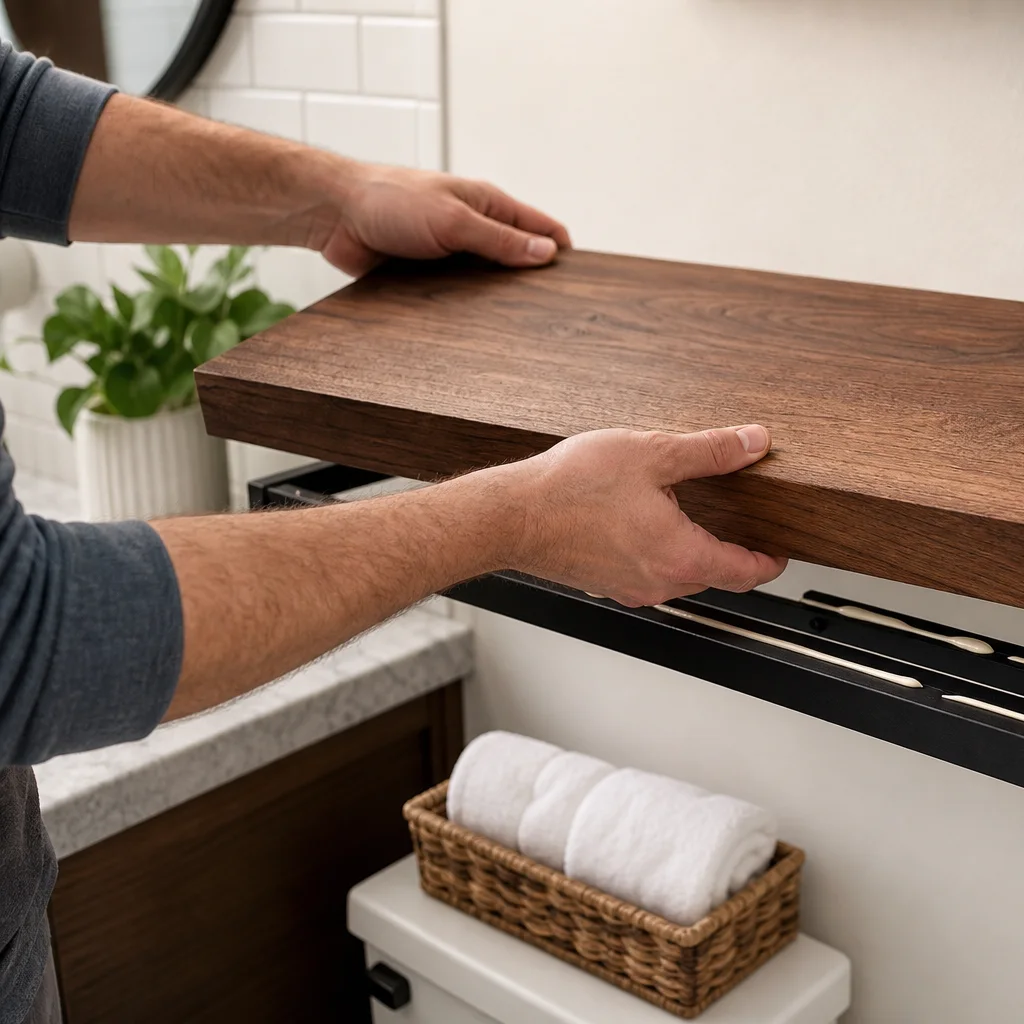
6. Add the front facing piece
Glue the front board so the bottom edge aligns perfectly with the shelf below—this seam is what people notice most. Use clamps if you have them. If wood glue slips on a bowed board, Liquid Nails along the edges can hold the front piece while it cures.
Wait 24 hours before loading the shelves with decor or toiletries.
Budget Breakdown
- 1×6×6 whitewood (front pieces): about $5.25
- 1×10×12 whitewood (tops and bottoms): about $20.15
- 1×3 furring strips: about $3.56
- Total: ~$28.96, or ~$14.48 per shelf (stain and screws if already owned)
Your total may vary by store, lumber prices, and tools you need to buy. For more affordable upgrades, browse easy ways to transform your home on a budget.
Tips for a Professional Finish
- Buy straighter lumber to avoid gaps on the front seam.
- Use clamps when gluing the face board.
- Screw into studs for heavy items or humid bathrooms.
- Test-fit bowed boards before staining.
- Skip unnecessary nails in the top board if glue holds well.
Make-Ahead Checklist
- Sketch top and side views with exact shelf dimensions.
- Have boards cut at the store if needed for transport.
- Build both hidden inner frames on a flat surface.
- Mark stud locations and shelf heights on the wall.
- Stain and seal boards before final assembly.
- Glue front pieces square and let cure 24 hours.
Frequently Asked Questions
How much do DIY chunky floating shelves cost?
This project cost about $29 in lumber for two shelves, or roughly $15 each, not counting stain and screws many DIYers already own.
What wood is best for chunky floating shelves?
Whitewood boards work well for visible faces. Furring strips are fine for hidden frames, though select pine can be straighter if your furring stock is uneven.
How do hidden frame floating shelves stay on the wall?
A rectangular inner frame screws into wall studs. Top, bottom, and front boards attach to the frame with glue and screws hidden from view.
Can you put floating shelves above a toilet?
Yes. Measure carefully, anchor into studs, and keep clearance around plumbing lines in the wall cavity.
Should I use wood glue or screws on the shelf face?
Use wood glue for a clean face with no visible fasteners. Clamps help. Liquid Nails can assist on bowed front boards if standard glue slips.
How long should I wait before loading the shelves?
Wait at least 24 hours after gluing the front piece and applying finish so glue and sealant fully cure.
Are chunky floating shelves good for small bathrooms?
Yes. They add storage without floor footprint. For layout ideas in tight rooms, see how to make a small bathroom feel spacious.
Safety Note
Use caution with power tools and follow manufacturer instructions. Anchor shelves into studs when possible. Results vary based on materials, wall construction, and skill level—build at your own risk.
Final Thoughts
These DIY chunky wooden floating shelves transformed our powder room with thick, custom-looking storage for about $15 per shelf. The hidden frame method is repeatable on hallway walls, bedrooms, or any narrow spot that needs display space.
For more weekend-friendly projects, explore 10 easy DIY home crafts for a cozy space.