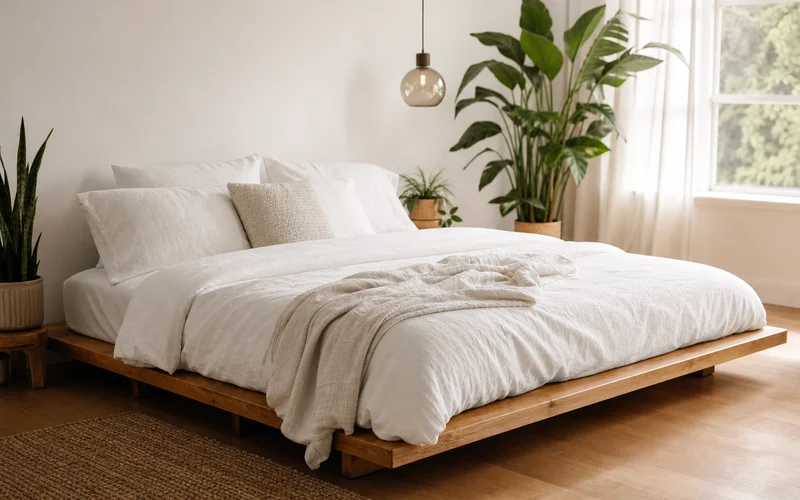
A DIY platform bed delivers the clean, low-profile look of modern furniture without the showroom price tag. No box spring required — just a sturdy slat base, a few hours in the garage, and a mattress that sits close to the floor for a calm, uncluttered bedroom.
This step-by-step guide walks you through measuring, cutting, assembling, and finishing a queen-size platform bed frame that beginners can tackle with basic tools. You will find a materials list, cut diagram notes, prep checklist, FAQ, and styling ideas to match your space. For a rustic variation, see our rustic DIY platform bed tutorial; for more weekend projects, browse 10 easy DIY home crafts for a cozy space.
At a Glance
- Skill level: beginner to intermediate
- Build time: one weekend (6 to 10 hours including dry time)
- Estimated cost: $120 to $250 for lumber and hardware (queen size)
- Tools needed: drill, saw, measuring tape, level, sander or sandpaper
- Best for: modern bedrooms, small spaces, and anyone skipping a box spring
- Result: low-profile bed with solid mattress support and optional storage space below
Project Snapshot
- Frame style: boxed platform with interior slats
- Support: 2×6 perimeter rails + 1×4 slats spaced 3 inches apart
- Finish options: clear sealant, stain, or matte paint
- Queen footprint: approximately 60×80 inches (mattress size + 1-inch lip)
- Pro tip: have lumber pre-cut at the hardware store to save time and improve accuracy
On This Page
- Why build a platform bed?
- Materials and tools
- Cut list (queen size)
- Step-by-step build
- Customization ideas
- Prep checklist
- FAQ
Why Build a DIY Platform Bed?
Platform beds sit lower and look simpler than traditional frames with bulky headboards and footboards. The mattress rests directly on slats, which improves airflow and eliminates the need for a box spring — saving money and inches of visual clutter.
Building your own frame means you control the height, finish, and width of the lip around the mattress. Renters and homeowners alike benefit: a well-built platform bed moves in one piece and pairs easily with under-bed storage bins or baskets.
Pinterest and Google search trends show sustained interest in budget bedroom upgrades and beginner woodworking — a straightforward platform bed hits both. Pair the finished look with no-sew pillow covers and chunky floating shelves for a cohesive room refresh.
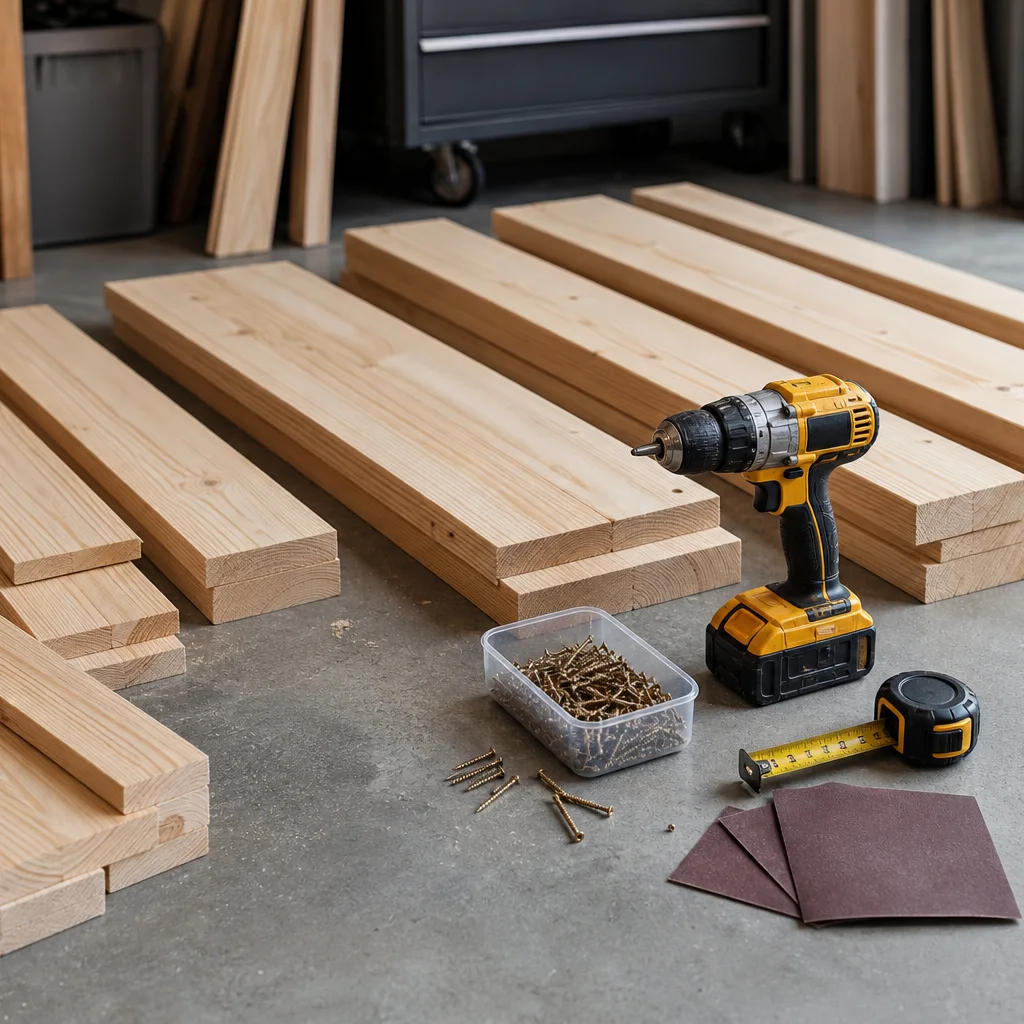
Materials and Tools
Gather everything before you cut. Queen-size builds use common lumber sizes available at any home center.
Lumber and hardware (queen)
- 2×6 boards — 4 pieces at 80 inches (side rails) and 4 pieces at 63 inches (head/foot rails)
- 1×4 boards — 12 to 14 slats at 57 inches (inside frame width)
- 2×2 or 2×4 cleats — optional interior support strips screwed to rail insides
- 2½-inch wood screws and 1¼-inch screws for slats
- Wood glue for rail joints
- Corner brackets or L-brackets (optional extra rigidity)
- Stain, paint, or polyurethane — your choice of finish
Tools
- Circular saw or miter saw (or pre-cut service at the store)
- Power drill with driver bits and pilot-hole bit
- Measuring tape, speed square, and 4-foot level
- Clamps (helpful but not required)
- Orbital sander or 120–220 grit sandpaper
- Safety glasses and dust mask
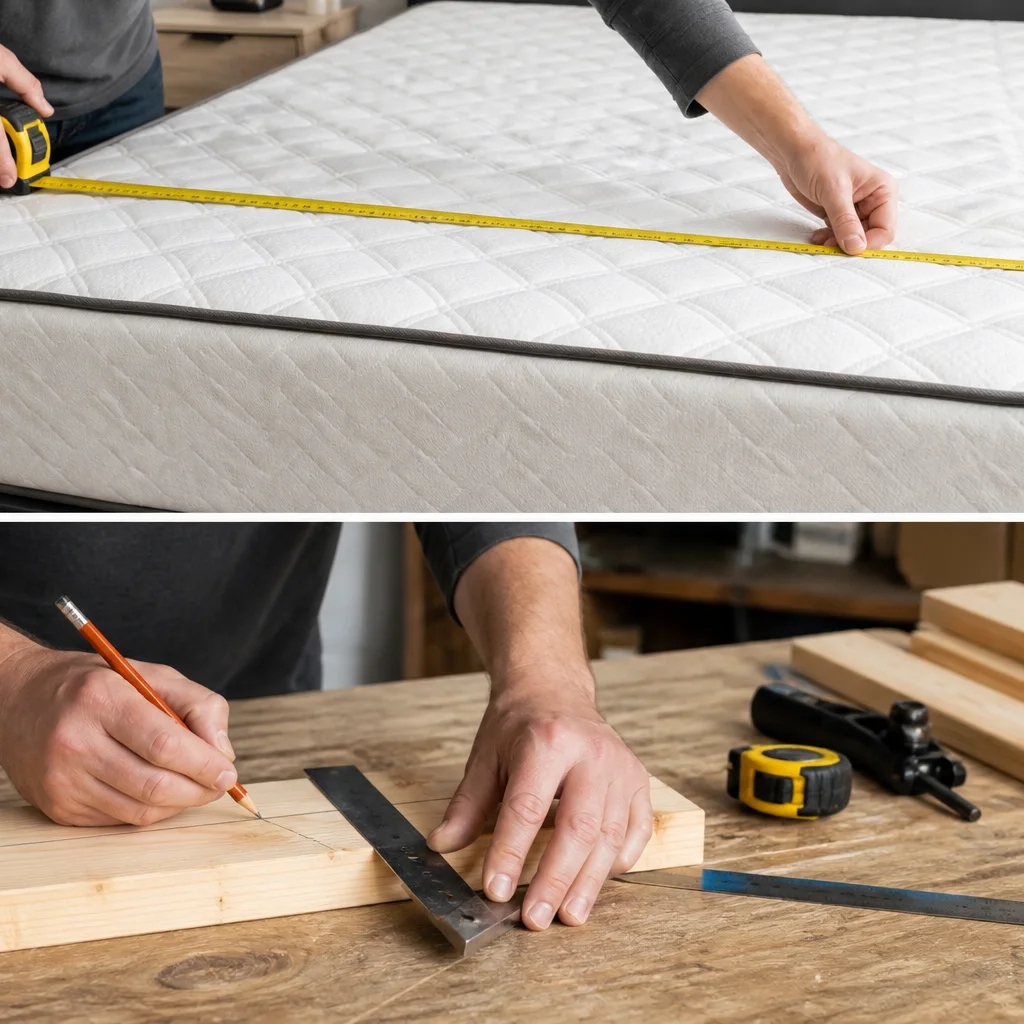
Cut List and Planning Notes
Measure your mattress first. Standard queen mattresses are 60×80 inches, but confirm yours — especially if it is a compressed-in-a-box brand that can vary slightly.
Frame exterior: add 1 to 2 inches beyond the mattress on each side for a subtle ledge, or build flush for a built-in look. For a queen with a 1-inch lip, outer frame interior should measure roughly 62×82 inches.
Slat spacing: keep gaps at 3 inches or less so foam mattresses do not sag between boards. More slats mean stronger support for heavier mattresses.
Height: typical platform height is 12 to 16 inches including slats — high enough for under-bed storage bins, low enough to feel modern.
How to Build a DIY Platform Bed
Step 1: Cut lumber to size
Cut 2×6 boards to your planned rail lengths. If you are new to cutting, ask the hardware store to cut to length — many do it free or for a small fee. Label each piece (head, foot, left, right) with pencil so assembly stays organized.
Tip: Sand cut ends lightly before assembly to reduce splinters during handling.
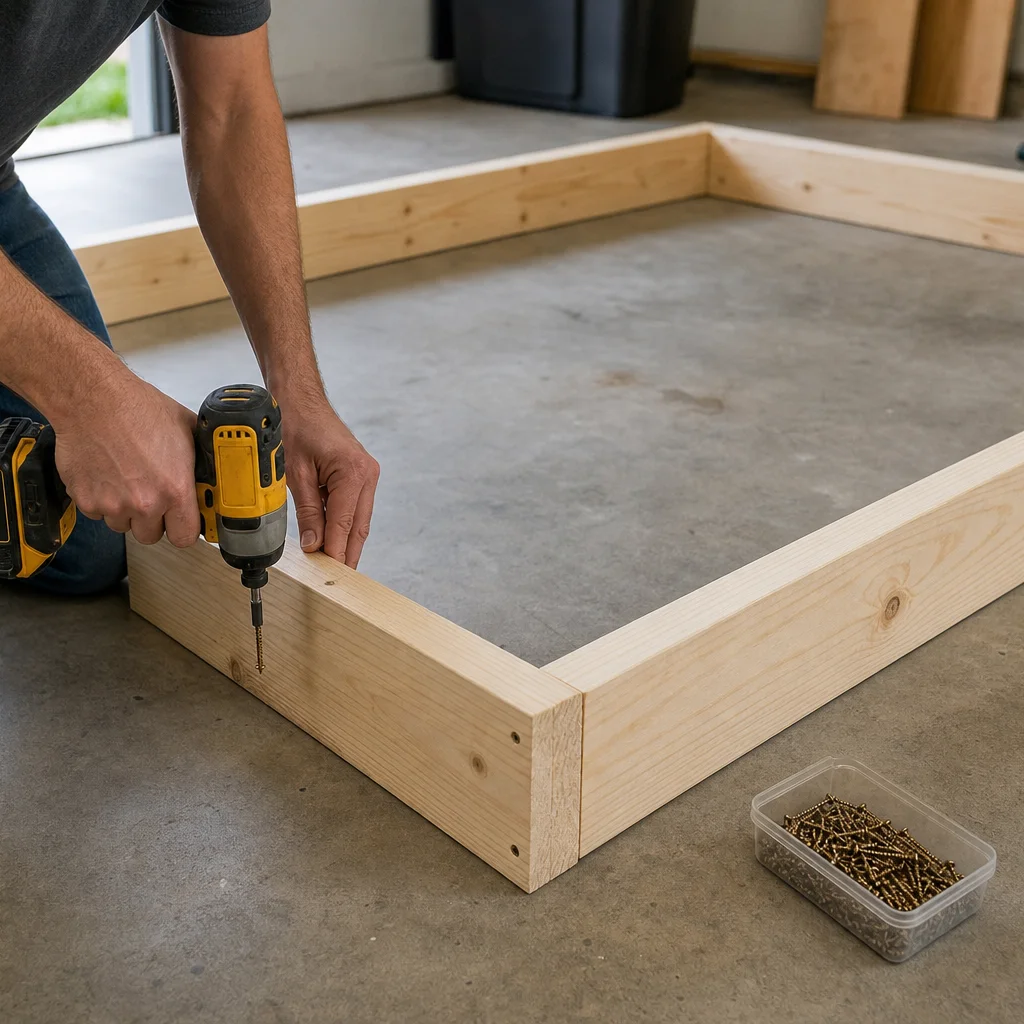
Step 2: Assemble the outer frame
Lay the four 2×6 rails in a rectangle on a flat floor. Pre-drill pilot holes, apply wood glue at joints, and screw corners together with 2½-inch screws. Check diagonals with a tape measure — equal diagonals mean the frame is square.
Tip: Clamp corners while driving screws to keep boards from shifting.
Step 3: Add interior support (optional but recommended)
Screw 2×2 cleats along the inside of long rails, flush with the bottom edge, to rest slats on. A center support leg from a 2×4 in the middle of the frame prevents bounce on queen and king sizes.
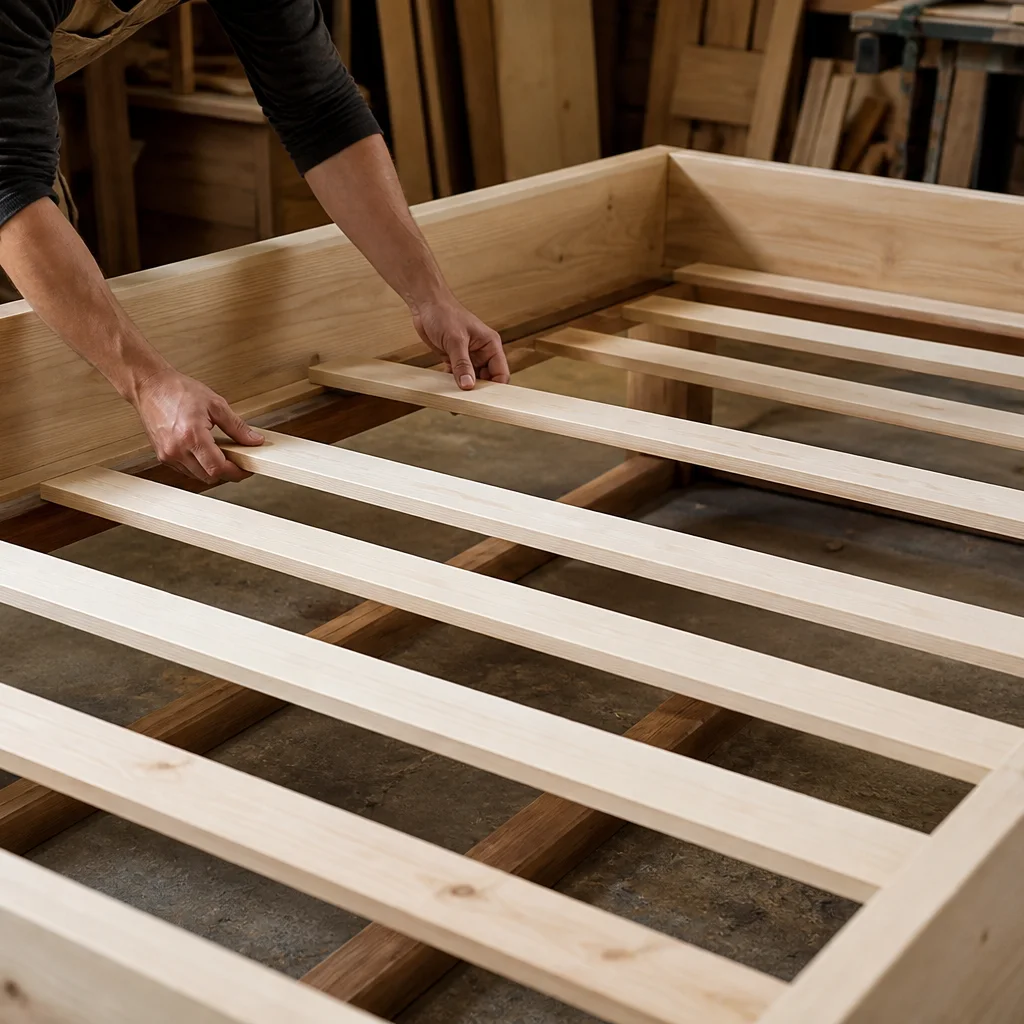
Step 4: Install mattress slats
Space 1×4 slats evenly across the frame — start by placing two slats at the head and foot, then fill in between with consistent 3-inch gaps. Secure each slat with two 1¼-inch screws per side into the rails or cleats.
Tip: Use a spacer block cut to 3 inches so gaps stay uniform without measuring each slat.
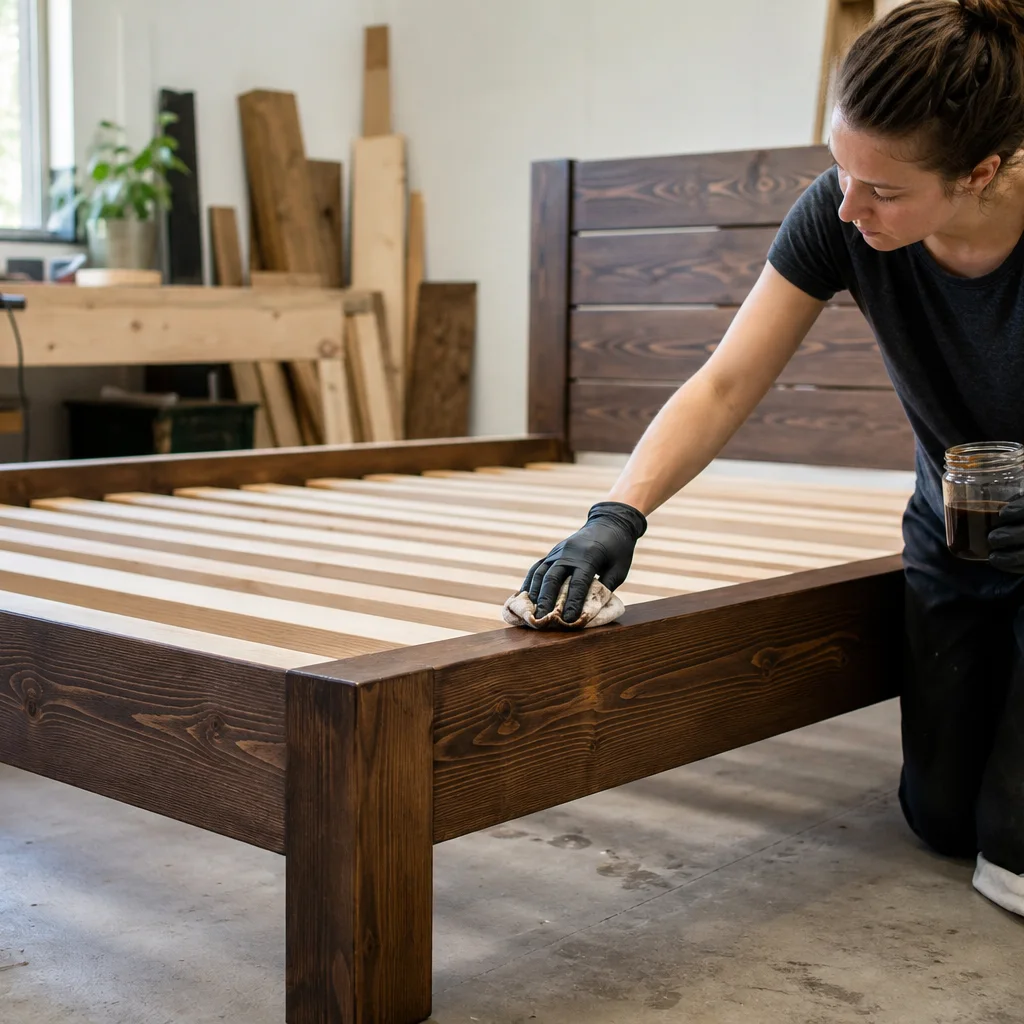
Step 5: Sand, finish, and cure
Sand all surfaces starting at 120 grit and finishing at 220. Wipe dust with a tack cloth. Apply stain or paint in thin coats, or seal natural wood with water-based polyurethane. Allow full cure time before placing the mattress — usually 24 to 72 hours depending on product.
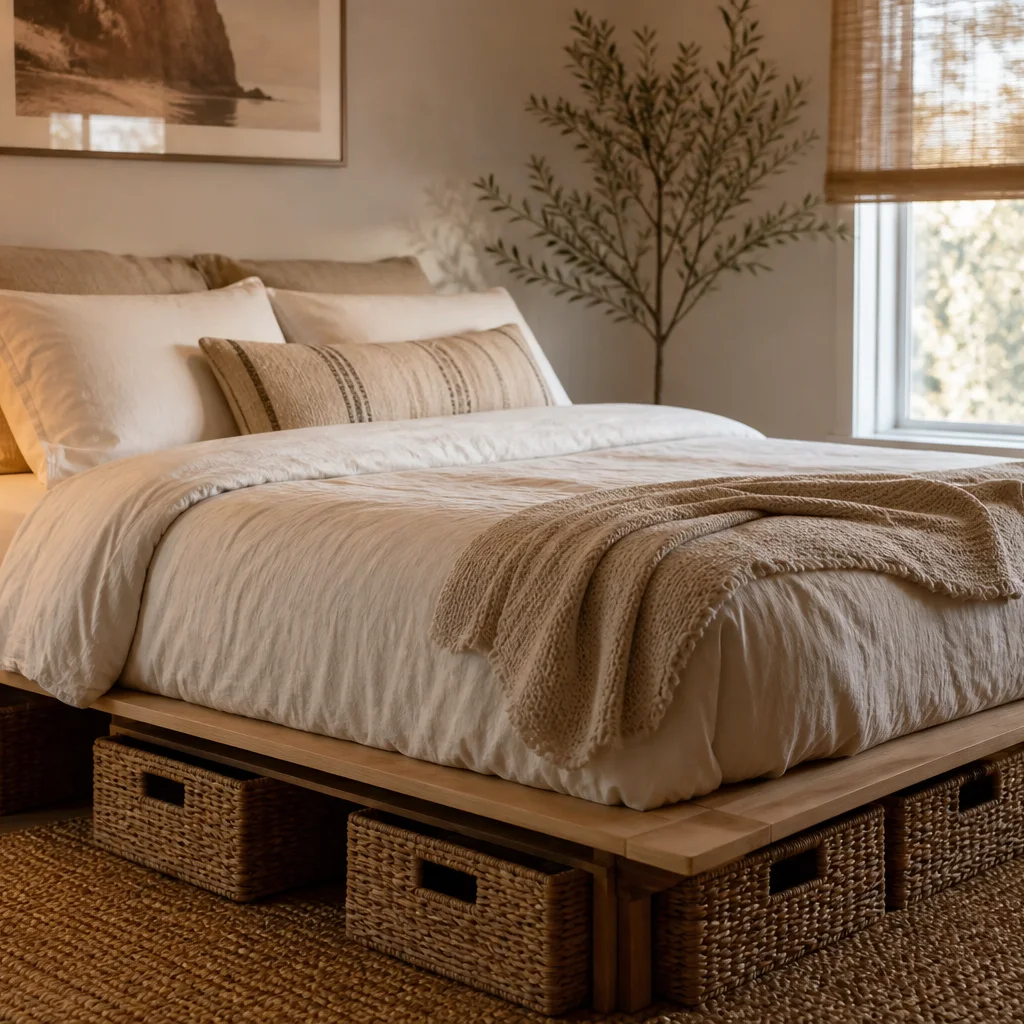
Step 6: Place the mattress and style
Center the mattress on the slats. No box spring needed. Layer bedding, add a headboard if desired, and use the space below for storage bins. For headboard inspiration without custom carpentry, see our 20 creative furniture hacks — old doors make stunning headboards.
Customization Ideas
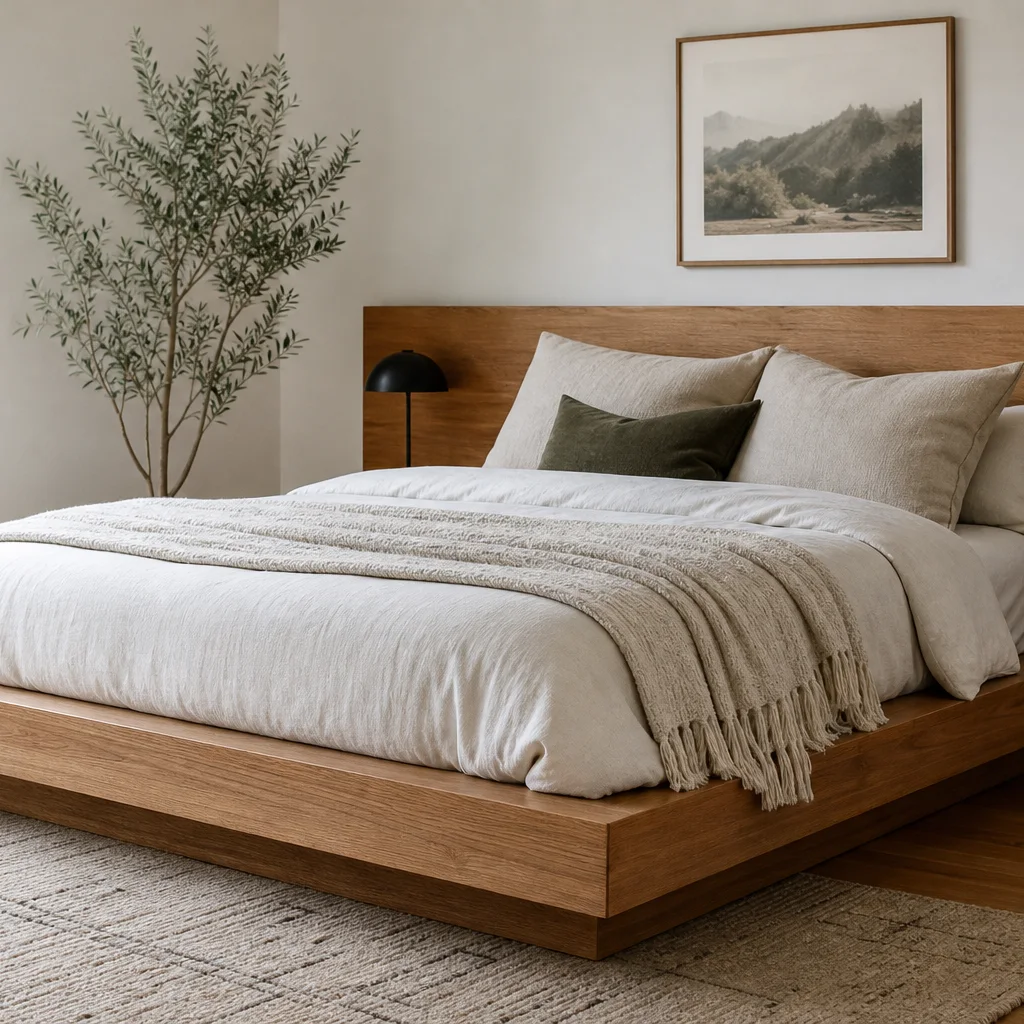
- Headboard add-on: attach a upholstered panel or reclaimed door to the wall behind the bed — see rustic platform bed tutorial for wood-forward styling.
- Built-in storage: extend side rails into cubby compartments or add pull-out drawers on casters beneath slats.
- Industrial twist: swap wood legs for black pipe fittings at the corners.
- Painted finish: matte black or warm white frame for a Scandinavian feel.
- Lighting: mount LED strip under the frame lip for a floating effect at night.
For budget-friendly room ideas beyond the bed frame, read easy DIY home decor on a budget and easy ways to transform your home on a budget.
Common Mistakes to Avoid
- Skipping square checks: a crooked frame wobbles and stresses screw joints.
- Slats too far apart: foam mattresses need support every 3 inches or less.
- No pilot holes: hardwood and 2×6 rails split easily without pre-drilling.
- Rushing finish cure: uncured varnish smells and can mark the mattress.
- Wrong mattress size: always measure your actual mattress, not the label alone.
Platform Bed Build Checklist
- Measure mattress length, width, and desired frame height
- Confirm cut list for your bed size (twin, full, queen, or king)
- Pre-cut lumber or mark cuts clearly before sawing
- Pre-drill all screw holes near board ends
- Assemble frame square on a flat surface
- Install slats with uniform 3-inch spacing
- Sand smooth — no splinters on slats that touch the mattress
- Apply finish and allow full cure time
- Center mattress and test for wobble before styling
Frequently Asked Questions
Do platform beds need a box spring?
No. Platform beds use slats or a solid deck to support the mattress directly. Most modern foam, hybrid, and latex mattresses are designed for platform or slatted bases. Check your mattress warranty for required slat spacing.
How much does it cost to build a platform bed?
A queen-size DIY platform bed typically costs $120 to $250 in lumber and hardware — far less than equivalent store-bought frames. Pre-cut services and paint you already own reduce costs further.
What wood is best for a platform bed frame?
Pine and fir are affordable and easy to work with. Hardwood plywood can substitute for slats on a very stiff base. Avoid soft composite boards that flex under weight.
Can beginners build a platform bed?
Yes. If you can measure, drill pilot holes, and drive screws, you can build a basic platform frame in a weekend. Start with a twin or full size for a smaller first project.
How high should a platform bed be?
Most DIY platform beds sit 12 to 16 inches from floor to slat top — low enough to look modern, high enough for under-bed storage and easy bed-making.
Will the bed squeak over time?
Tight joints, wood glue at corners, and screws (not nails) minimize squeaks. Add a center support leg on wider sizes and ensure slats fit snugly without excessive movement.
Can I disassemble the bed to move it?
Yes — build with screws rather than glue-only joints, and consider bed bolts at corners for easier breakdown. Label pieces when you first assemble for faster reassembly.
A DIY platform bed is one of the most practical furniture projects you can take on: useful every single night, customizable to your room, and achievable with tools you may already own. Measure carefully, square the frame, space the slats right, and finish with patience — then enjoy a bedroom centerpiece you built yourself.
For more hands-on home projects, explore upcycled home decor ideas that inspire and DIY scalloped floating shelves to complete the space.