Crayon art isn’t just for kids—it’s a creative and fun way to experiment with colors and textures. Melted crayon art is a unique form of DIY art that allows you to turn simple crayons into beautiful, vibrant masterpieces. Whether you’re a beginner or an experienced artist, melted crayon art is a fun and therapeutic way to unleash your creativity. If you’ve ever wondered how to get started, here are some creative melted crayon art ideas that will inspire you to create something amazing today.
1. Drip Painting with Hair Dryer
One of the most popular and easiest methods to create melted crayon art is by using a hair dryer to melt the crayons and let them drip down a canvas. This method creates a dynamic, flowing design with drips of vibrant colors.
How to do it:
-
Attach crayons to the top of your canvas using a hot glue gun.
-
Use a hair dryer on a low heat setting to melt the crayons.
-
Let the wax drip down the canvas, creating streaks of color. You can tilt the canvas for different effects.
Tip: For a dramatic effect, use multiple colors or arrange the crayons in a rainbow order for a beautiful gradient effect.
2. Melted Crayon Portraits
For those who are up for a challenge, creating melted crayon portraits is a fun way to combine art and creativity. You can melt crayons in specific areas of a canvas to form textures, while the shapes of your subject are created with traditional painting techniques.
How to do it:
-
Start by sketching your portrait on canvas.
-
Use melted crayons for the background or to add highlights and shading to the portrait.
-
Apply heat selectively to create texture in certain areas like hair or clothing.
Tip: If you’re going for a more realistic portrait, experiment with blending crayon drips and painting to create depth and shading.
3. Geometric Shapes with Crayon Shavings
Crayon shavings are a fantastic material to use for creating geometric shapes in art. This method involves melting and pressing crayon shavings onto a canvas to form geometric designs, providing both texture and color to your artwork.
How to do it:
-
Shave crayons using a pencil sharpener or knife.
-
Arrange the crayon shavings in geometric patterns (triangles, squares, circles) on the canvas.
-
Apply a little heat with a hair dryer or iron to melt the shavings into the canvas.
Tip: Experiment with color gradients by arranging the shavings from light to dark or mixing complementary colors for a vibrant effect.
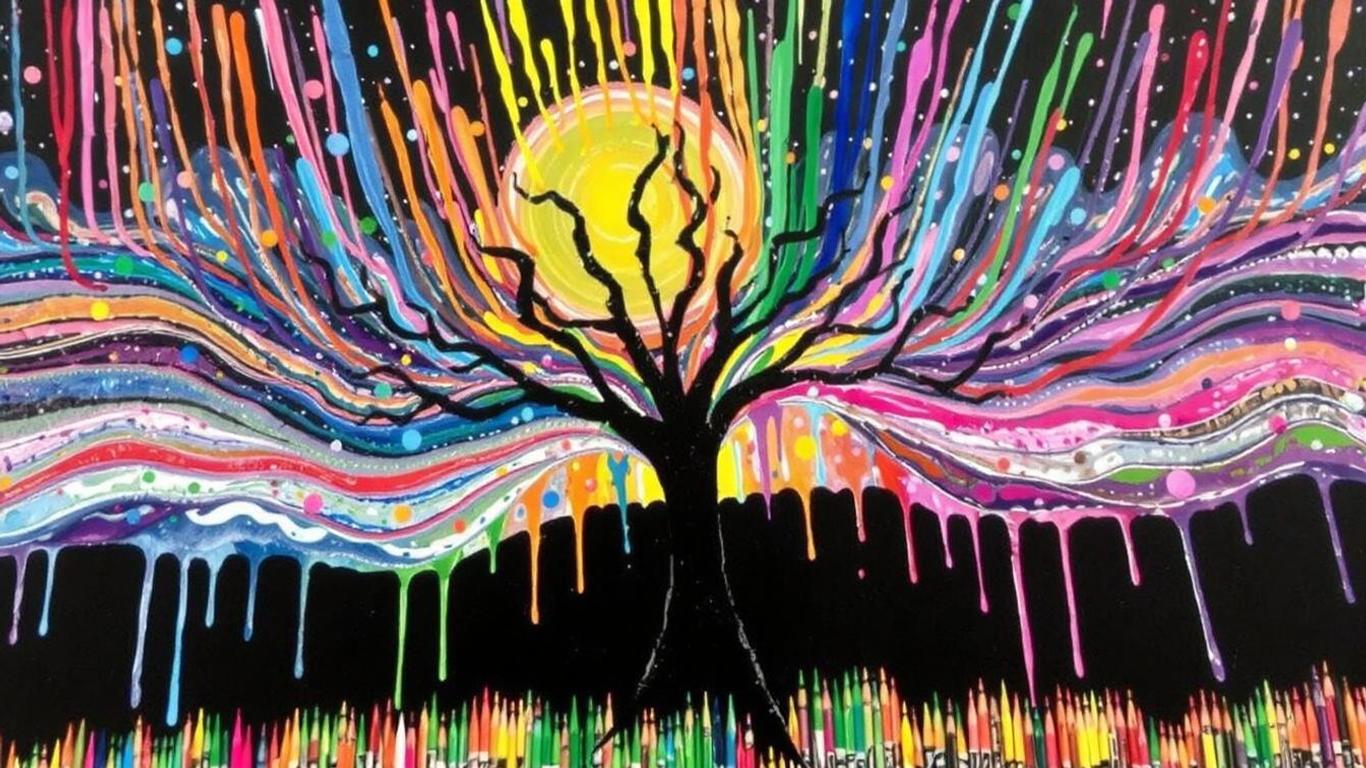
4. Nature-Inspired Crayon Art
Nature provides endless inspiration, and you can recreate beautiful scenes like trees, flowers, or the ocean with melted crayons. This art form can be as abstract or as realistic as you want it to be.
How to do it:
-
Start by sketching a nature scene on your canvas (e.g., a sunset, a tree, or an ocean wave).
-
Use the melted crayons to fill in the colors of the scene. Use the melting wax to blend different shades for added texture and dimension.
Tip: To create a textured background, try using more layers of wax and letting them harden before adding more color on top.
5. Crayon Art on Wood for Unique Wall Decor
For a rustic, textured look, try melting crayons on wooden boards. This unique technique brings a natural warmth to your home decor. It’s a great way to add color to a rustic space while creating a statement piece.
How to do it:
-
Glue crayons to the top of a wooden board.
-
Use a heat gun or hair dryer to melt the crayons and let the wax drip down.
-
Once the design is complete, seal the artwork with a clear varnish to protect the surface.
Tip: Try using wooden boards with natural grains, as they add to the aesthetic of the art. You can also add your favorite quotes or phrases in the center for an extra personal touch.
6. Crayon Resist Art
For an interesting twist, crayon resist art uses melted crayons as a resist, allowing you to paint over the wax for a layered effect. This technique allows for more precision in your designs and adds a unique texture to your work.
How to do it:
-
Draw a design on your canvas using a crayon (preferably a dark color).
-
Once your design is complete, paint over it with watercolor paints or acrylics. The wax from the crayon will resist the paint, leaving a crisp, defined design.
Tip: Try using bold, contrasting colors to make the crayon design pop. This technique works especially well for lettering and geometric designs.
7. Melted Crayon Sunsets or Landscapes
Sunsets, beaches, and landscapes are some of the most popular themes for melted crayon art. Using the melting technique, you can create vibrant skies with sweeping colors and beautiful gradients.
How to do it:
-
Glue your crayons to the top of the canvas in the order of the sunset or landscape colors (reds, yellows, oranges for a sunset; blues and greens for a beach scene).
-
Melt the crayons using a hair dryer and let the wax drip down to create a smooth gradient.
-
Add in other details, like silhouettes of trees or animals, with a fine-tipped pen or brush.
Tip: For more defined lines in your landscape, melt the crayons more carefully to create more controlled, straight drips.
Conclusion
Melted crayon art is a fun, creative, and eco-friendly way to create vibrant and unique art pieces. Whether you’re a beginner or an experienced artist, experimenting with melted crayons allows you to bring color and texture into your art in exciting ways. The possibilities are endless—so grab your crayons, a hair dryer, and a canvas, and start creating today!