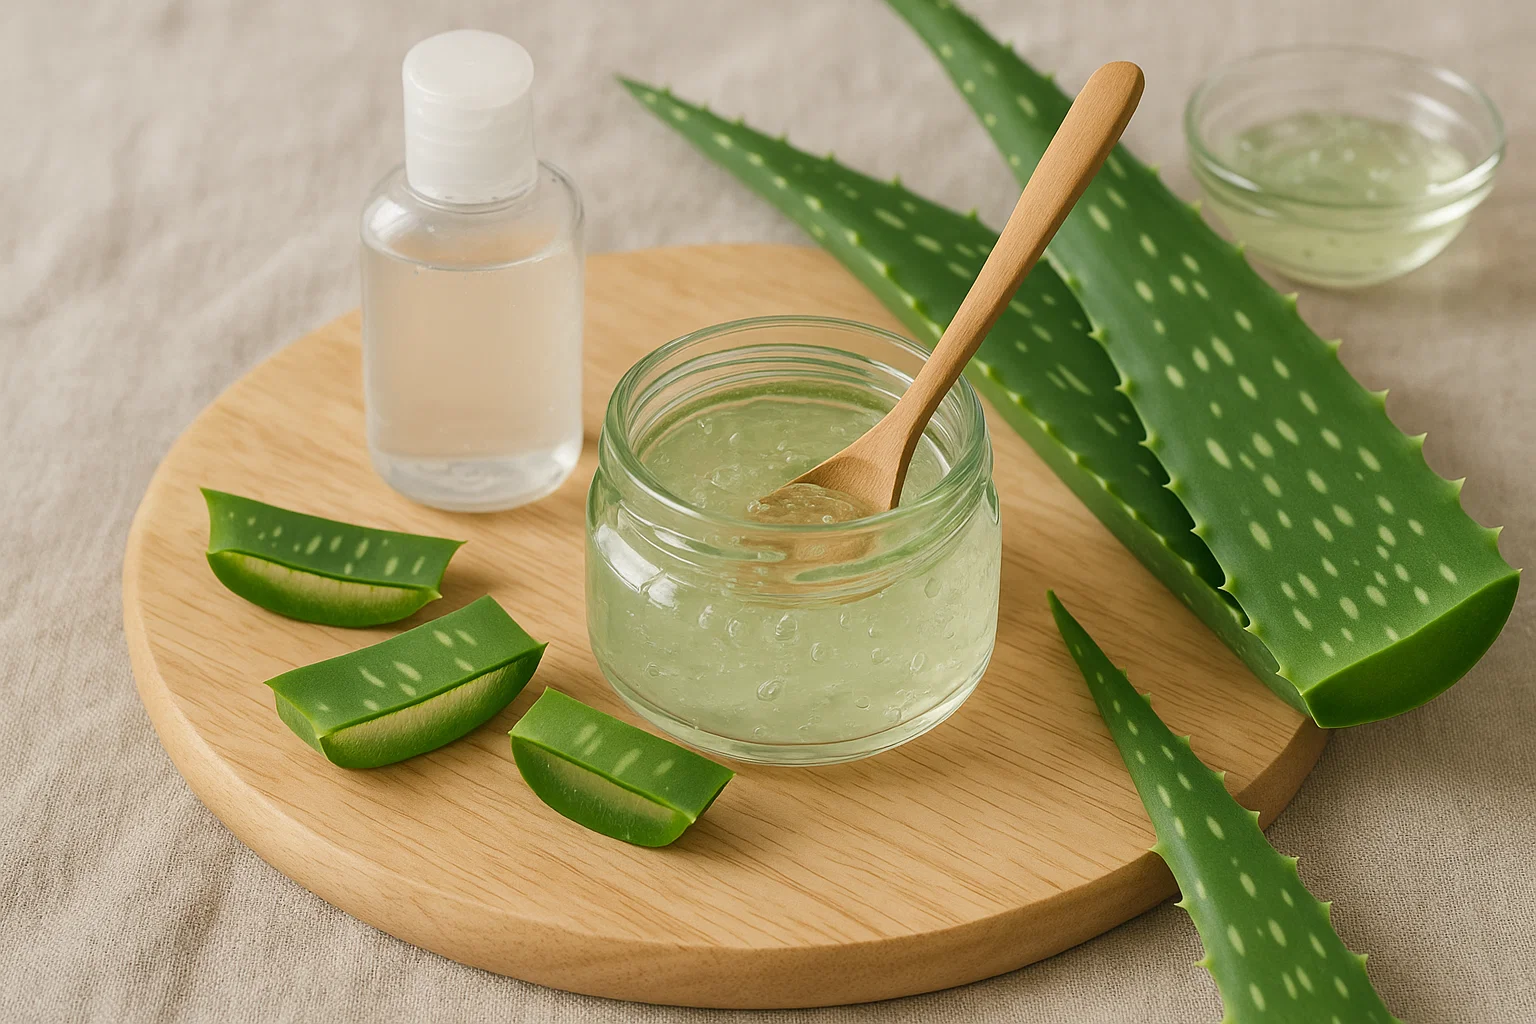
Aloe vera gel is known for its calming, hydrating, and healing properties, making it an essential addition to any skincare routine. Whether you’re dealing with sunburn, irritated skin, or just want a refreshing moisturizer, making your own aloe vera gel at home is a simple, cost-effective way to harness the full benefits of this plant. In this guide, we’ll show you how to create your own soothing aloe vera gel using fresh ingredients that will leave your skin feeling refreshed and nourished.
Why Make Your Own Aloe Vera Gel?
While store-bought aloe vera gels are available, making your own gives you control over the ingredients. Many commercial products contain artificial preservatives, fragrances, and other chemicals that may irritate sensitive skin. By creating your own aloe vera gel, you know exactly what’s going into the product and can customize it to suit your skin’s specific needs.
Aloe vera is not only soothing, but it’s also packed with vitamins, enzymes, and amino acids that promote skin health. Making your own gel ensures that you’re using the purest form of aloe for maximum effectiveness.
What You’ll Need
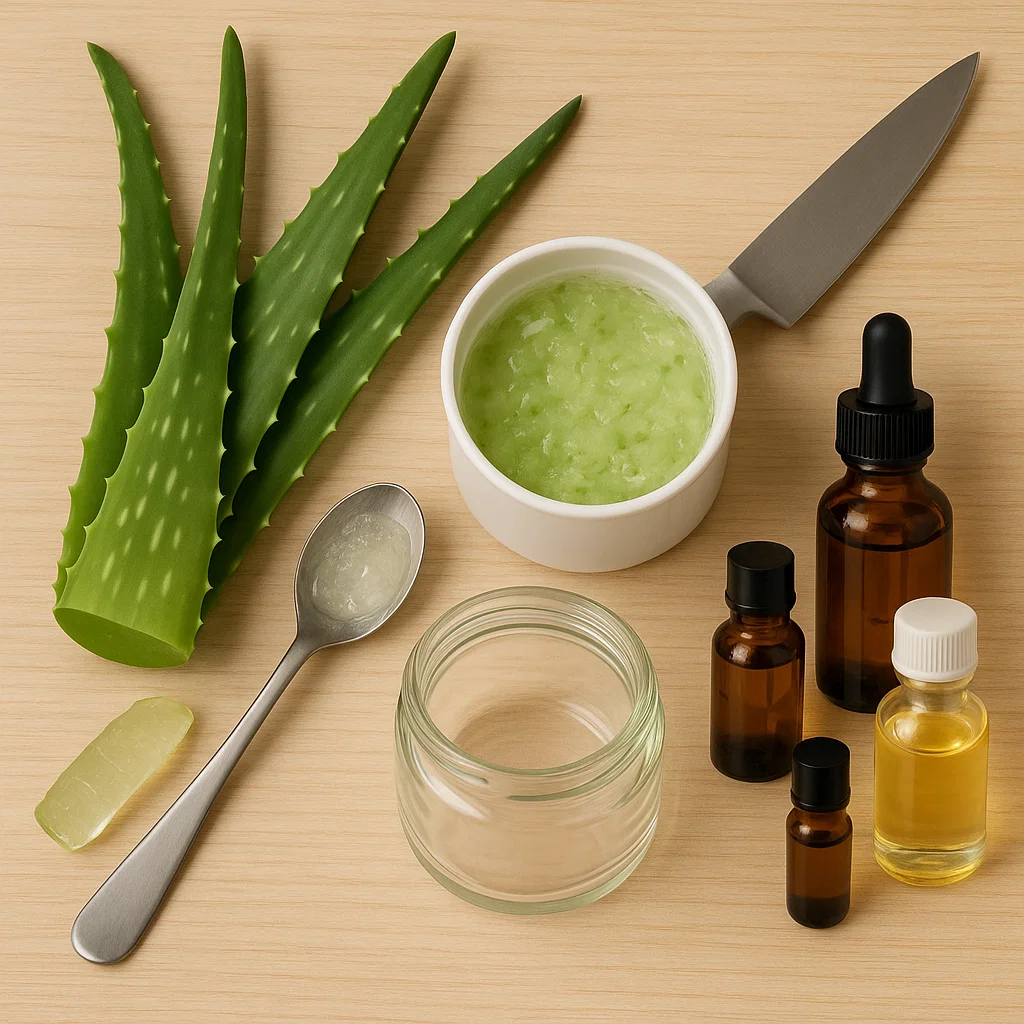
Making aloe vera gel at home is incredibly simple and requires minimal ingredients. Here’s what you’ll need:
- 1-2 fresh aloe vera leaves (you can find these at most grocery stores or plant nurseries)
- A sharp knife
- A spoon or scoop
- A small blender or food processor (optional, for smooth consistency)
- A clean jar or container (for storing the gel)
- Optional additions:
- Vitamin E oil (for added moisture and skin protection)
- Essential oils (such as lavender or tea tree oil for added fragrance and benefits)
- Coconut oil (for extra hydration)
Step-by-Step Guide to Making Aloe Vera Gel
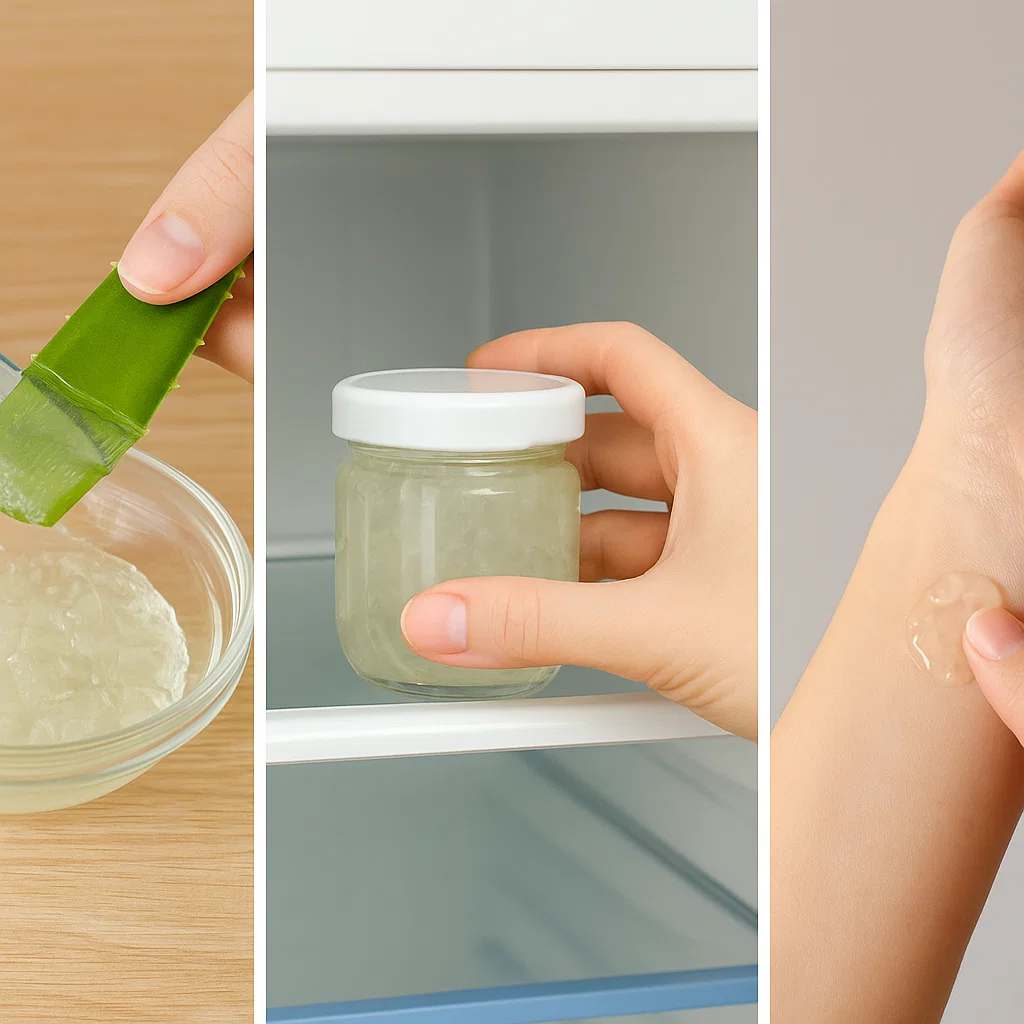
Step 1: Harvest Aloe Vera Gel from the Leaves
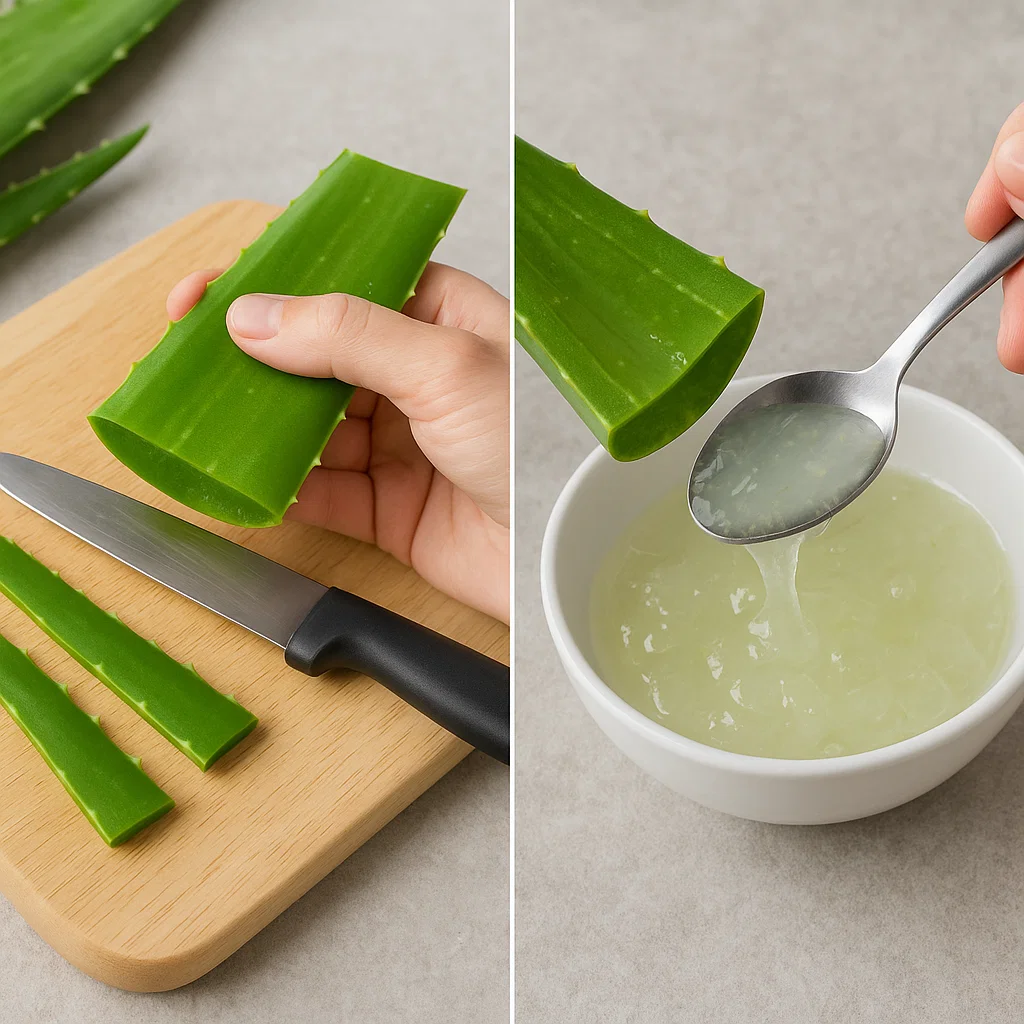
Start by selecting a fresh aloe vera leaf. Make sure it’s a healthy, thick leaf, as it will contain the most gel. Here’s how to prepare it:
- Cut the leaf: Use a sharp knife to slice off one or two leaves from the aloe vera plant. Make sure you cut as close to the base of the plant as possible.
- Wash the leaf: Rinse the aloe vera leaf under cool water to remove any dirt or debris.
- Remove the spiny edges: Use your knife to carefully trim off the spiny edges on both sides of the leaf.
- Extract the gel: Once the spines are removed, you’ll see the clear gel inside. Use a spoon or scoop to gently scrape out the gel from the leaf. Be sure to remove only the clear, jelly-like substance and leave any greenish parts behind, as they can be bitter and not ideal for use.
Step 2: Blend the Aloe Vera Gel
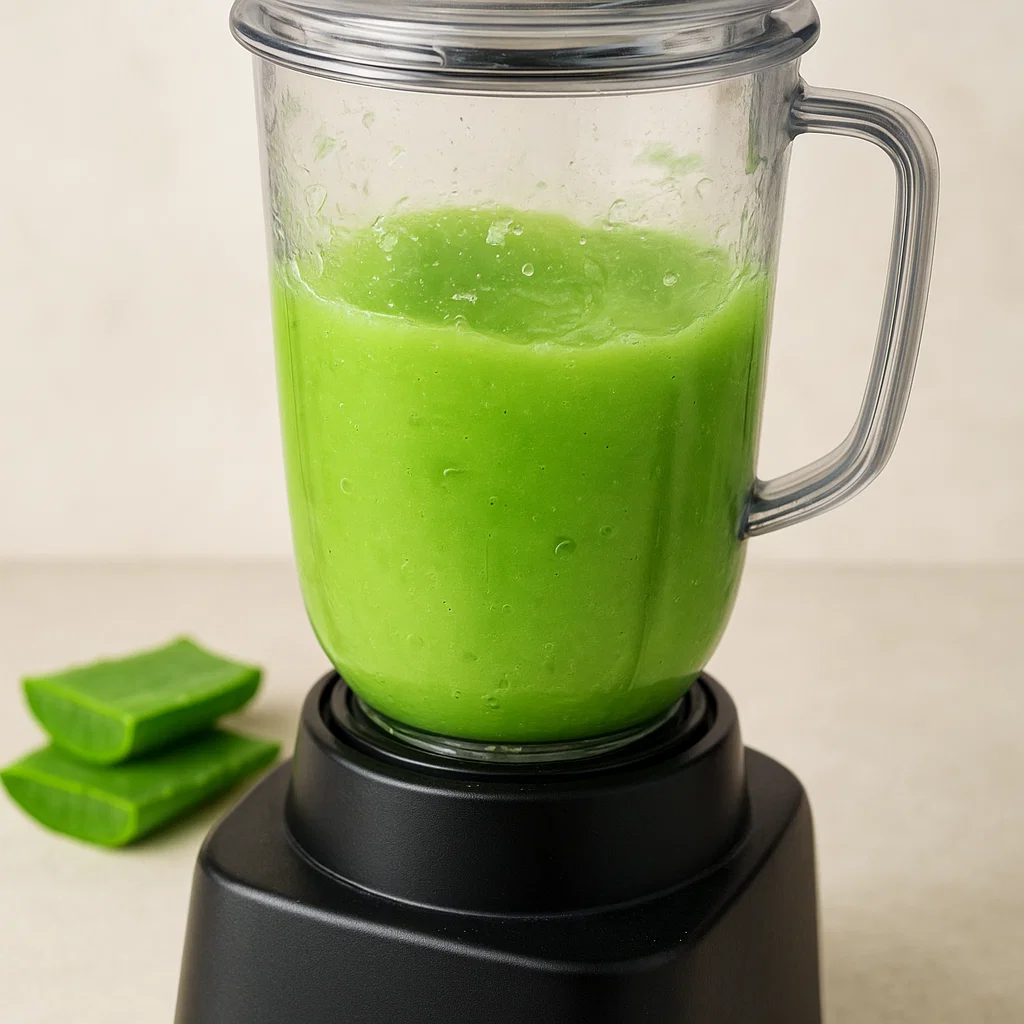
To get a smooth, consistent texture, blend the gel:
- Place the gel in a blender: Add the extracted aloe vera gel to your blender or food processor.
- Blend it: Blend until the gel reaches a smooth, liquid consistency. If you find that the gel is too thick, you can add a small amount of water to thin it out.
Step 3: Customize Your Aloe Vera Gel (Optional)
This step is entirely optional but can enhance the benefits of your homemade aloe vera gel. Here are a few additions to consider:
- Add Vitamin E: Vitamin E is great for nourishing the skin and has antioxidant properties. Add a few drops of vitamin E oil to your aloe vera gel mixture for extra skin benefits.
- Essential Oils: Add 3-4 drops of essential oils like lavender (for calming effects) or tea tree (for its antibacterial properties). These oils will give your aloe vera gel a lovely fragrance while enhancing its soothing qualities.
- Coconut Oil: For an extra boost of hydration, add a teaspoon of coconut oil. This will make the gel more moisturizing and can be especially helpful for dry skin.
Step 4: Store Your Aloe Vera Gel
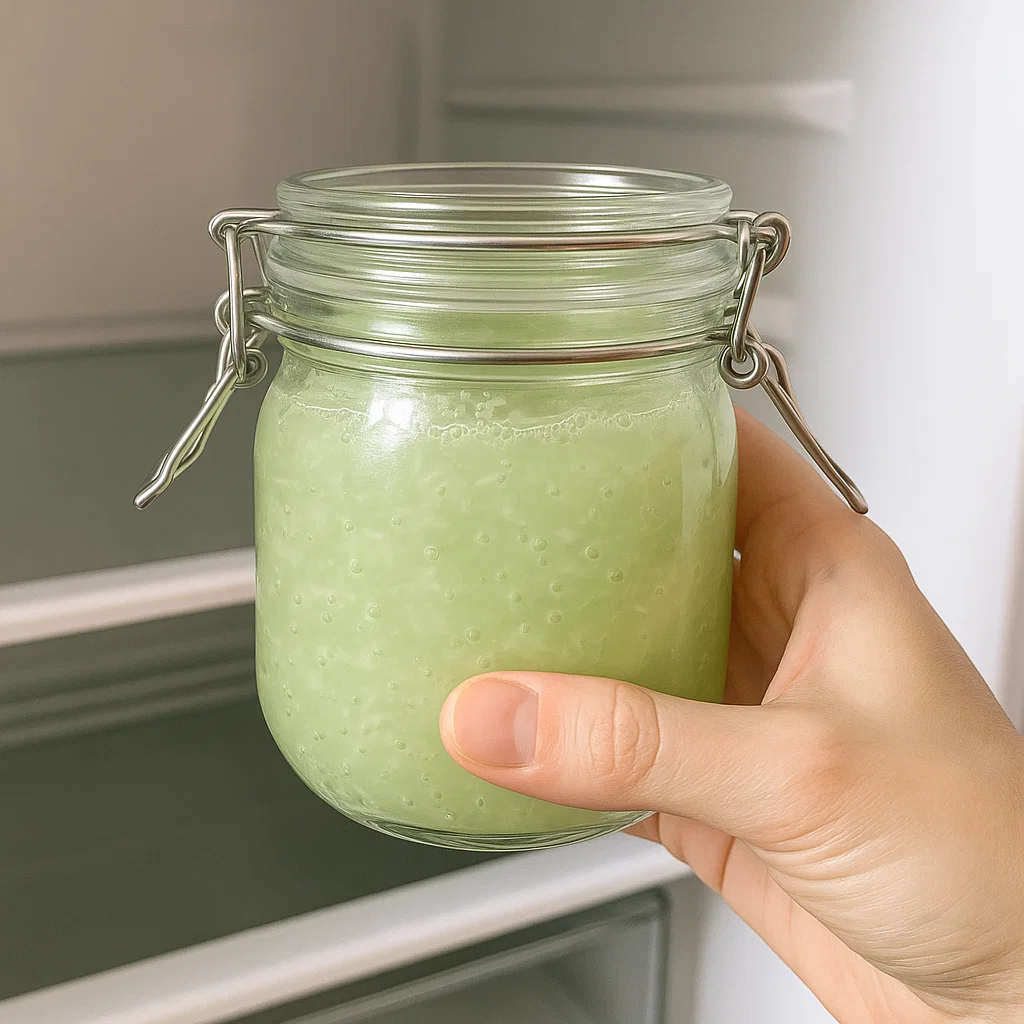
Once your gel is blended and customized to your liking, transfer it to a clean jar or airtight container. Store your homemade aloe vera gel in the refrigerator to keep it fresh. It should last about 1-2 weeks, but make sure to check for any changes in texture or smell before using.
How to Use Aloe Vera Gel
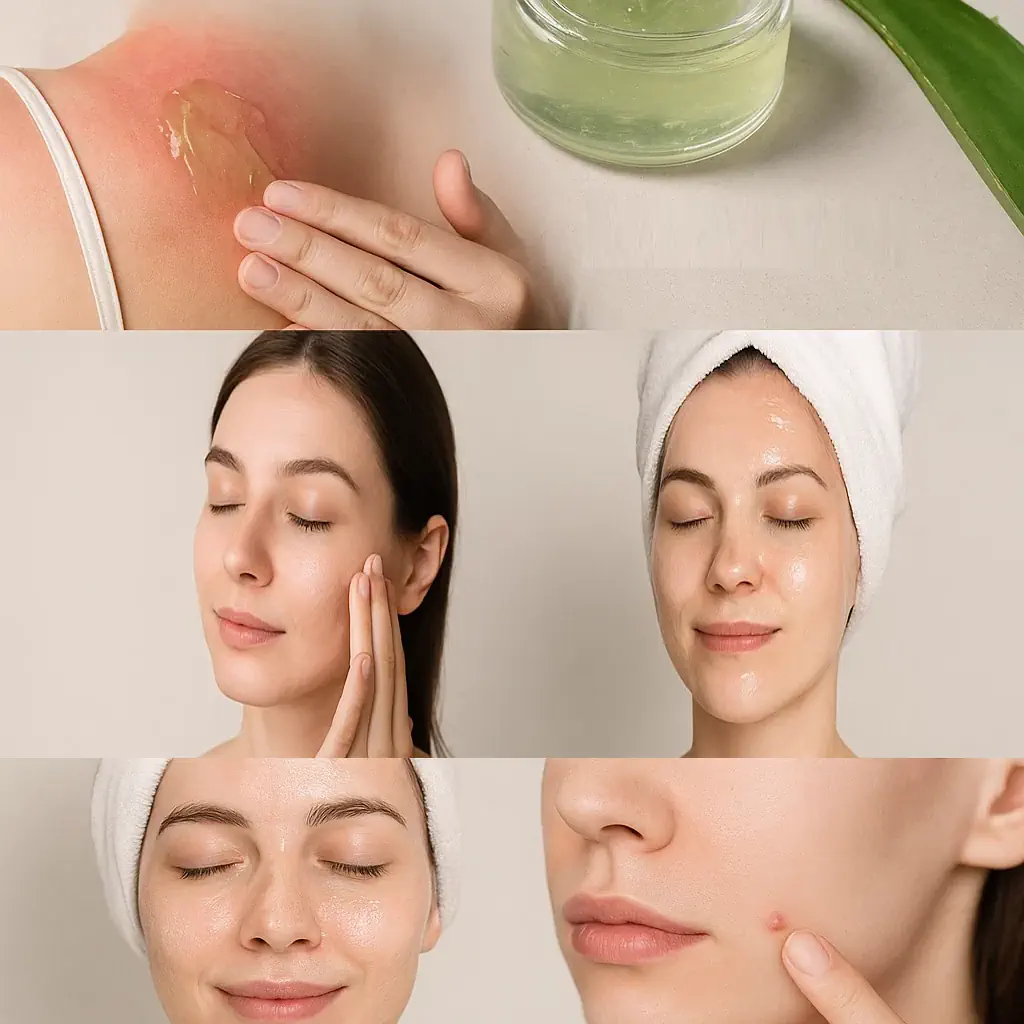
Aloe vera gel is a versatile skincare product with numerous uses. Here are a few ways to incorporate it into your daily routine:
- For Sunburn: Aloe vera is famous for its ability to cool and soothe sunburned skin. Simply apply a generous amount to the affected area and let it absorb.
- As a Moisturizer: Aloe vera gel is an excellent lightweight moisturizer. After cleansing your skin, apply a thin layer to your face or body for hydration.
- As a Face Mask: For a refreshing face mask, apply a thick layer of aloe vera gel to your face and leave it on for 10-15 minutes before rinsing off.
- For Acne: Aloe vera’s anti-inflammatory properties can help calm acne and reduce redness. Apply a small amount directly to the blemish for a soothing effect.
Tips for the Best Results
- Use fresh aloe vera: The fresher the aloe vera, the better the gel. If you can, make your aloe vera gel in small batches and use it within a week or two to ensure the best quality.
- Store it properly: Always keep the gel in a clean, airtight container in the fridge to maintain its freshness.
- Test for allergies: If you’re trying aloe vera for the first time, do a patch test on your skin to ensure you don’t have any allergic reactions.
Final Thoughts: A Natural, Soothing Addition to Your Skincare Routine
Making your own soothing aloe vera gel is a simple and rewarding DIY project that can elevate your skincare routine. Whether you’re using it for sunburn, acne, or hydration, aloe vera offers countless benefits without any harmful chemicals or additives. By creating your own gel, you not only control what goes into it but also feel good knowing you’re using a natural, sustainable remedy for your skin. Give it a try and enjoy the refreshing benefits of aloe vera!