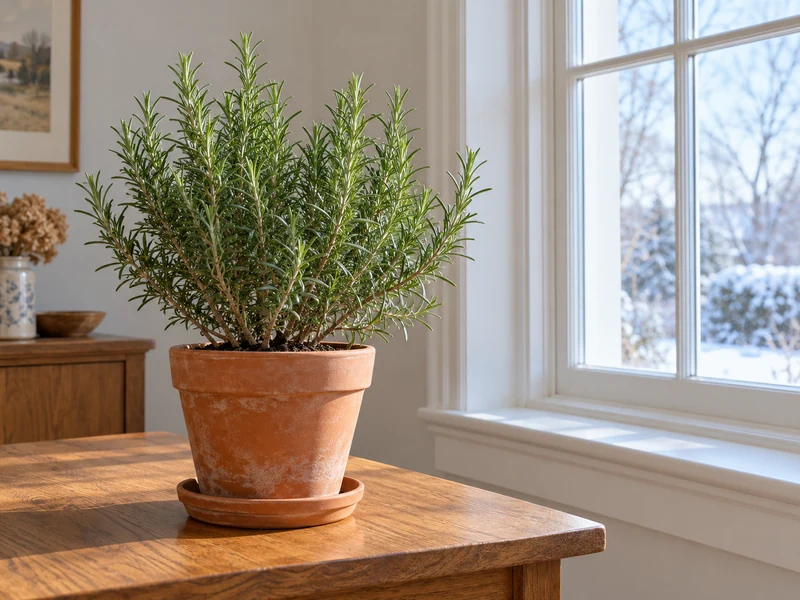
A potted rosemary plant can look vigorous on the patio in fall and still decline after a few weeks indoors. Winter brings less light, warmer and drier room air, and slower growth, so the outdoor watering routine no longer fits. The goal is to move a healthy container plant before frost, give it strong light and drainage, and check the soil instead of watering by the calendar.
Quick answer: Bring your potted rosemary inside before frost, inspect it for pests, keep its drainage hole clear, and place it in a cool bright spot away from heaters and cold glass. Let the top of the mix dry slightly between waterings; empty collected runoff. A pebble tray can add local humidity only if the pot does not sit in the water.
What You Need
- An established rosemary plant already growing in a container
- A pot with a real drainage hole and a removable saucer
- A bright, relatively cool indoor position
- A simple wooden skewer or finger for checking the upper inch of soil
- Optional: a broad pebble tray and risers to keep the pot above its water level
This guide is for a potted plant, not a large rosemary shrub dug from the ground. Illinois Extension notes that garden-grown rosemary does not transplant especially well and recommends containers for plants that must move indoors in colder areas.
How to Overwinter Potted Rosemary Indoors
Step 1: Move the Pot Before the First Frost
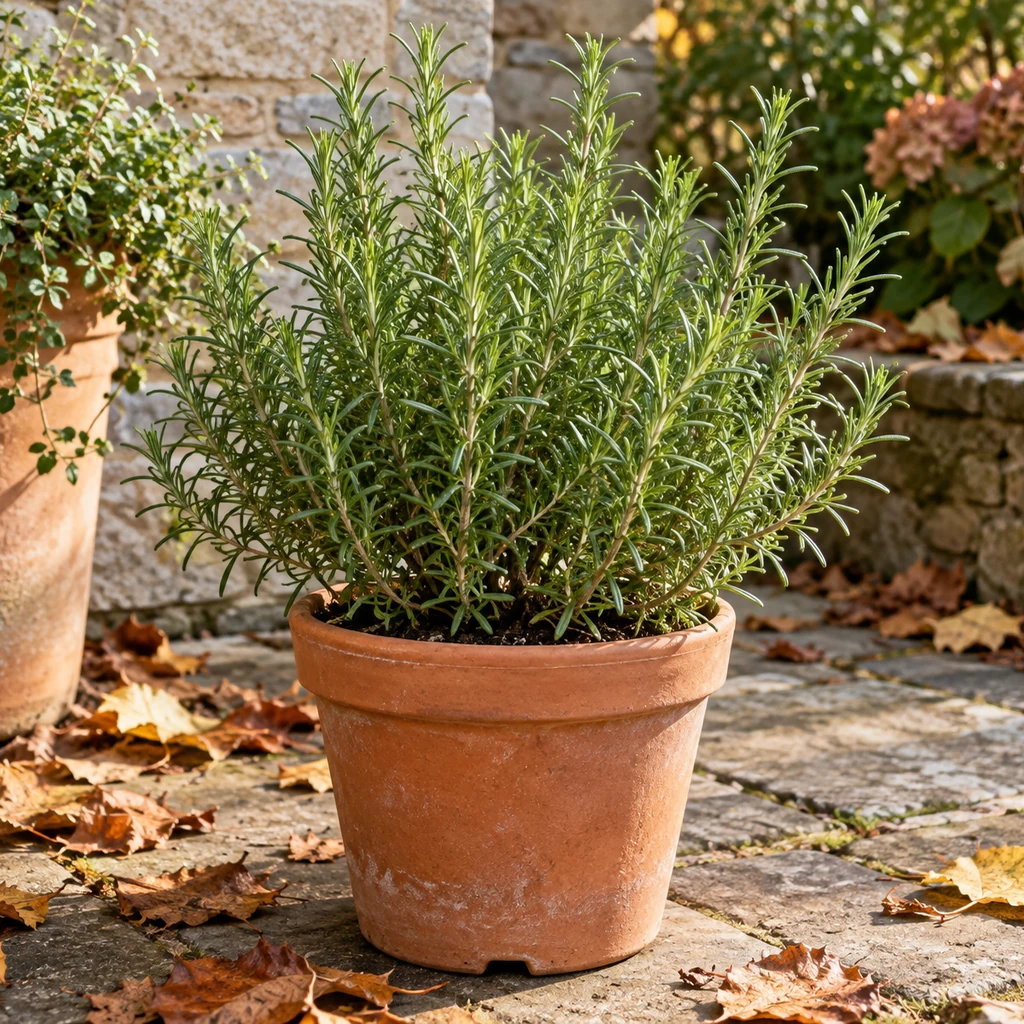
Check your local frost forecast and plan the move while the plant is still healthy. A container is exposed to cold on every side, and a sunny afternoon does not cancel a freezing night. Penn State Extension suggests moving potted rosemary indoors two to three weeks before the first expected fall frost where rosemary is not hardy. Keep the plant in its existing pot unless it is truly root-bound or has a drainage problem; an unnecessary late-season repot adds stress.
Step 2: Inspect the Foliage and Pot Before Bringing It In
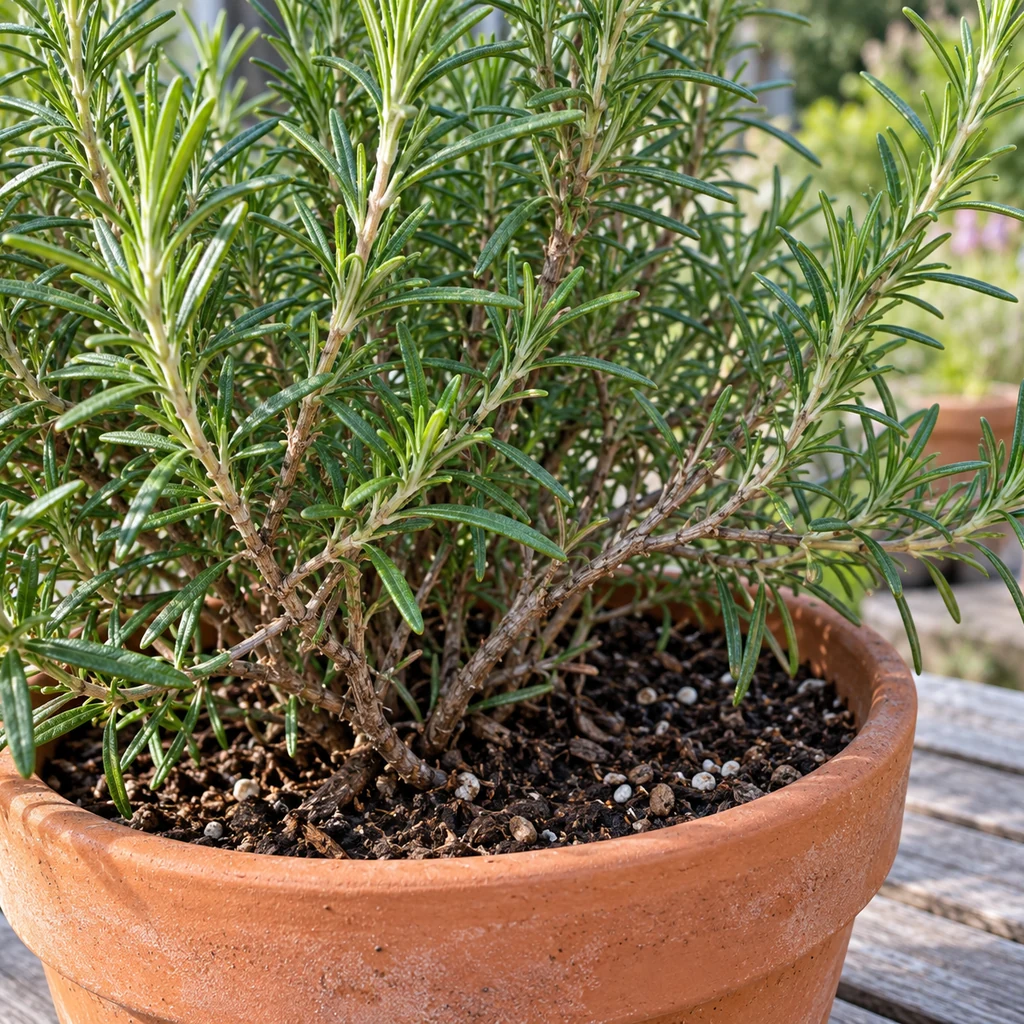
Look closely at the undersides of the narrow leaves, where branches meet, the soil surface, and the pot exterior. Check for sticky residue, webbing, scale-like bumps, or moving insects. Remove fallen leaves and keep a suspect plant separate while identifying and treating the problem; do not carry an active infestation beside other houseplants. This inspection is also part of Illinois Extension’s advice for bringing outdoor plants inside.
Step 3: Confirm That Water Can Leave the Pot
Check for an unobstructed hole in the bottom of the container, then set the pot upright on a saucer. If water cannot drain, fix the container before winter rather than compensating with tiny, frequent sips. Use a well-draining potting mix if repotting is genuinely needed, and keep the crown at its previous depth. Do not leave runoff sitting in the saucer: Penn State’s indoor herb guidance calls for a drainage hole and a mix that drains well.
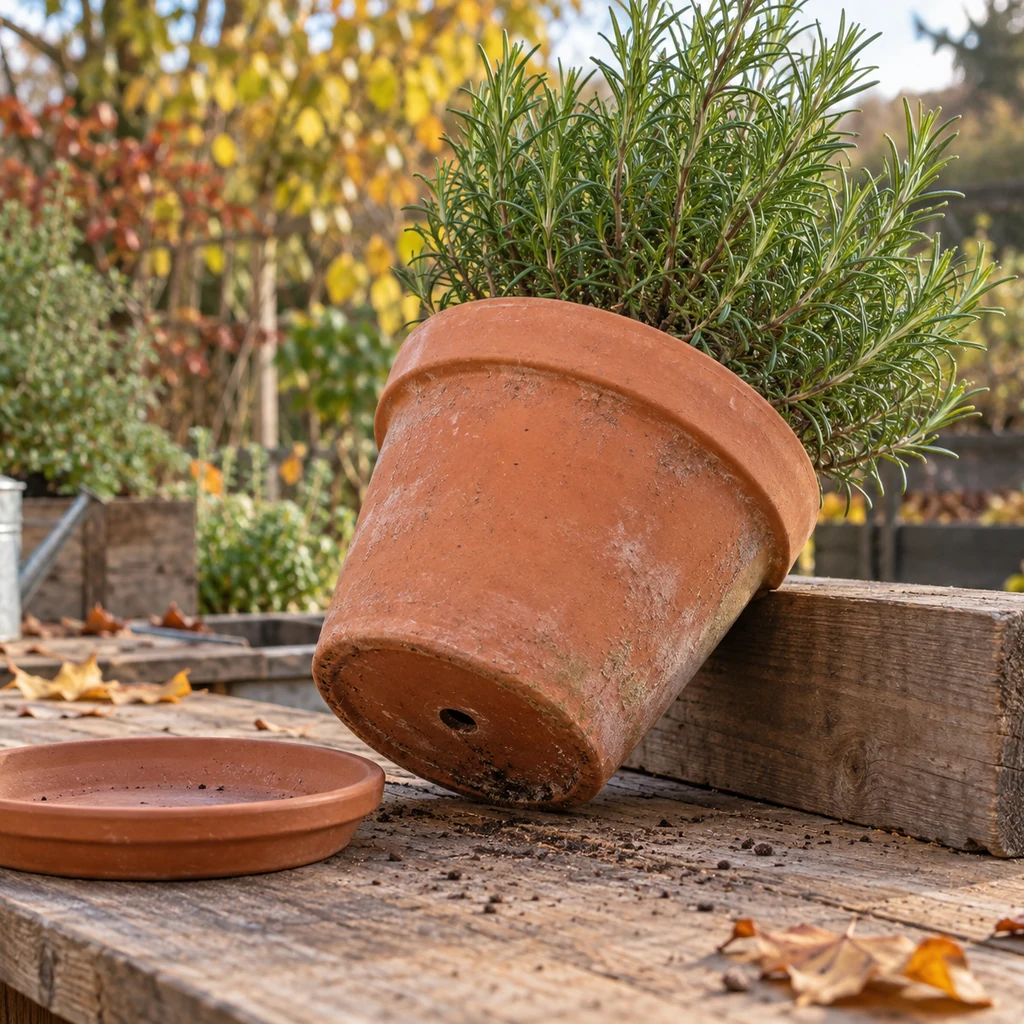
Step 4: Give Rosemary Strong Light Without Heat Stress
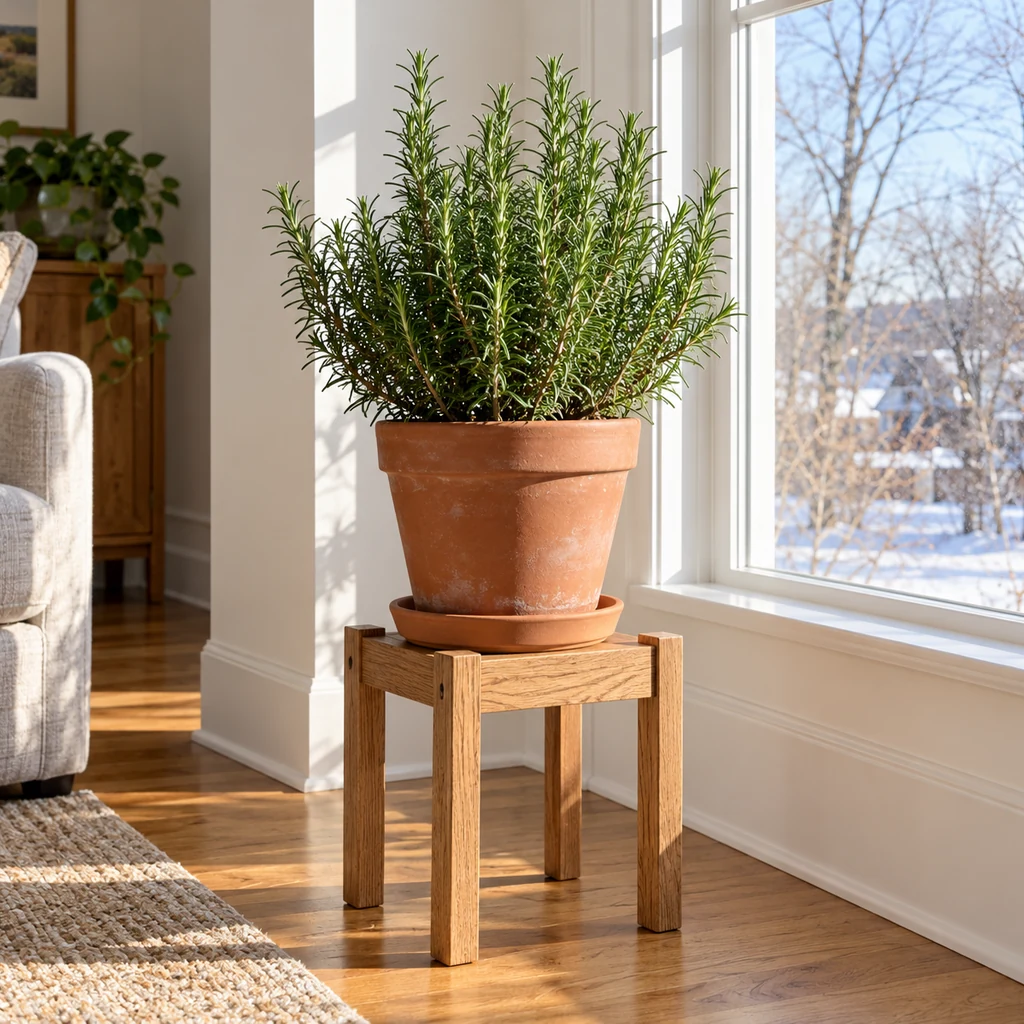
Place the pot by your brightest suitable window, often a south-facing one, with space between the leaves and cold glass. A cool, sunny room is better than a dim hot corner; keep the plant away from radiators and heat vents. If daylight is limited, use an appropriate grow light according to its maker’s distance and timer instructions. Leave enough open space around the branches for airflow and rotate the pot occasionally so one side does not lean toward the light.
Step 5: Check the Mix Before Every Watering
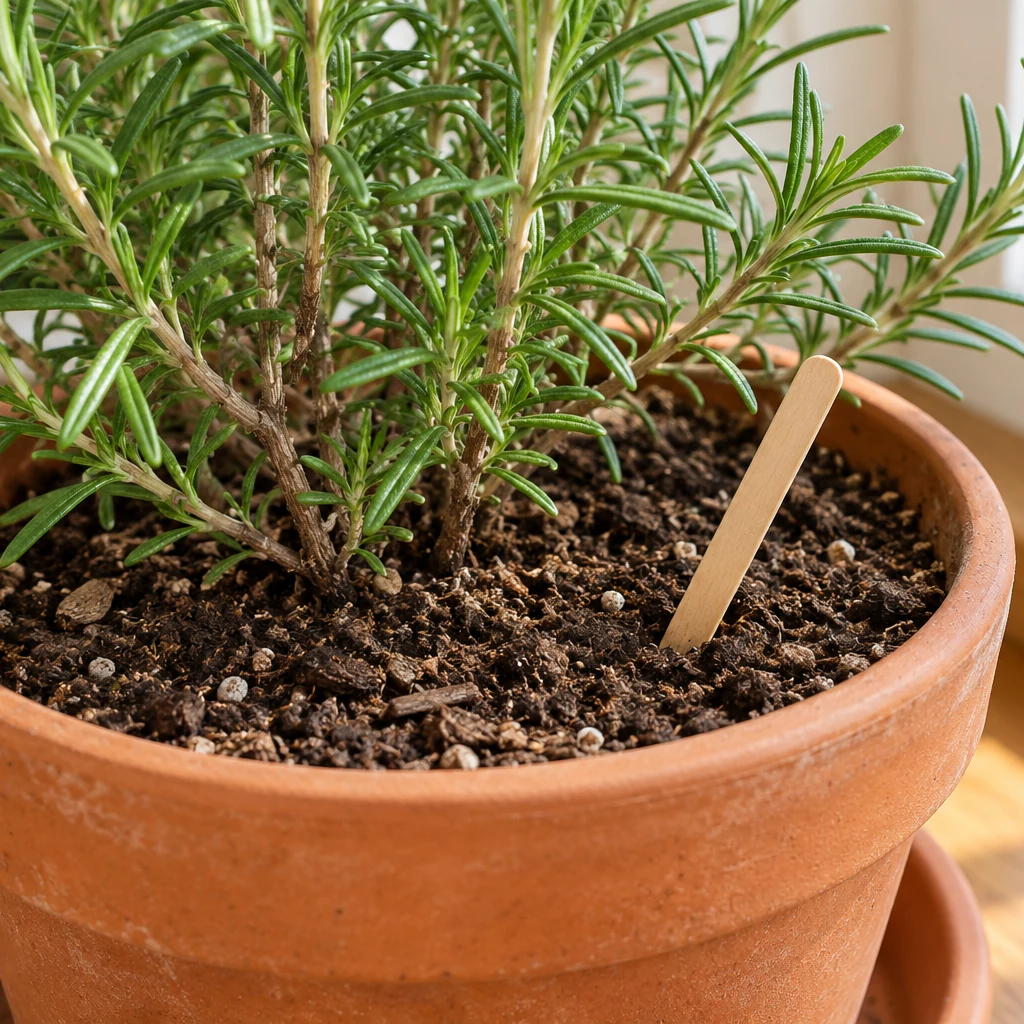
Press a finger or plain wooden skewer about an inch into the mix. When that upper layer has dried slightly, water the root area thoroughly until excess begins to drain, then empty the saucer. If it still feels moist, wait and check again later. Room temperature, light, pot size, and plant growth all change how quickly the mix dries, so a fixed weekly schedule is unreliable. Rosemary can suffer from both drought and root rot; consistently wet soil is a warning, not a reason to add more water.
Step 6: Add Humidity Without Soaking the Roots
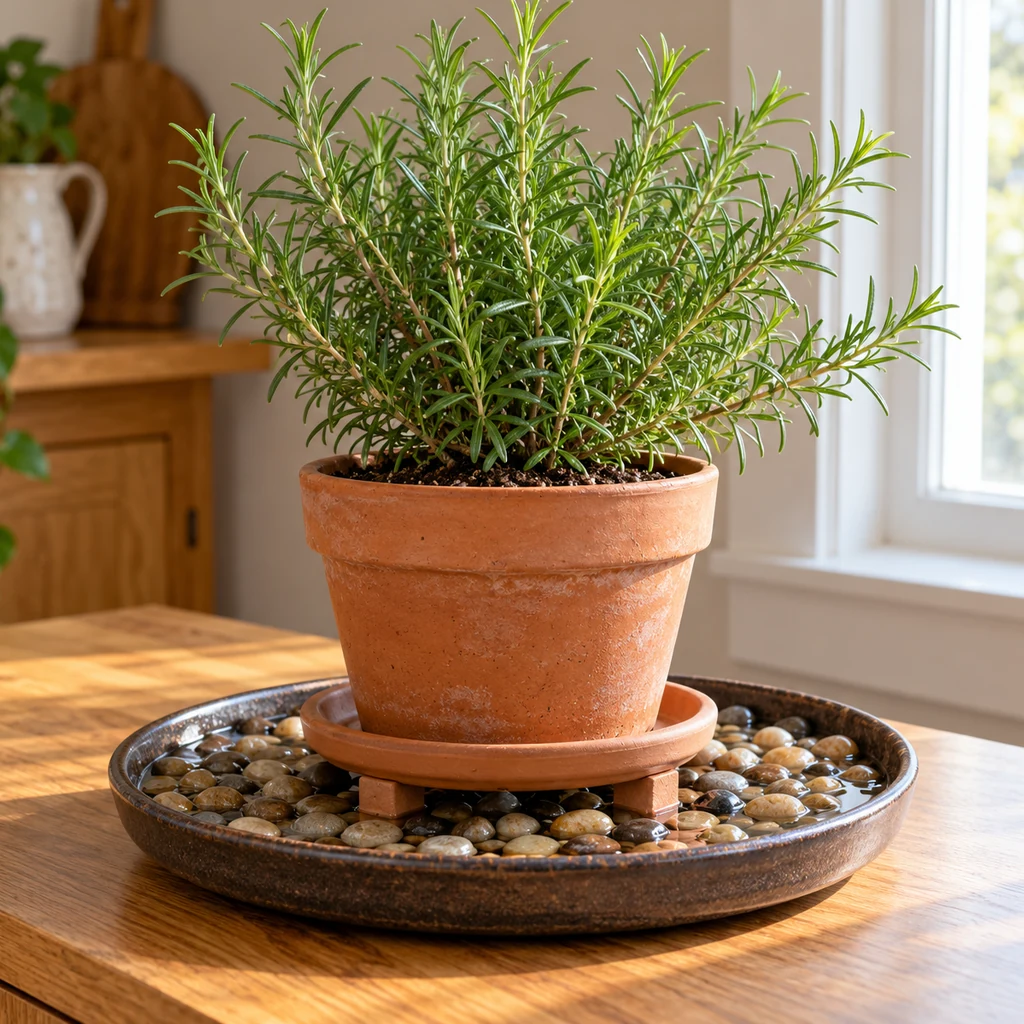
If heated indoor air is very dry, place the saucer and pot above a broad pebble tray, with the water below the pot base. Raise the saucer securely if needed. Refill the tray separately from watering the plant, and make sure water cannot wick into the drainage hole. A humidifier can also help when used safely for the room. Illinois Extension advises that pots on pebble trays should not sit directly in water. Humidity support never replaces the soil check in Step 5.
Step 7: Return the Plant Outdoors Gradually in Spring
After frost danger has passed, begin with a sheltered outdoor spot for a few daytime hours, then bring the pot back inside if nights are still cold. Increase outdoor light and time over several days before moving it to full sun. Indoor-grown foliage can scorch if it goes straight into strong sun or wind; Illinois Extension recommends a gradual outdoor transition. Resume more frequent soil checks as light and warmth increase.
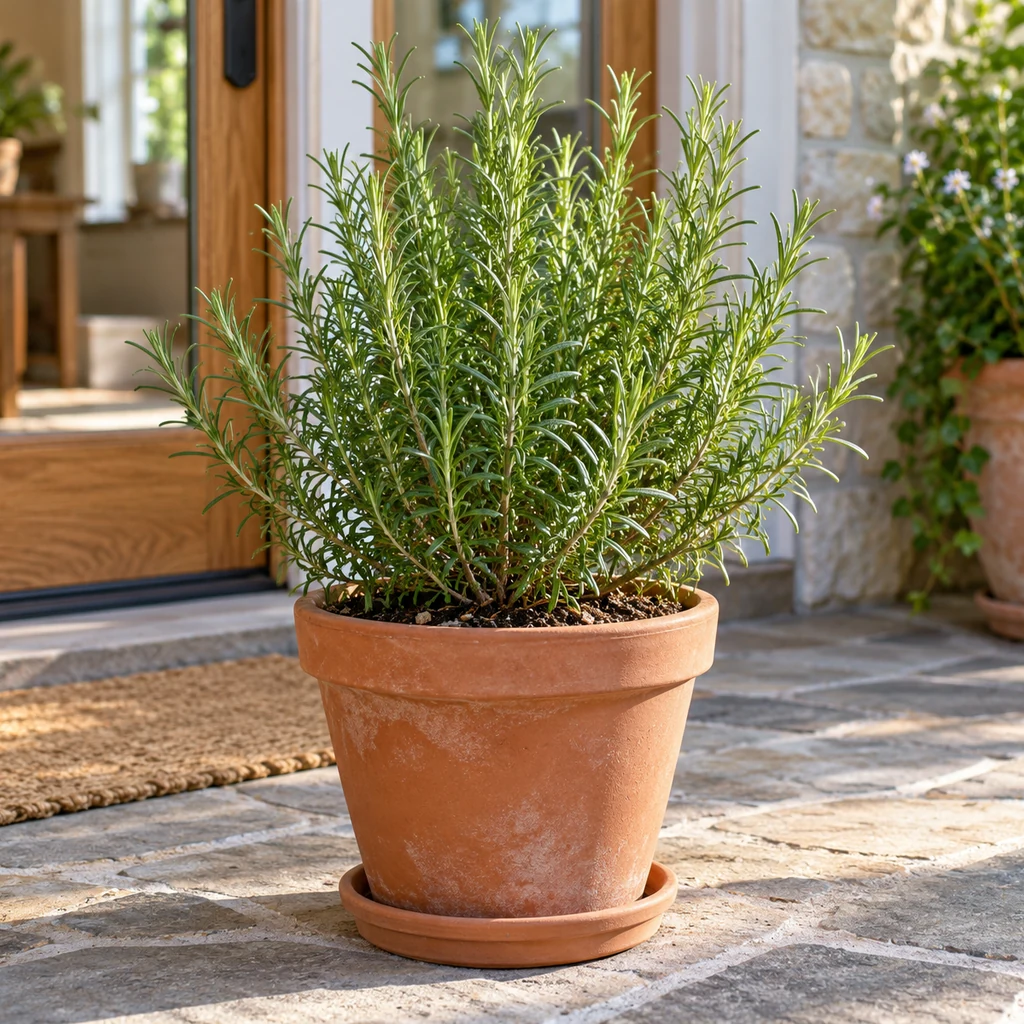
What Browning Rosemary Is Telling You
Dry, crisp tips with very dry mix: Check light, room heat and the time since the last thorough watering. Move the plant away from hot air and water when the root zone needs it. Browning with persistently wet mix: Inspect drainage and stop leaving water in the saucer; more watering can worsen root problems. Pale growth or branches leaning strongly toward the window: Increase usable light while avoiding abrupt full-sun exposure. Fine webbing or moving specks: Isolate and identify the pest before treating it.
No single leaf color proves one cause. Examine the soil, drainage, light and pests together before changing care. Low growth during winter is normal; do not try to force summer-like growth with extra fertilizer or constant moisture.
Frequently Asked Questions
Should I repot rosemary before taking it inside?
Only if the pot is clearly unsuitable, such as lacking drainage or severely crowding the roots. Otherwise keep the established root ball undisturbed through the winter move.
Can rosemary stay on a kitchen windowsill?
Yes, if that spot receives strong light, the pot has drainage, and the plant is away from cold glass and heater blasts. A bright window is more useful than a convenient but dim countertop.
How often should I water it in winter?
There is no dependable number of days for every room and pot. Check the upper inch of mix each time and water thoroughly only when it has dried slightly; discard runoff.
For a broader indoor growing setup, see our indoor herb gardening guide. If you harvest a few stems before the winter move, our herb drying rack project offers a place to dry them.
Use the actual weather, pot drainage and soil condition of your plant to make care decisions.