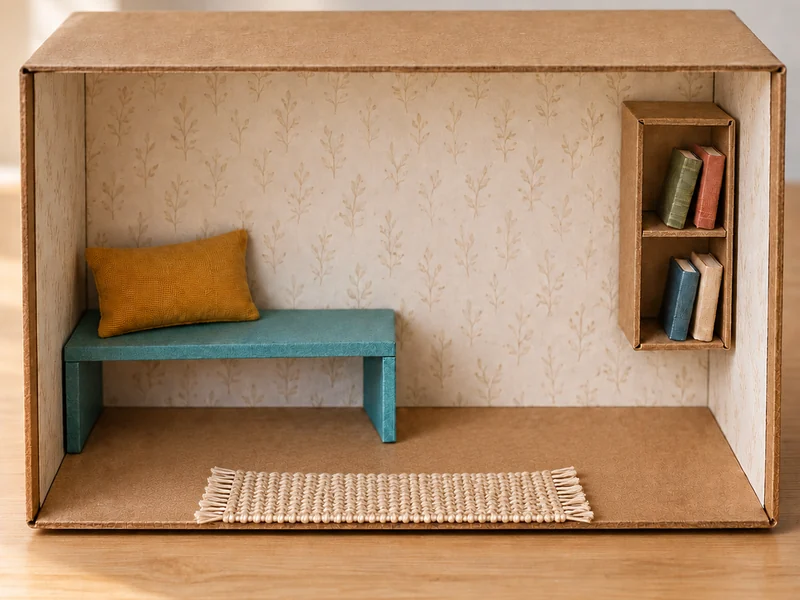
A miniature reading nook looks intricate, but the room can begin with an empty shoebox and a few paper scraps. This beginner project builds one small scene in a clear order: line the box, fold a sturdy bench, mount a light bookcase, add four tiny books, and finish with two fabric details. You can make the entire display without a purchased miniature kit or electric lights.
Quick plan: Use a clean, rigid shoebox with its lid removed. Turn it on its long side so the opening faces forward. Dry-fit every piece before gluing, let structural joints set according to your glue label, and keep the final display away from damp spots and very young children.
Measure your box and check the support of every part before assembly.
Materials and Simple Measurements
- One clean, sturdy cardboard shoebox and its lid, roughly 12 inches long, 7 inches wide, and 4 inches deep; similar sizes work
- Thin patterned paper for the three walls and kraft or colored paper for the floor
- Lightweight cardboard from the lid or a clean shipping box, plus colored paper for the bench and books
- White craft glue suitable for paper and cardboard, a small brush, and a few clothespins or clips for holding joins while they dry
- Ruler, pencil, scissors, cutting mat, and a craft knife for an adult to use if the cardboard is too thick for scissors
- Two small fabric scraps: one mustard or other accent color for the cushion and one neutral cotton rectangle for the rug
These sample dimensions fit a box with an opening close to 12 by 7 inches: a bench seat 5 inches wide by 2½ inches deep, 1½-inch-tall supports, and a bookcase about 1½ inches wide by 3 inches tall. If your box differs, scale the pieces down so the bench uses less than half its width and leaves open floor in front. Keep the bookcase shallower than the box. The photos are illustrative; the ruler and dry fit decide your cuts.
How to Make a Shoebox Mini Reading Nook
Step 1: Turn the Shoebox Into an Open Room
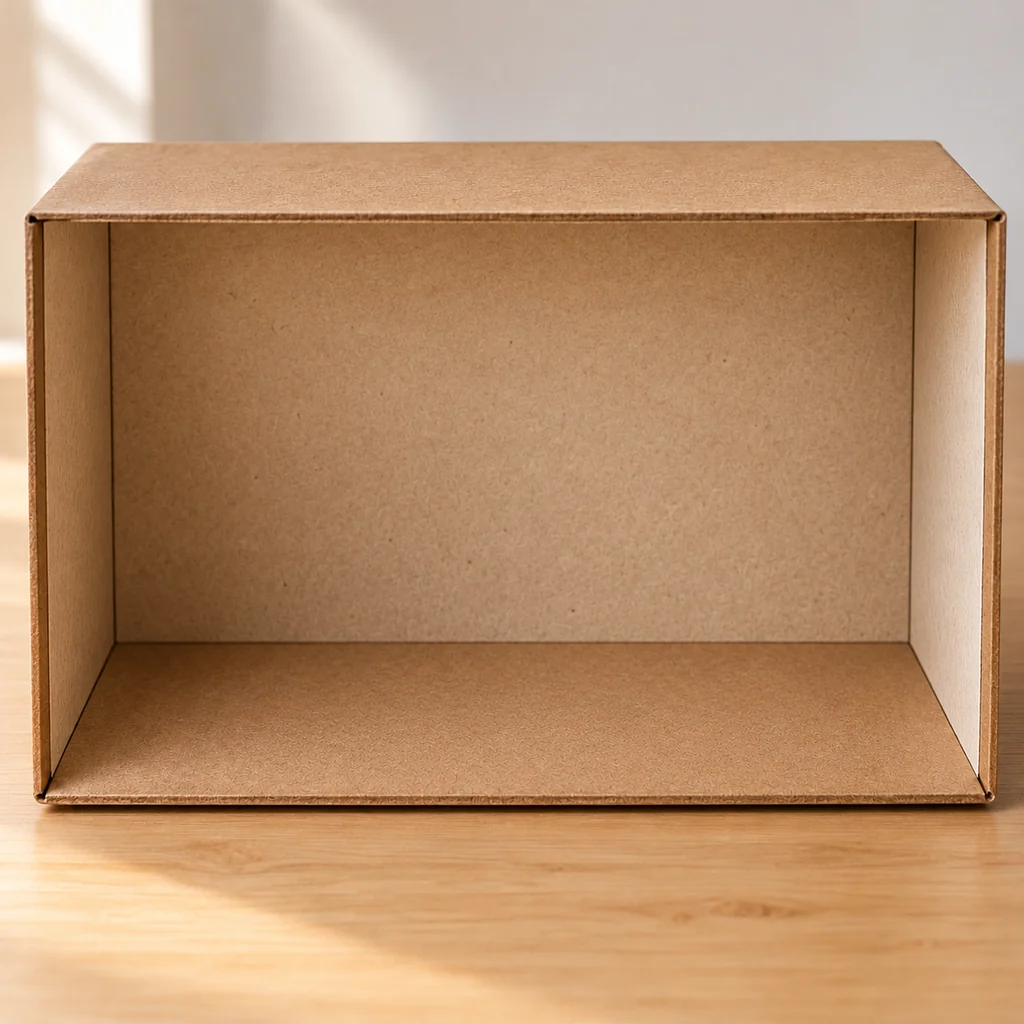
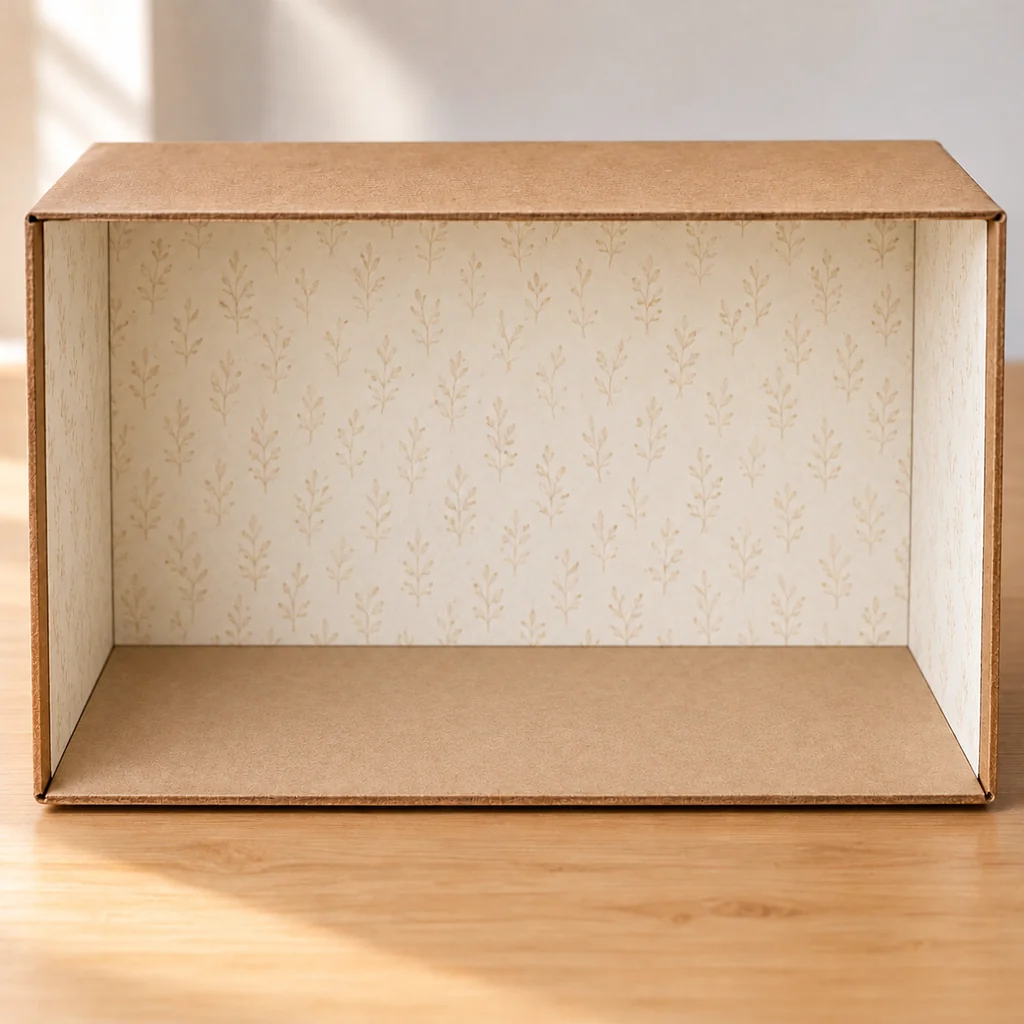
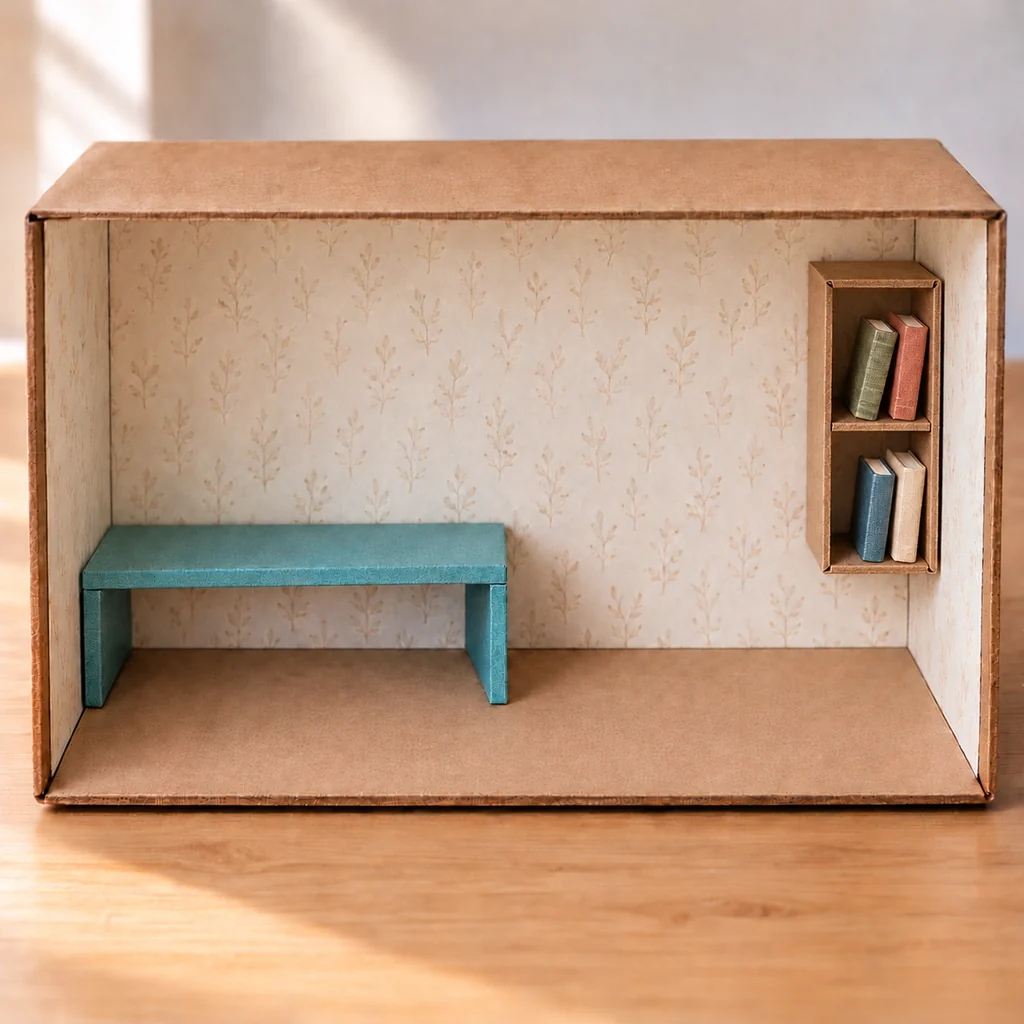
Remove the lid and set the box on one long side. The broad opening should face you, with the original box base becoming the back wall. Check that the top, two sides and floor meet at firm corners. If a seam lifts, run a thin line of craft glue inside it and hold it with a clip until the glue sets. Keep the front entirely open; cutting a doorway or window is unnecessary for this design and can weaken the box. Set the lid aside for the miniature furniture. The first photo shows the empty room and its depth before anything hides the corners.
Step 2: Line the Walls and Floor Without Wrinkles
Measure the back wall, each side wall and the floor separately. Cut paper liners just inside those measurements, then test each piece in place. A narrow uncovered seam is neater than a liner that buckles into a corner. Brush on a thin, even coat of glue, press from the center toward the edges, and smooth out trapped air with clean fingers or a scrap of card. Use the same pale paper on the three walls and a contrasting kraft sheet on the floor. Let this layer dry before adding furniture; a wet liner can slide under the weight of the bench.
Step 3: Fold One Cardboard Strip Into a Bench
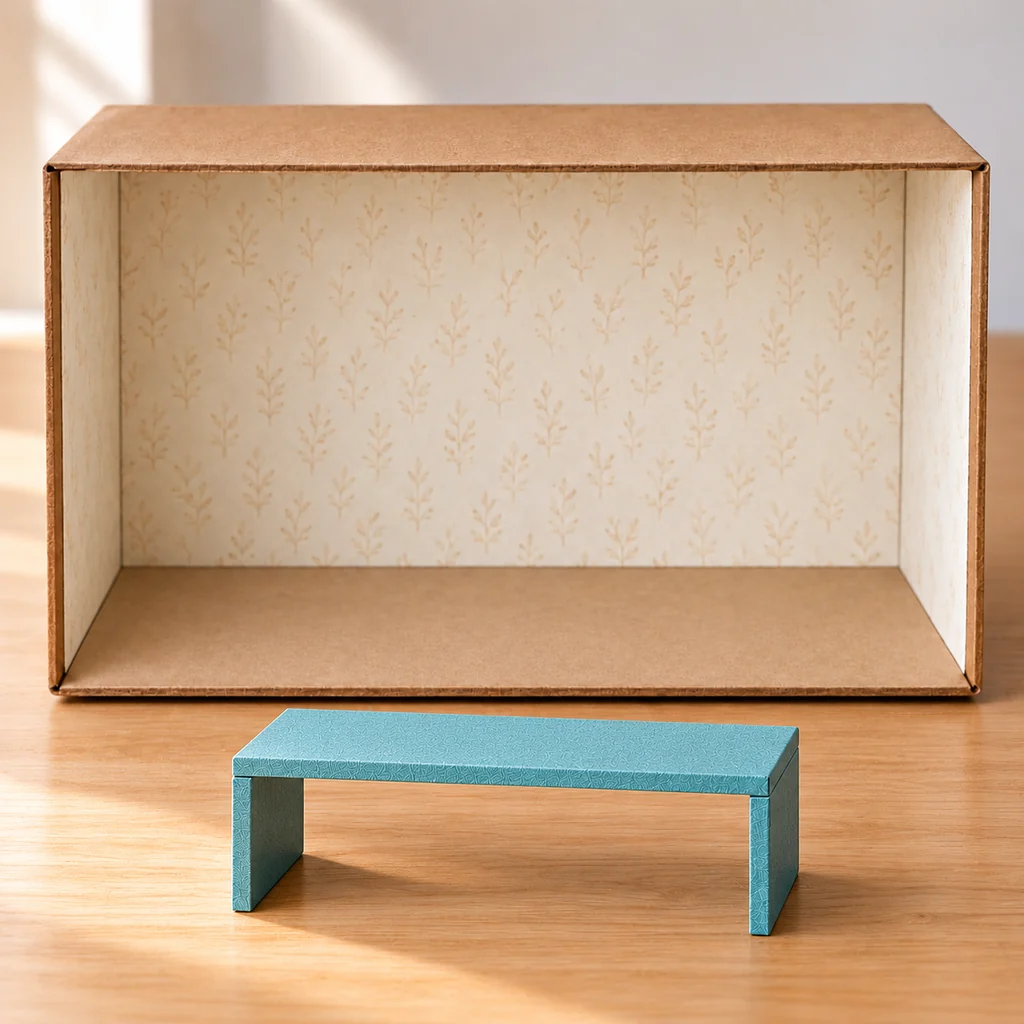
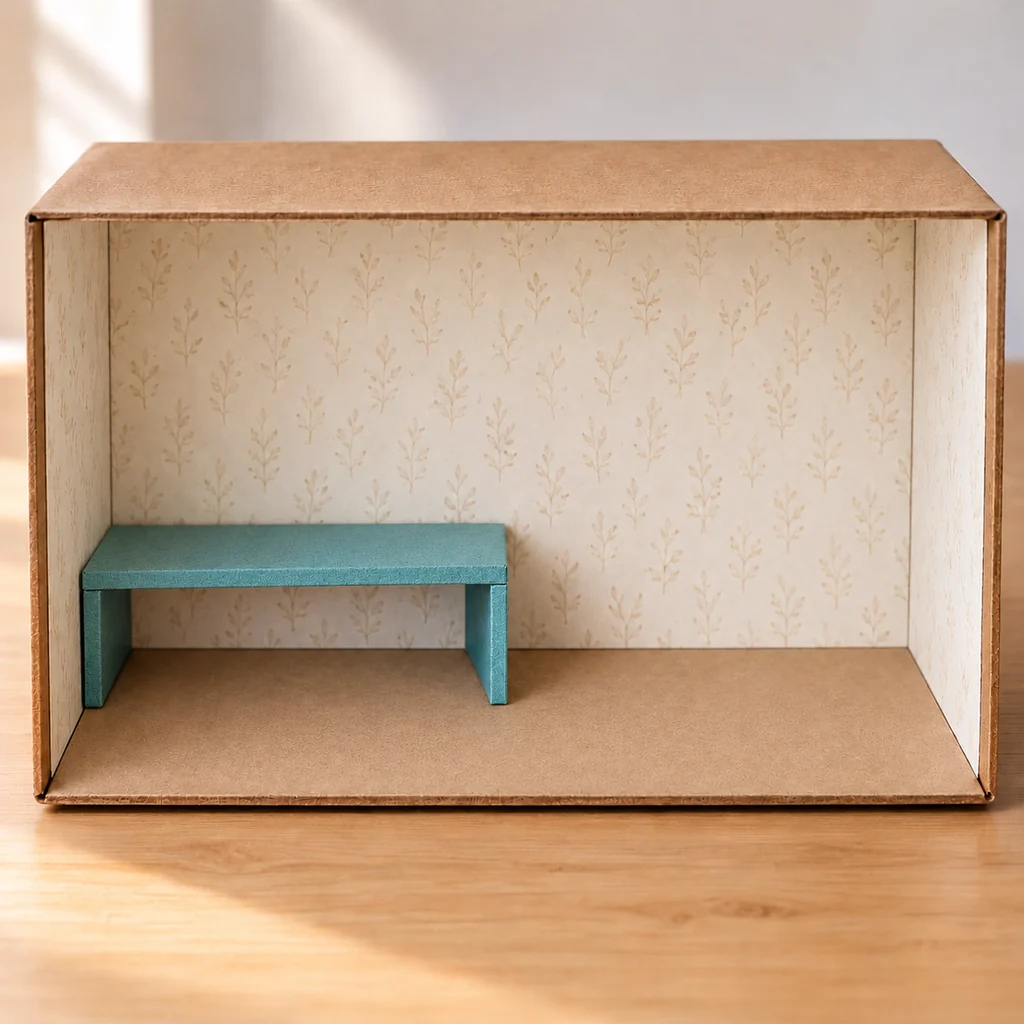
From the saved lid, cut one strip about 8 inches long by 2½ inches deep. Mark fold lines 1½ inches from each short end. Score lightly on the inside of each line with the back of a craft knife or a blunt tool; do not cut through the card. Bend both ends downward at right angles. You should now have one level 5-inch seat supported by two 1½-inch sides, like an upside-down U. Cover the visible surfaces with colored paper if you want the turquoise finish shown here. Dry-fit the bench inside the left half of the room: both supports must sit flat on the floor. Then glue only the bottoms of the supports to the paper floor and let the joints set before loading the seat.
Step 4: Build and Secure a Lightweight Bookcase
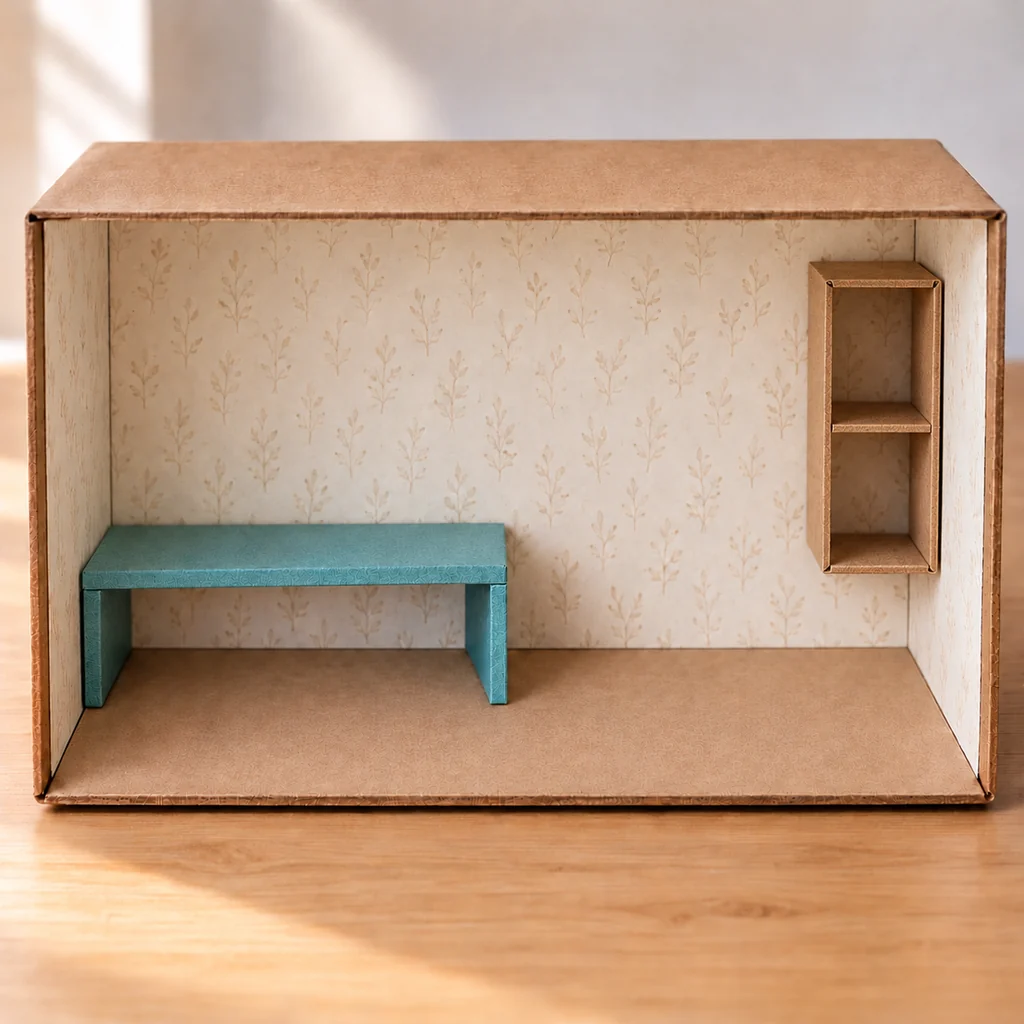
Make a shallow, open-front rectangle from five pieces of thin cardboard: a back about 1½ by 3 inches, two sides about 3 by ¾ inch, and a top and bottom each about 1½ by ¾ inch. Glue the sides, top and bottom around the back, then add one more 1½-by-¾-inch strip halfway up as a center shelf. Keep each shelf level. Once the small box is dry, glue its back to the back wall near the right side of the room and add two folded paper tabs behind its lower corners for extra contact with that wall. Hold it in position while the adhesive sets. Press gently on the empty bookcase: if it shifts, strengthen the tabs and wait longer before adding books. The photo intentionally shows empty shelves so the supports and placement are easy to see.
Step 5: Make Four Tiny Books From Paper
For each book, fold a small rectangle of plain paper back and forth into a compact page block about ¾ inch tall. Wrap a slightly wider strip of colored paper around the closed block for a front cover, spine and back cover, then secure the cover at its ends with a small dab of glue. Make four books in different muted colors; a little variation in height looks natural, but keep each book shorter than the shelf opening. Do not add printed titles that will become unreadable at this scale. Place two books on each shelf and make sure their lower edges rest on the shelf rather than hanging from the back wall.
Step 6: Add a Cushion and Flat Fabric Rug
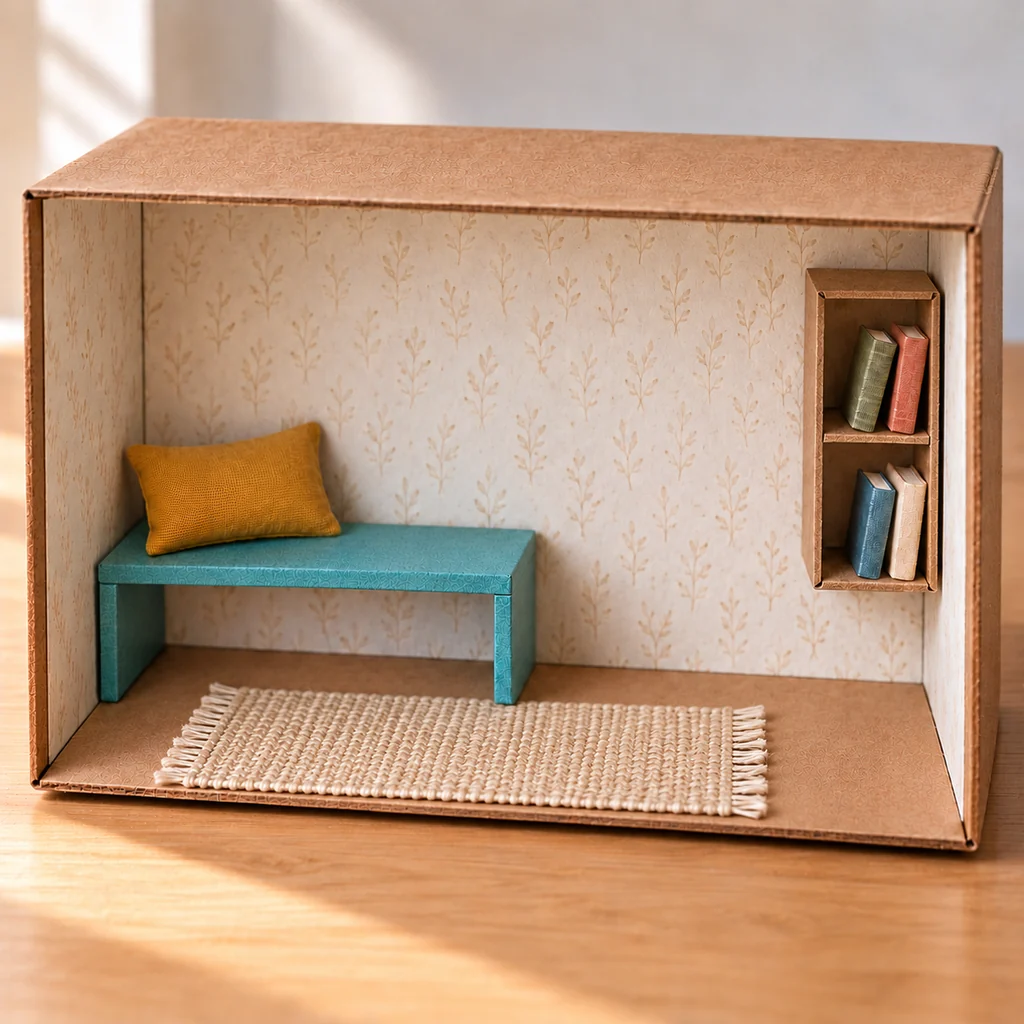
Wrap a small folded piece of scrap paper or cotton batting in a mustard fabric scrap, fold the raw edges underneath, and use a tiny amount of glue on the hidden back to hold the cushion shape. Set it on the bench only after the bench glue is dry. Cut a neutral cotton rectangle roughly 4 by 2 inches for the rug. If the fabric allows it, pull a few loose threads at the short edges for a slight fringe; do not use a thick rug that curls up and hides the floor. Lay it flat in front of the bench, keeping a small margin inside the box opening. Step back and check the final composition: the shelf is secure, the bench is level, and the rug and cushion rest naturally rather than floating.
How to Make the Mini Room Look More Convincing
Choose a limited palette before cutting: one wall pattern, one furniture color, one accent fabric and natural cardboard. Keep the same scale across objects. A book that is taller than the shelf or a cushion bigger than the seat makes the room feel accidental. Leave a little clear floor between the bench and bookcase; a mini room needs negative space just as a full-size room does.
For more paper-based projects after this one, try our pressed flower bookmarks or layered paper gift tags. Both use small, deliberate paper layers that reward the same dry-fitting habit.
Common Problems and Quick Fixes
- Wallpaper bubbles: Lift the wet edge and smooth the paper from the middle outward. Use less glue on the next piece.
- Bench rocks: Recheck the fold lines. Both side panels should be the same height and meet the floor fully.
- Shelf tilts: Remove the books, add a back support tab, and hold the unit level until the glue cures.
- Mini books fall forward: Keep them shallow enough for the shelf and put a tiny removable paper wedge behind them.
- Rug curls: Use a thinner cotton scrap and trim it so its edges do not push against the box sides.
Display and Storage
Display the finished shoebox room on a dry, level shelf out of direct splashes. It is a decorative miniature, not a toy for toddlers: the books and other small parts can come loose. To move it, lift the box from underneath instead of gripping the open front edge. Dust with a soft dry brush. If you plan to put the lid back on for storage, remove the cushion and any loose books first and check that the lid clears the wall shelf.