

A plain gift can feel personal with one small handmade detail. These layered paper Christmas tree gift tags use three cut triangles, a shallow center crease and a little foam adhesive to make a tree that reads clearly even on simple kraft wrapping. There is no template to download, and the back stays open for the recipient’s name.
Quick plan: Make a 3 × 5-inch kraft tag, cut three graduated green triangles, crease and layer them, then add a paper star, trunk and hanging string. The sizes below make one tag; cut several sets together if you are wrapping multiple gifts.
The AI-generated photographs in this guide are visual aids. Use the written measurements when cutting your own pieces.
Supplies and Cut Sizes for One Tag
- Kraft cardstock: one 3 × 5-inch (7.6 × 12.7 cm) rectangle
- Sage-green cardstock: one small triangle about 1¼ inches wide × 1 inch tall (3.2 × 2.5 cm), one medium triangle 1¾ × 1¼ inches (4.4 × 3.2 cm), and one large triangle 2¼ × 1½ inches (5.7 × 3.8 cm)
- Brown cardstock: one trunk about ¼ × ½ inch (0.6 × 1.3 cm)
- Gold paper: one small star, roughly ⅜ inch (1 cm) across; a plain paper dot also works
- Three small foam adhesive squares or dots, plus a glue stick for the trunk and star
- About 10 inches (25 cm) of thin jute twine or ribbon
- Ruler, pencil, scissors, hole punch and an optional bone folder
Cardstock around ordinary craft weight is easier to crease cleanly than thick chipboard. Use a pre-cut blank tag if it is close to 3 × 5 inches; adjust the tree pieces so the widest tier leaves visible paper at both sides.
How to Make Layered Paper Christmas Tree Gift Tags
Step 1: Cut and punch the tag base
Cut the kraft cardstock to 3 × 5 inches. Clip the two top corners evenly, about ¼ inch from each edge, and punch a single centered hole roughly ⅜ inch below the top. Keep the lower area blank for the tree and leave enough solid paper around the hole so the string will not tear through it. If your cardstock is thin, glue a small plain paper reinforcement ring around the hole before decorating.

Step 2: Cut three triangles in graduated sizes
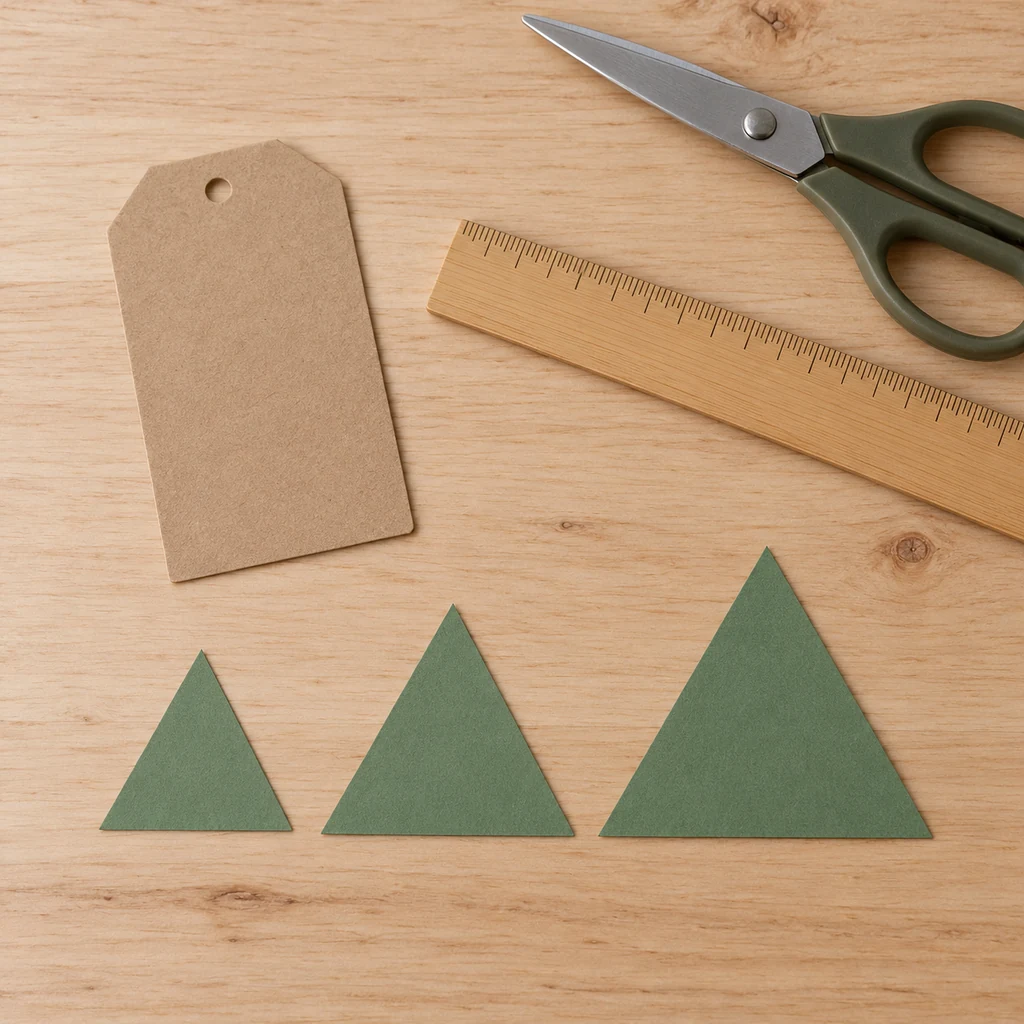
Mark a center point along one edge of each green rectangle, then cut from that point to both opposite corners to make an even triangle. Aim for the three widths and heights in the supply list: 1¼ × 1, 1¾ × 1¼, and 2¼ × 1½ inches. Lay the pieces in size order before moving on. A visibly wider bottom tier makes the silhouette look like a tree rather than three unrelated pennants.
Step 3: Crease each triangle down its center
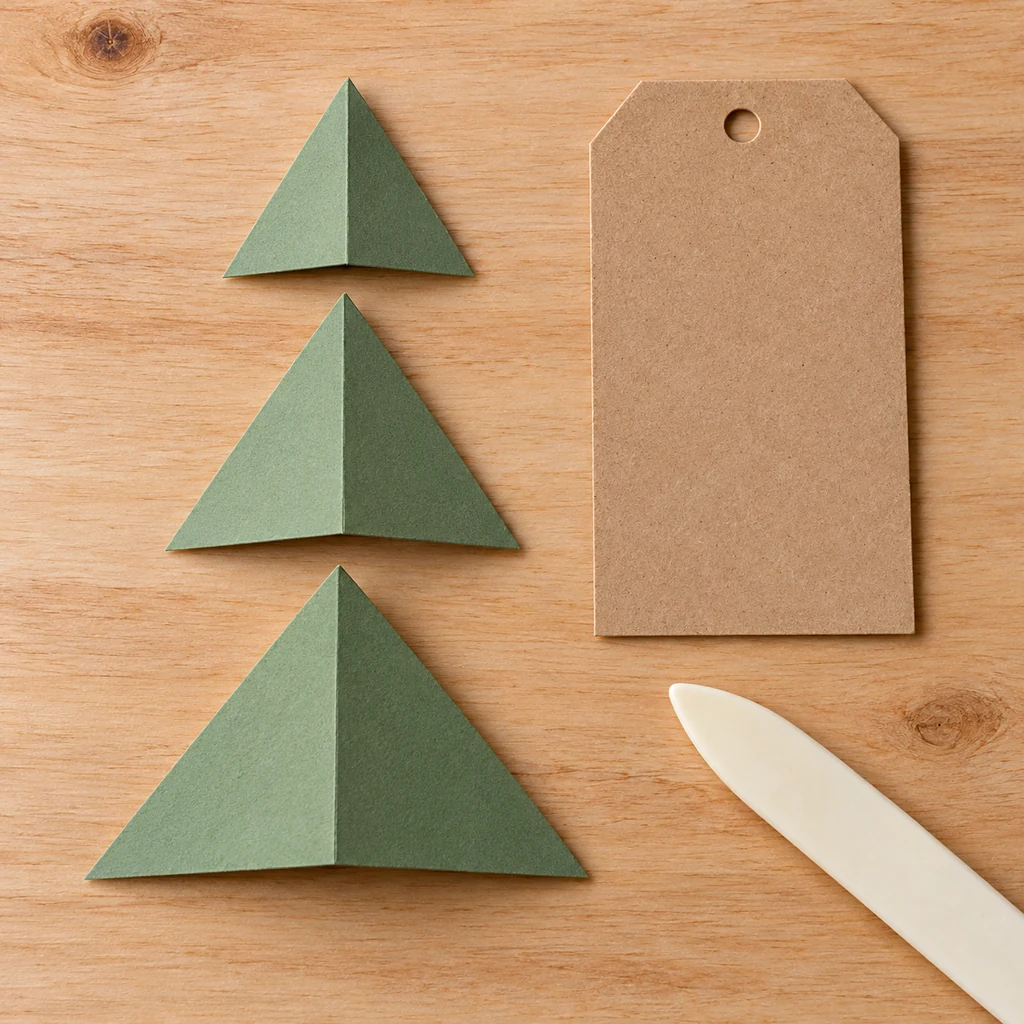
Lightly fold each triangle from tip to the midpoint of its base, then reopen it into a shallow ridge. Run a bone folder or fingernail along the fold without crushing the paper flat. The ridge gives the layers a little dimension; the two side edges can lift away from the tag while the center remains attached.
Step 4: Dry-fit the tree before attaching anything
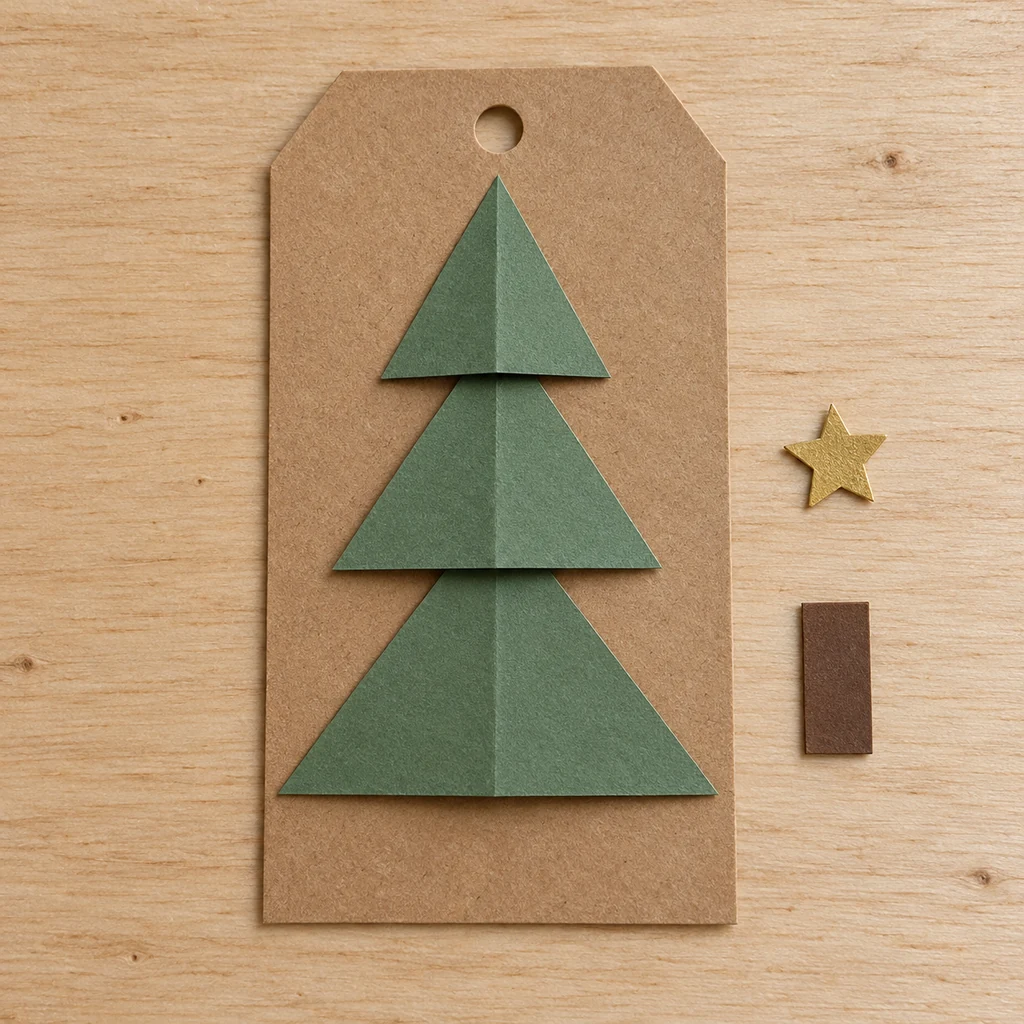
Place the small triangle under the punched hole, the medium triangle beneath it and the widest triangle at the bottom. Let each upper tier cover a small part of the tier below, about ⅛–¼ inch. Keep the whole tree centered and leave room at the base for the short trunk. Set the star near the top as a spacing check, but do not cover the hole. If the bottom tier is too wide for your tag, trim both lower corners equally.
Step 5: Attach the layers without flattening them
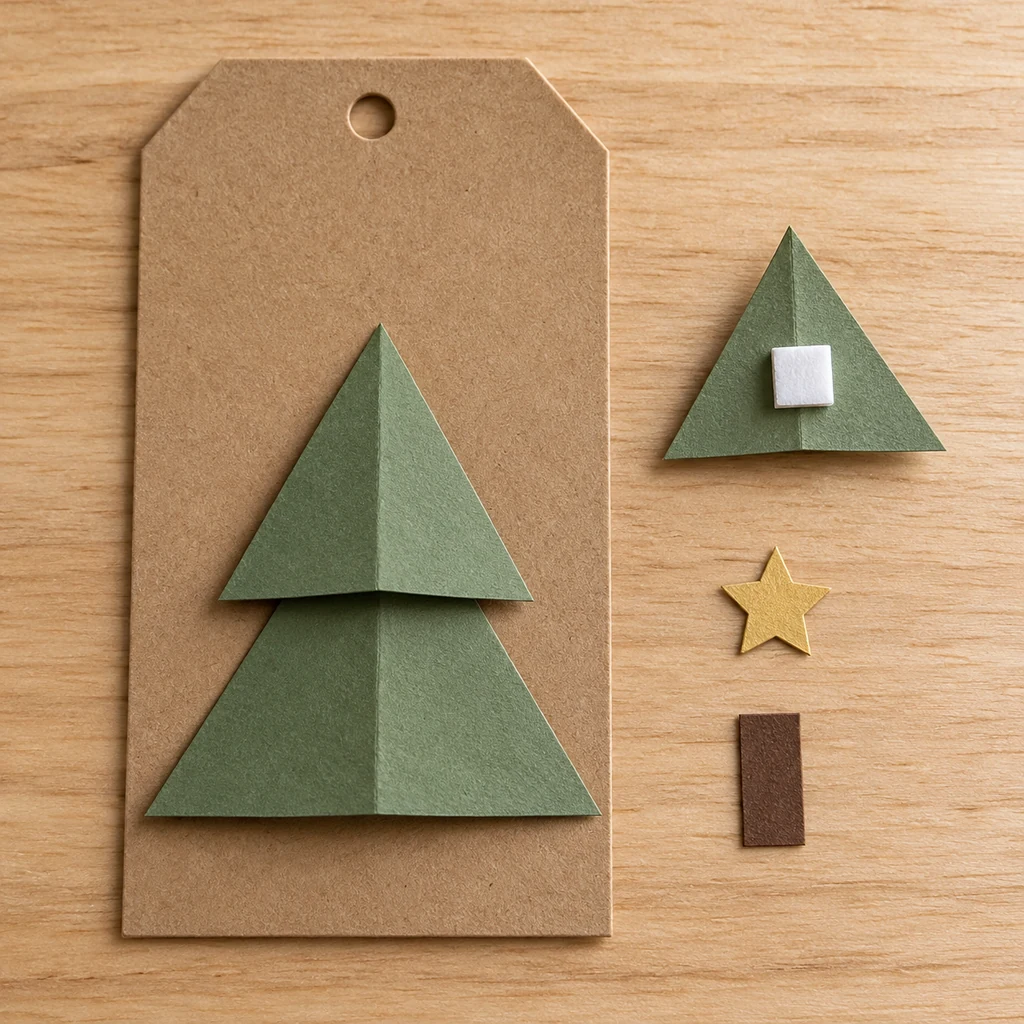
Lift the triangles off one at a time. Put a small foam square behind the center ridge of the large piece and press it back into place. Repeat with the medium and small pieces, keeping their tips and bases aligned along the tag’s centerline. Hide the foam under the green paper and press only at the middle; the side edges should remain slightly raised. If your foam is thick, use one thin square per tier rather than stacking multiple pads.
Step 6: Add the finishing pieces and tie the tag on
Use a glue stick to tuck the brown trunk just under the lowest triangle. Add the little gold star above the top point, leaving the punched hole open. Let the glue set, then write the recipient’s name on the flat back. Thread the twine through the hole and tie the tag to a wrapped package. Before gifting, lift the package once to check that the hole and knot hold and that the tree does not catch on another parcel.

Make a Batch Without Losing the Handmade Look
Cut all tag bases first, then make a small stack of each triangle size. Keep one finished tag beside you as a spacing reference. You can change the tree color, but keep the three-tier size progression and the clear top hole. A tiny contrasting paper dot can replace the star if cutting small points feels fiddly.
For gifts that will be mailed tightly in a box, protect the raised tree with a little space around it or use flat double-sided tape instead of foam pads. Avoid loose glitter and heavy ornaments that may shed, snag wrapping paper or hide the recipient’s name.
Common Problems and Easy Fixes
The tree looks crooked
Use a light pencil centerline on the tag before attaching the first tier. Erase any visible marks after the pieces are secure.
The punched hole starts to tear
Move the hole farther from the top edge on the next tag or reinforce its back with a small paper ring. Do not hang a tag by a torn opening.
The tiers look flat or bulky
Open the center crease a little for more lift. If the tree is too tall for a gift stack, use thin flat adhesive under the center of each triangle and gently press down the raised edges.
More Handmade Gift Ideas
Pair the tag with a reusable pillowcase gift bag, or use our sweater wrapping guide for an awkward soft gift. If you want another small holiday craft for the same wrapping table, try the folded fabric pinecone ornament tutorial.