

This beginner-friendly crochet summer shirt is a relaxed, button-front layer made from five flat rectangles: one back, two fronts, and two short sleeves. The open double-crochet mesh keeps it airy, while solid front bands, three buttons, and a fold-back collar create the tailored look shown in the finished photos.
The pattern uses U.S. crochet terms and is written for nine sizes, XS through 5XL. You should already know how to chain, double crochet, single crochet, slip stitch, seam with a tapestry needle, and weave in ends. There is no sleeve-cap shaping, but gauge, counting, blocking, and a pinned fit check are essential.
Mathematically graded free pattern: Every size table and all 12 construction steps are included directly on this page. No download, account, or email sign-up is required. Use the table of contents to jump to Gauge and Fit or Step-by-Step Instructions.
Verification note: The nine sizes are mathematically graded from the stated blocked gauge; not every size has been physically sample-crocheted. Make and block the gauge swatch, compare the blocked panel measurements, and baste the shoulder and side seams for a fit check before permanent seaming.
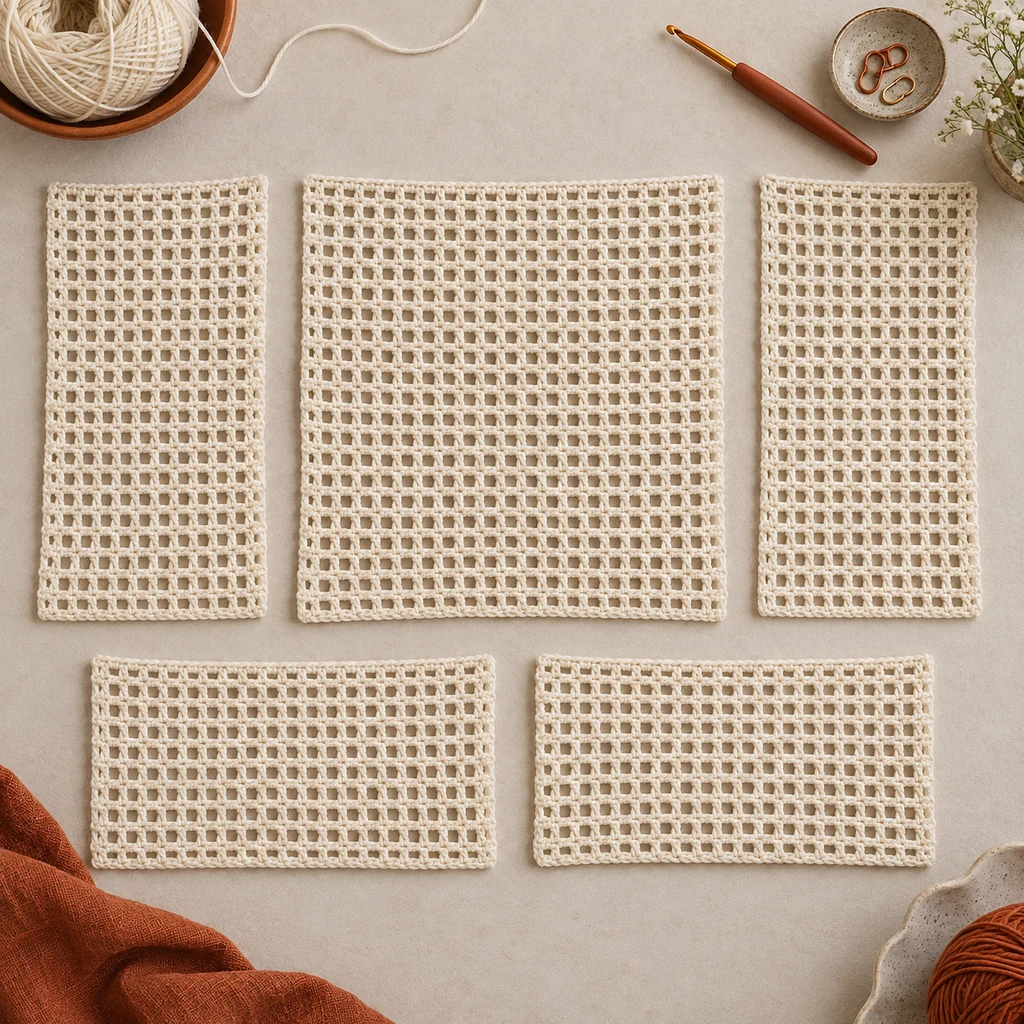
Materials, Yarn, and Abbreviations

- CYC category 3 light/DK cotton or cotton-blend yarn with good drape
- 5 mm (U.S. H-8) crochet hook, or the size needed to meet gauge
- Three 5/8-inch (16 mm) buttons
- At least eight locking stitch markers
- Tapestry needle, tape measure, scissors, and blocking pins
Abbreviations: ch = chain; ch-sp = chain space; dc = double crochet; sc = single crochet; sl st = slip stitch; st(s) = stitch(es); RS = right side; WS = wrong side.
Yarn planning: Exact yardage changes with yarn construction, meterage per gram, hook, size, and finishing. Make the 4 × 4-inch blocked gauge swatch and weigh it in grams. Multiply that weight by the size-specific multiplier below. The multiplier already includes 15 percent for the bands, collar, seams, swatch, and a practical safety margin.
| Size | Multiply swatch weight by | Example if swatch weighs 5 g |
|---|---|---|
| XS | 65.4 | 327 g |
| S | 71.6 | 358 g |
| M | 84.0 | 420 g |
| L | 89.7 | 449 g |
| XL | 100.5 | 503 g |
| 2XL | 107.1 | 536 g |
| 3XL | 121.4 | 607 g |
| 4XL | 127.6 | 638 g |
| 5XL | 135.2 | 676 g |
To convert grams into balls, divide the calculated grams by the grams printed on one ball and round up to the next whole ball. To estimate yards or meters, multiply the calculated grams by the label’s yards-or-meters-per-gram figure. The 5-gram column is an example, not a universal yardage promise: use your own washed and dried swatch weight before buying the full quantity, and purchase the final amount from one dye lot.
Gauge and Fit

Blocked gauge: 5 mesh spaces × 8 rows = 4 × 4 inches (10 × 10 cm) in the mesh pattern. Wash or wet-block the swatch exactly as you will treat the shirt, let it dry fully, and then measure the center. If five spaces measure wider than 4 inches, use a smaller hook; if narrower, use a larger hook. Row gauge controls length and armhole depth, so do not skip it.
The shirt is intentionally loose. Choose a finished bust about 6–9 inches (15–23 cm) larger than your actual bust, or compare the finished bust with a similar button-front shirt you already like. Six inches or more of positive ease creates an oversized fit.
| Size | Actual bust | Finished bust | Length |
|---|---|---|---|
| XS | 28–30 in | 36.8 in | 21 in |
| S | 32–34 in | 40 in | 21 in |
| M | 36–38 in | 44.8 in | 22 in |
| L | 40–42 in | 48 in | 22 in |
| XL | 44–46 in | 52.8 in | 23 in |
| 2XL | 48–50 in | 56 in | 23 in |
| 3XL | 52–54 in | 60.8 in | 24 in |
| 4XL | 56–58 in | 64 in | 24 in |
| 5XL | 60–62 in | 68.8 in | 24 in |
Step-by-Step Instructions
Step 1 — Crochet the Foundation and First Mesh Row
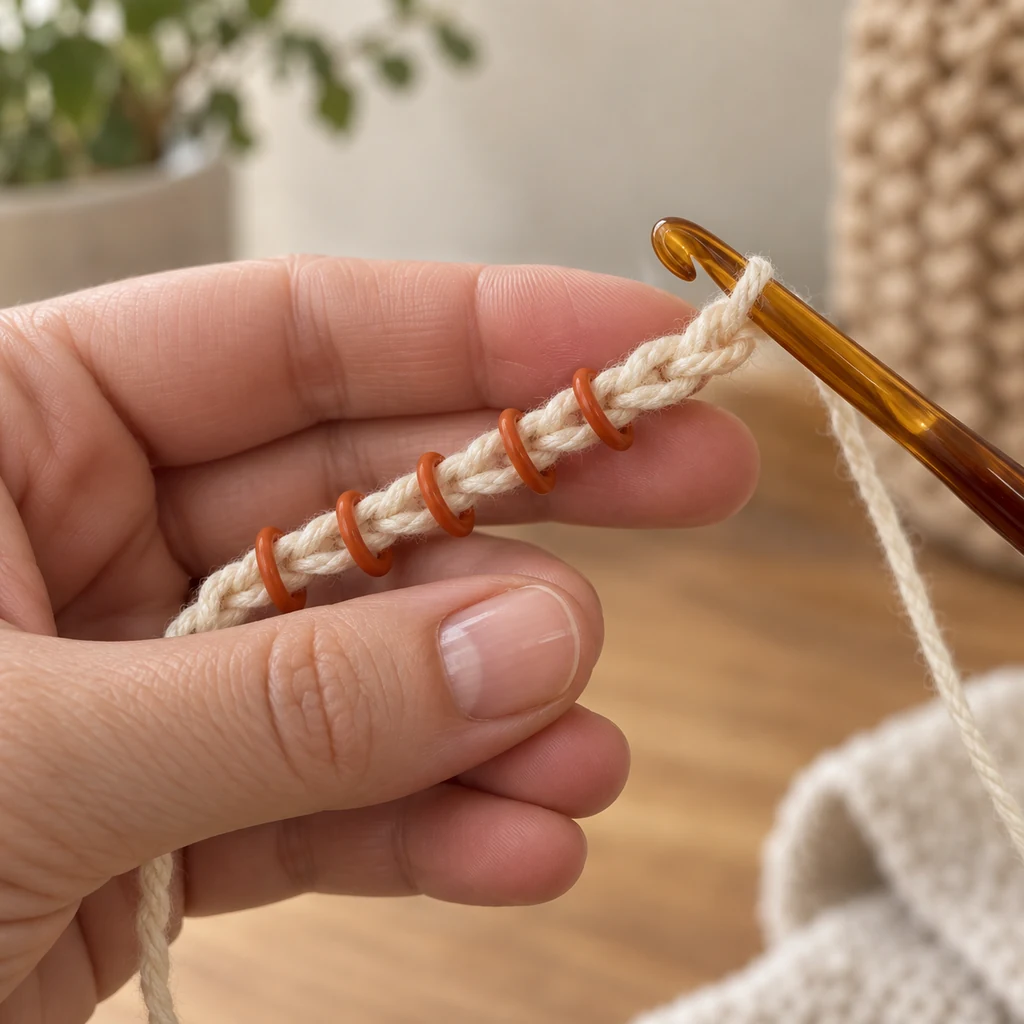
For any panel with N mesh spaces, chain 2N + 4. Double crochet in the sixth chain from the hook; the skipped five chains count as the first double crochet plus the first chain-1 space. Then repeat ch 1, skip 1 ch, dc in next ch across. Count the open spaces before continuing.
Step 2 — Repeat the Mesh Row with Straight Edges

Turn and ch 4; this counts as one dc and one ch-1 space. Skip the first ch-1 space, dc in the next dc, then repeat ch 1, dc in next dc across, ending with a dc in the third chain of the previous turning chain. Every row must keep the same number of mesh spaces. Place a marker every ten rows.
Step 3 — Make the Back and Two Front Panels
| Size | Back ch / spaces | Each front ch / spaces | Rows |
|---|---|---|---|
| XS | 50 / 23 | 26 / 11 | 42 |
| S | 54 / 25 | 28 / 12 | 42 |
| M | 60 / 28 | 32 / 14 | 44 |
| L | 64 / 30 | 34 / 15 | 44 |
| XL | 70 / 33 | 36 / 16 | 46 |
| 2XL | 74 / 35 | 38 / 17 | 46 |
| 3XL | 80 / 38 | 42 / 19 | 48 |
| 4XL | 84 / 40 | 44 / 20 | 48 |
| 5XL | 90 / 43 | 46 / 21 | 48 |
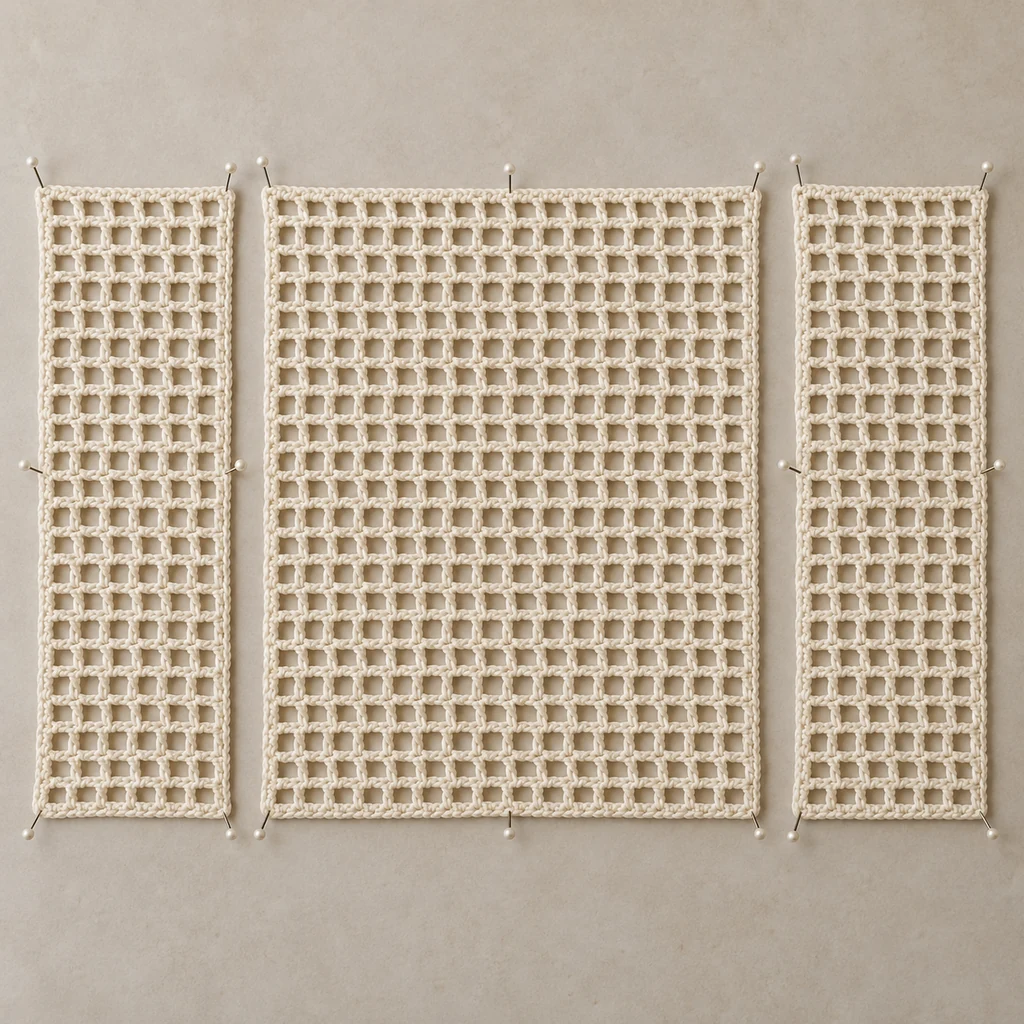
Fasten off each piece with a long seaming tail. Wet-block all three panels to the same row length and the intended widths. Do not stretch one front more than the other.
Step 4 — Pin and Seam the Shoulders

Lay the back RS up. Place the two fronts on top, WS up, with outer edges aligned and the center fronts open. Seam the outer shoulder spaces shown below; leave the remaining center back and inner front spaces free. Baste first and try the piece over a camisole. Enlarge the neck by one space per side if needed before making permanent seams.
| Size | Seam each shoulder | Back center open | Each front open |
|---|---|---|---|
| XS | 8 spaces | 7 spaces | 3 spaces |
| S | 9 | 7 | 3 |
| M | 10 | 8 | 4 |
| L | 11 | 8 | 4 |
| XL | 12 | 9 | 4 |
| 2XL | 12 | 11 | 5 |
| 3XL | 14 | 10 | 5 |
| 4XL | 15 | 10 | 5 |
| 5XL | 16 | 11 | 5 |
Step 5 — Crochet Two Sleeve Rectangles

Make two identical sleeve rectangles with the same mesh rows. The foundation edge becomes the sleeve width around the upper arm; the 12 rows create approximately 6 inches of sleeve depth at gauge.
| Size | Foundation ch / spaces | Rows | Blocked size |
|---|---|---|---|
| XS | 36 / 16 | 12 | 12.8 × 6 in |
| S | 40 / 18 | 12 | 14.4 × 6 in |
| M | 42 / 19 | 12 | 15.2 × 6 in |
| L | 44 / 20 | 12 | 16 × 6 in |
| XL | 46 / 21 | 12 | 16.8 × 6 in |
| 2XL | 50 / 23 | 12 | 18.4 × 6 in |
| 3XL | 52 / 24 | 12 | 19.2 × 6 in |
| 4XL | 54 / 25 | 12 | 20 × 6 in |
| 5XL | 56 / 26 | 12 | 20.8 × 6 in |
Step 6 — Center and Attach Each Sleeve

Mark the midpoint of one sleeve’s long foundation edge. With the body open flat, match that midpoint to the shoulder seam. Pin the two sleeve corners the same number of body rows below the shoulder: XS 13, S 14, M 15, L 16, XL 17, 2XL 18, 3XL 19, 4XL 20, 5XL 21 rows on both front and back. Sew the entire sleeve edge to the body without stretching either piece. Repeat on the other side.
Step 7 — Sew the Underarm and Body Side

Fold the shirt with RS together. Pin the front and back side edges and the sleeve under-edges. Starting at the cuff, use mattress stitch or a loose whipstitch through matching edge loops. Continue through the underarm junction and down to the hem. Repeat on the second side, turn RS out, and compare both sleeves.
Step 8 — Add the Front Bands and Three Buttonholes

Join yarn at the lower edge of one front. As a starting ratio, work 2 sc into each mesh-row edge space: 84 stitches for 42 rows, 88 for 44 rows, 92 for 46 rows, or 96 for 48 rows. Lay the band flat before starting its second row. If it ripples, remove a few stitches evenly; if it pulls the front edge shorter, add a few evenly. Record the corrected stitch count and use exactly the same count on the second front. Work three rows of sc for each band.
Place markers for the top and bottom buttons 1½ inches from the neck and hem; place the third halfway between. On the opposite band, work the second sc row to the first marker, ch 2, skip 2 sc, and continue. Repeat at the other two markers. On row three, work 2 sc into each ch-2 space. Confirm each opening fits the 5/8-inch button before fastening off, then sew exactly three buttons opposite the holes.
Step 9 – Crochet a Shaped Fold-Back Collar

Before picking up stitches, block the body panels, complete both three-row front bands, and baste the shoulders. Count the open mesh spaces around the neckline as a cross-check:
| Size | Back neck spaces | Each front neck | Total open spaces |
|---|---|---|---|
| XS | 7 | 3 | 13 |
| S | 7 | 3 | 13 |
| M | 8 | 4 | 16 |
| L | 8 | 4 | 16 |
| XL | 9 | 4 | 17 |
| 2XL | 11 | 5 | 21 |
| 3XL | 10 | 5 | 20 |
| 4XL | 10 | 5 | 20 |
| 5XL | 11 | 5 | 21 |
Measure the actual blocked neckline from the top of one band to the top of the other. Make a small single-crochet swatch with the collar hook and calculate the pickup target as blocked neckline length × single-crochet stitches per inch, rounded to the nearest even stitch. With RS facing, join at the top of the right band. Work 3 sc across the top of that band, distribute the remaining pickup stitches evenly around the right front neck, back neck, and left front neck, then work 3 sc across the top of the left band. Keep the two sides symmetrical; do not force a stitch into every row end.
Mark the transition between each front neck and the back neck. Turn after every row. For rows 2–6, sc across and work 2 sc in each marked corner stitch, moving each marker to the new corner stitch. Aim for a blocked collar depth of 1.5–2 inches (4–5 cm). Add no more than two plain rows only if more depth is needed. If the collar ripples, remove the final increase row or reduce pickups; if it stands stiffly, use a larger hook or add pickup stitches evenly before continuing.
Step 10 — Finish the Cuffs and Hem

Join yarn at each cuff seam and work one relaxed round of sc, then sl st to the first sc. Repeat around the lower hem only if its edge needs more structure. If an edging pulls inward, undo it and use a larger hook or place occasional extra stitches; do not block a tight edge into submission.
Step 11 — Weave In Ends and Block

Weave each tail through several stitches, change direction once, and trim only after blocking. Follow the yarn label’s washing instructions. Shape the body, fronts, sleeves, and collar to the listed measurements without overstretching the mesh. Let the shirt dry completely on a flat surface.
Step 12 — Verify the Finished Shirt

- The fronts meet without pulling or overlapping excessively.
- All three buttons align and open easily.
- The shoulder seams are equal and the collar folds symmetrically.
- The sleeve centers sit on the shoulders and the underarm seams do not twist.
- The hem hangs level when the shirt is buttoned and unbuttoned.
Fit Adjustments and Troubleshooting
For more circumference, add one mesh space to each front for 1.6 inches of extra finished bust, or add one space to each front and two to the back for 3.2 inches total. Add or remove rows before seaming to change length in ½-inch increments. For a deeper armhole, attach each sleeve one body row farther down on both front and back; confirm the sleeve edge remains long enough before sewing.
If the front bands wave, too many stitches were picked up. If they pull, too few were used. If the shoulder drops farther than desired, choose a smaller finished bust or shorten the shoulder seam only after a pinned try-on. If the collar ruffles, remove the final row or reduce the corner increases.
Care and Storage
Wash according to the yarn label, support the wet garment fully, and dry flat to protect the mesh from stretching. Store folded rather than on a narrow hanger. Re-measure after the first wash; cotton can relax, and a brief reshaping block restores the intended dimensions.