Pillow covers are one of those easy, inexpensive ways to refresh the look of any room. But what if I told you that you don’t need to pull out a sewing machine to make them? No-sew pillow covers are a quick and stylish way to update your throw pillows without any complicated sewing techniques. I first stumbled upon this idea when I wanted to update my couch cushions for a season change, and let me tell you, it was a total game-changer!
The best part? You don’t need any sewing skills, and the results are just as beautiful as a store-bought pillow. This DIY project is simple, fun, and gives your home a personal touch. So, whether you’re a seasoned crafter or a DIY newbie, I promise this is an easy win.
Why You Should Make No-Sew Pillow Covers
The beauty of no-sew pillow covers is that they’re incredibly quick and don’t require much more than basic supplies. With just a few simple materials, you can transform your living space without needing a needle and thread. Plus, they’re super customizable – you can choose fabrics, patterns, and colors that match your exact style.
I’ve made no-sew pillow covers for various occasions, from spring refreshes with bright floral prints to cozy winter styles with chunky knits. They add a chic look to your space and are perfect for anyone who loves easy and affordable home decor projects.
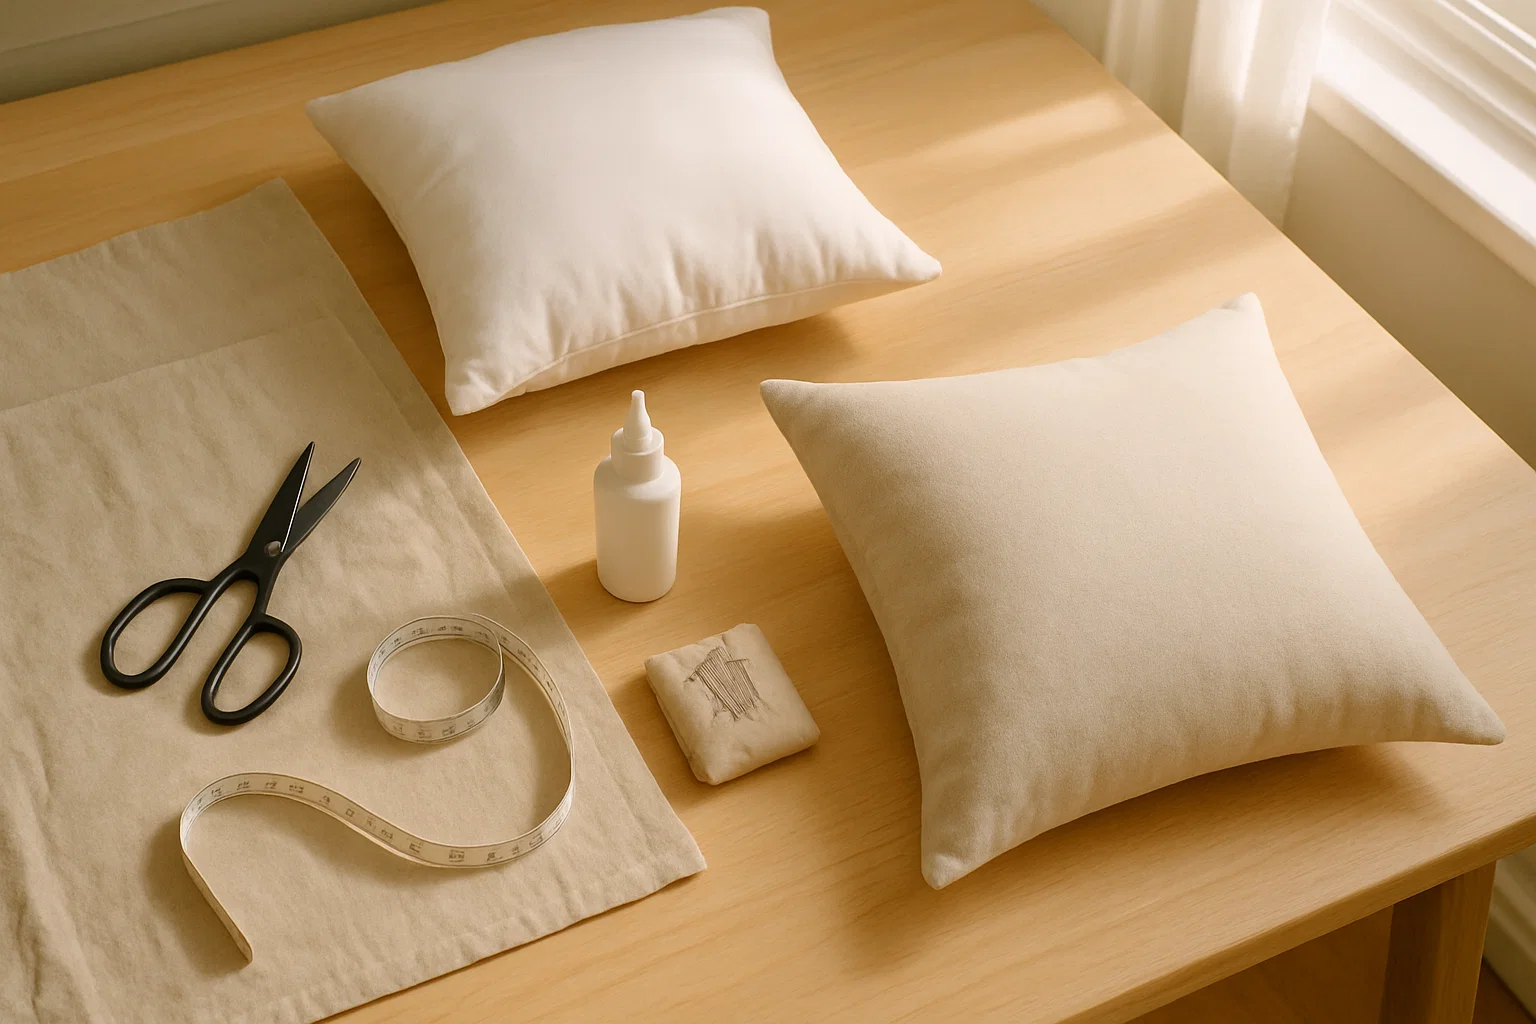
Materials You’ll Need
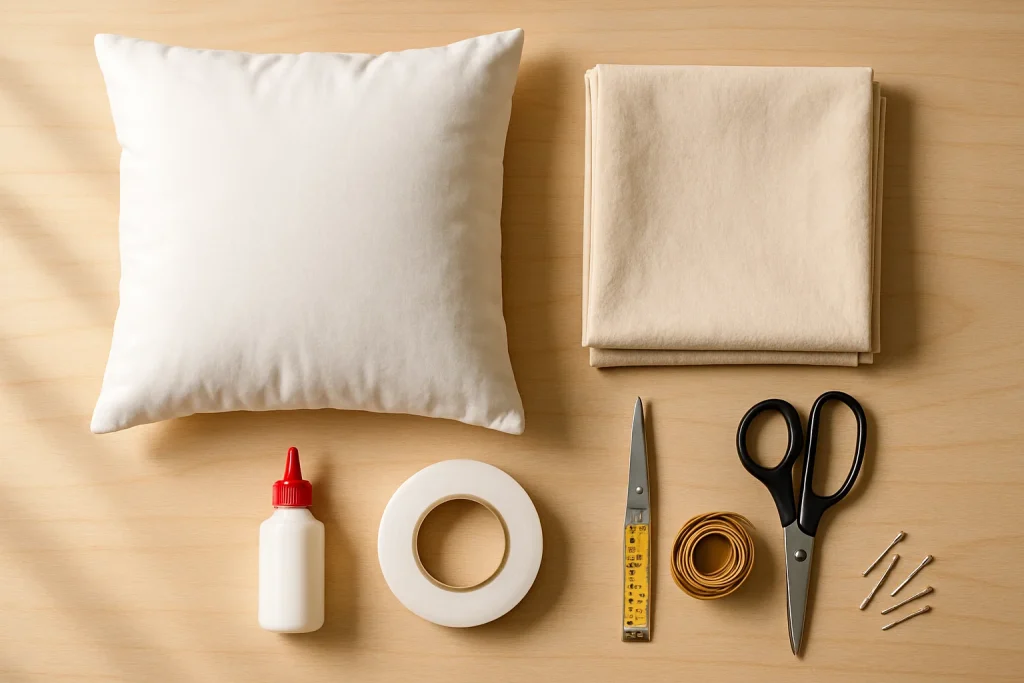
Before diving in, gather these materials. Don’t worry, they’re easy to find and won’t break the bank!
- Pillow inserts (you can buy them or repurpose old pillows)
- Fabric of your choice (about 1.5 times the size of your pillow, depending on how you want the fit)
- Fabric glue or fusible bonding tape
- Scissors
- Measuring tape or ruler
- Pins (optional, for extra precision)
How to Make a No-Sew Pillow Cover
Step 1: Measure and Cut Your Fabric
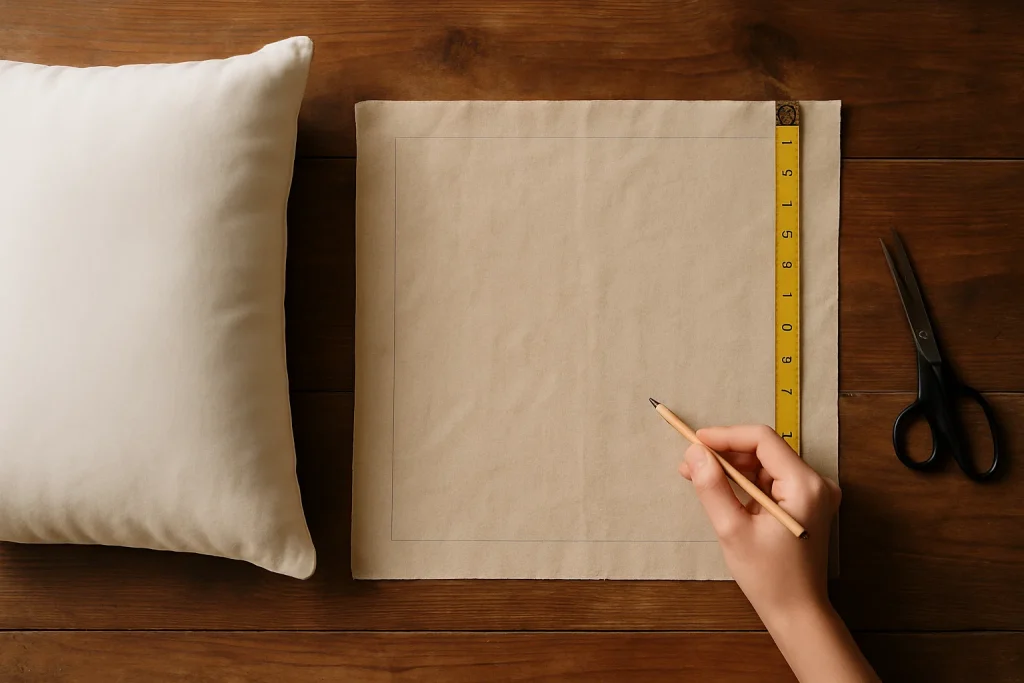
First, measure your pillow insert. To ensure you have enough fabric to wrap around the pillow with a little extra for the seams, add about 3-4 inches to both the length and width of your pillow.
Cut your fabric to the appropriate size. I love using fabric with a bit of stretch because it hugs the pillow better. If you’re unsure about the size, don’t worry—it’s always better to cut a little extra fabric than not enough.
Step 2: Fold the Edges for a Clean Finish

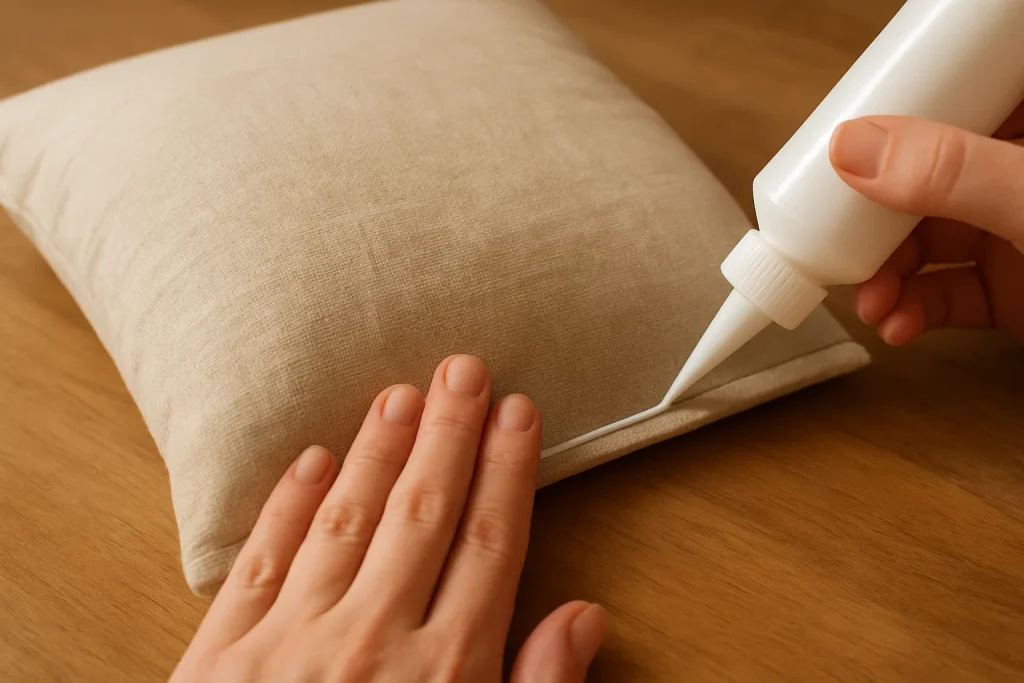
Once your fabric is cut, it’s time to fold the edges. Apply fabric glue (or use fusible bonding tape) along the edges, then fold them over to create a neat seam. You’ll want to make sure the folds are even and smooth.
If you’re using fusible bonding tape, follow the instructions on the packaging. Typically, you’ll press the tape between the fabric folds using an iron to create a strong bond. If you’re using fabric glue, just hold the edges together for a few seconds until it sticks.
Step 3: Wrap the Fabric Around Your Pillow
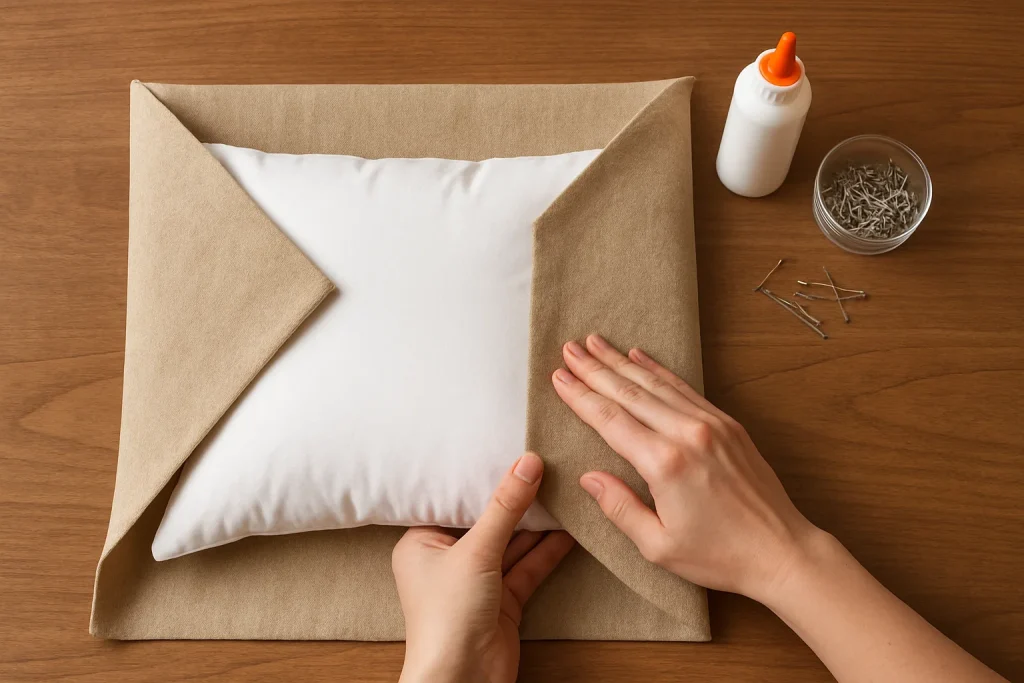
Now that your edges are finished, it’s time to wrap the fabric around your pillow. Lay the fabric flat, and place the pillow insert in the center. Fold the fabric over the pillow like you’re wrapping a gift. Secure the edges with fabric glue or bonding tape, making sure it’s snug.
If you prefer a tighter fit, you can use pins to secure the fabric as you work, ensuring everything stays in place while the glue dries.
Step 4: Secure the Final Side
Once the fabric is wrapped and secured, flip the pillow over. Use glue or tape to close the last edge, making sure everything is neatly tucked in. Let the glue dry completely before using your pillow.
Step 5: Trim Any Excess Fabric
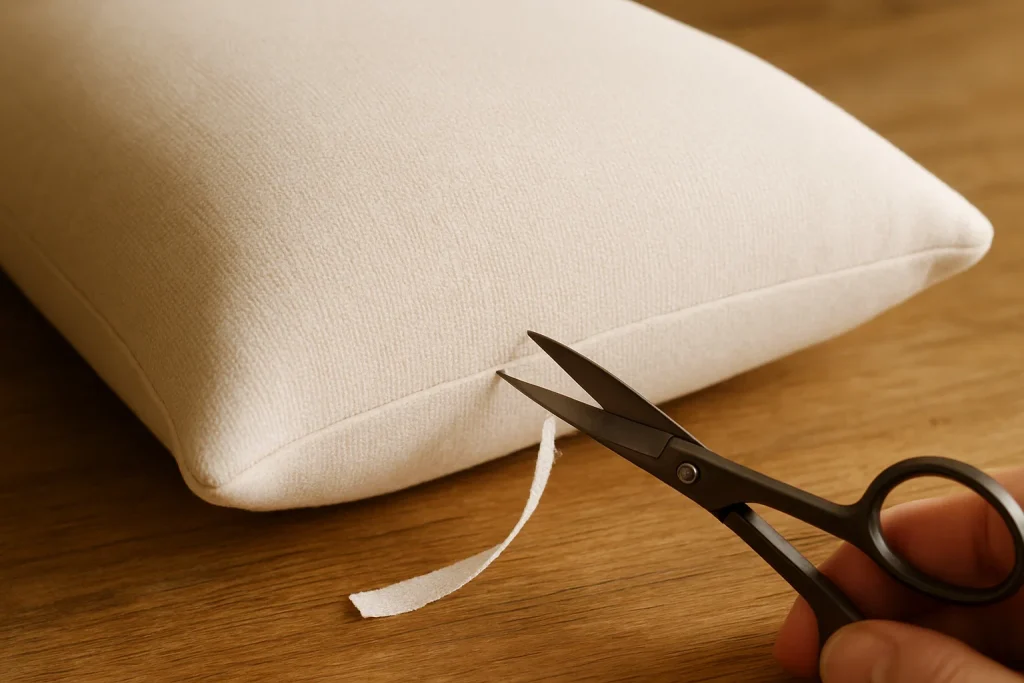
If there’s any excess fabric sticking out, carefully trim it to create clean edges. This step ensures your pillow looks polished and well-finished.
Why This Method Works So Well
The no-sew method is ideal because it’s simple, quick, and doesn’t require advanced sewing skills. You can create custom pillow covers that look just as polished as those sold in stores, and you won’t have to spend hours on a sewing machine.
Plus, fabric glue and fusible bonding tape are durable and will hold up well with regular use, so you won’t have to worry about your pillow covers falling apart after a few washes.
Tips for Perfect No-Sew Pillow Covers
- Choose a fabric that fits your style: Whether you prefer bold prints or something more neutral, pick a fabric that complements your home decor. Cotton and linen are great choices for their versatility and ease of use.
- Add extra details: Want to make your pillow covers extra special? Add embellishments like fabric paint, embroidery, or decorative buttons to give them a personal touch.
- Seasonal changes: Swap out pillow covers every season to keep your home feeling fresh. It’s an affordable way to update your decor without overhauling your entire space.
Easy, Stylish, and Fun!
No-sew pillow covers are a fantastic way to quickly and easily change up the look of your living space. Whether you’re a seasoned DIY-er or a beginner, this project is simple and fun. The best part? You can customize these covers with any fabric you love, making them perfect for any style or occasion.
I’ve made several of these pillow covers, and every time I do, I’m amazed by how much of a difference they make in my home. It’s such a simple project, but the results are always impressive. So, if you’re looking to refresh your living space, grab some fabric and try making your own no-sew pillow covers today. You’ll love the transformation!