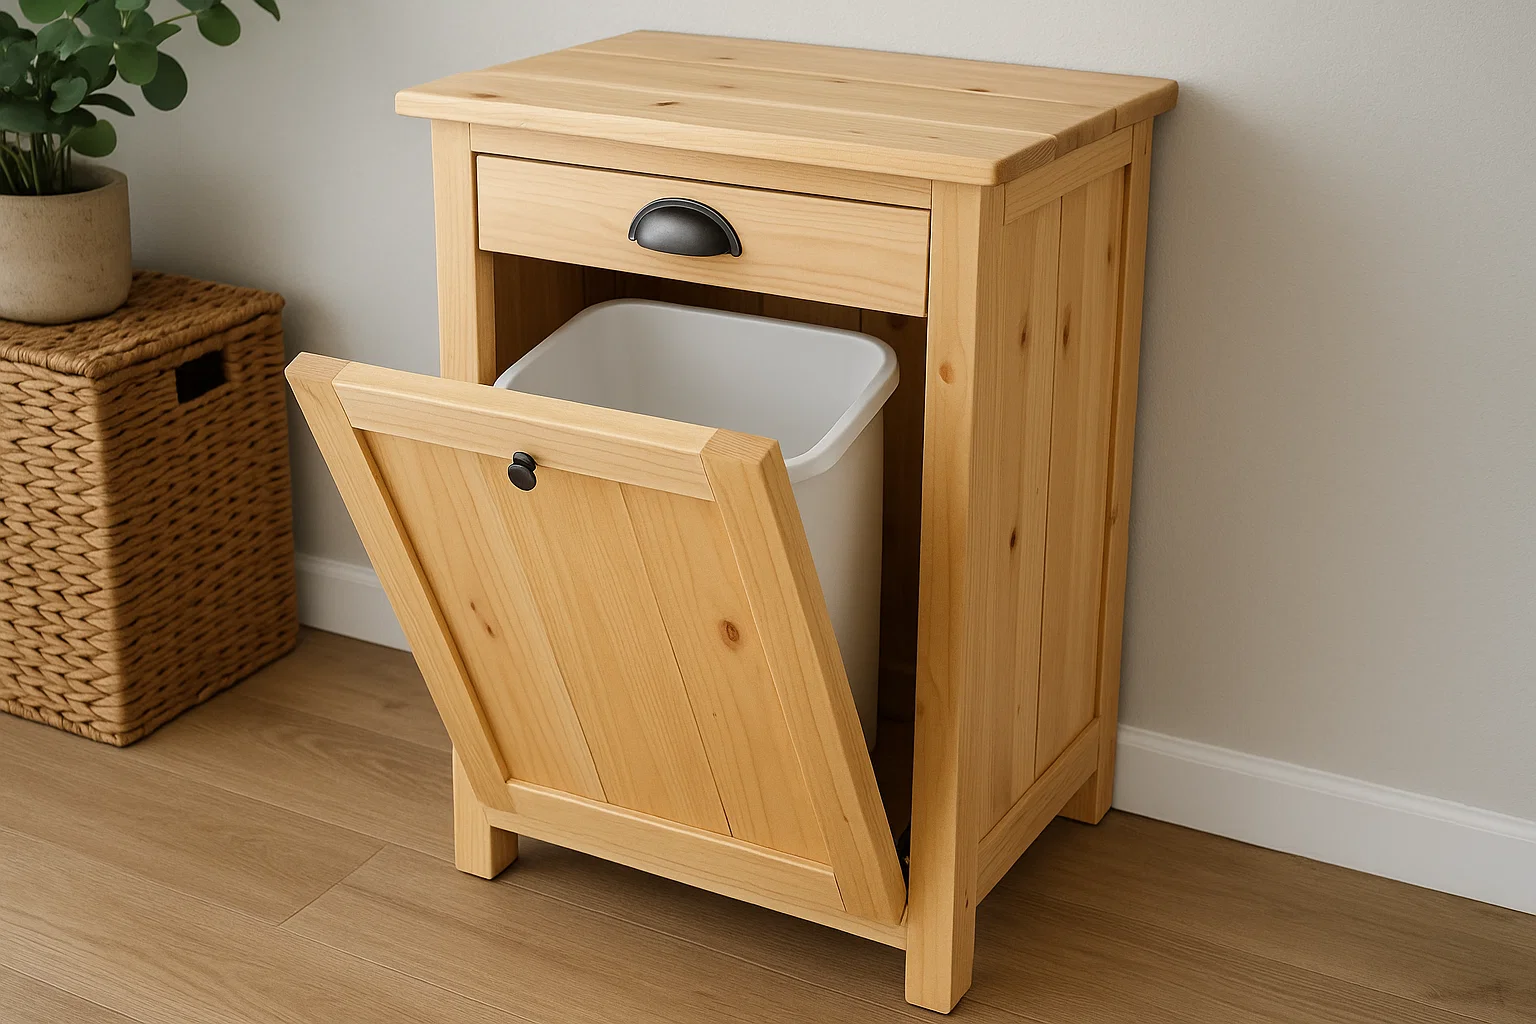
A DIY Wooden Tilt-Out Trash Cabinet is a stylish and practical way to hide your trash bins while keeping them easily accessible. This project is perfect for those looking to improve the functionality of their kitchen or laundry room, without sacrificing design. Not only will it help conceal unsightly bins, but it also provides additional storage space. Here’s a step-by-step guide to creating your own custom tilt-out trash cabinet.
Materials You’ll Need:
- Plywood sheets (3/4-inch thickness for the main structure)
- Wooden trim or molding (for the cabinet frame)
- Hinges (2, for the tilt-out mechanism)
- Trash bin (measuring the size of the space needed)
- Screws and wood glue
- Wooden dowels (optional, for added durability)
- Drawer pull (for easy opening)
- Sandpaper (for smoothing edges)
- Paint or stain (optional, for finishing)
- Measuring tape and saw
- Drill and screwdriver
- Level (for accurate installation)
Step 1: Measure and Cut the Plywood
Start by measuring the space where you plan to place the tilt-out trash cabinet. You’ll want to measure the height, width, and depth based on your available space and the size of the trash bin.
- Cut the plywood sheets into the following pieces:
- 2 pieces for the sides of the cabinet
- 1 piece for the bottom
- 1 piece for the back
- 1 piece for the top
- 1 piece for the front door
Use a saw to make clean cuts. Sand the edges of each piece to ensure they are smooth and free of splinters.
Step 2: Assemble the Cabinet Structure
Begin assembling the frame of the tilt-out trash cabinet:
- Attach the sides to the bottom piece, securing them with wood glue and screws.
- Attach the back piece to the sides and bottom.
- Secure the top piece using screws or nails. Make sure the frame is square by using a level to ensure everything is aligned.
Step 3: Install the Tilt-Out Mechanism
To create the tilt-out feature:
- Mark the spot where the hinges will attach on the side panels of the cabinet. The hinges should be placed toward the top of the cabinet frame, allowing the front panel to tilt outwards.
- Attach the hinges to the cabinet frame and the front door.
- If needed, add wooden dowels to stabilize the front door or to help keep it aligned as it tilts out. You can drill small holes in the bottom for the dowels to fit into, keeping the door in place when not in use.
Step 4: Attach the Trash Bin and Install the Pull
Now that the frame and tilt mechanism are in place, add the trash bin inside the cabinet. Make sure the bin fits snugly but can be easily removed for trash disposal.
- Install a drawer pull or handle on the front door for easy opening. Drill a hole in the center of the front door, insert the pull, and secure it with screws.
- Optionally, you can install a small stop block inside the cabinet to prevent the door from swinging too far.
Step 5: Finish the Cabinet
After assembly, give the cabinet a polished look:
- Sand all surfaces to smooth out rough edges.
- Paint or stain the wood to match your home decor. Consider using a durable wood finish, especially if the cabinet will be in a high-traffic area like the kitchen or laundry room.
- Allow the paint or stain to dry completely before use.
Step 6: Install the Cabinet
Place your completed tilt-out trash cabinet in the desired location. Ensure it is level and securely positioned, especially if you plan to attach it to the wall for added stability.
Tips and Variations
- Size Adjustments: Customize the dimensions based on your trash bin size and available space. You can even add multiple compartments if you need to separate recyclables from waste.
- Soft-Close Mechanism: Install soft-close hinges for a smoother, quieter operation.
- Additional Storage: If you have extra space in the cabinet, consider adding shelves above the trash bin for storing cleaning supplies, kitchen towels, or other small items.
Conclusion
Building your own DIY Wooden Tilt-Out Trash Cabinet is a simple yet highly effective project that will not only keep your space tidy but also add an elegant touch to your kitchen or laundry room. With a few basic tools, materials, and a little time, you can create a functional and aesthetically pleasing solution to hide your trash bins, making your home feel more organized and stylish.