DIY Floating Bed Frame
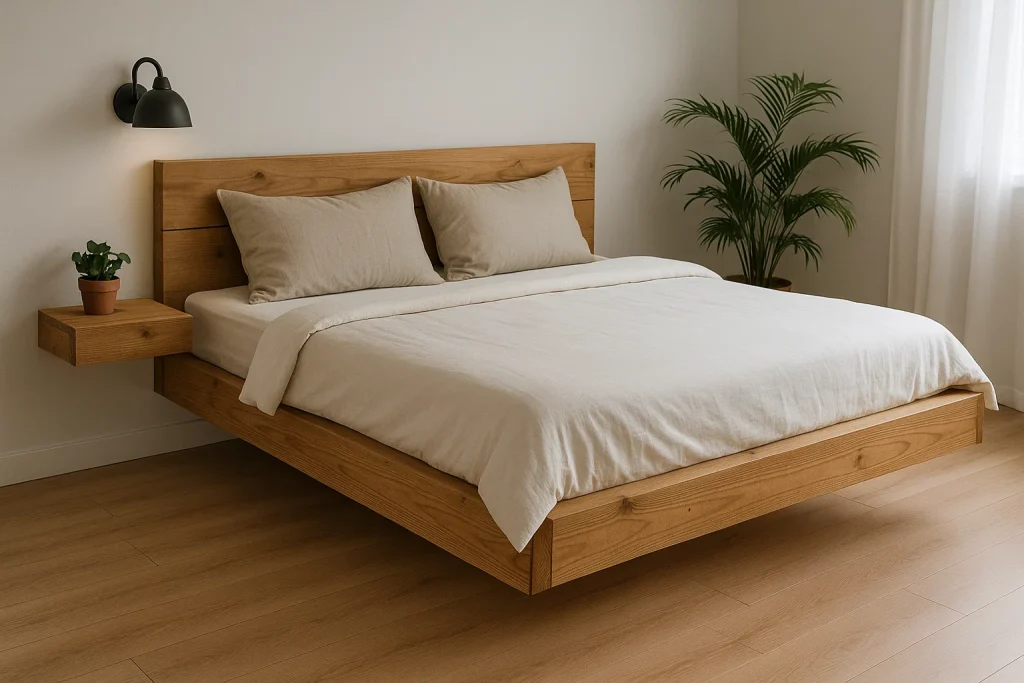
As someone who’s always loved transforming spaces, there’s something incredibly rewarding about DIY projects. They offer not only a sense of accomplishment but also the chance to infuse your personality into your home. Recently, I tackled the challenge of building a floating bed frame, and I couldn’t be happier with the results. If you’ve ever wondered how to get that sleek, modern bed frame that seems to “float” above the ground, this DIY guide is for you.
Why Opt for a Floating Bed Frame?
The allure of a floating bed frame first caught my eye when I saw it in a magazine. The idea of a bed suspended in mid-air instantly intrigued me. After some research, I realised that it was not only stylish but also practical—especially for smaller rooms. The floating bed illusion adds a sense of openness to a room by removing bulky legs and providing a clean, minimalist look.
As someone with a smaller bedroom, I found this to be a game-changer. My room instantly felt more spacious, and the bed became the focal point of the room, creating a calm, serene atmosphere. The beauty of a floating bed frame is that it provides a modern, eye-catching look while also creating more space for movement and storage.
Materials You’ll Need
Before you start, gather the following materials:
Materials:
- Wood: Plywood is a great choice, but you can also use MDF or hardwood, depending on your preference.
- Metal brackets: These are used to lift the bed off the floor, giving it the floating effect.
- Screws and wood glue are used for assembling and securing the frame.
- Power drill: Essential for making holes and securing the screws.
- Saw: To cut the wood to the right dimensions.
- Level: To ensure everything is aligned and level during construction.
Optional:
- Paint or wood stain: This will finish off the look and match the frame to your room’s decor.
- Sander: A handy tool to smooth rough edges, giving the frame a professional finish.
Step-by-Step Guide to Building Your Floating Bed Frame
Building your floating bed frame doesn’t have to be complicated. Here’s how I did it, step-by-step.
1. Planning and Measurements
The first step is to measure your mattress and decide on the size of the frame. I recommend sketching a basic design to get a visual idea of how the frame will look once completed. It’s important to decide how high or low you want your bed to be—whether you prefer a more dramatic floating effect or something subtler. Once I had the measurements and design, I was ready to move forward.
2. Cutting the Wood
I used plywood for the base because it’s sturdy yet lightweight. Using a saw, I carefully cut the pieces to the size I needed, ensuring that the cuts were straight and accurate. If you’re not comfortable with a saw, Many hardware stores offer wood cutting services for customers.. Just be sure the pieces are precise; this will ensure the bed fits your mattress perfectly.
3. Assembling the Frame
I started by assembling the rectangular base. To do this, I used wood glue to secure the corners, then reinforced the joints with screws. This formed the foundation of the floating bed. It’s important to make sure the frame is square and sturdy, as this will support the rest of the bed structure.
4. Attaching the Metal Brackets
The metal brackets are the key to creating the floating effect. I attached them to each corner of the base. These brackets will hold the frame off the ground. For added stability, I added brackets along the frame to better support the mattress and sleepers.
5. Finishing Touches
After the frame was fully assembled, I used a sander to smooth any rough edges. Once I was happy with the frame’s shape, I applied a wood stain to give it a warm, natural finish. You could also paint it for a more modern look, depending on your room’s decor.
6. Placing the Mattress
After allowing the stain to dry, I placed the mattress on top of the frame. The floating effect was immediately noticeable, and it transformed the look of the room. The bed felt like it was floating, and the space felt larger and more open.
The Benefits of a Floating Bed Frame
Building this floating bed frame was incredibly satisfying. Not only did it add a beautiful, modern touch to my room, but it also made the space feel larger. The best part is that it’s unique to my style and adds a personal touch to the room. Creating something functional and stylish with my own hands made the project even more rewarding.
If you’re hesitant to try building one yourself, I say go for it! It’s easier than it sounds, and the outcome is worth every minute. Plus, there’s something truly fulfilling about crafting something that you can enjoy every day.
Final Thoughts
If you’re looking for a way to bring a sense of modern elegance to your bedroom, while saving space, a floating bed frame is an excellent choice. It’s not only a stylish, minimalist addition to your room, but it’s also a fun and rewarding project. Whether you’re a DIY pro or a beginner, this project can be easily tackled with the right materials and patience.
So, what do you think about the floating bed trend? Have you ever considered building one, or is it something you’re thinking about trying? I’d love to hear your thoughts. Drop a comment below and let’s discuss this fun, creative project together!

