
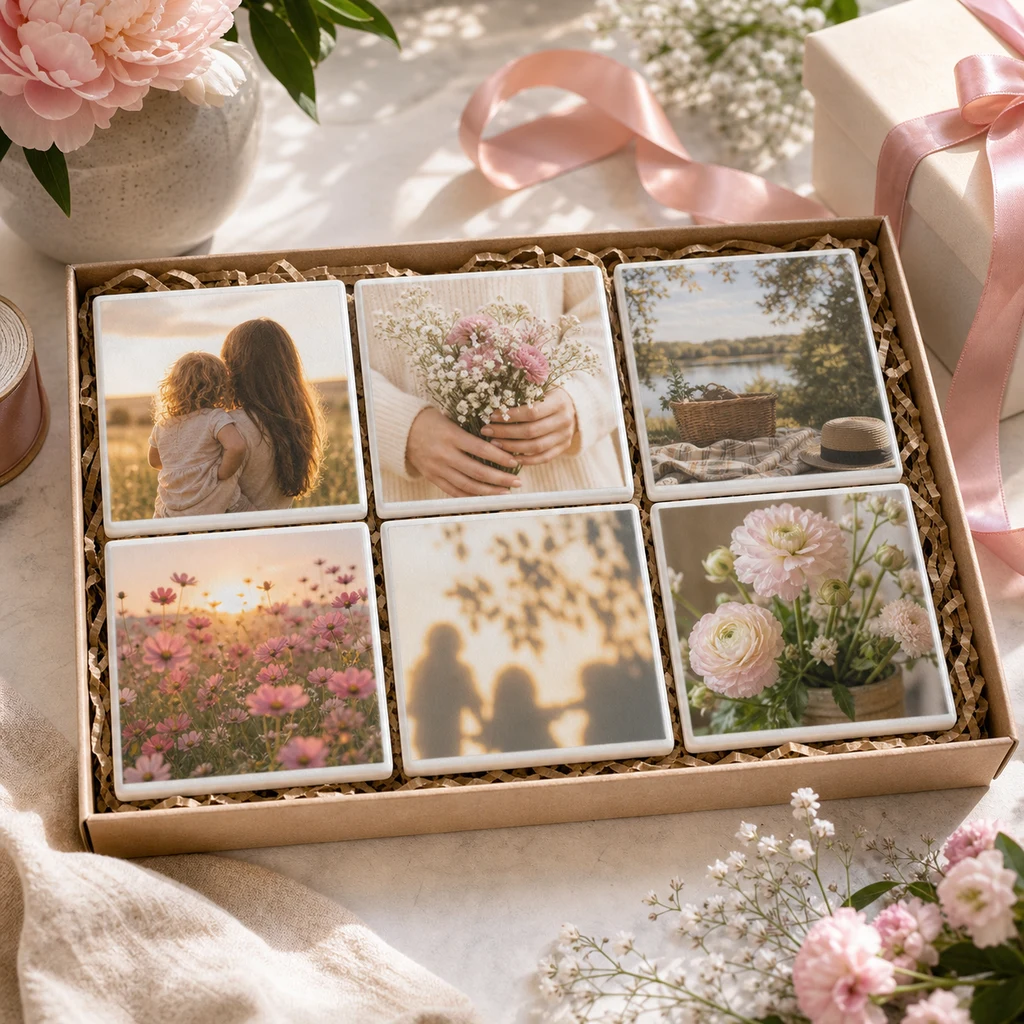
Best DIY Mother’s Day Gift: Photo Tiles is a personal handmade project that turns favorite memories into displayable keepsakes. The best version feels thoughtful without looking messy: clean square photos, smooth sealed surfaces, protected backs, and a finish that looks gift-ready.
This tutorial keeps the project realistic for a weekend craft. It explains how to choose privacy-safe photos, avoid wrinkles, seal the tiles in light coats, and finish the back so the tiles can sit on a shelf, tray, desk, or coffee table.
Why Photo Tiles Make a Meaningful Gift
Photo tiles work well for Mother’s Day because they are personal but still practical. They can be displayed as a small set, used as decorative coasters for dry items, or arranged in a memory box. Unlike a loose photo, a tile has weight and presence, which makes the gift feel more finished.
Choose images that represent a shared memory rather than relying only on formal portraits. Flowers from a favorite place, a family walk from behind, a kitchen detail, a garden scene, or a cropped hand-holding moment can feel intimate without exposing faces or personal information.
Materials Needed
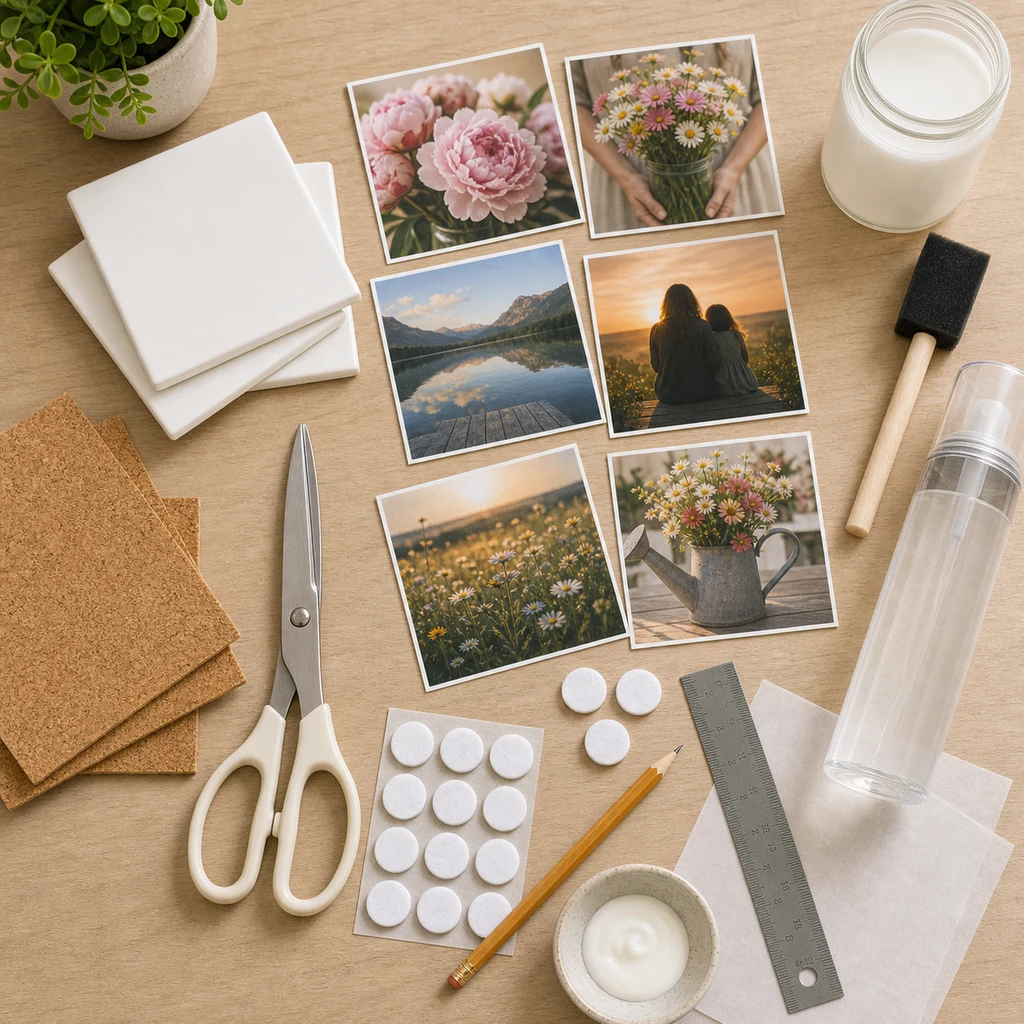
- Square ceramic tiles, usually 4×4 inches
- Printed photos trimmed to tile size
- Decoupage glue or craft sealer
- Foam brush
- Scissors or paper trimmer
- Ruler and pencil
- Clear acrylic spray sealer
- Cork sheet or felt pads
- Protective paper for the work surface
Photo Paper Choice
Matte or satin photo paper is easier to seal than very glossy paper. If using home-printed photos, let the ink dry fully before adding adhesive. Fresh ink can smear when brushed with glue.
Step 1: Select and Prepare Photos
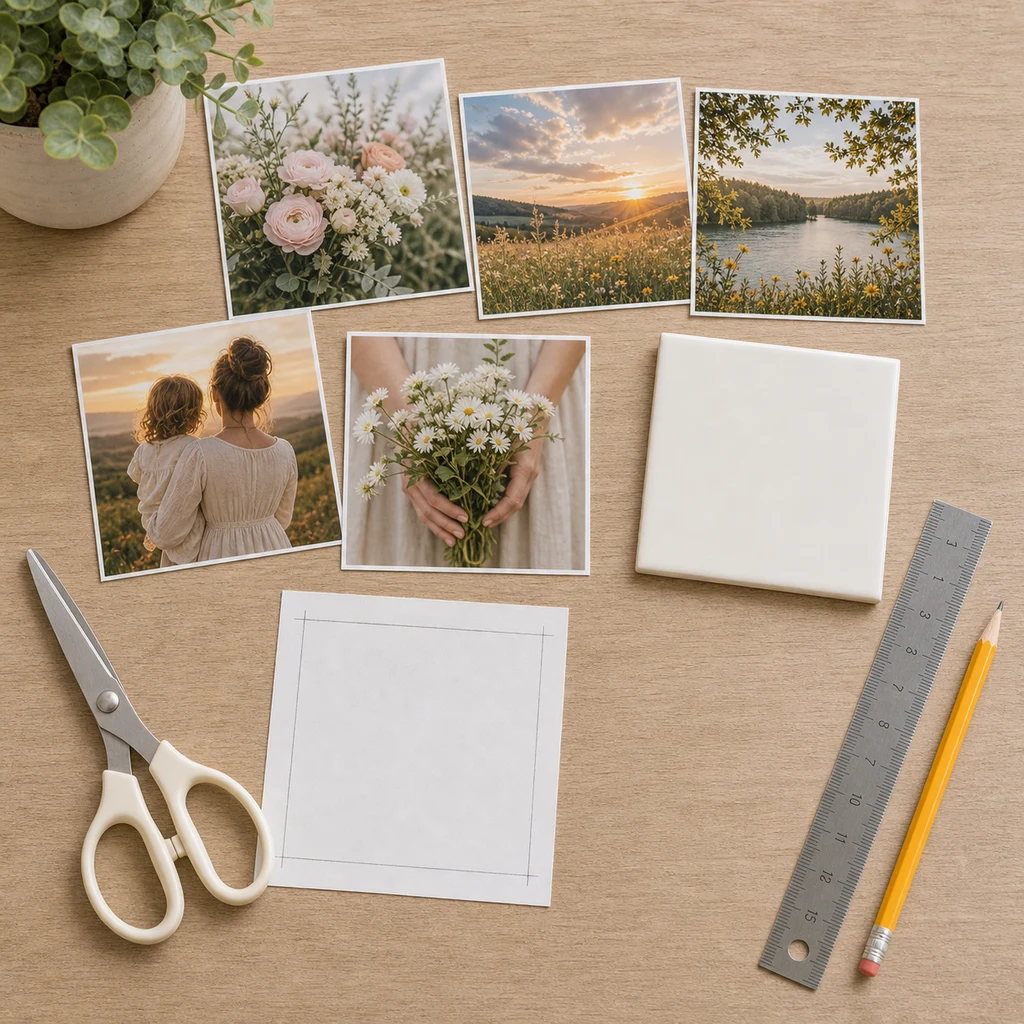
Pick photos that still make sense when cropped square. Place a tile over each print to preview the crop before cutting. Leave a small border if you like a framed look, or trim exactly to the tile edge for a cleaner modern finish.
For a gift that may be shared online or displayed in a public area, privacy-safe images are a smart choice. Use back-view silhouettes, flowers, landscapes, hands, or softly blurred moments rather than clear faces.
Which Photos Work Best
High-contrast photos usually read better on small tiles than dark, crowded images. Outdoor photos, flower close-ups, vacation views, garden details, and softly lit candid scenes tend to work well. If a photo has a lot of empty background, crop it closer so the memory feels intentional on the small square surface.
If making a set of four or six tiles, choose images that belong together visually. They do not need to match perfectly, but a shared color mood or theme makes the gift feel more curated.
Step 2: Adhere Photos to Tiles
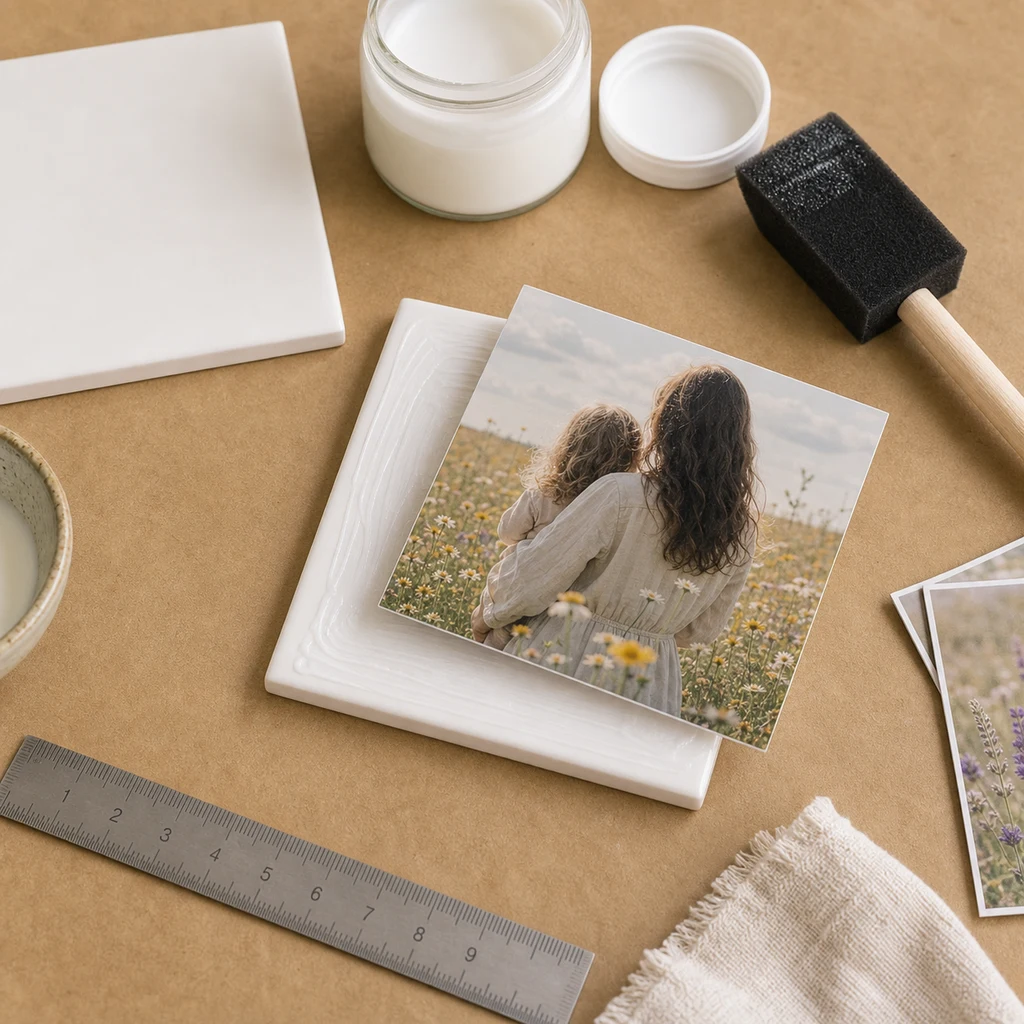
Brush a thin layer of decoupage glue onto the tile or the back of the photo. Align one edge first, then lower the rest slowly. Smooth from the center outward to push out air bubbles.
Wipe away excess glue from the tile edges before it dries. Heavy glue can create ripples, so use less than you think you need and add more only if an edge is lifting.
Step 3: Seal the Photos
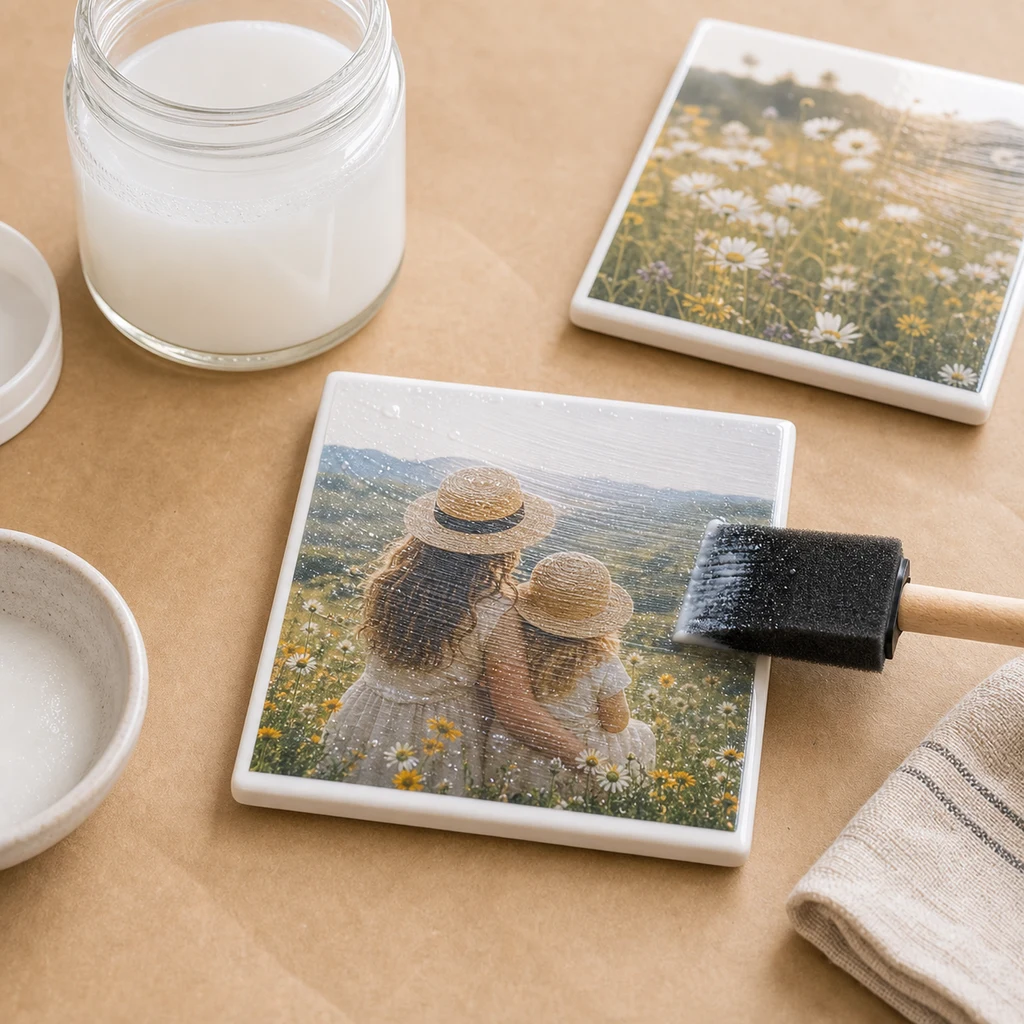
Once the photo is attached and dry, brush a thin sealant layer over the top. Let it dry completely, then add another light coat. Two or three thin coats usually look smoother than one thick coat.
Brush in the same direction for the final coat if you want a neat finish. A foam brush helps reduce streaks, but small brush texture is normal on handmade tiles.
Step 4: Add a Protective Finish
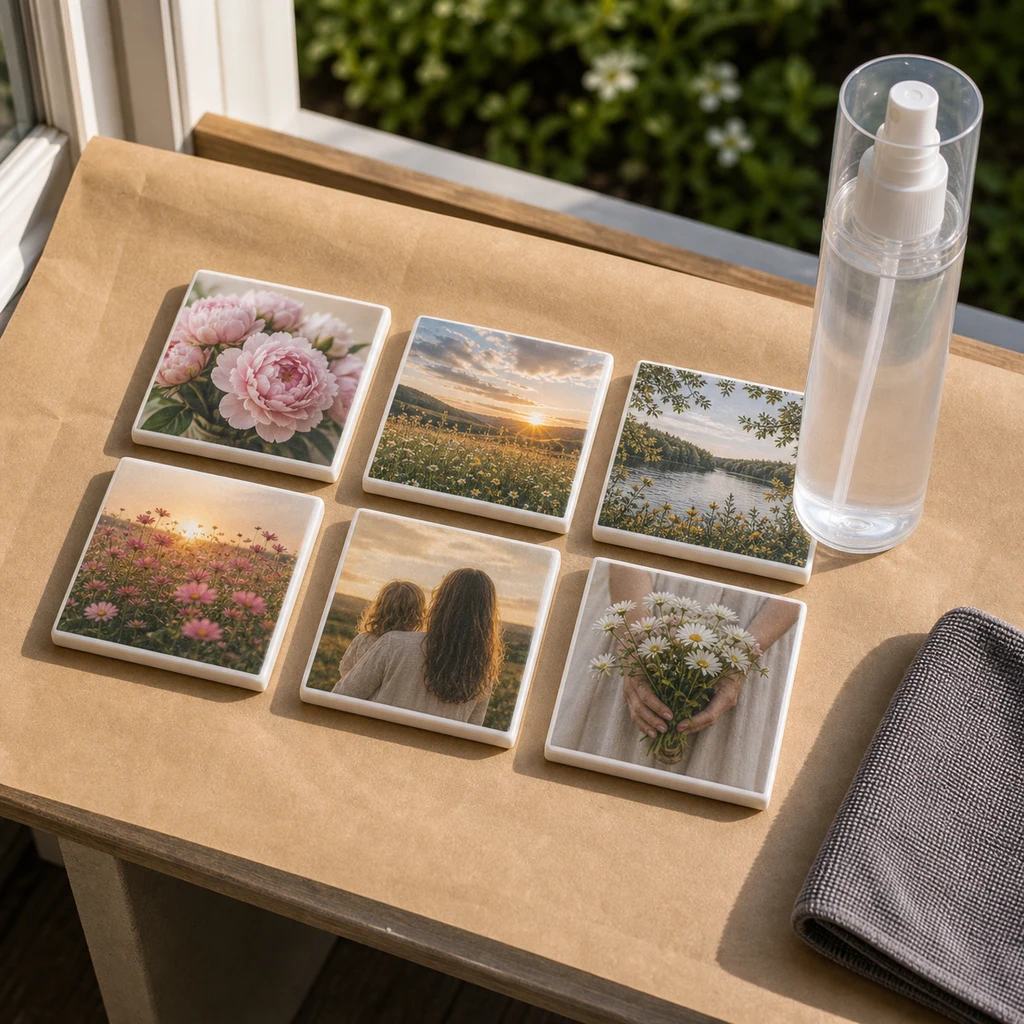
Use clear acrylic spray in a well-ventilated area and follow the product directions. Place the tiles on protective paper, spray lightly and evenly, then let them dry fully. Do not rush this step; tacky sealant can pick up lint or fingerprints.
These tiles are handmade keepsakes, not dishwasher-safe ceramic products. They should be wiped gently rather than soaked.
Step 5: Attach Backing
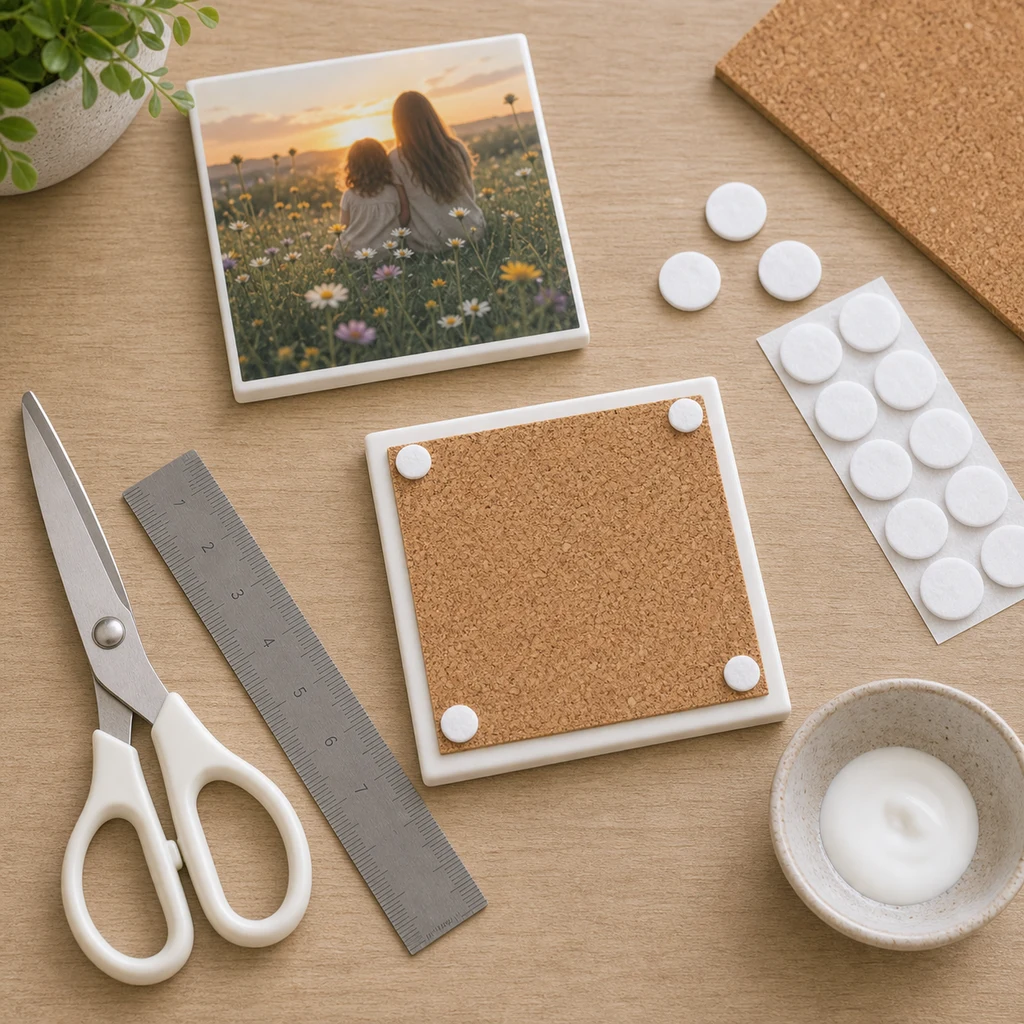
Cut cork slightly smaller than the tile or add felt pads near the corners. This protects tables and gives the tile a finished underside. Let the backing adhesive dry before stacking or wrapping the tiles.
Drying and Care Tips
Give the full set at least overnight to cure before wrapping. If the room is humid or the sealant still feels cool or tacky, wait longer. Handmade photo tiles look best when each layer has time to dry instead of being sealed while the previous layer is still soft.
If the tiles will be used as light coasters, remind the recipient to wipe them gently and avoid soaking. They are decorative handmade pieces, not dishwasher-safe ceramicware. For display-only tiles, a small easel, tray, or shadow box works beautifully.
How to Fix Small Bubbles
If a bubble appears while the adhesive is still wet, smooth it outward with clean fingers wrapped in a soft cloth or use the edge of a flat card very gently. If the bubble dries in place, do not dig at it. Add a thin sealant coat and let the texture settle; small imperfections often become less noticeable after the protective finish.
Gift Presentation Ideas
Stack the tiles with tissue paper between them, tie the set with ribbon, or place them in a shallow gift box. A small note can explain why each image was chosen. Keep the note separate from the tiles so ink or adhesive does not transfer.
For a more polished gift, make the set feel intentional. Use photos with a similar color mood, such as soft florals, garden memories, warm outdoor scenes, or black-and-white family details. A matching palette makes the finished tiles feel like a collection rather than separate craft pieces.
Common Mistakes to Avoid
The biggest mistake is using too much adhesive. A heavy glue layer can wrinkle the print, soften the ink, or leave cloudy streaks. Another common issue is sealing before the photo is fully dry. If moisture is trapped between layers, the tile can look hazy.
Avoid using important original photos. Always work from copies so the project is low-stress. Also avoid placing the tiles under heavy wet cups unless your sealant specifically says it can handle that type of use. When in doubt, present them as decorative keepsakes.
Making This Project with Kids
Kids can help choose photos, arrange tiles, pick ribbon, or add felt pads, but an adult should handle sharp cutting tools and spray sealer. If children are brushing on decoupage glue, use a washable work surface and keep the coats thin. The project is more fun when each person makes one tile instead of rushing through a whole set.
For a classroom or group craft, prepare pre-cut photos and cork squares ahead of time. That keeps the activity focused on arranging, gluing, and gifting rather than waiting for every child to measure and trim.
More DIY Gift Ideas
For related handmade projects, try cute and easy DIY whiteboard, DIY cocktail mason jar gifts, easy DIY wall art, and more DIY Crafts.