
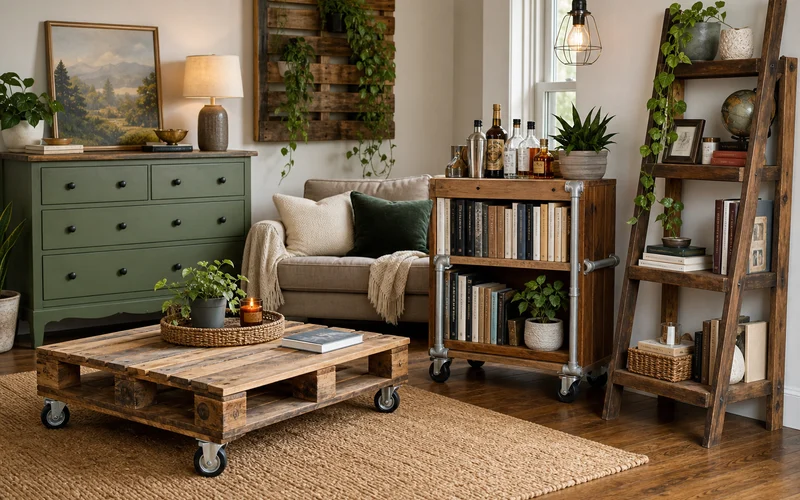
Want to refresh your home without buying all-new furniture? These 20 creative furniture hacks turn thrift finds, hand-me-downs, and forgotten pieces into storage, seating, and statement decor you will actually use. Most projects need basic tools, a weekend afternoon, and a willingness to experiment with paint, fabric, and a little elbow grease.
This roundup covers bar carts, pallet tables, ladder shelves, chalk-paint finishes, and clever storage swaps—plus a prep checklist and FAQ so you can pick the right project first. For more weekend-friendly ideas, explore our 10 easy DIY home crafts for a cozy space and upcycled home decor ideas that inspire.
Guide Snapshot
- Best for: renters, thrifters, budget decorators, and anyone with one piece worth saving
- Skill range: beginner-friendly paint and styling to intermediate wood and upholstery projects
- Typical cost: $15–$80 per hack depending on supplies and thrift prices
- Biggest wins: custom storage, mobile furniture, and one-of-a-kind focal points
- Start here: pick one piece you already own and match it to a hack below
Before You Start: Furniture Hack Checklist
- Measure your room and the piece you are transforming
- Sand, clean, and repair loose joints before paint or fabric
- Test paint or stain on a hidden spot first
- Use primer on glossy or laminate surfaces
- Choose casters rated for the weight you will load
- Work in a ventilated area when using spray paint or adhesive
- Photograph the original piece so you can reverse simple changes later
- Style with one or two accessories so the hack feels finished, not half-done
20 Creative Furniture Hacks to Try This Weekend
Each idea below includes what you need, how to execute it, and styling tips. Pair shelf projects with our DIY chunky wooden floating shelves tutorial for a cohesive look.
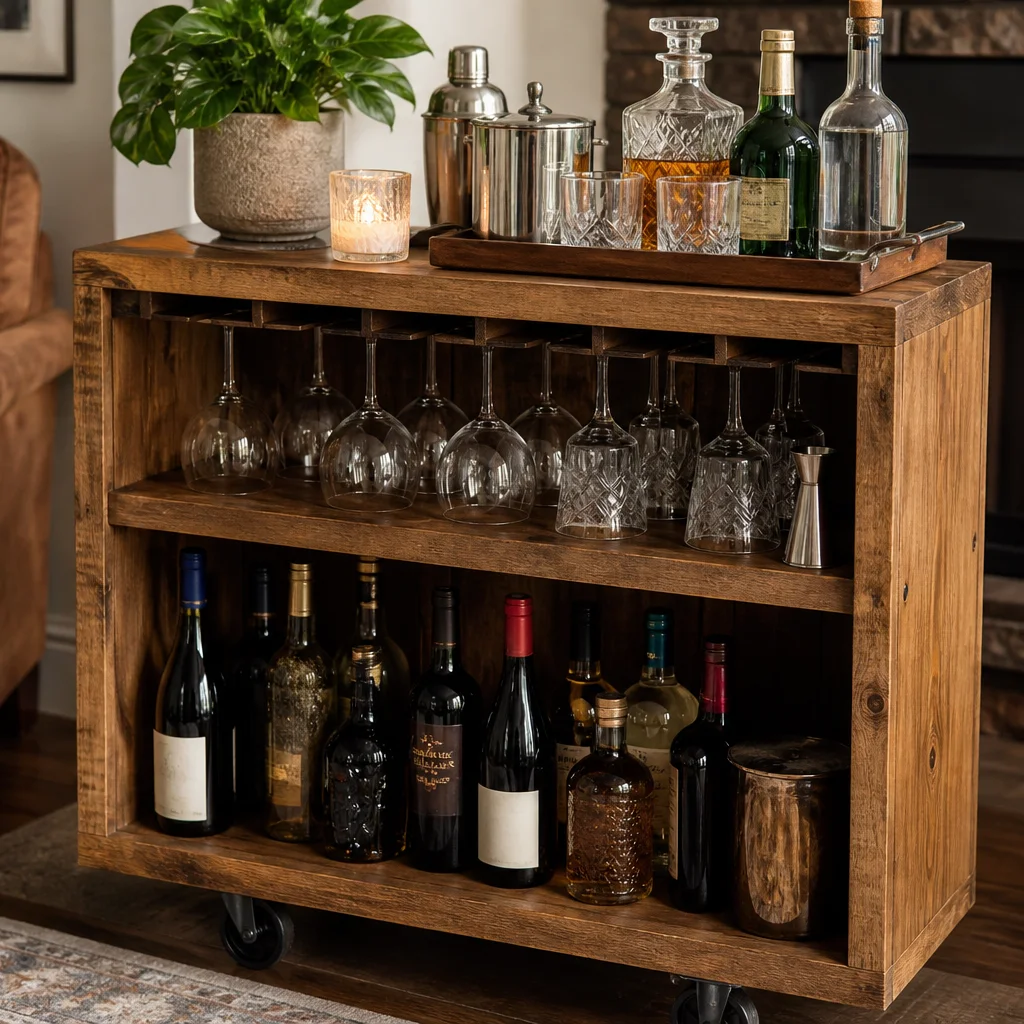
1. Turn a Bookshelf into a Bar Cart
A narrow bookshelf on casters becomes a rolling bar cart in an afternoon. Add locking wheels, cup hooks on the side, and a tray on top for glassware. Stain or paint the shelves to match your living room or dining nook.
Tip: Use a lip rail or shallow edge trim so bottles do not slide when you roll the cart across tile.
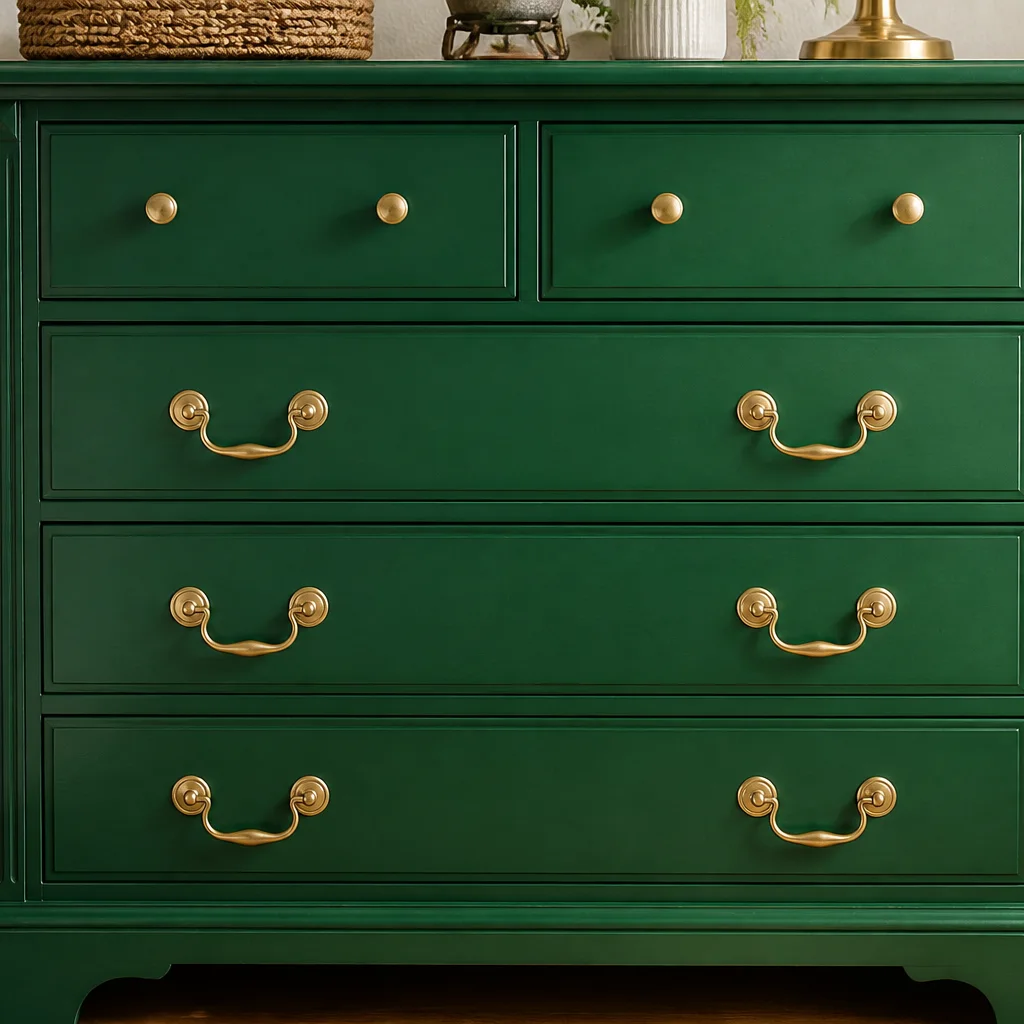
2. Paint Old Dressers with Bold Colors
Sand lightly, prime if the finish is shiny, then roll on two coats of satin or semi-gloss paint. Emerald, navy, and terracotta turn a tired dresser into a bedroom focal point. Swap hardware for brass or matte black pulls to complete the look.
For budget-friendly room refreshes beyond paint, see easy ways to transform your home on a budget.
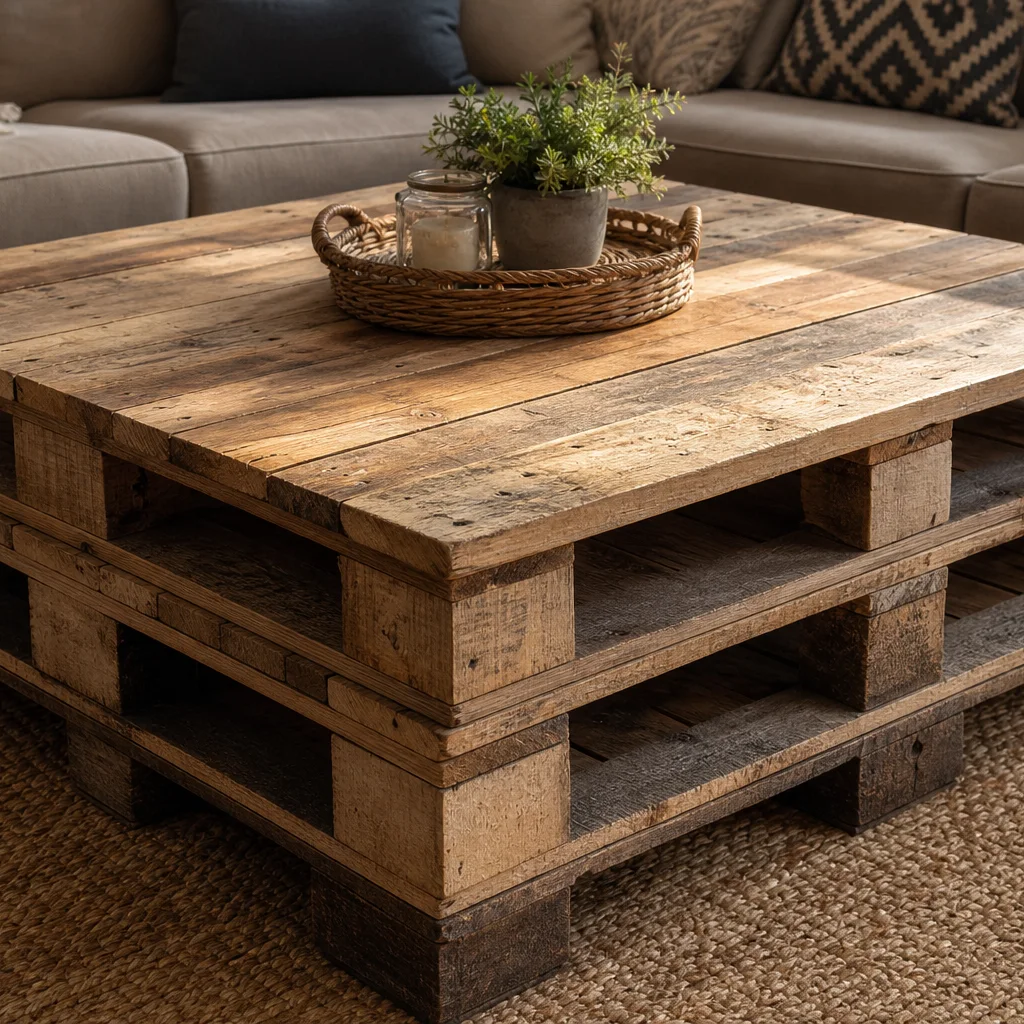
3. Create a Rustic Coffee Table from Pallets
Disassemble heat-treated pallets, sand splinters smooth, and screw boards onto a simple frame. Seal with polyurethane for durability. Add hairpin legs for a modern twist or keep chunky wood legs for farmhouse style.
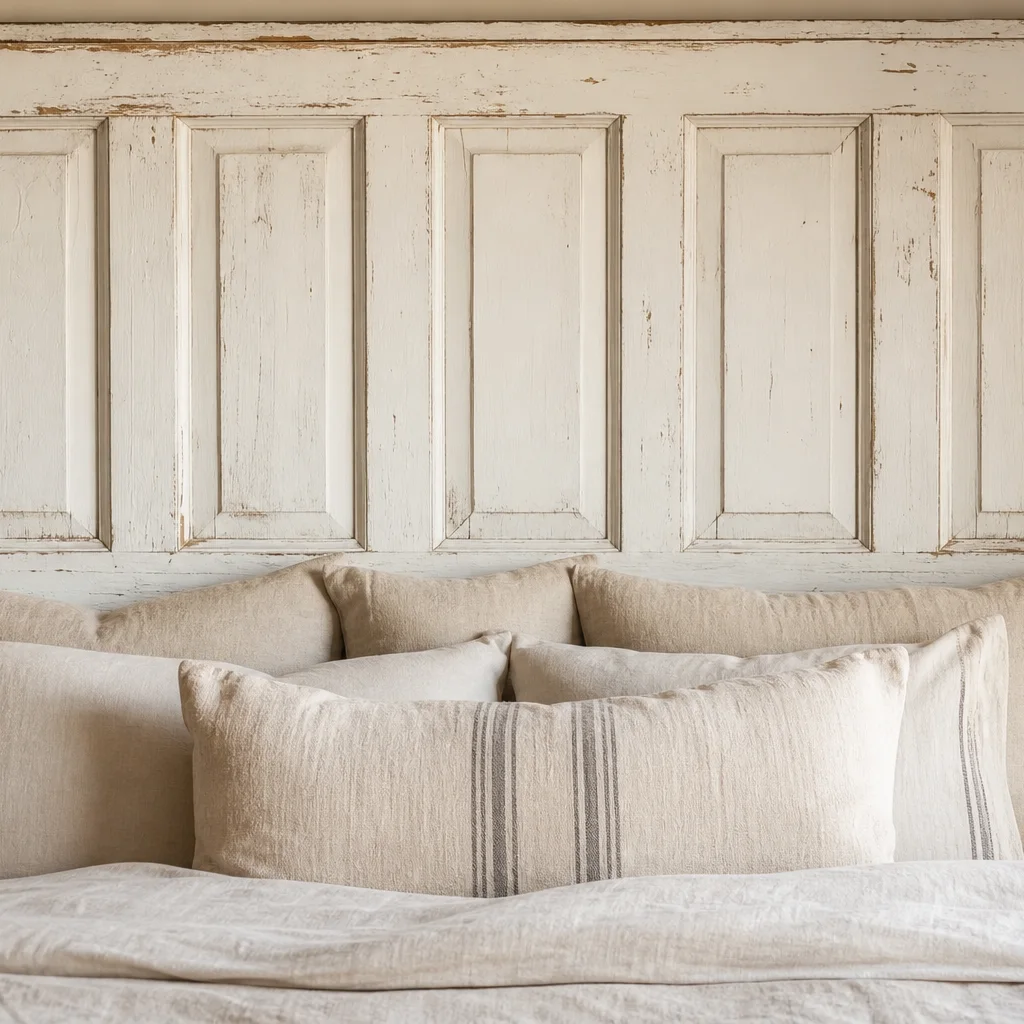
4. Use Old Doors as Headboards
A vintage panel door behind the bed adds instant character. Sand, paint or whitewash, then secure to the wall with heavy-duty brackets. Center the door with your mattress and flank with matching nightstands.
Love reclaimed wood elsewhere? Our rustic DIY platform bed tutorial pairs beautifully with a door headboard.
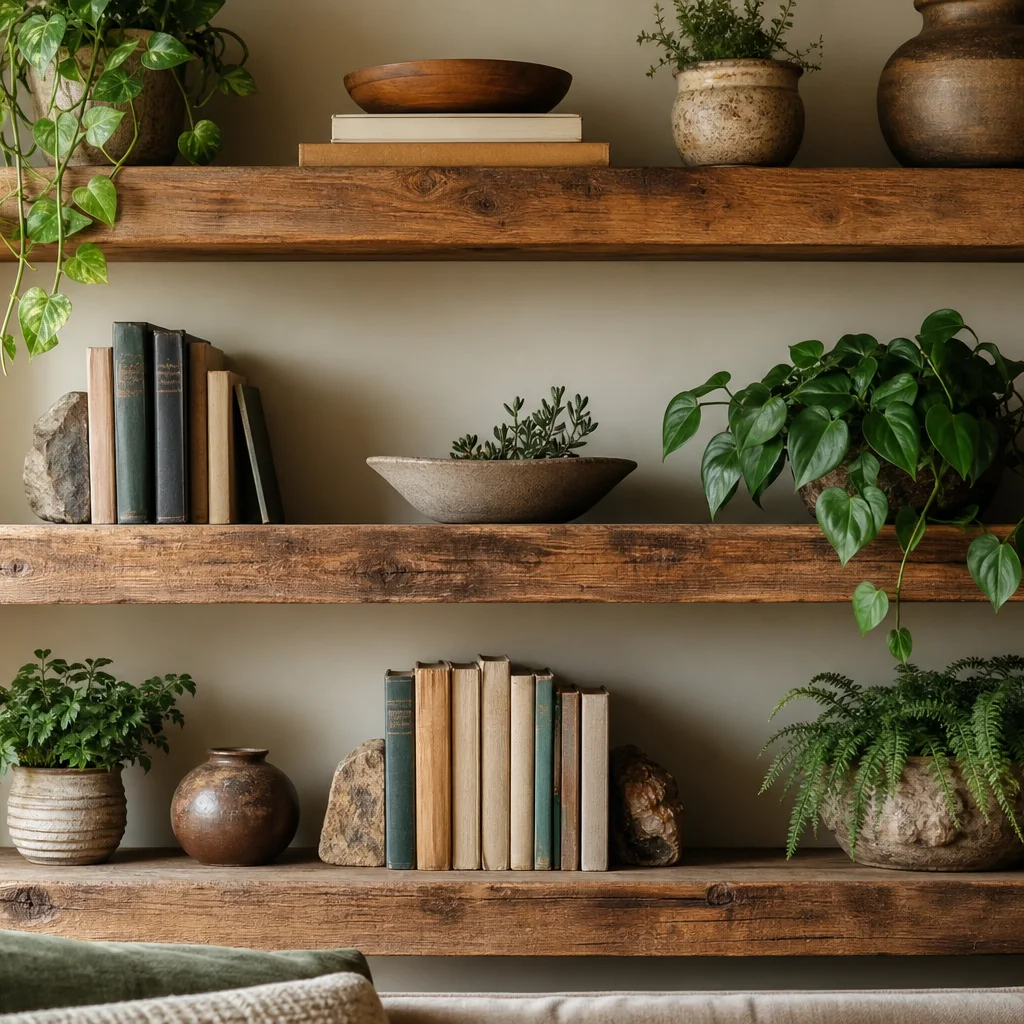
5. Floating Shelves from Reclaimed Wood
Thick reclaimed planks on hidden brackets add storage and texture. Level carefully, locate studs, and finish with clear wax or matte sealant. Style with plants, books, and ceramics.
For a step-by-step build, follow our DIY scalloped floating shelves guide for another shelf style.
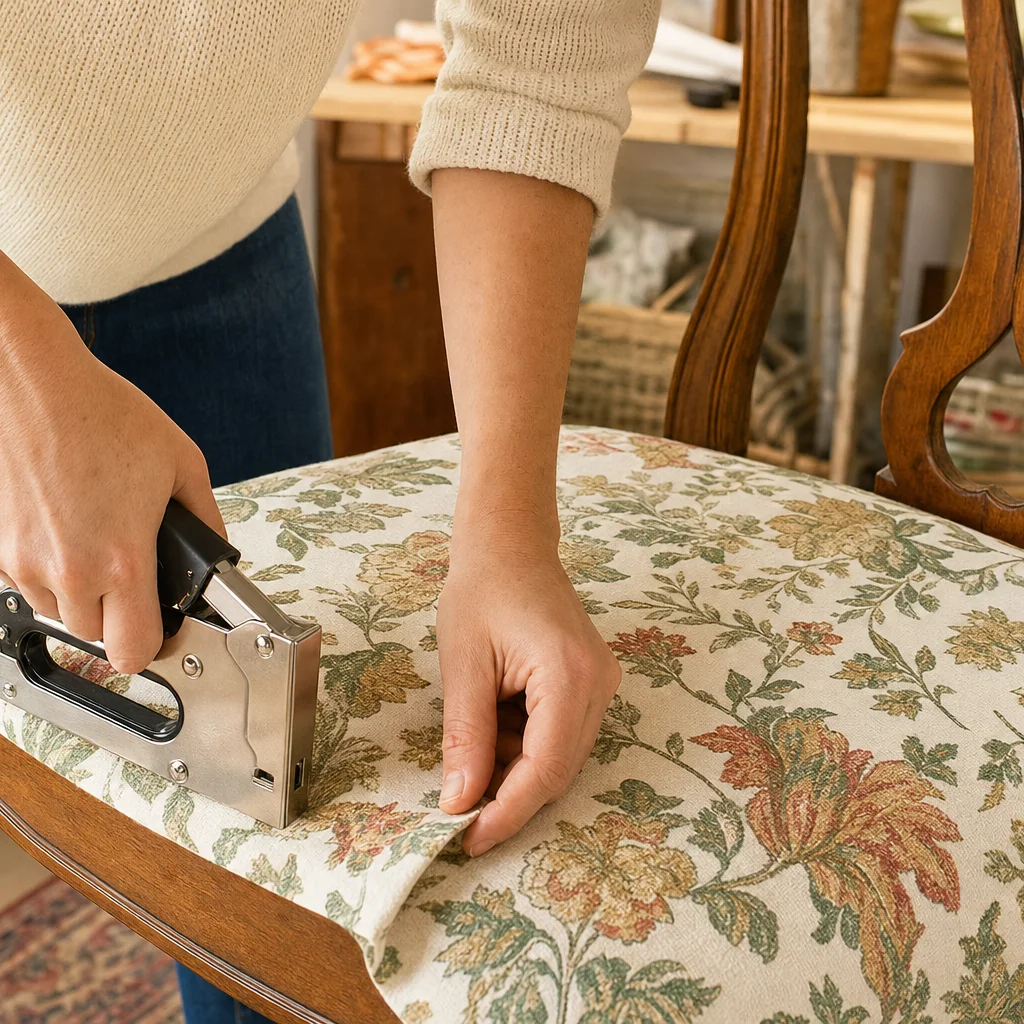
6. Upholster an Old Chair with New Fabric
Remove the seat pan or staple fabric directly over worn upholstery on simple dining chairs. Choose durable woven fabric and use a staple gun with consistent tension. Add trim or nailhead strip for a polished edge.
7. Use Vintage Suitcases as Side Tables
Stack two or three hard-shell suitcases and top with a tray or cut piece of glass. Store seasonal linens or magazines inside. Mix sizes and colors for eclectic charm beside a sofa or bed.

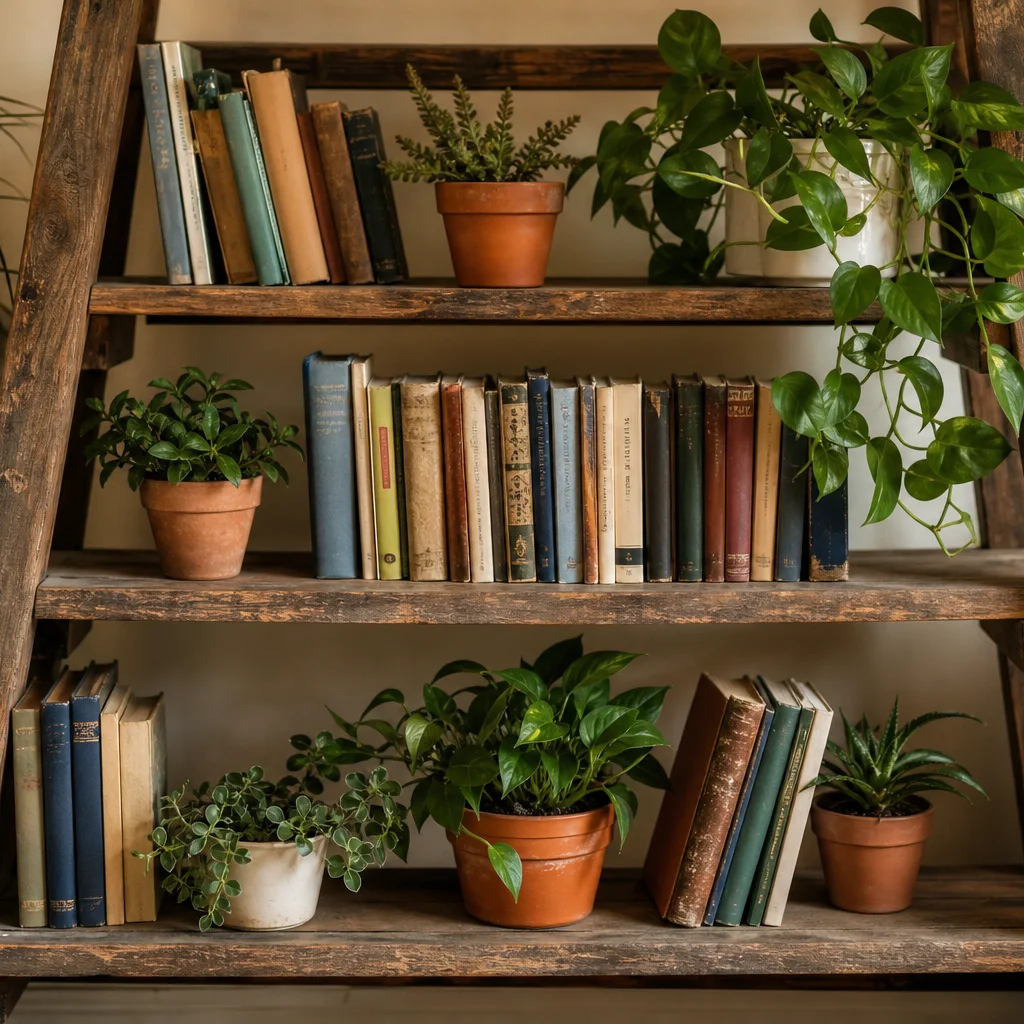
8. Turn an Old Ladder into a Bookshelf
Secure a wooden ladder horizontally or lean it against the wall and add planks across the rungs. Paint or stain to match your room. Perfect for blankets in a bedroom or cookbooks in a kitchen corner.
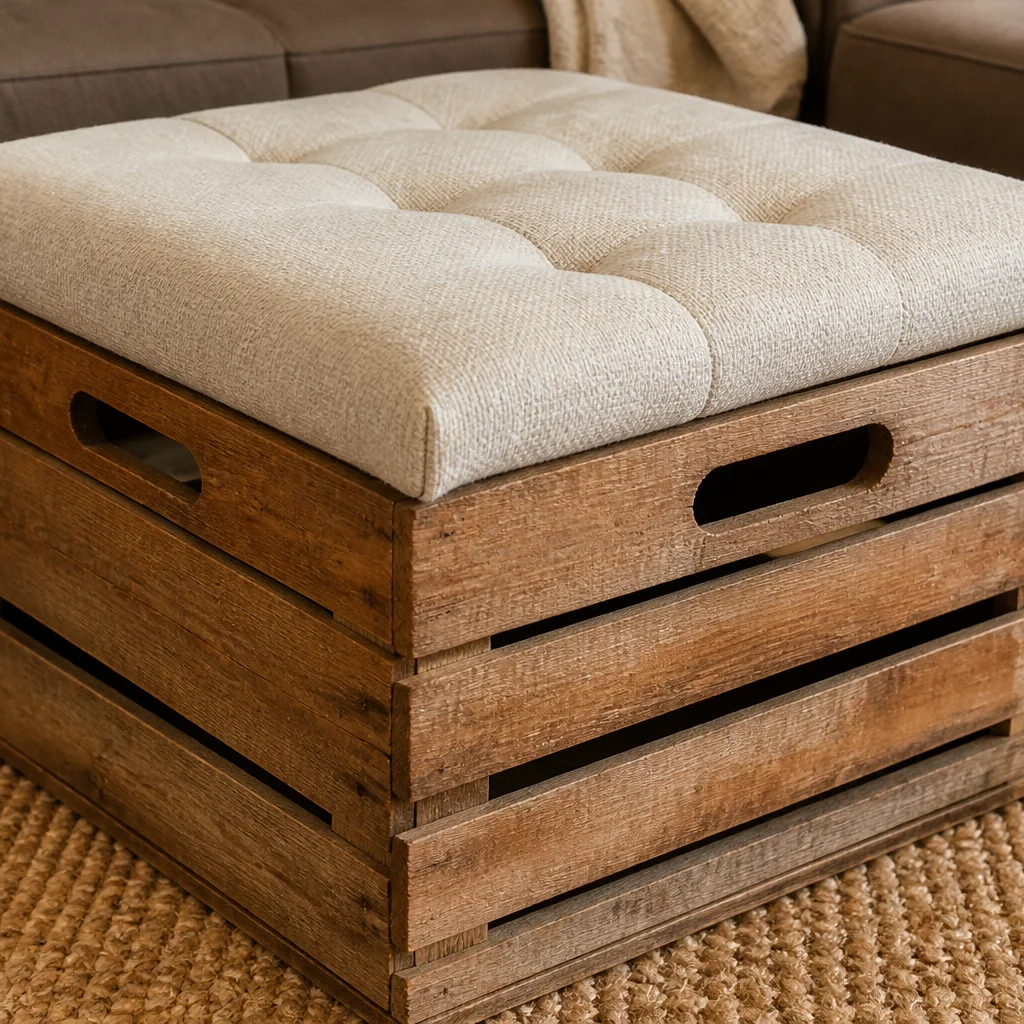
9. DIY Ottoman from a Wooden Crate
Flip a sturdy crate, add a foam cushion wrapped in fabric, and optional casters underneath. Use it as a footrest, extra seat, or coffee-table companion. L-brackets keep the cushion secure.
10. Upcycle a Dresser into a TV Stand
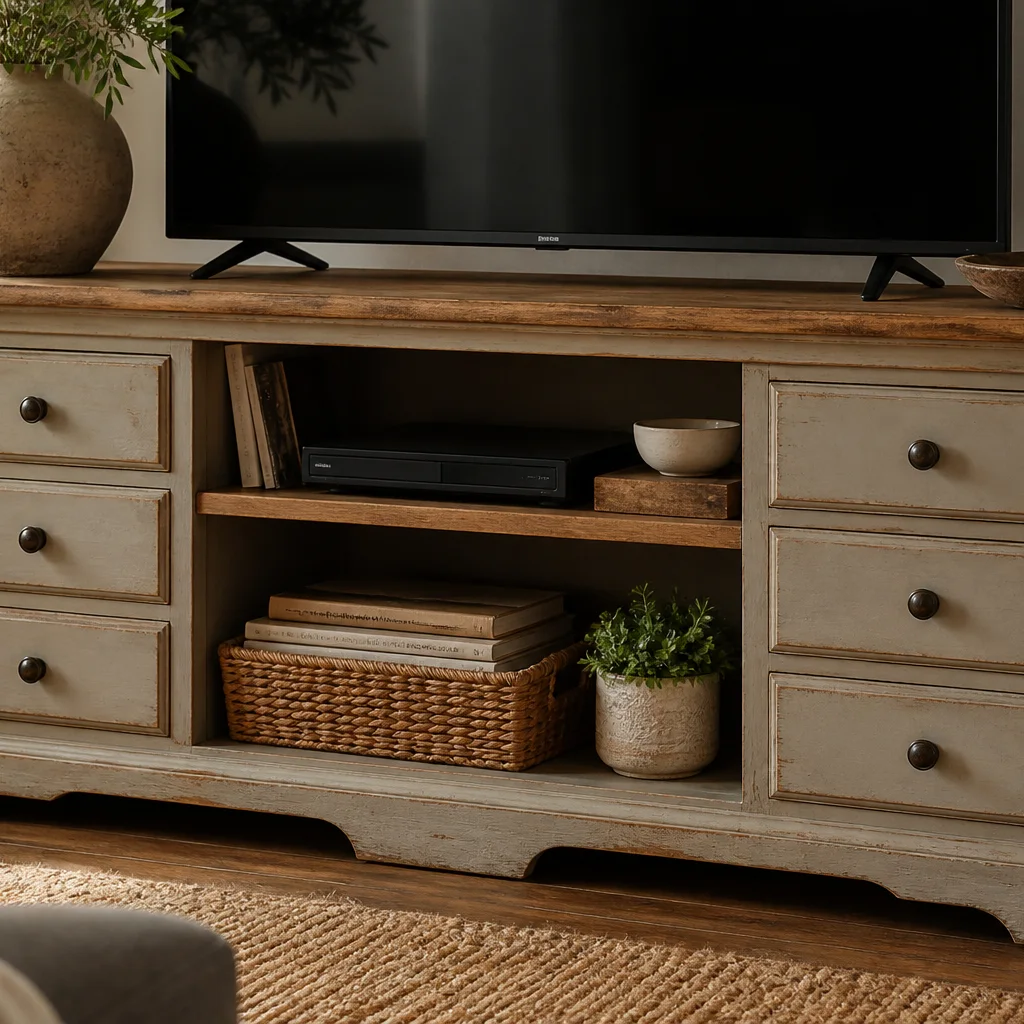
Remove top drawers or cut false drawer fronts to create open shelving for consoles and baskets. Drill cable holes in the back panel and add a power strip inside. Paint to match your media wall.
11. Chalk Paint for a Distressed Look
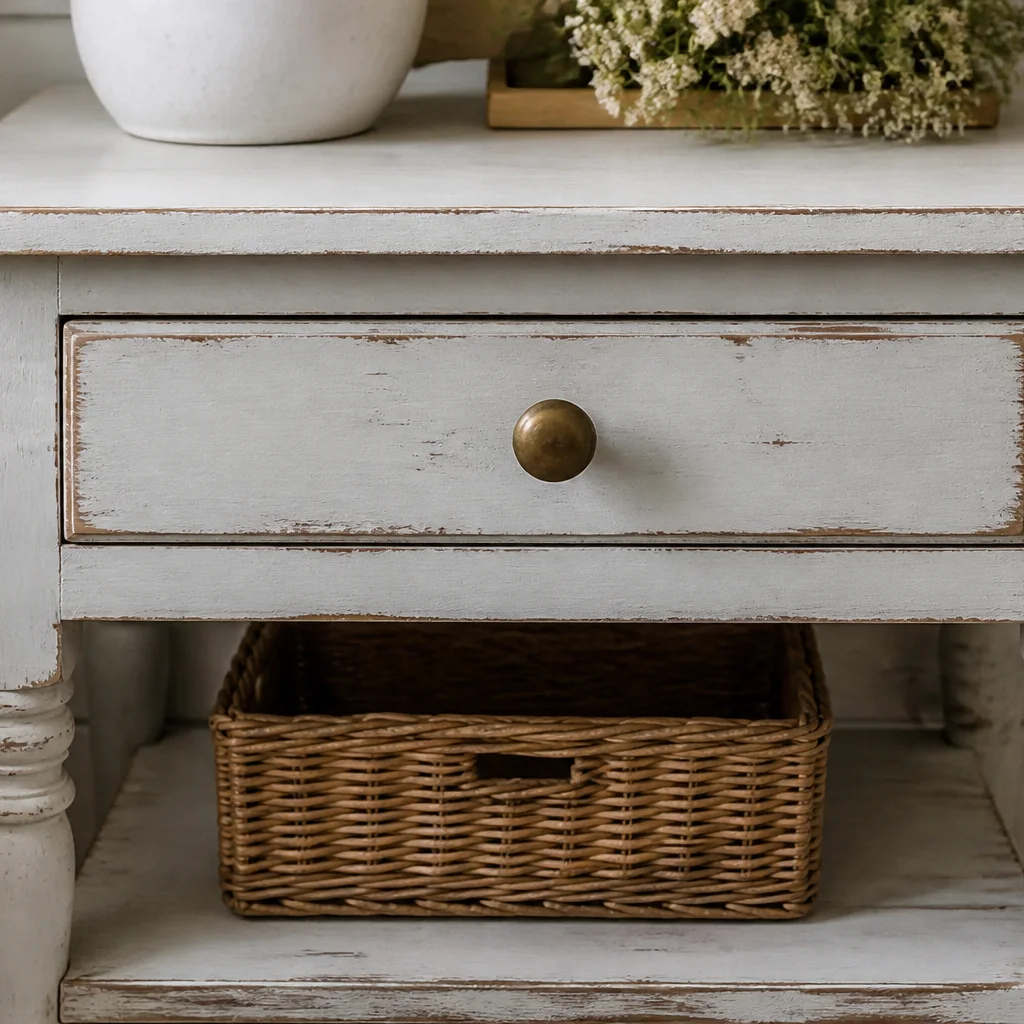
Chalk paint adheres to most surfaces with minimal prep. Apply two coats, sand edges for wear, then seal with clear wax. The result feels collected and timeworn—ideal for side tables and console cabinets.
12. Make a Bench from an Old Bed Frame
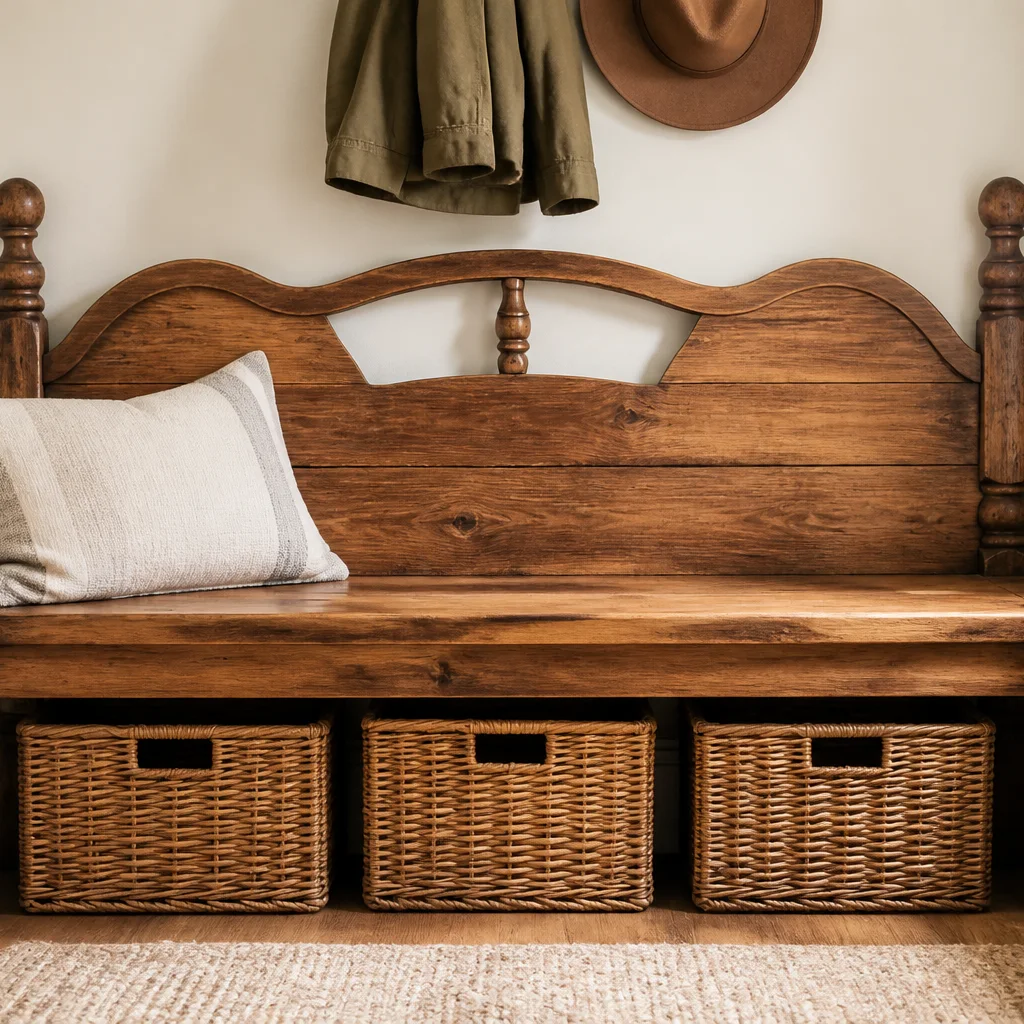
Cut the footboard and headboard sections to bench length, join with a seat plank, and sand smooth. Paint or stain to match your entryway. Add a cushion and baskets underneath for shoes.
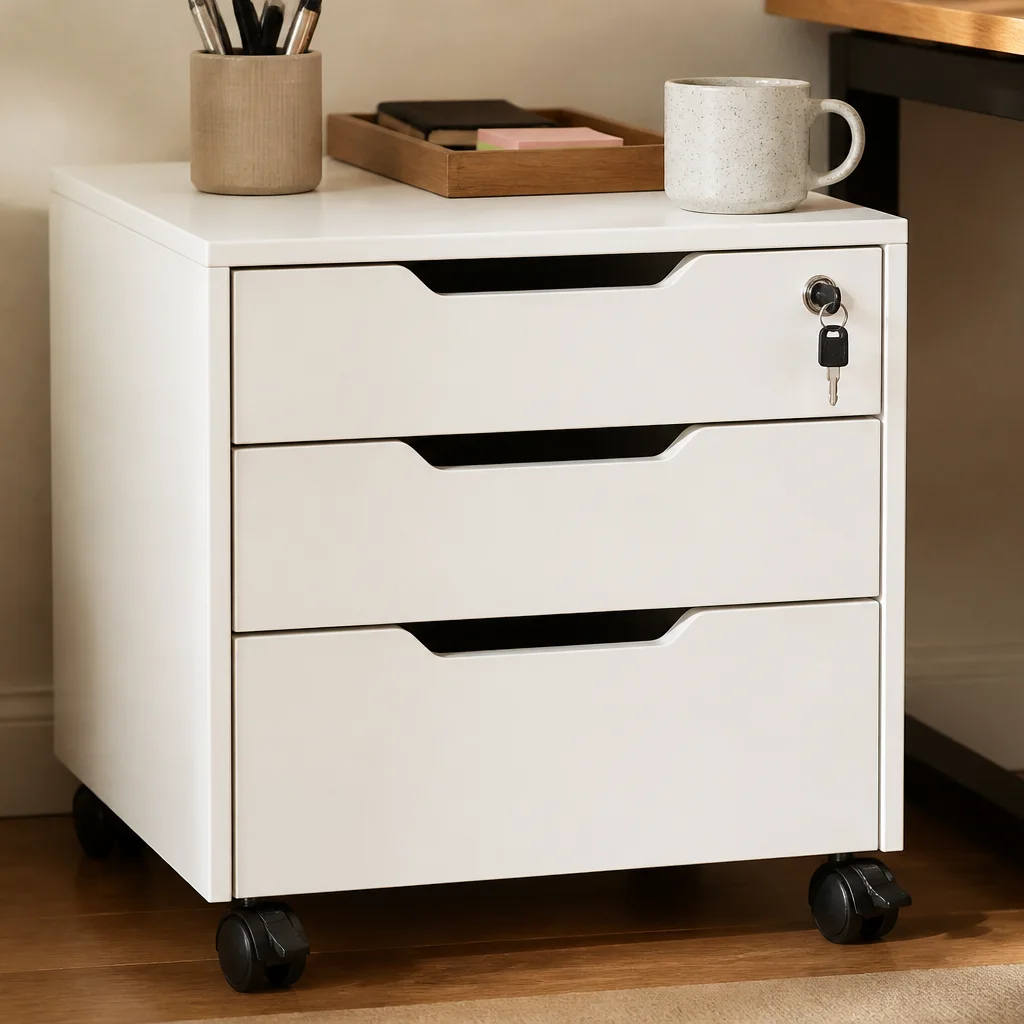
13. Add Casters to Cabinets for Mobility
Small cabinets and low dressers move easily on four locking casters. Pre-drill, use washers, and check weight ratings. Great for craft rooms, kitchens, and home offices where layout changes often.
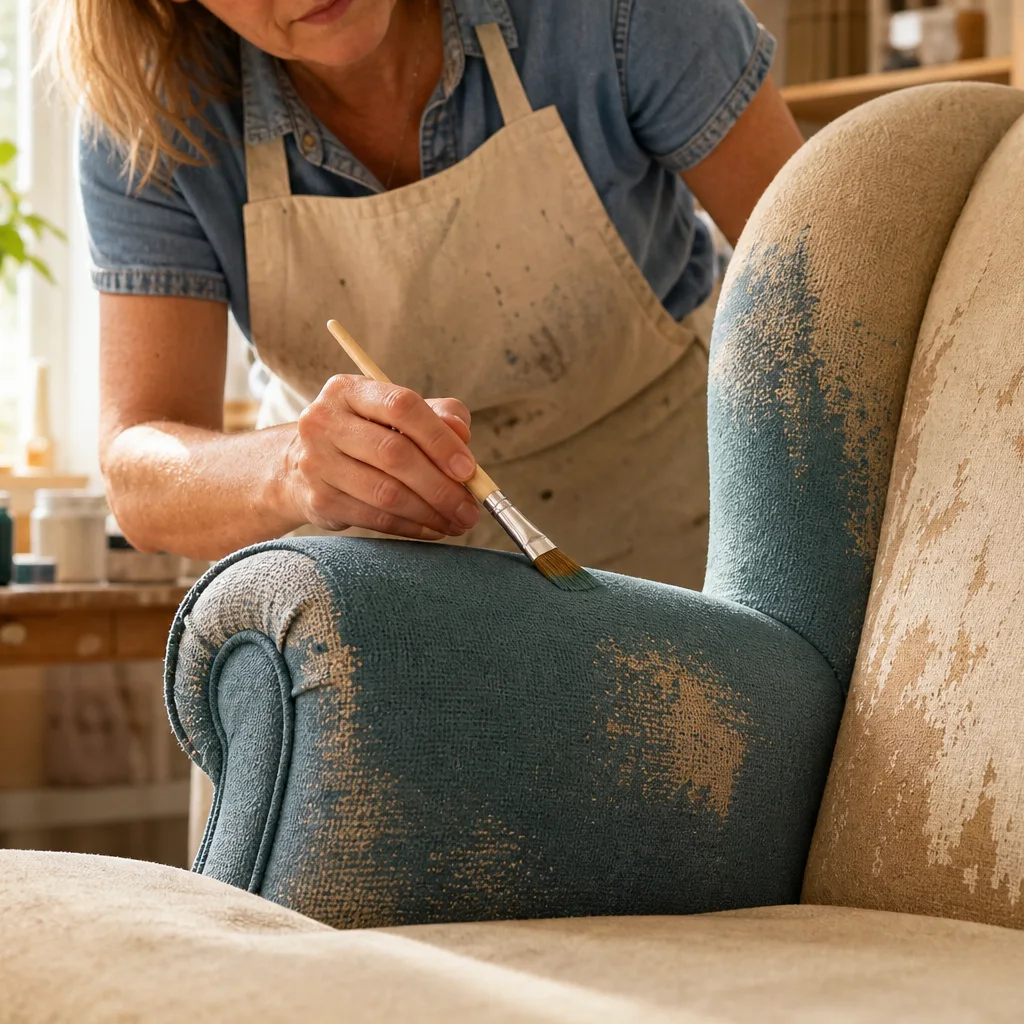
14. Use Fabric Paint to Refresh Upholstery
Fabric paint revives faded sofa arms, dining chairs, and ottomans without reupholstering. Clean the fabric, apply thin coats, and heat-set if the product requires it. Stick to solids or subtle textures for best coverage.
Combine with soft textiles from our no-sew pillow cover tutorial for a coordinated refresh.
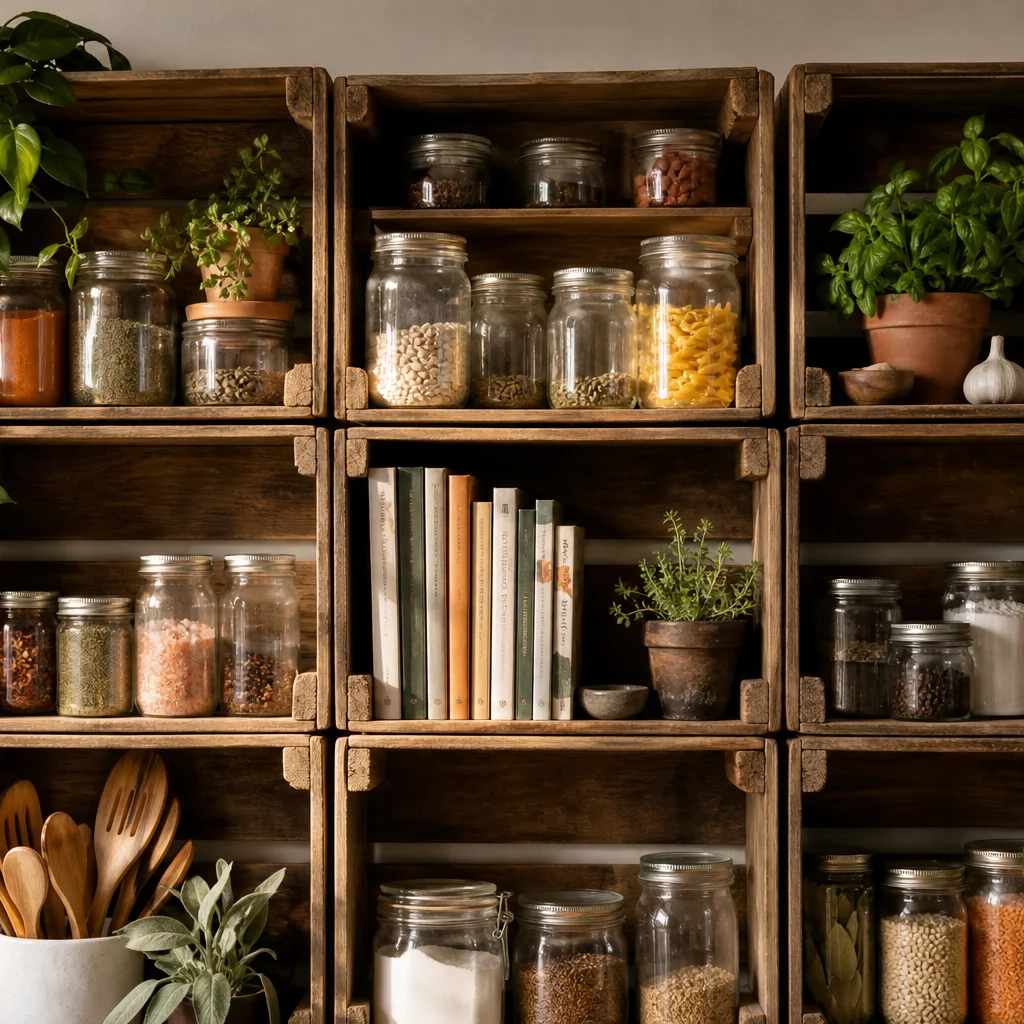
15. Turn Wine Crates into Wall Storage
Mount wooden wine crates on studs in a grid or staggered pattern. Use them in the kitchen for spices, the bathroom for rolled towels, or a home office for files. Sand and stain for a unified look.
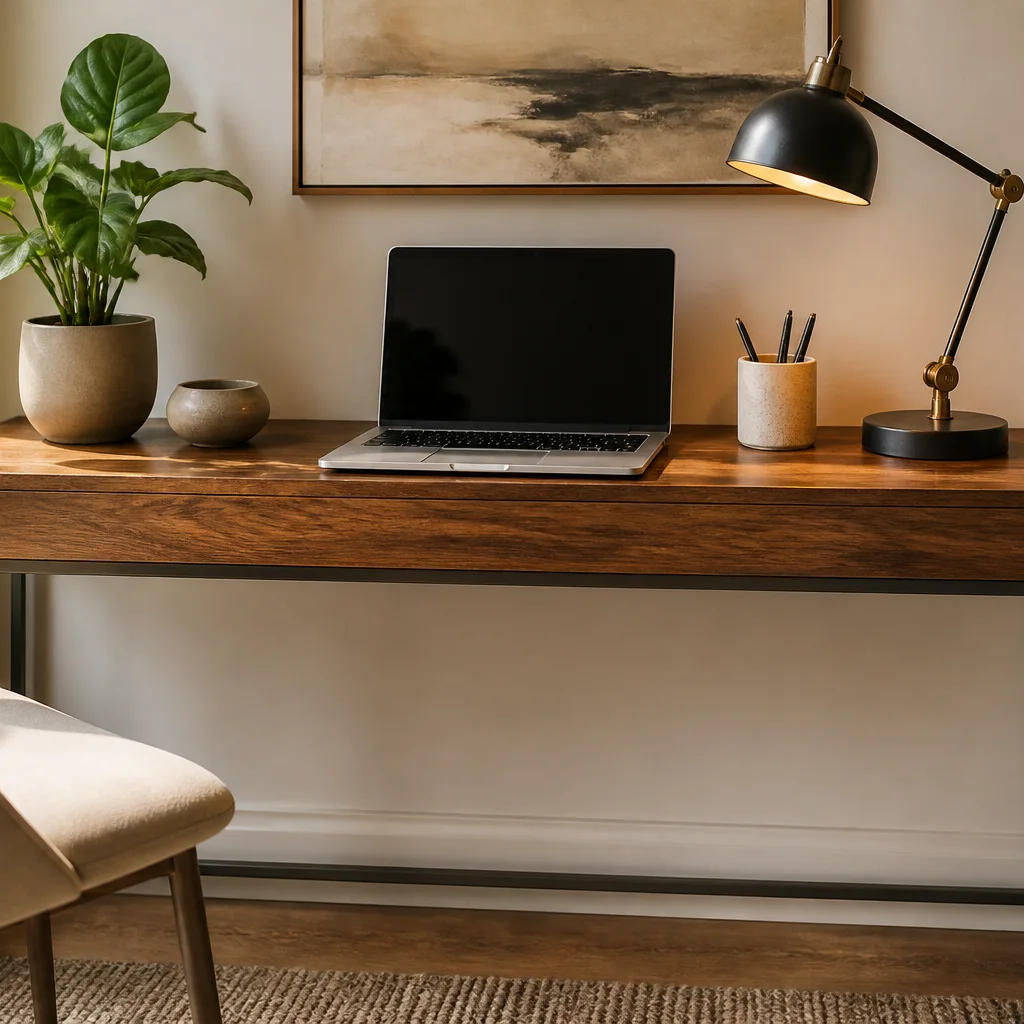
16. Convert a Console Table into a Desk
A slim console behind a sofa becomes a compact desk with a laptop, task lamp, and floating shelf above. Add a file basket underneath and cable clips on the back leg. Ideal for studio apartments and hallway workspaces.
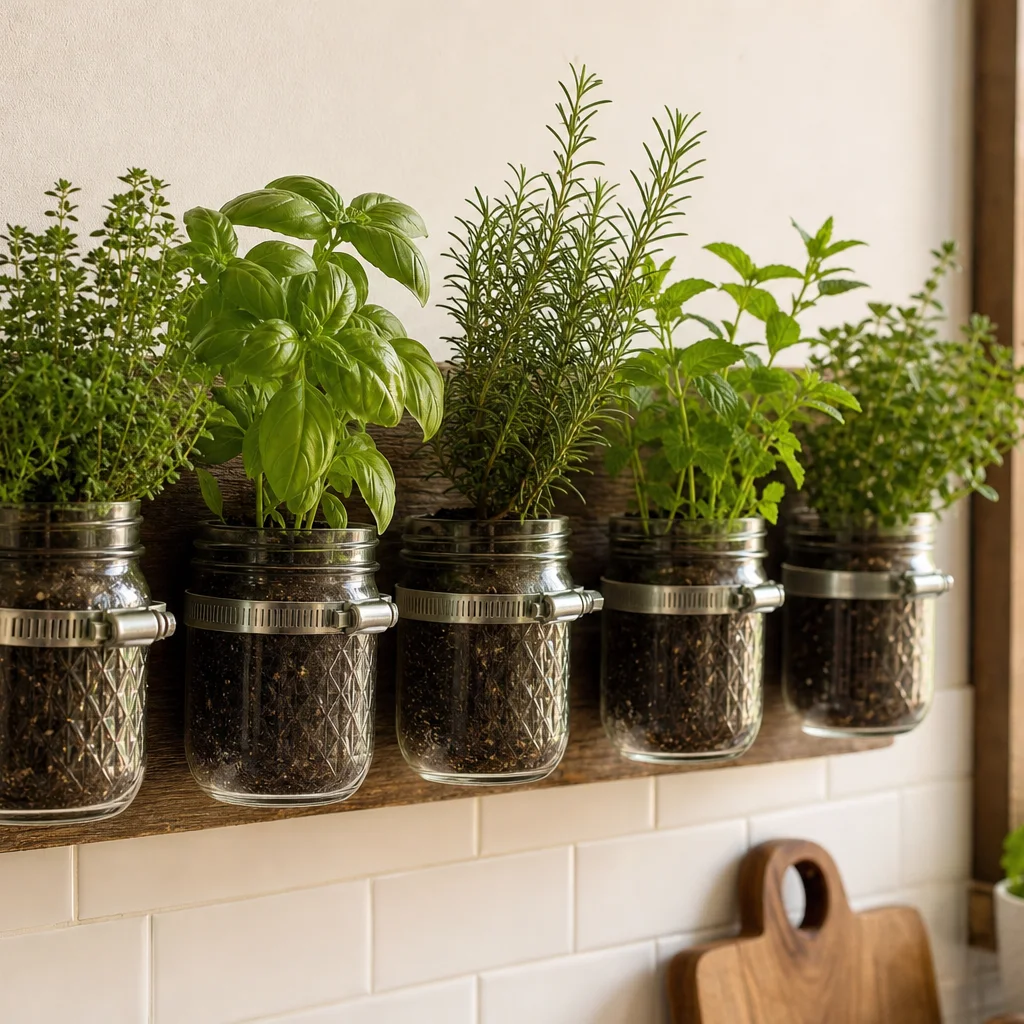
17. Hanging Herb Garden from Wooden Planks
Mount a horizontal plank, attach hose clamps or metal rings, and suspend mason jars planted with herbs. Place near a sunny kitchen window. Label jars and line with pebbles for drainage.
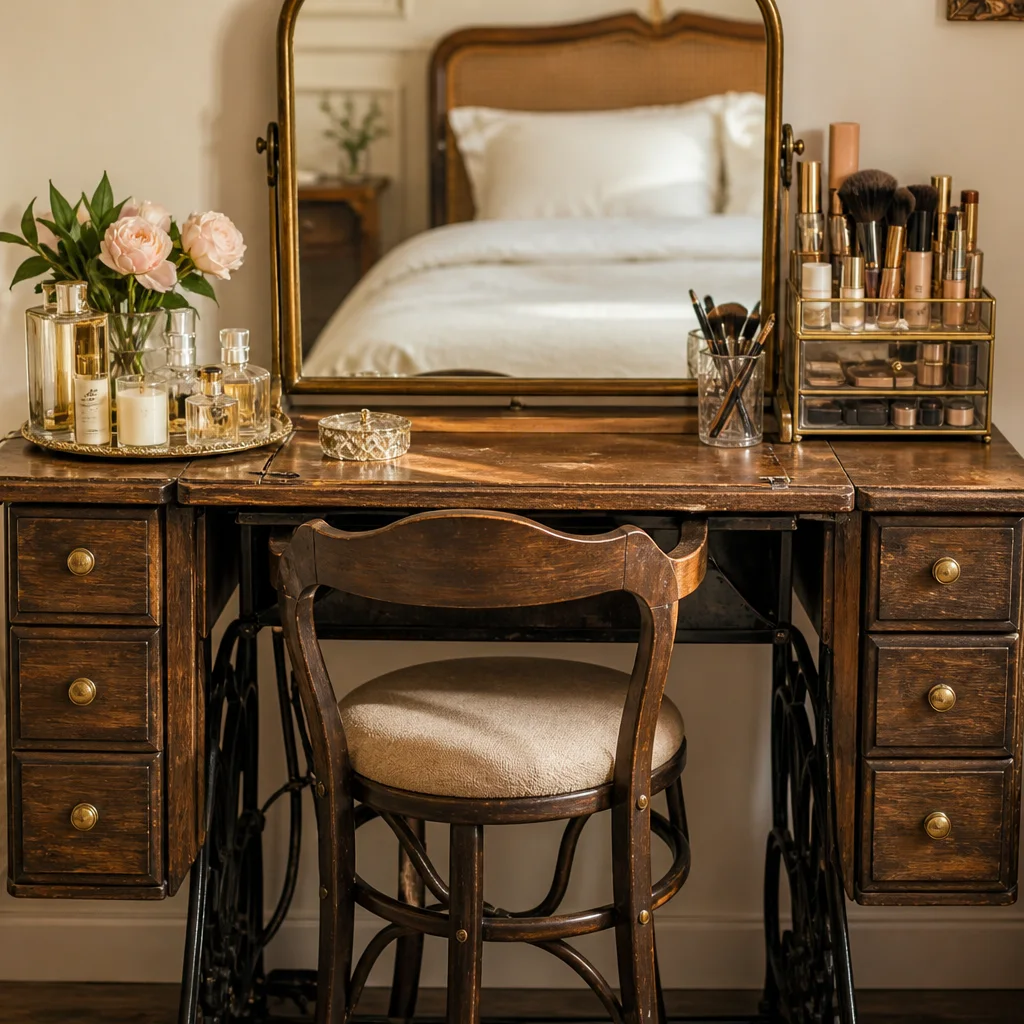
18. Repurpose a Sewing Table as a Vanity
Vintage sewing tables already have a drop leaf and storage cubby—perfect for a vanity. Add a mirror, acrylic organizers, and a small stool. Sand and paint the base to match your bedroom palette.
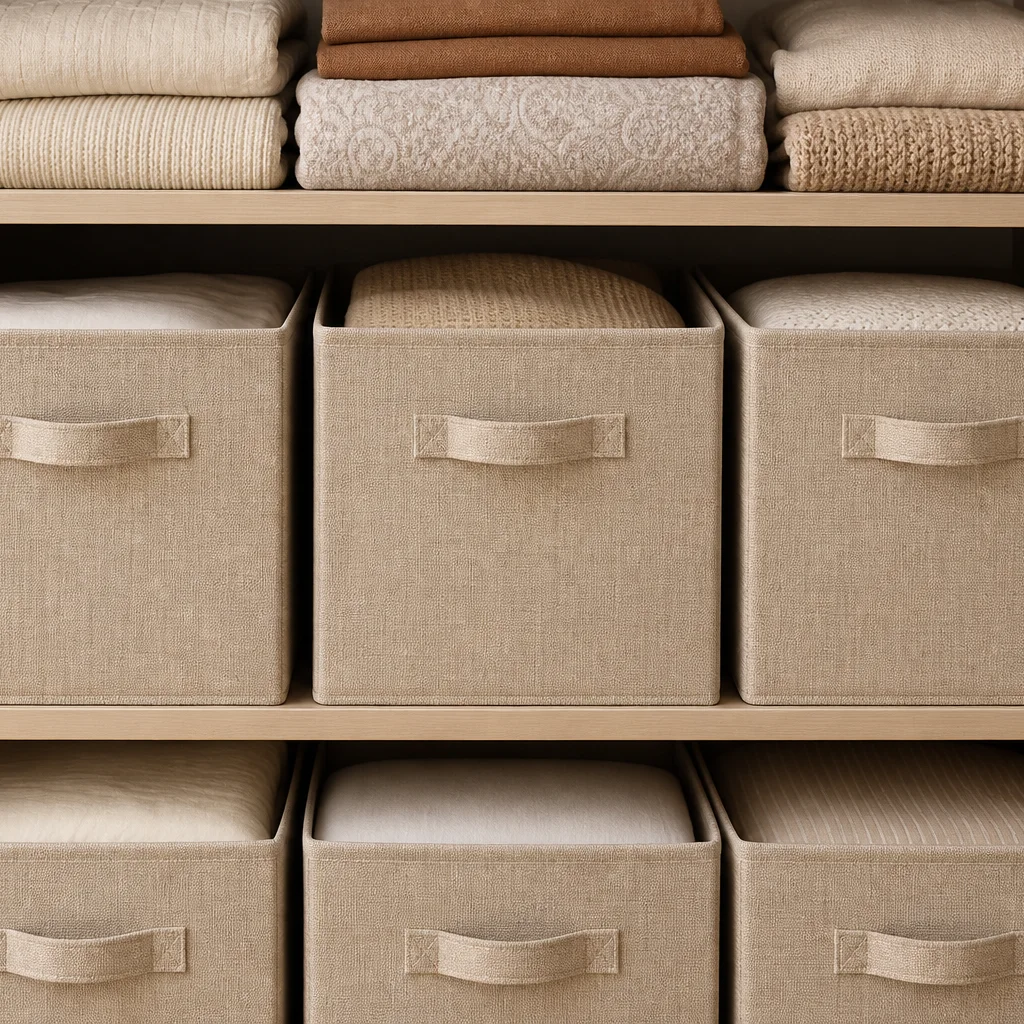
19. Fabric-Covered Storage Boxes
Wrap plain cardboard or bin boxes with fabric using spray adhesive or hot glue. Line the top edge with ribbon for a clean finish. Use them on open shelving to hide clutter while adding color and pattern.
For more budget decor tricks, browse easy DIY home decor on a budget.
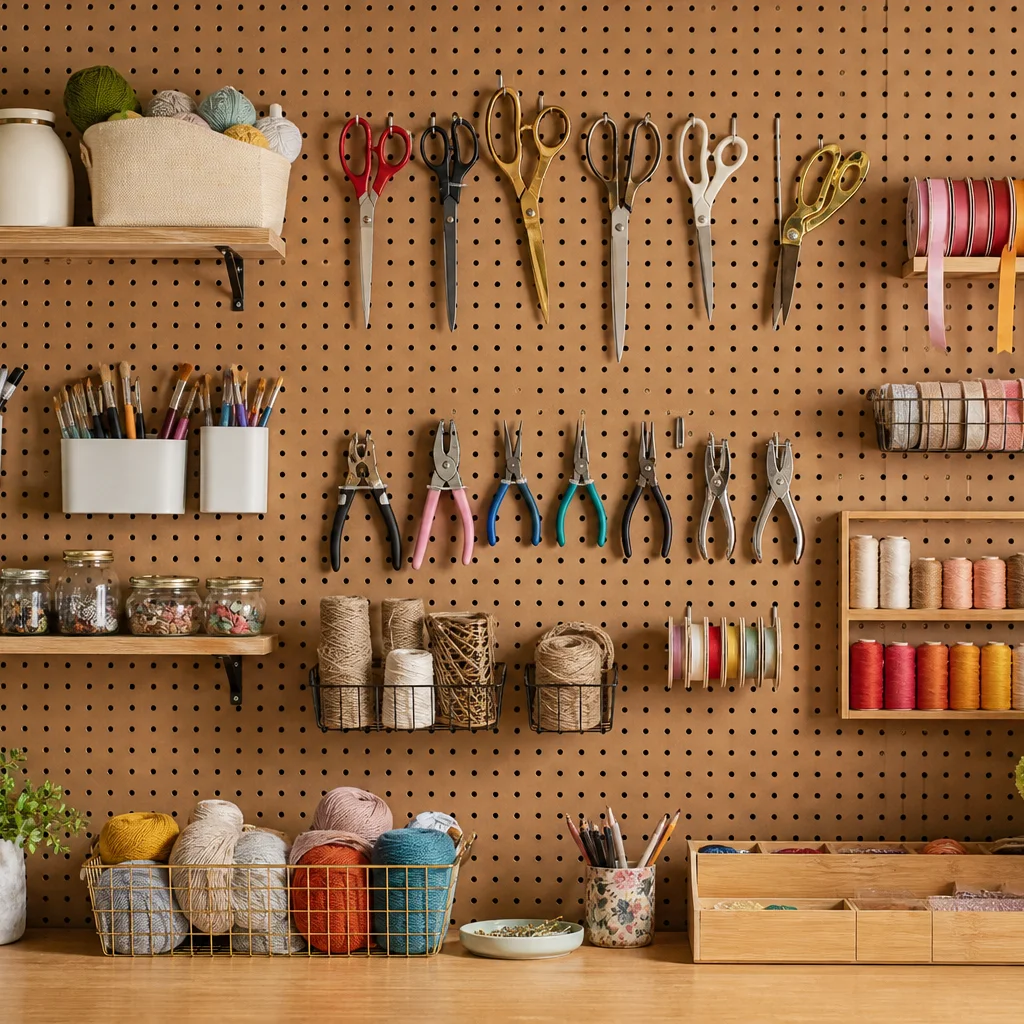
20. DIY Pegboard for Craft Supplies
Paint a pegboard to match your wall, frame it with trim, and hang hooks, small shelves, and bins. Works in craft rooms, garages, and kitchens. Sketch your layout before mounting so frequently used tools sit at eye level.
How to Choose the Right Furniture Hack
Match the project to your skill level and the piece you own. Paint and caster swaps are beginner-friendly; structural cuts and upholstery take more time. If you are new to DIY, start with one dresser paint job or a crate ottoman before tackling a pallet table.
Also consider room function: rolling storage suits small kitchens, while ladder shelves maximize vertical space in bedrooms. When in doubt, measure twice and keep the original hardware in a labeled bag until the project is done.
Frequently Asked Questions
What is the easiest furniture hack for beginners?
Painting a dresser, adding casters to a cabinet, or wrapping storage boxes with fabric are the lowest-risk starting points. Each requires minimal tools and is easy to redo if you change your mind.
Do I need special paint for furniture?
Interior latex or chalk-style furniture paint works on most wood pieces when you clean and prime first. Use a durable topcoat on tabletops and seats that see daily wear.
Are pallet furniture projects safe?
Use pallets marked HT (heat-treated), not MB (methyl bromide). Sand thoroughly, remove nails, and seal the finished piece so splinters do not catch on clothing.
Can renters do these furniture hacks?
Yes—focus on freestanding pieces like bar carts, ottomans, and pegboards on removable hooks. Avoid drilling into walls unless your lease allows it, or use damage-free mounting rated for the weight.
How much does it cost to upcycle furniture?
Most hacks in this list cost between $15 and $80 for paint, hardware, casters, and fabric. Thrifted base pieces often run $20–$60, still far less than new furniture.
What tools do I need for basic furniture upcycling?
A screwdriver, sandpaper, paintbrush or roller, staple gun, measuring tape, and drill cover most projects. Add a saw and clamps when you are ready for cutting and building.
How do I make painted furniture last?
Clean the surface, use primer on slick finishes, apply thin coats, and seal with wax or polyurethane. Let cure times pass before placing heavy items on fresh paint.
Final Thoughts
These creative furniture hacks prove you do not need a full remodel to love your space again. Start with one piece, finish it completely, and let that win build momentum for the next project. For decluttering before you style your refreshed pieces, read our home organization tips to declutter your life.
Which hack are you trying first? Save this list, gather supplies, and turn the piece you almost donated into the most talked-about item in the room.