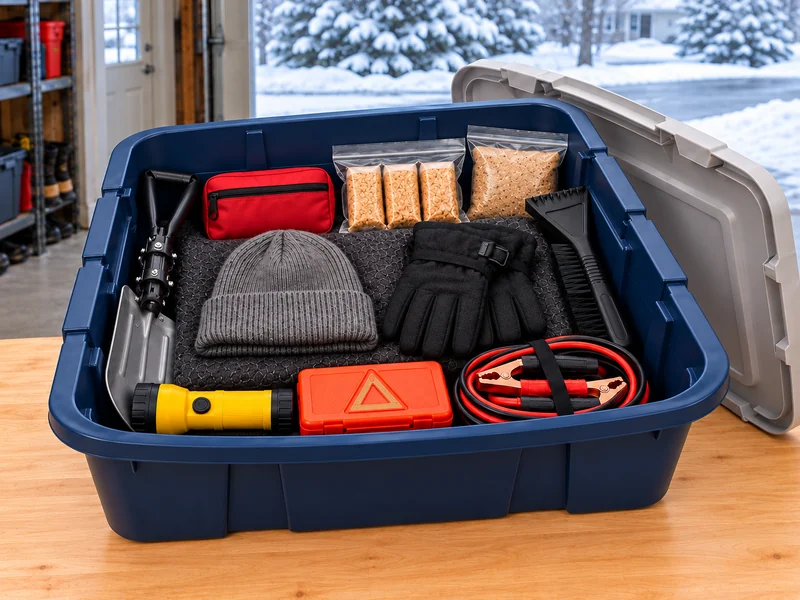
A winter road trip can turn into a long wait when a road closes or a car will not start. An emergency kit is easier to use when the gear is packed in one reachable bin instead of scattered under luggage. This guide builds a compact core kit for one vehicle, then shows what should stay with you in the cabin.
Quick plan: Measure your cargo space, pack warmth on the bottom, group food and first aid, keep light and warning gear near the top, fit clearing tools along the sides, close the lid without force, and secure the bin where you can reach it. Add supplies for every passenger and for the conditions on your route.
Check the sizes and condition of the equipment you own before relying on the kit.
What Goes in the Bin
- A sturdy lidded storage bin around 60 liters, sized to fit your vehicle’s cargo area
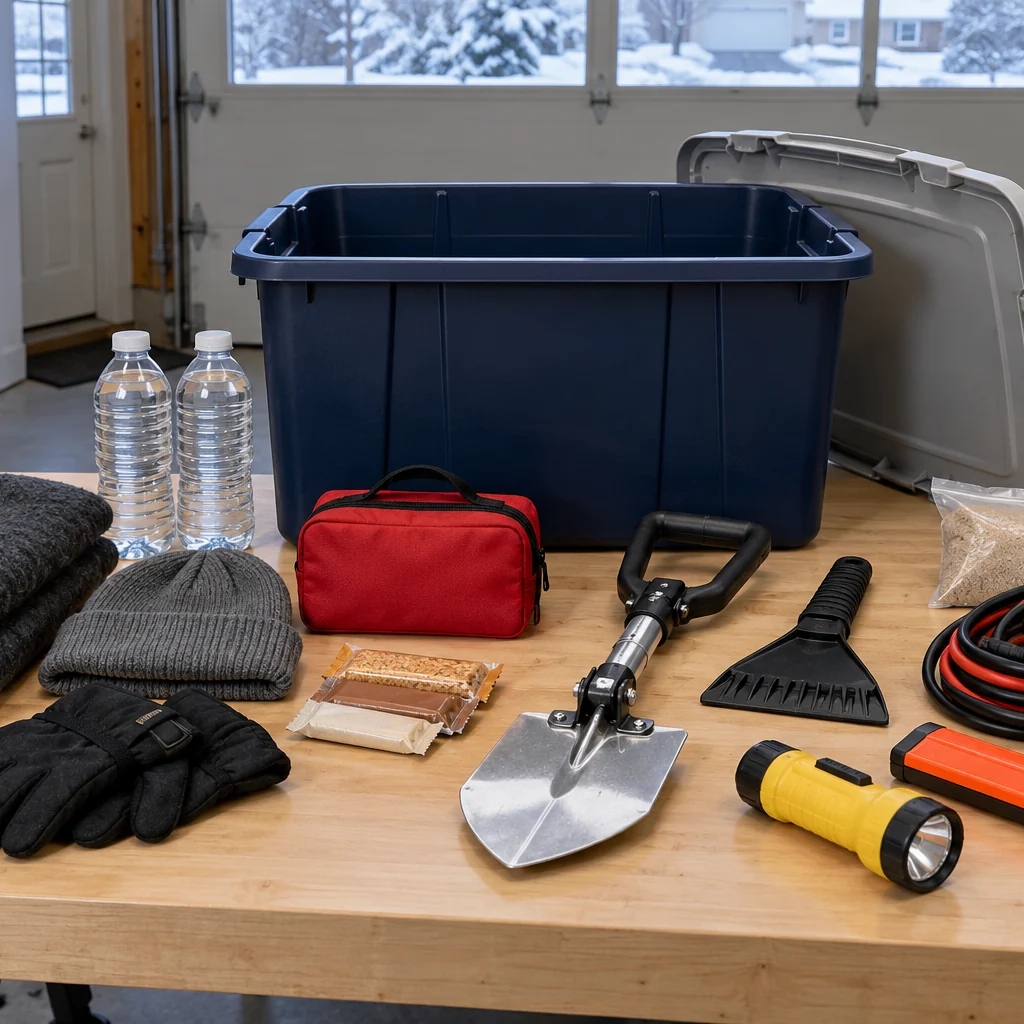
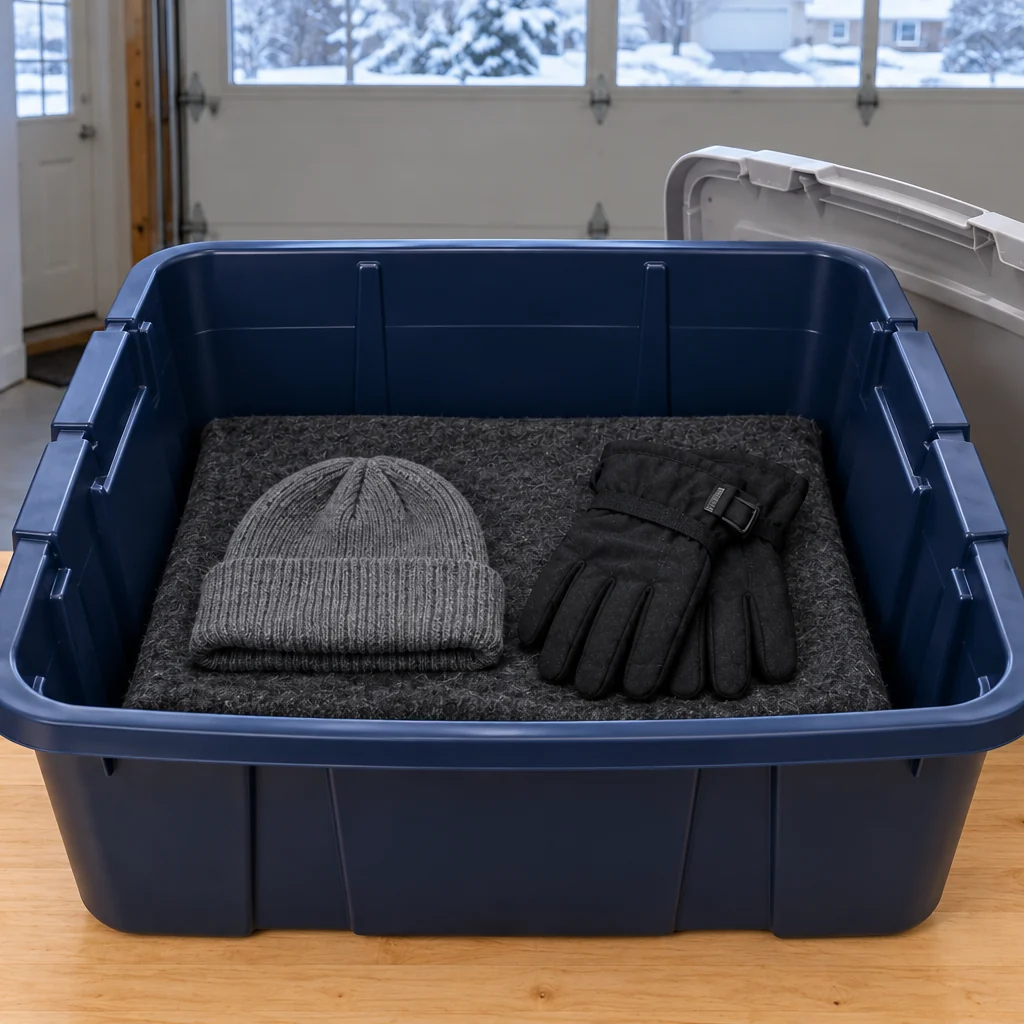
- A warm blanket, dry hat, gloves and spare socks for each person who may ride
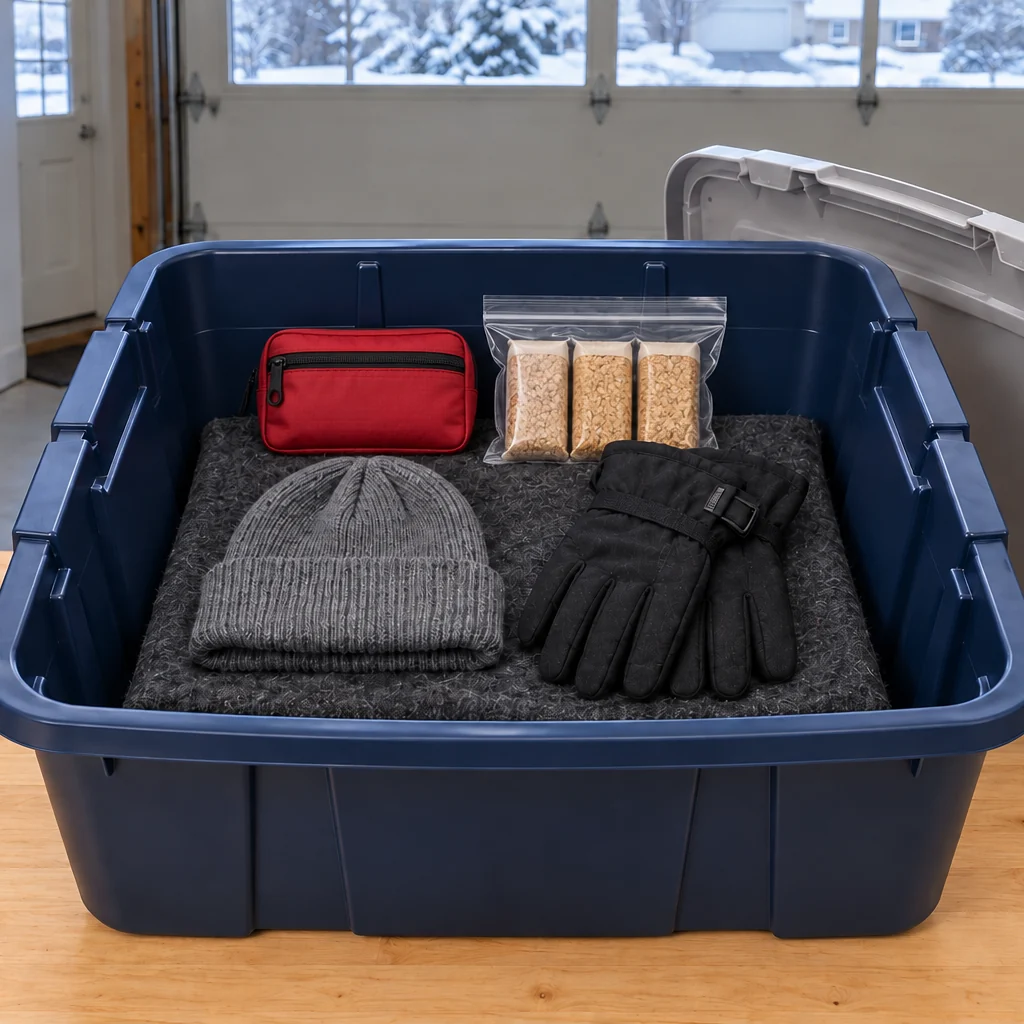
- A small first-aid kit and sealed, nonperishable high-energy snacks
- A working flashlight and spare batteries, a compact reflective warning triangle and jumper cables
- A folding snow shovel, short ice scraper and brush, and a sealed bag of sand or non-clumping traction material
- An optional printed local road map and basic vehicle tool kit, if there is room
The National Weather Service car survival checklist includes warmth, light, first aid, food, a shovel, traction material, a scraper, booster cables and warning items. Your vehicle and route may need more than this example bin. A 60-liter tote is an organizer, not a guarantee that one set of supplies is enough for a family or a remote route.
How to Build a Winter Car Emergency Kit in One Bin
Step 1: Choose the Bin and Test the Cargo Space
Start with an empty rigid bin whose lid closes securely. Set it in the cargo area before buying or packing equipment. Check the height under the closed hatch, the width between wheel wells, and whether you can lift the bin out without unloading everything else. A bin that blocks the rear window, a seat latch, or access to a spare tire is in the wrong place. Lay out the actual supplies on a table and remove duplicates before packing.
Step 2: Put Warmth on the Bottom
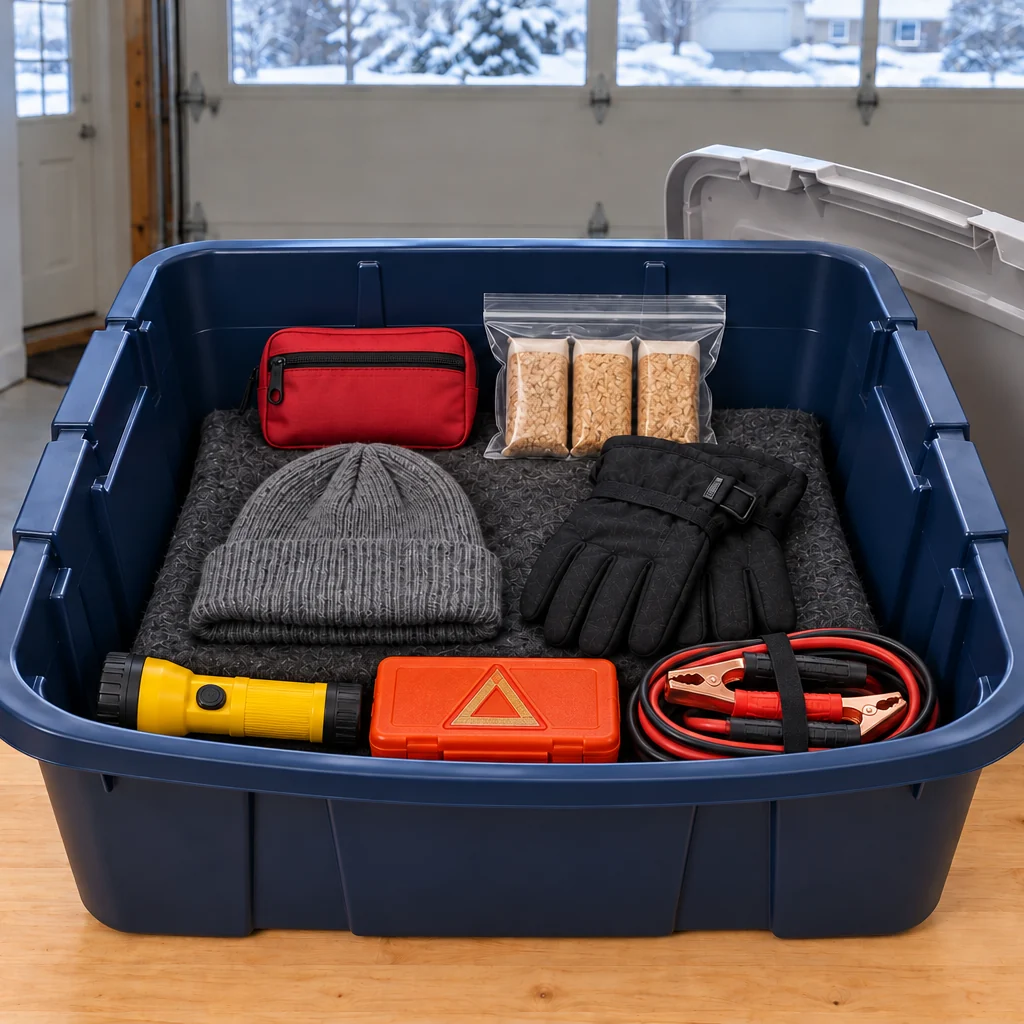
Fold the blanket flat across the bottom of the bin. Put the hat, gloves and dry spare socks on top in a pouch or in a clean corner. These soft layers cushion the smaller equipment that follows. The photo shows one set for a single traveler; add a set for each passenger, or use a second container if the lid would be forced shut. Keep the blanket dry and check it after a wet-weather trip.
Step 3: Group First Aid and Nonperishable Food
Place one closed first-aid pouch and a small sealed pouch of high-energy snacks on the blanket where you can see them as soon as the lid opens. Choose food that needs no cooking and check expiration dates before each winter season. Personal prescription medicines should travel with the person who needs them, not sit for months in a freezing car. The first-aid pouch in the bin is a supplement to personal medical supplies, not a replacement.
Step 4: Add Light, Visibility and Starting Gear
Set a working flashlight near the front edge, with spare batteries protected from loose metal objects. Add a compact reflective warning triangle in its case and a neatly coiled set of jumper cables. Verify that you know how to use each item and that the cables are long enough for your vehicle’s battery location. If you prefer a portable jump starter, follow its storage-temperature and charging instructions; do not assume a long-stored battery pack will be ready in deep cold.
Step 5: Check the Clearing and Traction Tools
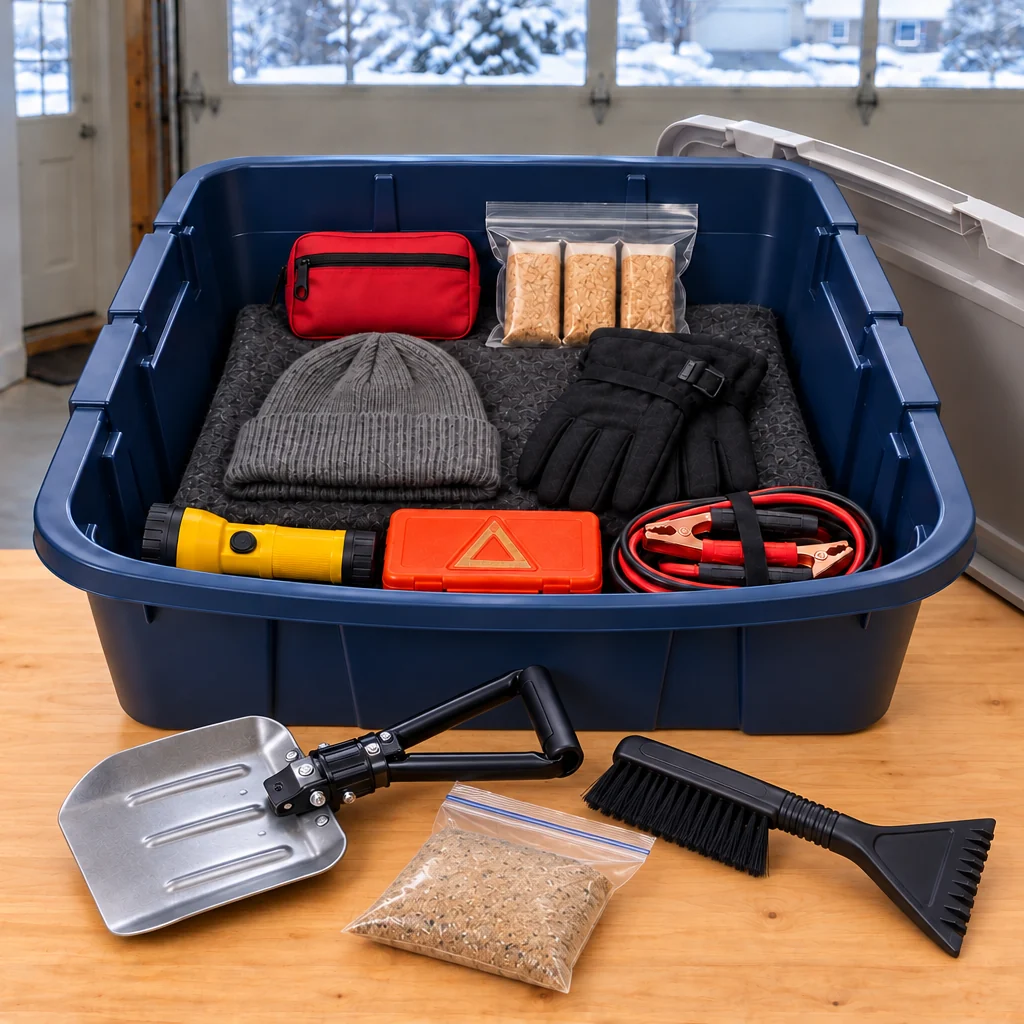
Before packing, unfold and refold the small shovel to confirm its hinge locks properly. Check the ice scraper and brush for cracks, and seal sand or non-clumping traction material so it cannot spill into the blanket or first-aid supplies. A full-size shovel may be more capable but may need its own cargo position; do not bend a handle or leave the lid ajar just to meet the one-bin goal.
Step 6: Fit the Tools and Close the Lid Without Force
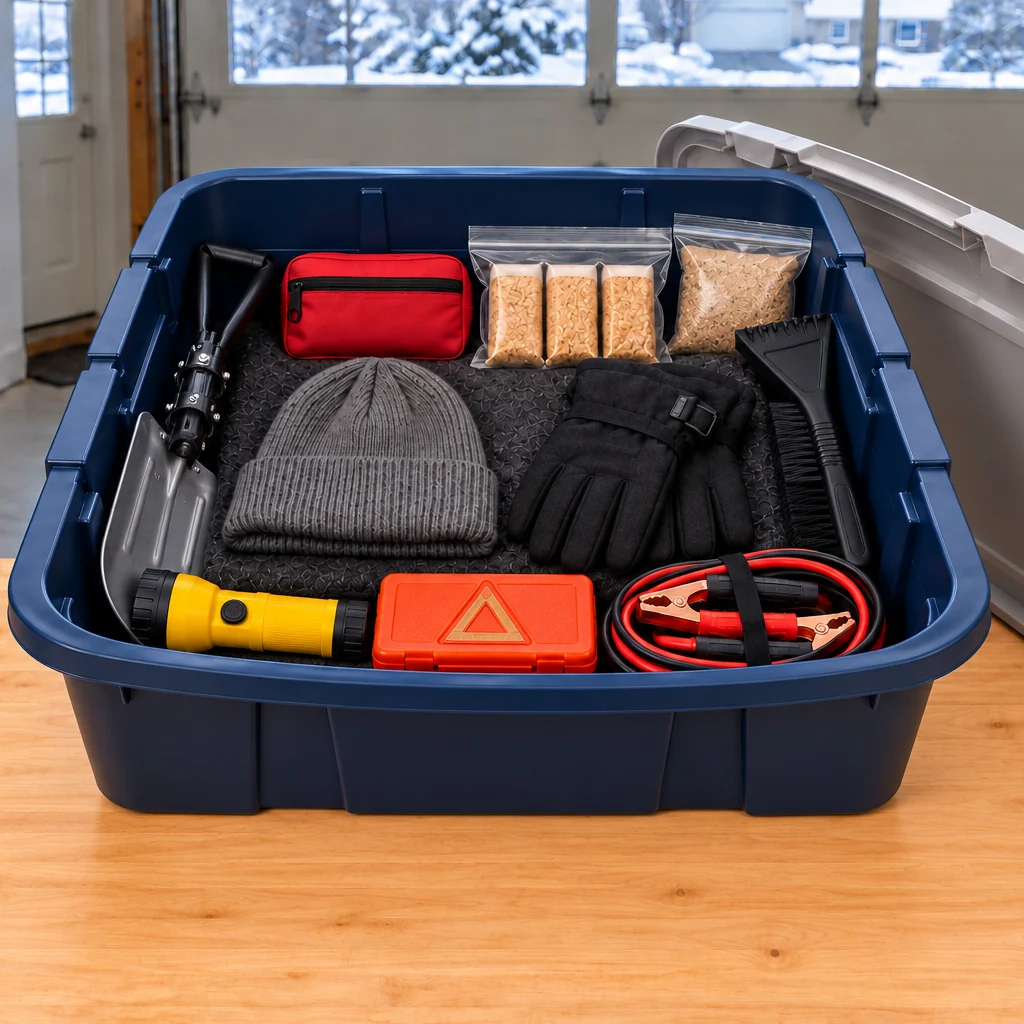
Slide the folded shovel down one inside wall and the short scraper along the other. Tuck the sealed traction bag into a remaining lower gap. Look from above to make sure the first-aid pouch, light and warning case are still accessible. Nothing should protrude over the rim. Close the lid gently; if it bows or will not latch, remove an item and secure it separately rather than crushing the contents.
Step 7: Secure the Bin and Make It Reachable
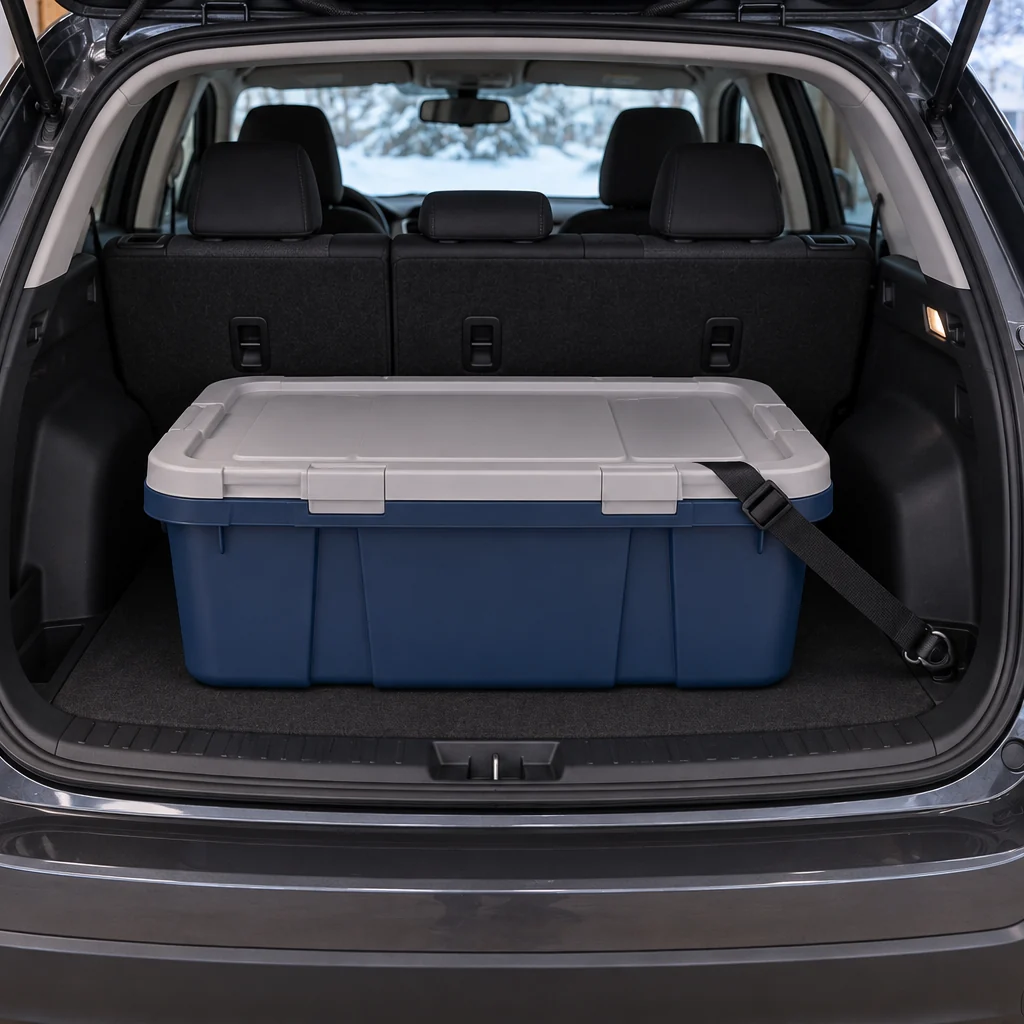
Put the closed bin on a flat part of the cargo floor, near enough to the hatch that you can pull it out without unpacking luggage. Use an existing cargo anchor and an appropriate strap if your vehicle provides one; do not let the bin slide during a sudden stop. Keep the scraper especially easy to reach when you start the car in the morning. Before each trip, check that the lid opens, the flashlight works, and no snack or medical item has expired.
Keep These Items in the Cabin
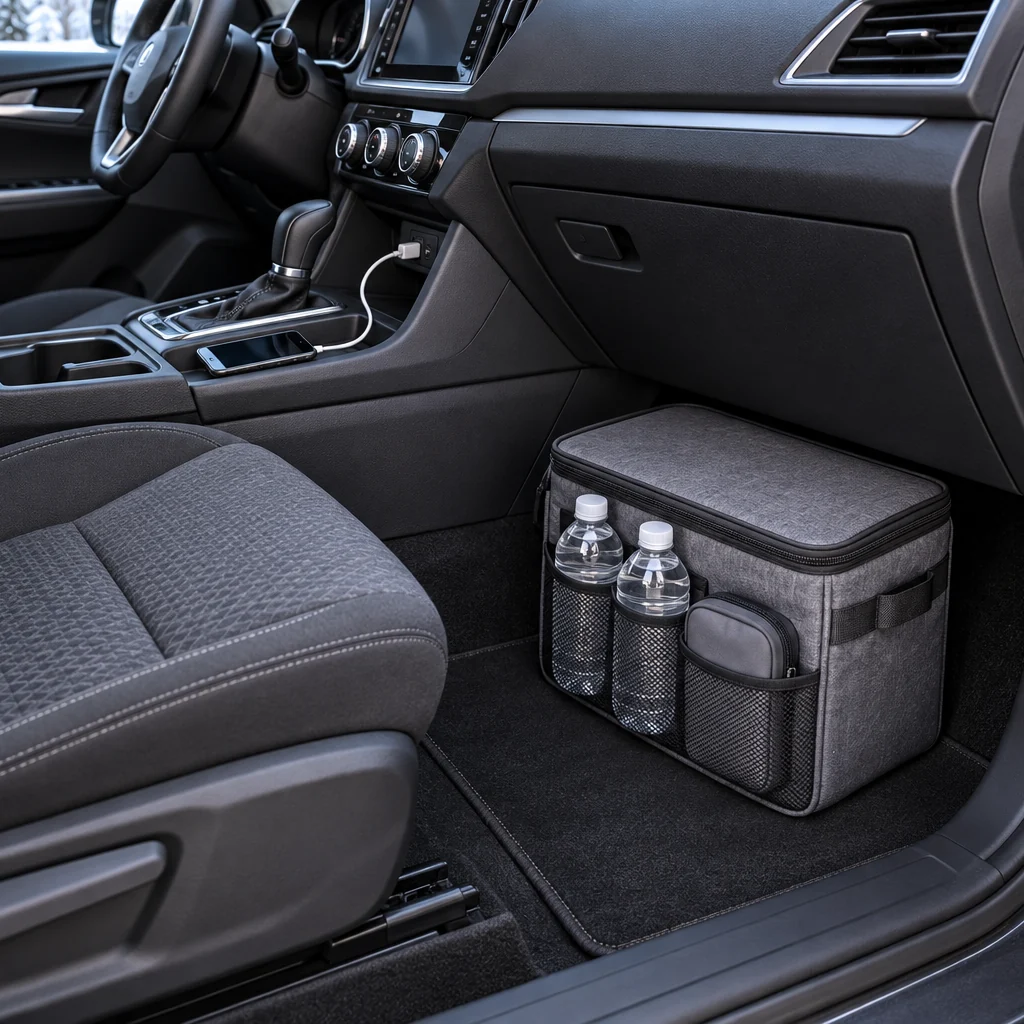
Keep a charged phone, compatible car charger, personal medicines, and drinking water with you rather than burying them under cargo. Water left in a car can freeze and split its container; inspect it regularly and bring it into the cabin when conditions require. AAA’s winter car survival kit guide recommends separating items that need warmer storage from durable car gear and checking a portable charger. The photo shows the cabin items during a packing check; secure any organizer before driving so it cannot slide or interfere with a passenger. If you travel with children or pets, pack their specific food, water and medical needs too.
Before You Drive
Check the forecast and road conditions, tell someone your route and arrival plan, and postpone travel when conditions are unsafe. Have the vehicle’s tires, battery, wipers, heater and other winter-critical systems checked; the kit does not make an unready vehicle safe. If you become stranded, call local emergency services or roadside assistance and follow current official instructions for your location. The National Weather Service winter preparation guide gives additional vehicle and stranded-driver advice.
For a camping trip, keep food-preparation equipment separate from this safety kit; our one-bin car camping kitchen shows a practical second-bin setup. Check the rest of your trip gear against our beginner camping gear checklist.
Common Packing Mistakes
- One blanket for a full car: Scale dry warm layers to the number of passengers.
- Frozen water in the tote: Keep drinking water accessible and inspect its container in freezing weather.
- Dead flashlight: Test it and replace batteries before the season and after use.
- Overstuffed lid: A lid that bows can pop open; move bulky tools elsewhere.
- Buried bin: A kit under heavy luggage is difficult to use in a roadside stop.
Frequently Asked Questions
Is a 60-liter bin enough for a whole family?
Usually not by itself. The pictured layout shows a compact core kit. Add blankets, warm clothing, water, food and any child or pet supplies for every traveler, using more storage space when needed.
Can I leave the kit in the car all winter?
The durable gear can stay in the vehicle if it remains dry and accessible. Review food dates, first-aid supplies, flashlight batteries, water containers and any electronic equipment regularly; follow each maker’s cold-storage guidance.
Should the emergency bin go in the trunk or back seat?
Use a flat, secured cargo position that does not interfere with occupants, the rear view or vehicle controls. The example photo shows an SUV cargo floor. In a sedan, measure the trunk opening and keep a route to the kit clear.