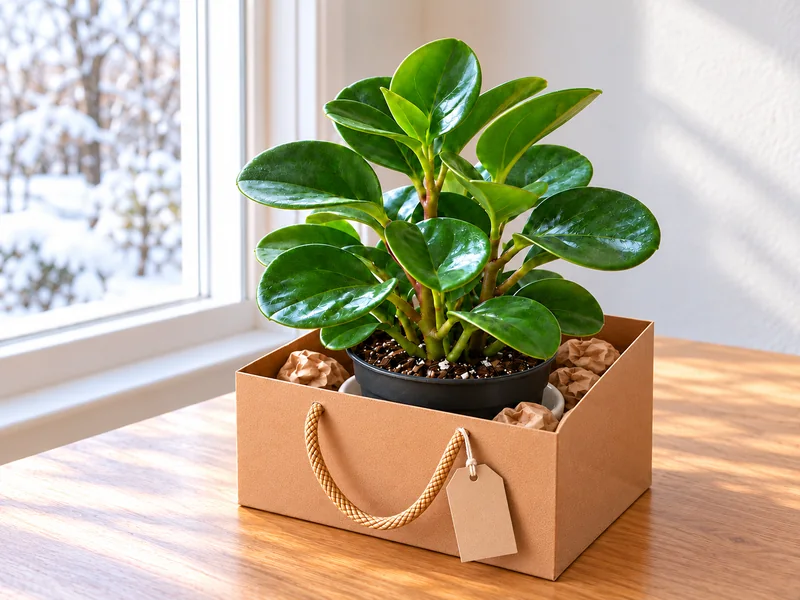
A potted plant is an appealing gift until the bag rim bends its leaves or water soaks through the paper. The easiest fix is to package the pot securely while leaving the foliage free. A low, wide gift bag, a dry saucer, and a few pieces of paper around the pot make a tidy presentation that the recipient can unpack without tugging on stems.
Quick plan: Choose a bag shorter than the plant’s leafy canopy, let the nursery pot drain, put a dry saucer in the bag, lower the pot onto it, brace only the pot, and tie the tag to a handle. Add a separate roomy outer sleeve for a short trip through cold weather if needed.
Check the shape, size and care needs of the plant you are giving.
What You Need
- One healthy small houseplant in a nursery pot with drainage holes
- A sturdy, flat-bottomed kraft gift bag wider than the pot and low enough to leave the leaves above its rim
- One clean, dry saucer that fits flat inside the bag
- A few sheets of plain kraft paper for small support pieces
- A gift tag and a short length of string
- Optional for cold-weather transit: a second, taller and wider paper bag that clears the foliage
The photographs use a compact plant in an approximately 4-inch nursery pot. The exact bag size depends on the plant: allow room around the pot, but do not pick a bag so tall that its rim catches the lowest leaves. A very wide or top-heavy plant may need a shallow open box instead. Check the plant’s label and the recipient’s home conditions before choosing a species; do not assume every houseplant suits a home with curious pets.
How to Gift Wrap a Potted Plant Without Crushing the Leaves
Step 1: Choose the Plant and Check the Bag Height
Look under the leaves and around the soil for obvious pest or damage signs, and choose a plant whose stems are not already pressed against the container. Set its pot next to the empty gift bag. The bag should support the pot while the leafy part sits comfortably above the open rim. If the rim would run through the foliage, switch to a shorter bag rather than forcing the leaves inward.
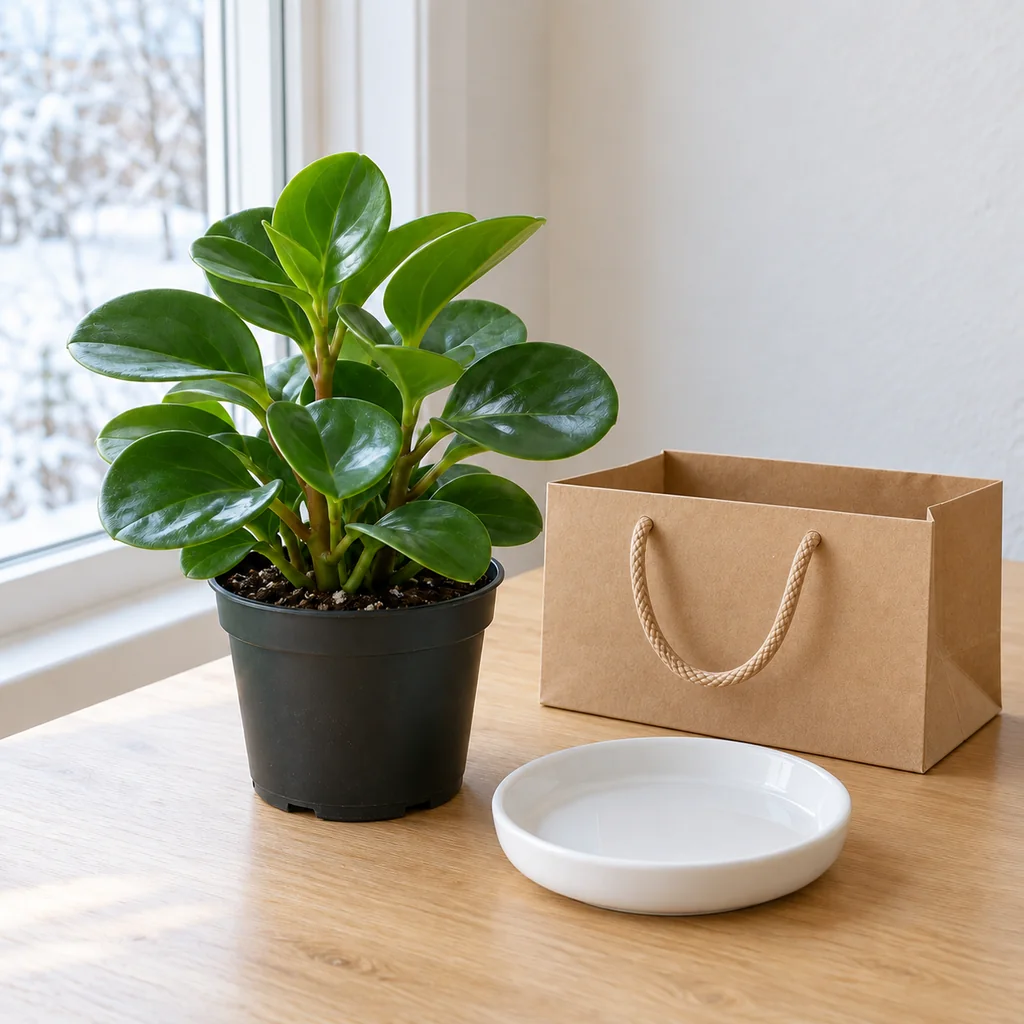
Step 2: Let the Nursery Pot Drain
If the plant needs watering, do that before gift wrapping and let the pot drain freely. Empty any collected water. Keep the nursery pot in its draining container rather than repotting it just to make the gift look finished. Set it briefly on a clean saucer and check that the saucer stays dry; a wet pot or saucer can weaken a paper bag and leave water standing around the roots.
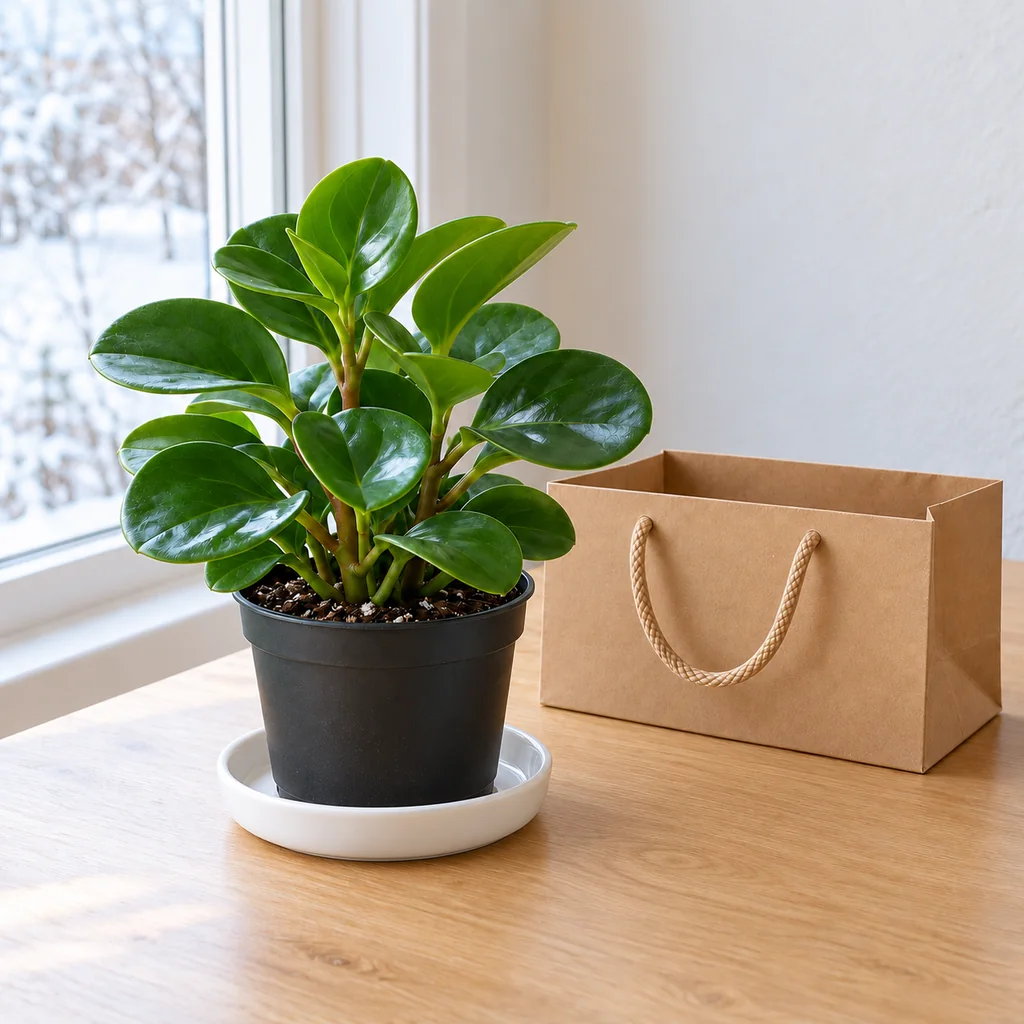
Step 3: Place the Saucer Flat in the Bag
Open the gift bag fully and set it on a level table. Place the saucer flat in the center of the bag’s base. It should sit entirely inside without bending the bag walls. Check that the base stays flat; if the bag rocks or the saucer barely fits, choose a larger, sturdier bag. The saucer is for catching an accidental drip during the short handoff, not for storing water.
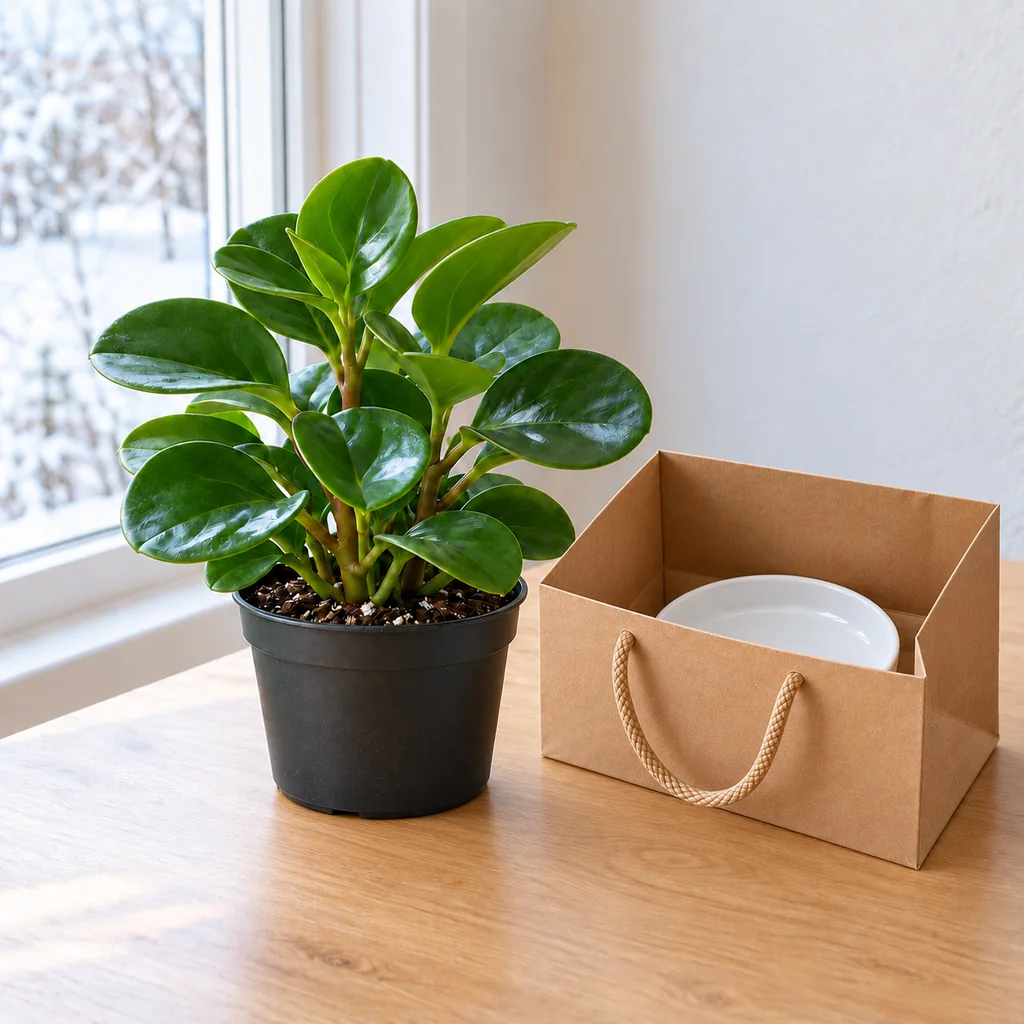
Step 4: Lower the Pot, Keeping Leaves Above the Rim
Support the nursery pot from underneath and lower it straight onto the saucer. Guide the bag away from the foliage as you go. Do not pull the plant downward by its stems or fold a leaf to make the bag fit. Once the pot is centered, look all the way around: the pot should stand upright and each leaf should have room above or outside the rim. If any leaf is trapped, lift the pot out and change bags.
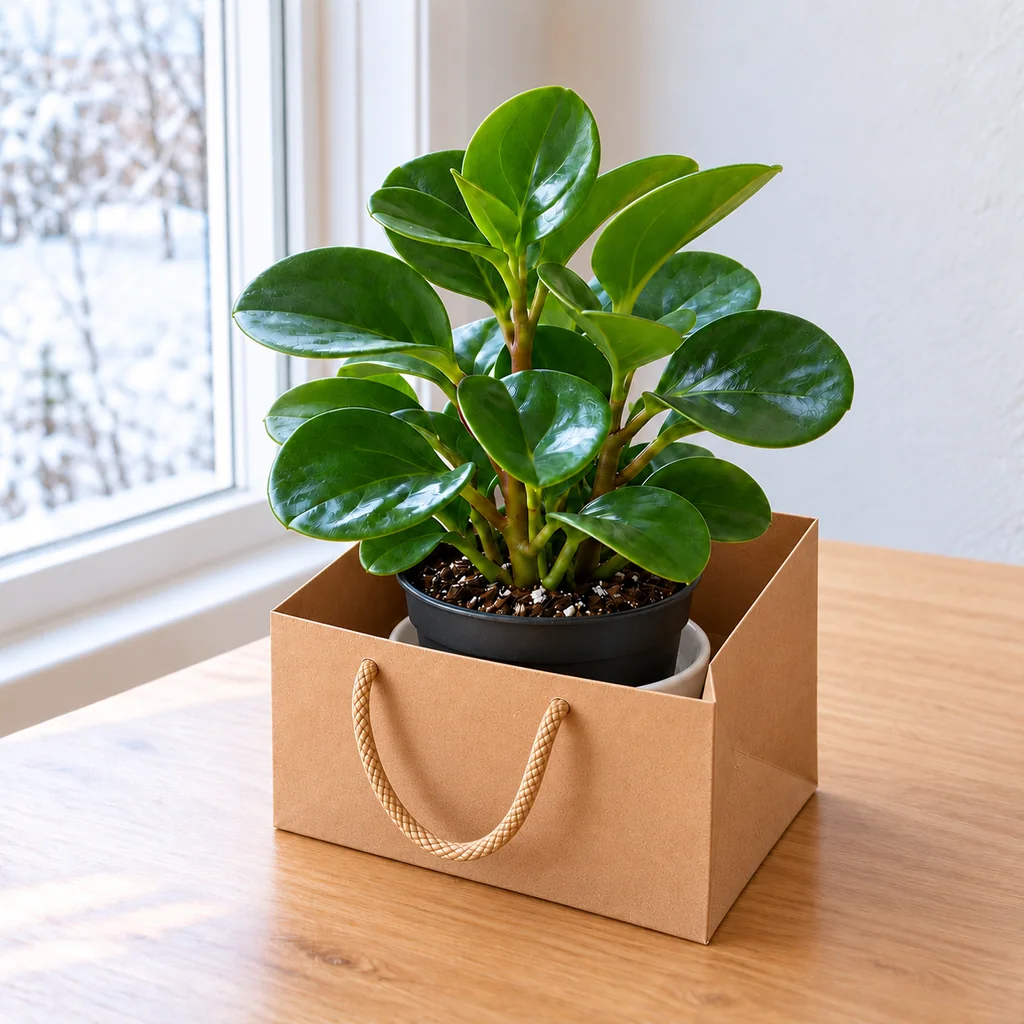
Step 5: Brace Only the Pot
Loosely crumple a few small pieces of kraft paper and tuck them into the gaps between the pot and bag walls. Stop below the bag rim and below the lowest leaves. The goal is to limit the pot’s sideways movement, not to pack material against stems, cover the soil, or hide the foliage. Gently nudge the bag on the table to check for wobble. If it tips, use a wider base or a shallow box.
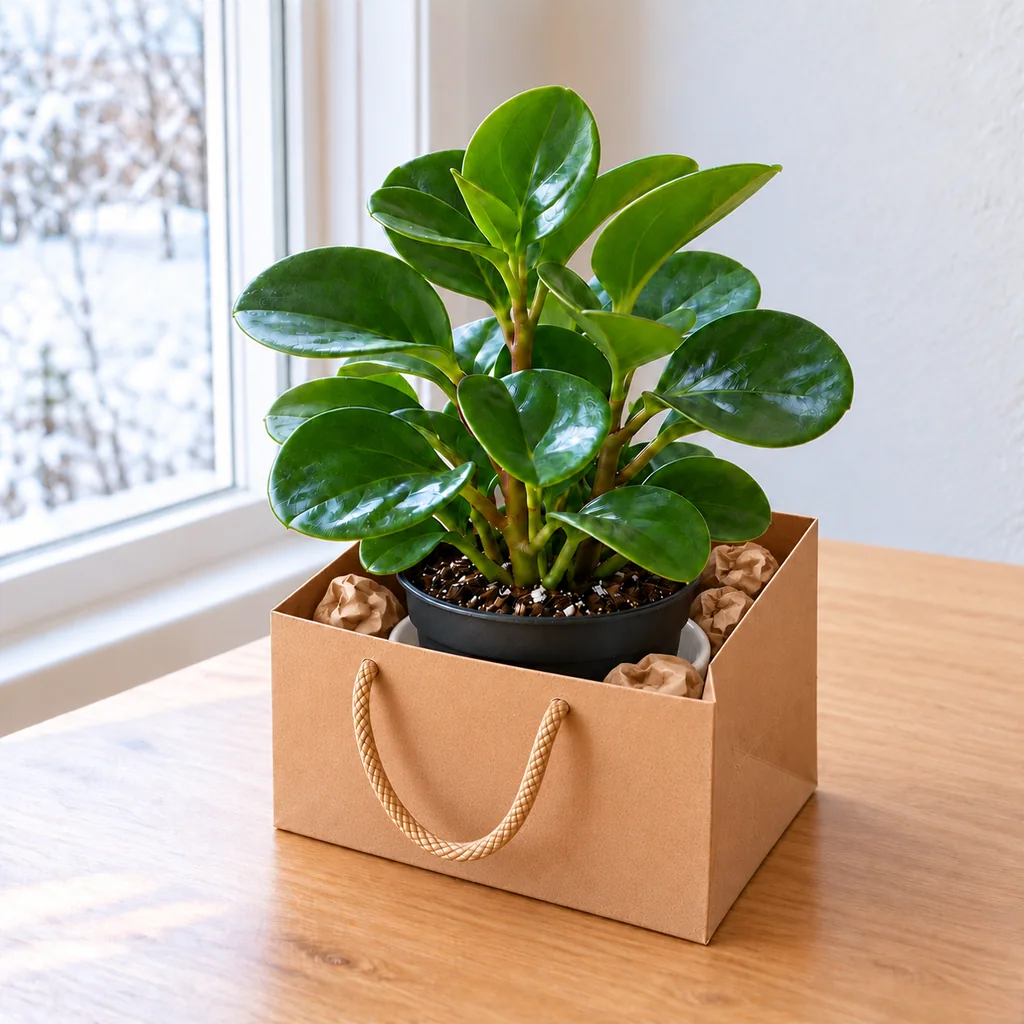
Step 6: Attach the Tag to a Handle
Write the recipient’s name on a tag, then tie it to one bag handle with a short piece of string. Keep string, ribbon, and tags away from the stems and leaves. Leave the bag open so the plant can be seen and the foliage stays uncompressed. When moving the gift, support the bottom of the bag instead of trusting the handles with the full weight of a damp pot. For a homemade tag option, see our layered paper Christmas tree gift tags.
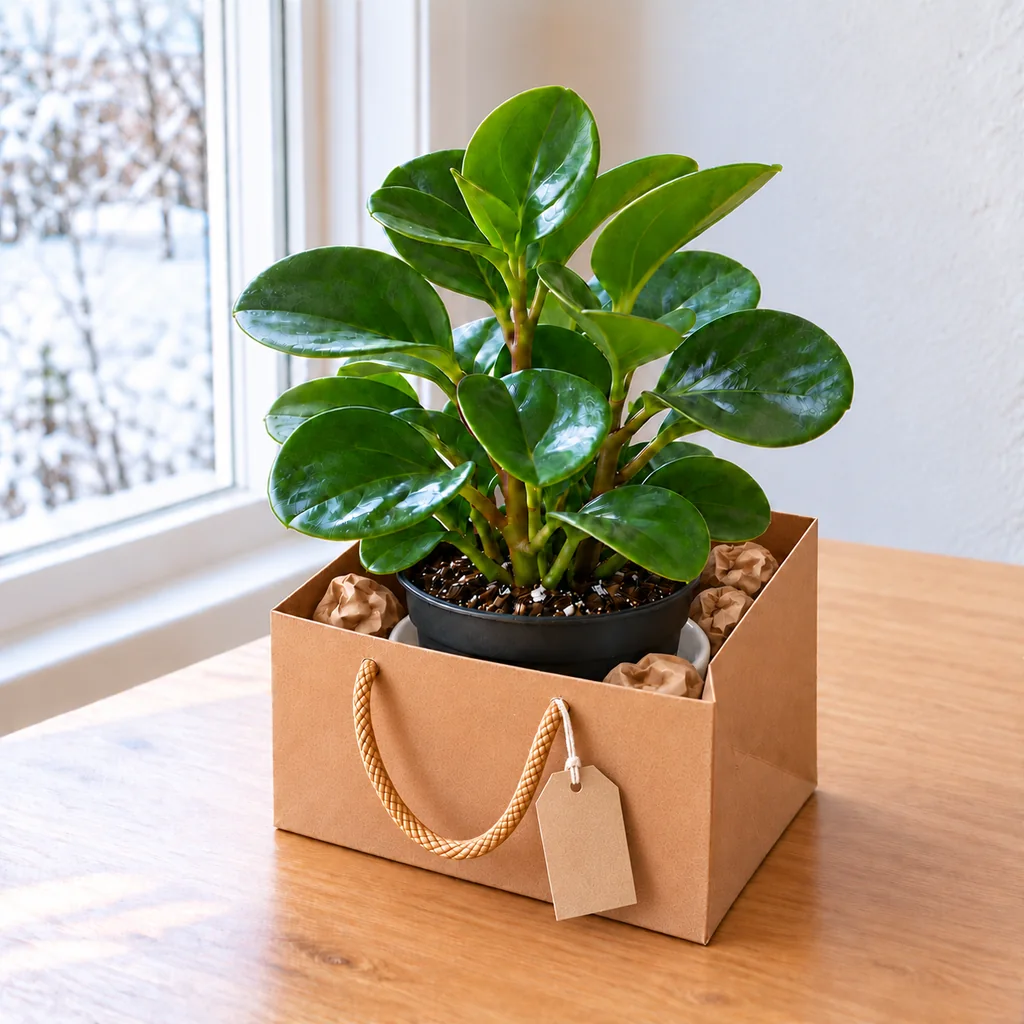
Step 7: Add a Roomy Outer Sleeve for a Cold Trip
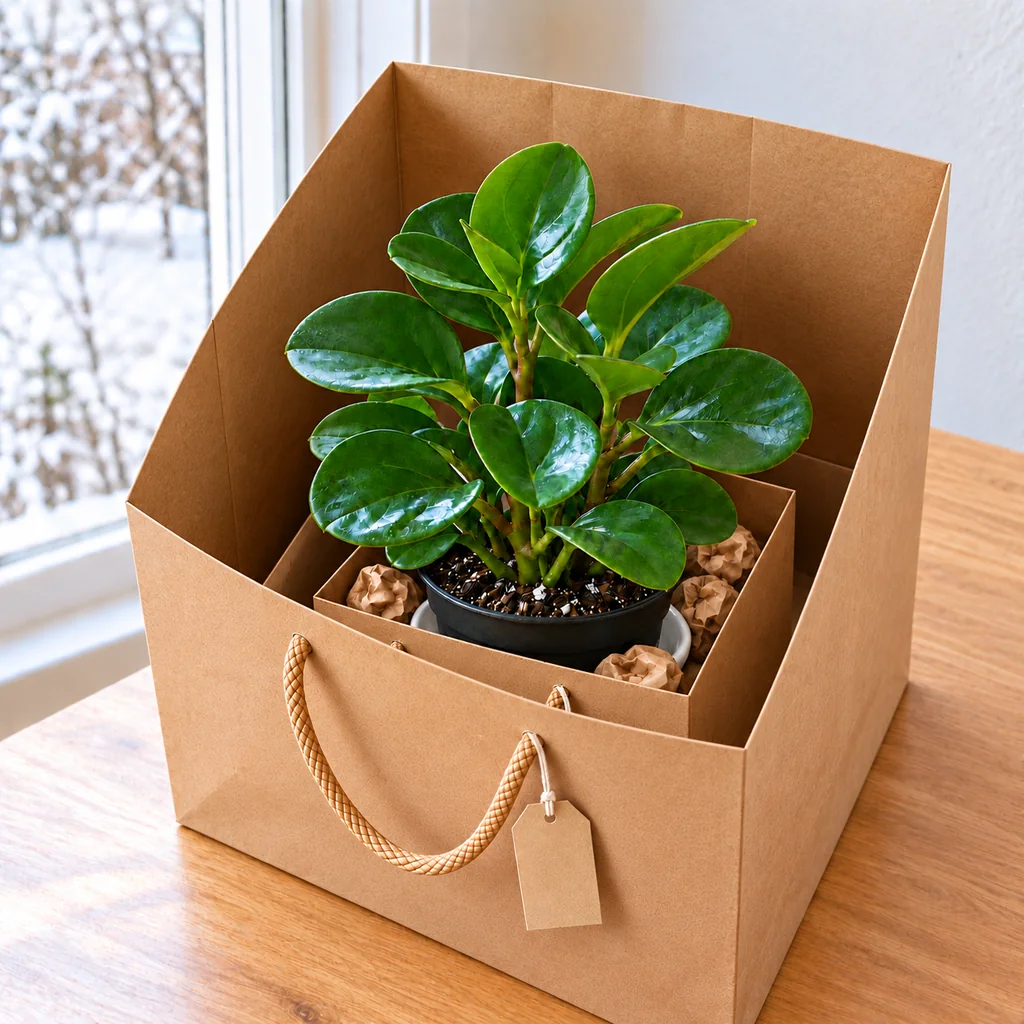
For a brief walk through chilly or windy air, set the gift bag inside a second, taller paper bag with enough width that its sides do not rub the leaves. The photo shows the clearance before the top is covered. If the outer bag has ample headroom, fold its top loosely above the canopy for the short outdoor crossing; do not press paper onto the top leaves to close it. Take the plant promptly into a warm vehicle and then indoors, rather than leaving it in a cold parked car. Remove the outer sleeve as soon as you arrive. If the plant is too wide for a sleeve without contact, wait for a milder trip or use a larger protective container.
What the Recipient Should Do Next
Ask the recipient to remove any temporary outer sleeve promptly, put the plant where its care label recommends, and take the nursery pot out of the gift bag before watering. Let excess water drain and empty the saucer rather than leaving the roots in standing water. The paper bag is presentation and transport packaging, not a permanent waterproof planter. For a different holiday plant with more delicate bracts, see our poinsettia care guide.
Common Problems to Avoid
- Bag too tall: Its rim can crease lower leaves. Choose a shorter bag or open box.
- Bag too narrow: The pot may fit while the leaf canopy rubs the sides. Compare the whole plant, not just the pot.
- Water in the saucer: Drain before wrapping and empty standing water.
- Filler pushed into stems: Use small supports only around the pot’s lower sides.
- Tight winter covering: Use a roomier temporary sleeve and remove it indoors.
Frequently Asked Questions
Can I wrap a potted plant in plastic film?
A tight decorative film around the whole plant can press on leaves and can trap moisture. This bag method keeps the foliage open. If you use a temporary outer cover for transport, remove it promptly indoors and keep the nursery pot’s drainage usable.
Should I water a plant right before gifting it?
Water according to the particular plant’s needs, not merely because it is being given away. If you do water before wrapping, let the pot drain completely and empty the saucer. Do not put a dripping pot into a paper gift bag.
What if the plant is too large for a low gift bag?
Use a sturdy shallow open box around the pot or tie a simple tag to the pot itself. The presentation should fit the plant; bending branches or leaves to fit packaging defeats the purpose.