A closed jar terrarium can look like a miniature garden on a shelf, but a sealed container gives excess water nowhere to go. The easiest beginner version uses one small humidity-loving plant, barely damp potting mix, and a clean glass jar with room for growth. This guide shows how to build it and how to read the condensation on the glass before wet soil becomes a problem.
Your jar, plant and room conditions will differ; use the moisture checks below instead of a fixed watering schedule.
Choose a Jar and Plant That Actually Fit
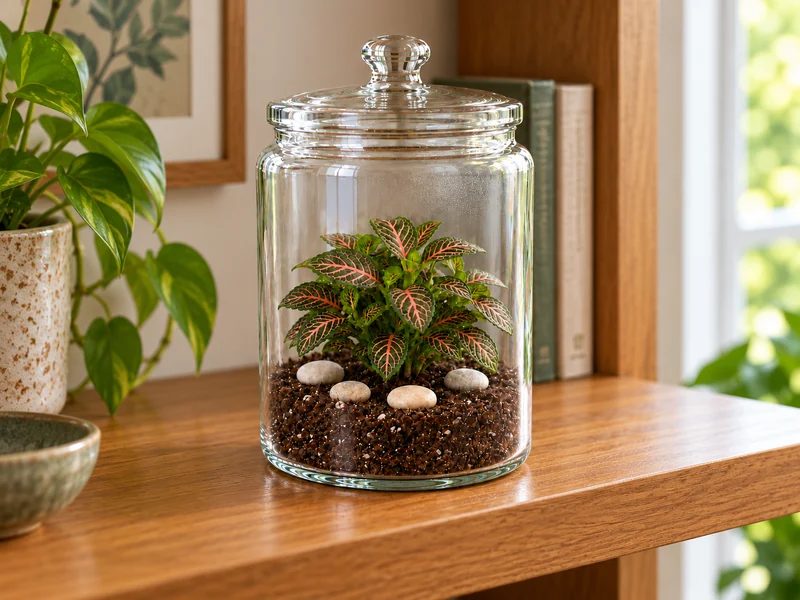
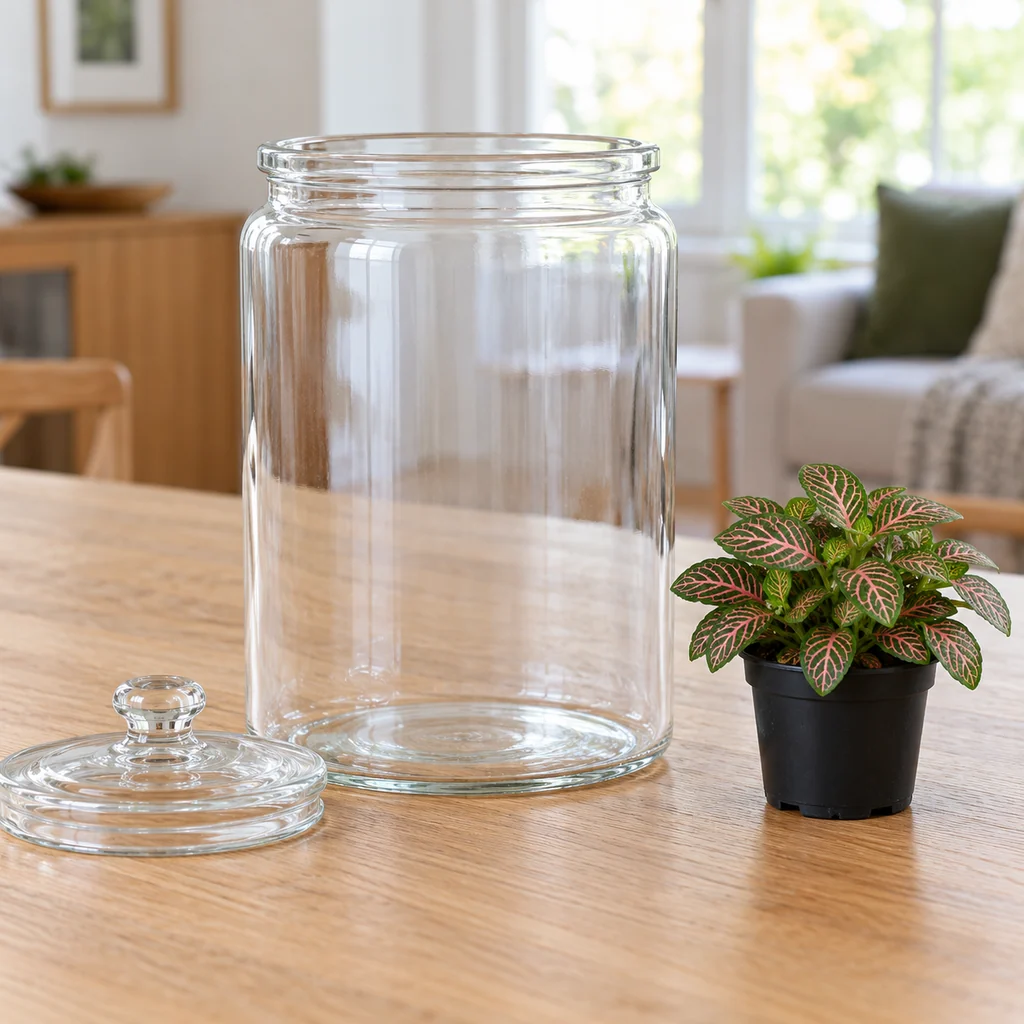
- One clean, clear glass jar with a secure lid, roughly 2 to 3 liters (about 2 to 3 quarts), and a mouth wide enough for the root ball and a small spoon
- One healthy, small fittonia (nerve plant), ideally from a 2-inch nursery pot, with no pests or yellowing leaves
- Fresh, light indoor potting mix, enough to reach approximately the depth of the plant’s root ball
- A spoon or small scoop, a clean soft brush or cloth, and a spray bottle with water
- Optional: a few clean, nonporous pebbles for the soil surface, not as a supposed drainage layer
Fittonia likes humidity and bright, indirect light, making it a practical choice for this small enclosed display. Check the mature size on the plant label and leave space between the leaves and glass. Soggy soil can yellow its leaves. Do not substitute a cactus or succulent: those plants prefer the drier conditions of an open display. Illinois Extension’s bottle-terrarium guidance explains the difference between open and closed containers.
A pebble layer at the bottom looks decorative, but it does not create a drainage hole or fix overwatering. Penn State Extension’s closed-terrarium guidance recommends damp, not soaking, potting mix and notes that a bottom rock layer is no longer considered a drainage improvement. Keep the construction simple so you can see the soil moisture clearly.
How to Make a Closed Jar Terrarium
Step 1: Clean the Jar and Inspect the Plant
Wash the jar and lid with mild soap, rinse well, and let both dry. Avoid cleaner residue inside the glass. Inspect the fittonia, including the leaf undersides, for pests and remove damaged leaves. Set the still-potted plant next to the jar to confirm the foliage will fit without being pressed against the sides or lid. If the plant nearly fills the empty jar, choose a larger container rather than squeezing it in.
Step 2: Make the Potting Mix Barely Damp
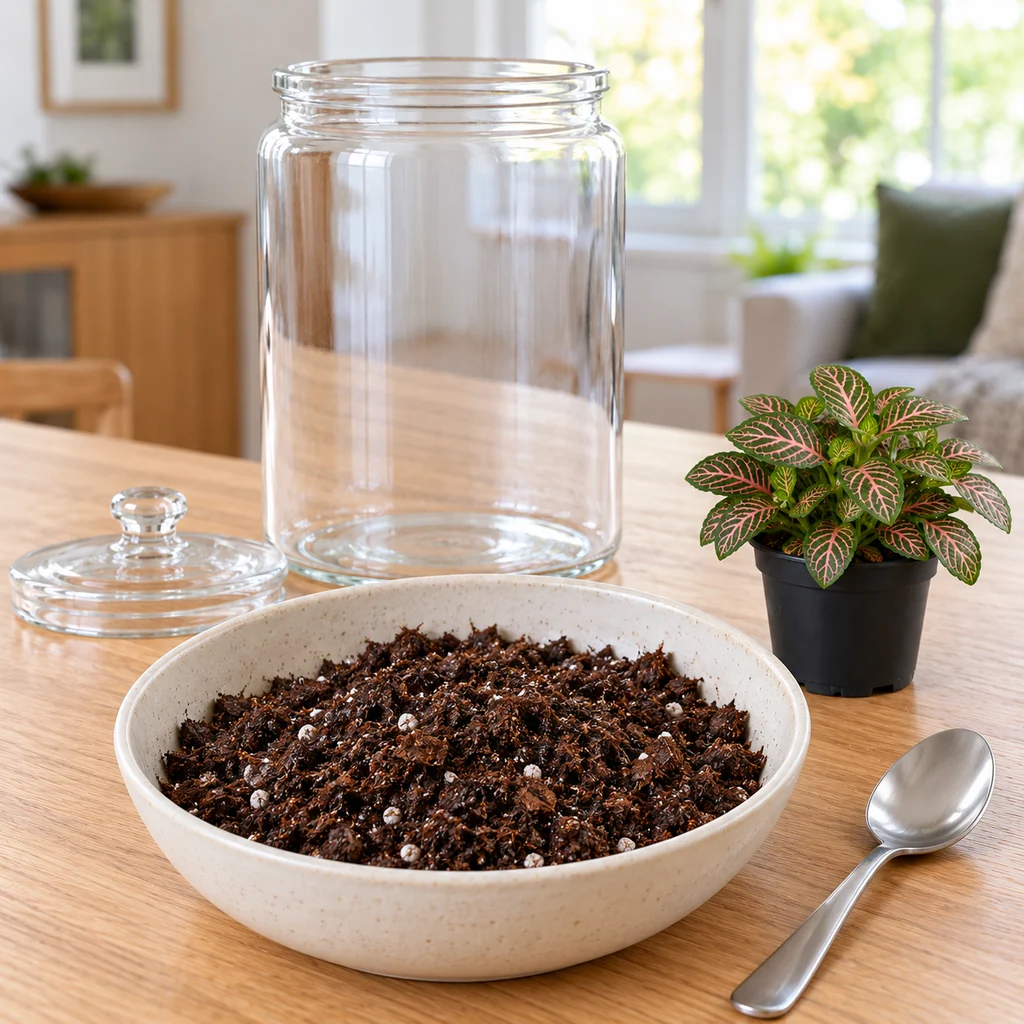
Put fresh indoor potting mix in a clean bowl. Add a little water and stir until it feels evenly damp but does not drip when gently squeezed. Break up large dry clumps. Starting with wet soil is difficult to correct after the lid goes on; starting with lightly damp mix gives you room to adjust. Do not use dense garden soil, which compacts in a small jar.
Step 3: Add Soil, Without a Fake Drainage Layer
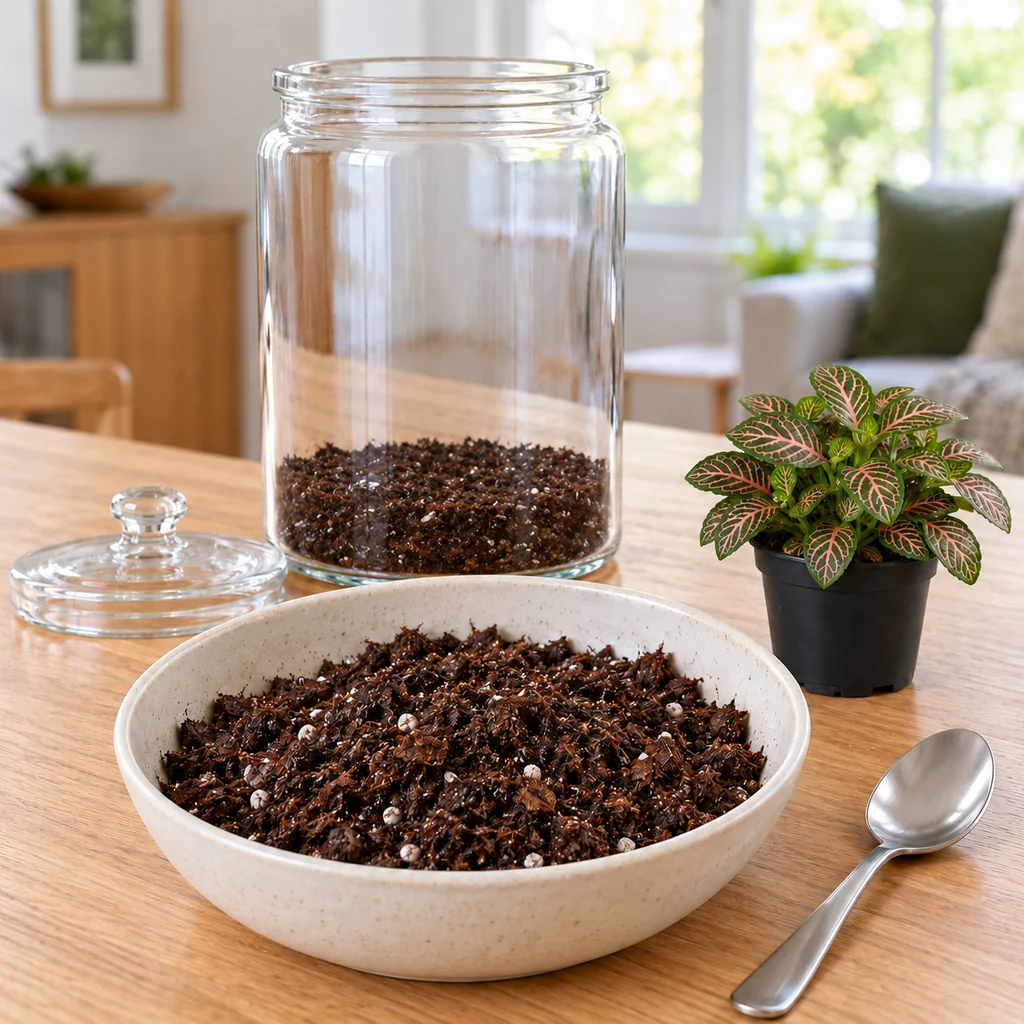
Spoon the damp mix into the bottom of the jar to about the depth of the plant’s root ball, usually around 2 inches for the small plant shown. Leave the glass above the soil line clean enough to judge condensation later. There is no drain hole in this jar; pebbles under the soil would not remove excess water. Leave enough vertical space for the fittonia to grow without touching the lid.
Step 4: Plant One Small Fittonia
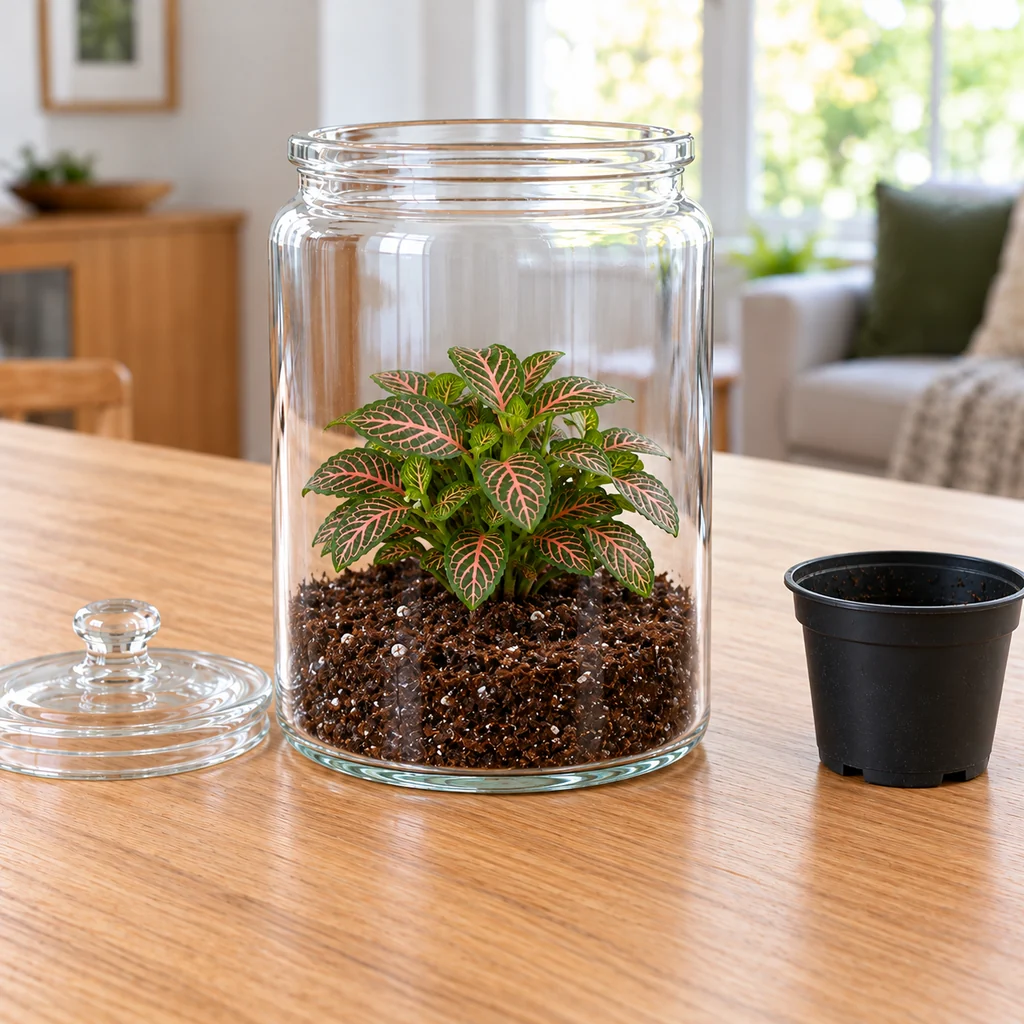
Ease the fittonia from its nursery pot without pulling on its stems. Make a hole in the center of the mix, lower the root ball in, and bring soil gently around the sides. Keep the crown at its original planting depth; do not bury the stems. Check from the front that the plant stands upright and the leaves do not press on the glass. One plant is enough to make a little garden without crowding the jar.
Step 5: Remove Debris and Clean the Inner Glass
Brush loose soil from the leaves and wipe smears from the inside wall with a clean, slightly damp cloth. Remove fallen leaves rather than sealing them in. If you want a miniature finish, place just a few washed, dry pebbles on the soil surface, away from the stem. Do not add untreated wood or a large figurine that crowds the plant. Clean glass makes it much easier to distinguish light condensation from persistent wet streaks.
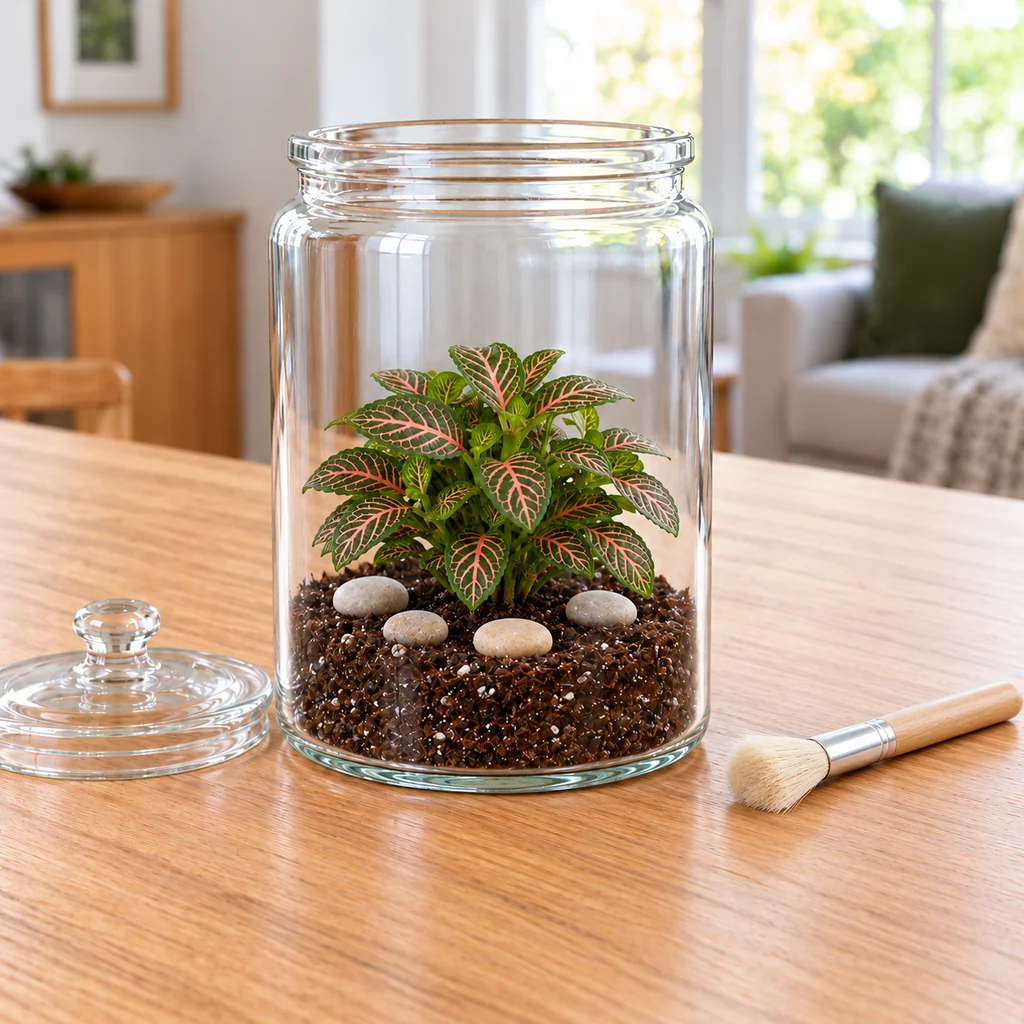
Step 6: Close the Lid With Minimal Added Water
If the mix is already evenly damp, do not add more water just for the photograph. If the soil surface is dry, add only a light mist to the soil and stop before water pools. Let wet foliage dry before putting on the lid, then close it. The sealed jar will recycle moisture; it is not a plant you should water on a weekly calendar. Mark today as the setup day and check it over the next few days.
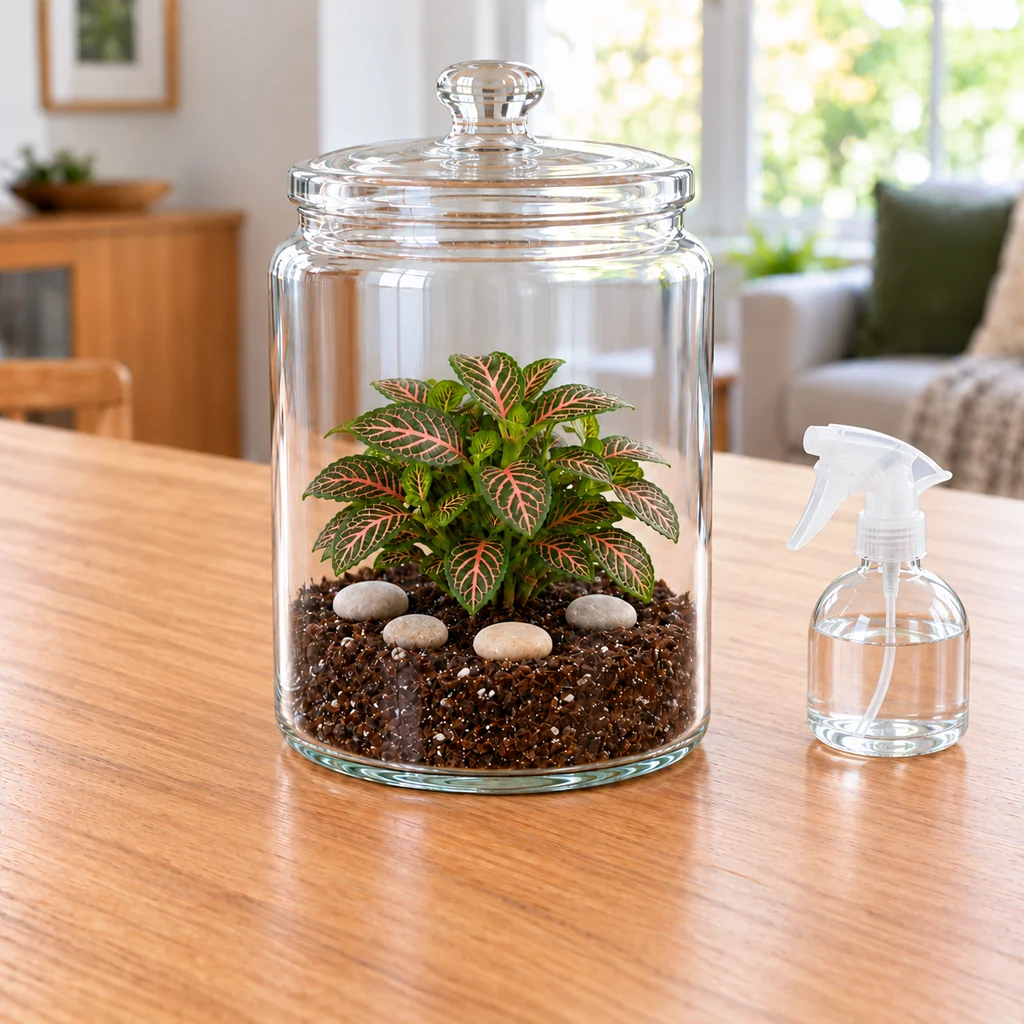
Step 7: Read the Condensation and Correct Excess Moisture
During the first several days, look at the glass at roughly the same time each day. A light mist that comes and goes is a useful sign of moisture cycling. If large drops cover the glass for much of the day, take off the lid and let excess moisture escape; if necessary, blot visible pooled water and remove any rotting leaf. Replace the lid only after the glass clears and the foliage has dried. If the glass stays completely dry and the plant droops, check the soil before adding a little water. Condensation alone is a clue, not a reason to pour in more water.
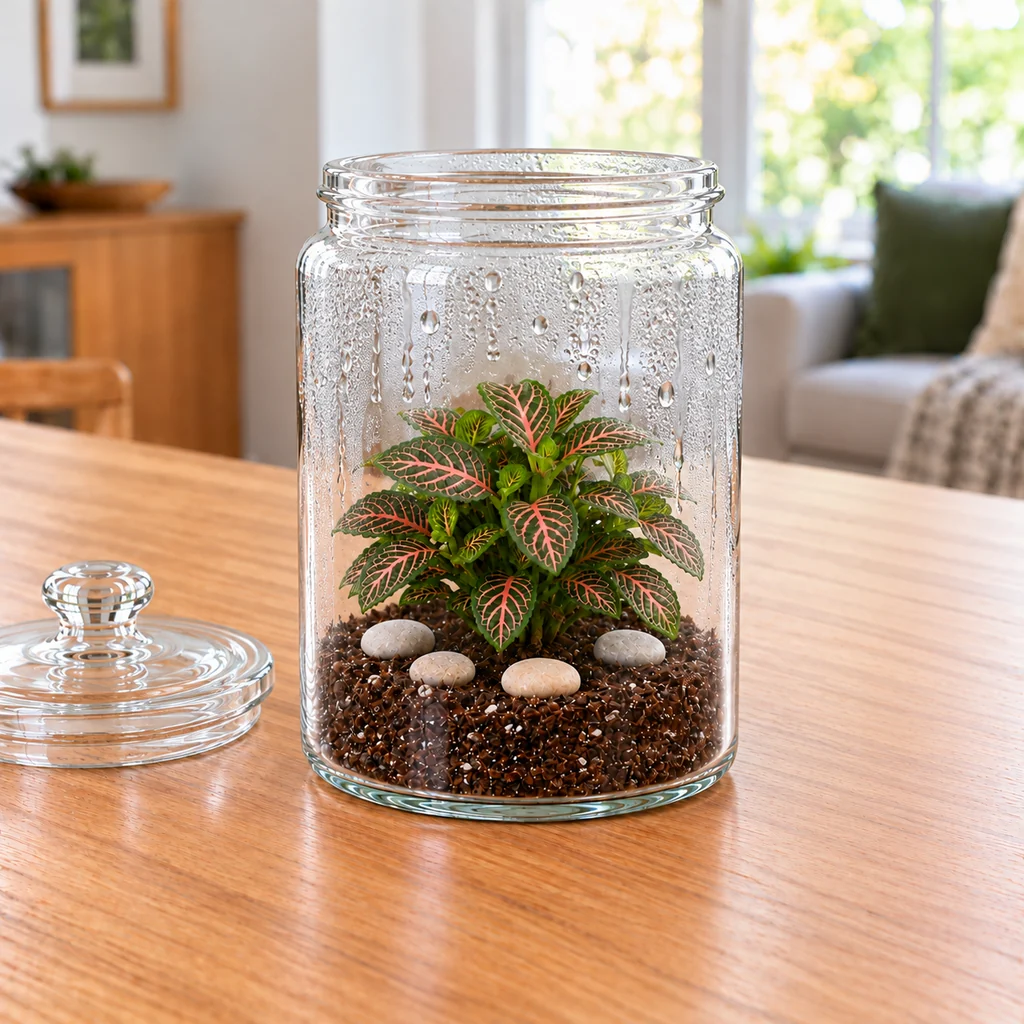
Step 8: Place It in Bright, Indirect Light
Move the balanced terrarium to a bright spot away from direct sun, radiators, and cold drafts. Direct sun can heat a sealed glass jar quickly. Rotate it occasionally if the plant leans toward the window, remove any yellow or decaying leaf promptly, and prune growth before it touches the glass. Water only after the soil and plant indicate a need; the interval varies with the lid, light, temperature and plant. A closed jar is low maintenance, not permanently maintenance-free.
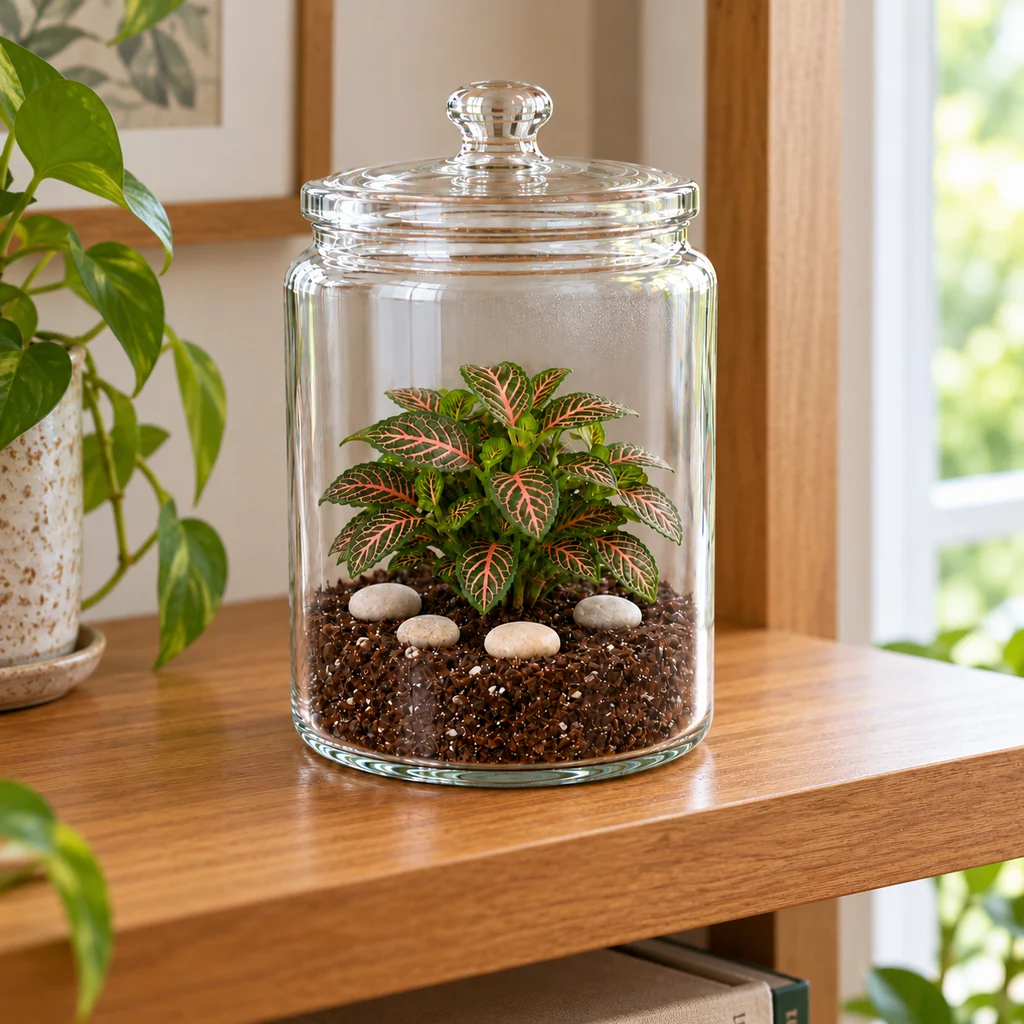
Quick Fixes for a Foggy or Unhappy Jar
- Glass stays wet all day: Open the lid, remove any standing water and let the jar vent before resealing. Persistent wetness can invite rot.
- Leaves touch the walls: Prune lightly or move the plant to a larger jar; trapped wet foliage is more likely to deteriorate.
- Leaves yellow while soil looks dark and wet: Stop watering, vent the jar, and check for damaged roots or decaying foliage.
- Plant wilts and soil feels dry: Add a small amount of water to the soil, then watch how the condensation responds.
- Fuzzy growth appears: Remove the affected leaf or debris promptly, vent the container, and reassess moisture and cleanliness.
For another indoor growing project, see how to force hyacinths in a water vase. If you prefer a bright winter bloom, our paperwhite growing guide explains a different kind of contained display.