A balloon-and-streamer backdrop can turn a plain corner into a party photo spot without attaching anything to the wall. The trick is to build the paper curtain first, then add a small number of air-filled balloon clusters to a stable, weighted stand. This version works for a baby shower, birthday or graduation; change the colors, not the mechanics.
Finished size: about 5 feet wide by 6 feet high. Allow a little more floor space for the stand feet and keep the setup away from exits, candles, heaters and walkways. A freestanding backdrop stand with a crossbar is the foundation; follow its own assembly and load instructions.
Check your stand’s parts and load limits before decorating it.
What You Need
- One adjustable freestanding backdrop stand with a crossbar that can span at least 5 feet, plus a weight or sandbag for each base
- Three 2-inch-wide crepe streamer rolls, roughly 80 feet per roll, in three coordinated colors
- About 24 air-fill balloons, roughly 10 inches when inflated, in two or three colors
- A hand or electric balloon pump, scissors, tape measure, and short pieces of curling ribbon or reusable balloon ties
- Two small clamps for keeping a test strand in place while you work, if the crossbar is slippery
The streamer estimate assumes about 30 strands cut to roughly 6½ feet each: around 195 feet of paper in total. Three 80-foot rolls give you room for trimming and a few torn strands. If your stand is narrower or taller, measure before buying. The balloon count is a flexible starting point for a few top clusters, not a load target for every stand.
Balloon safety: Adults should handle the pump and assembly. Keep uninflated balloons and burst pieces away from children, especially those under eight, and pick up broken pieces immediately. The U.S. Consumer Product Safety Commission’s balloon safety alert explains the choking and suffocation hazard. Do not leave loose ribbons at child height or let children pull on the stand.
How to Make a Freestanding Balloon and Streamer Backdrop
Step 1: Mark a Clear Five-Foot Photo Area
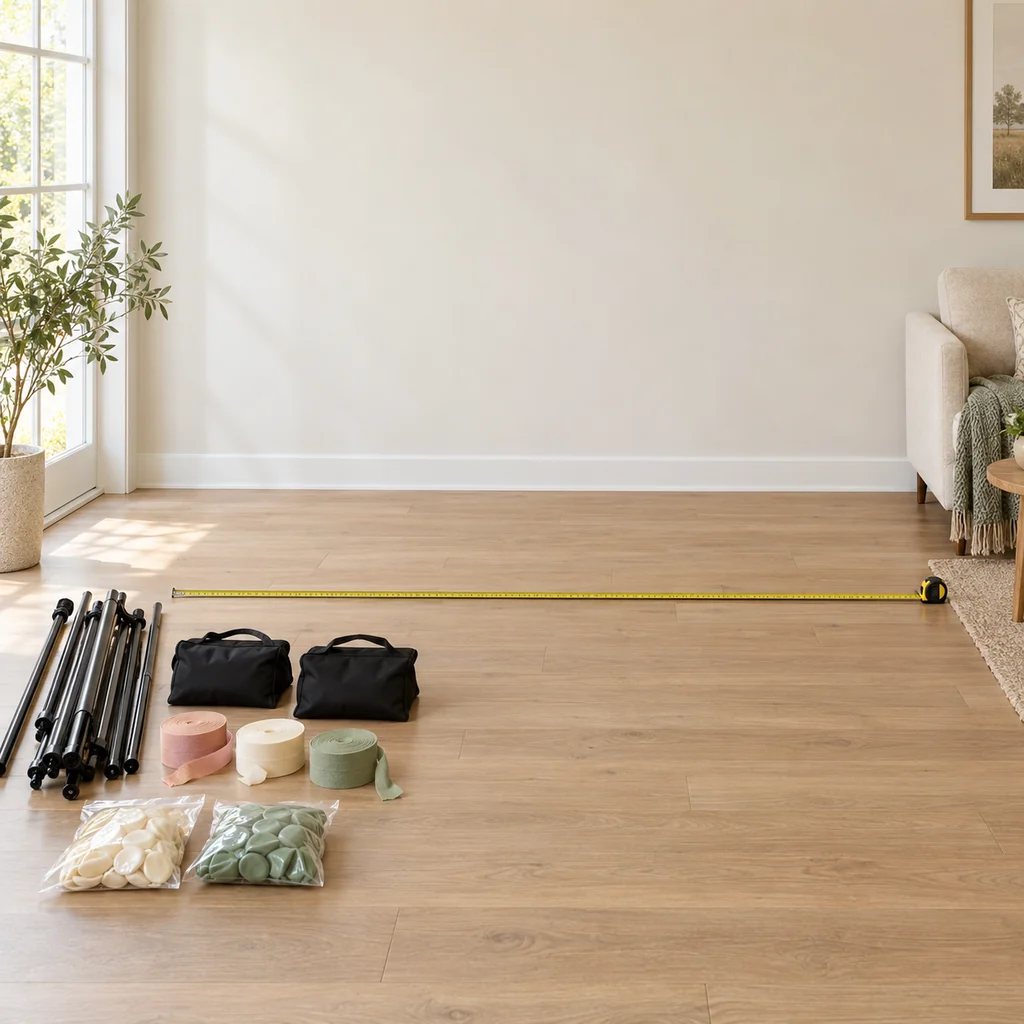
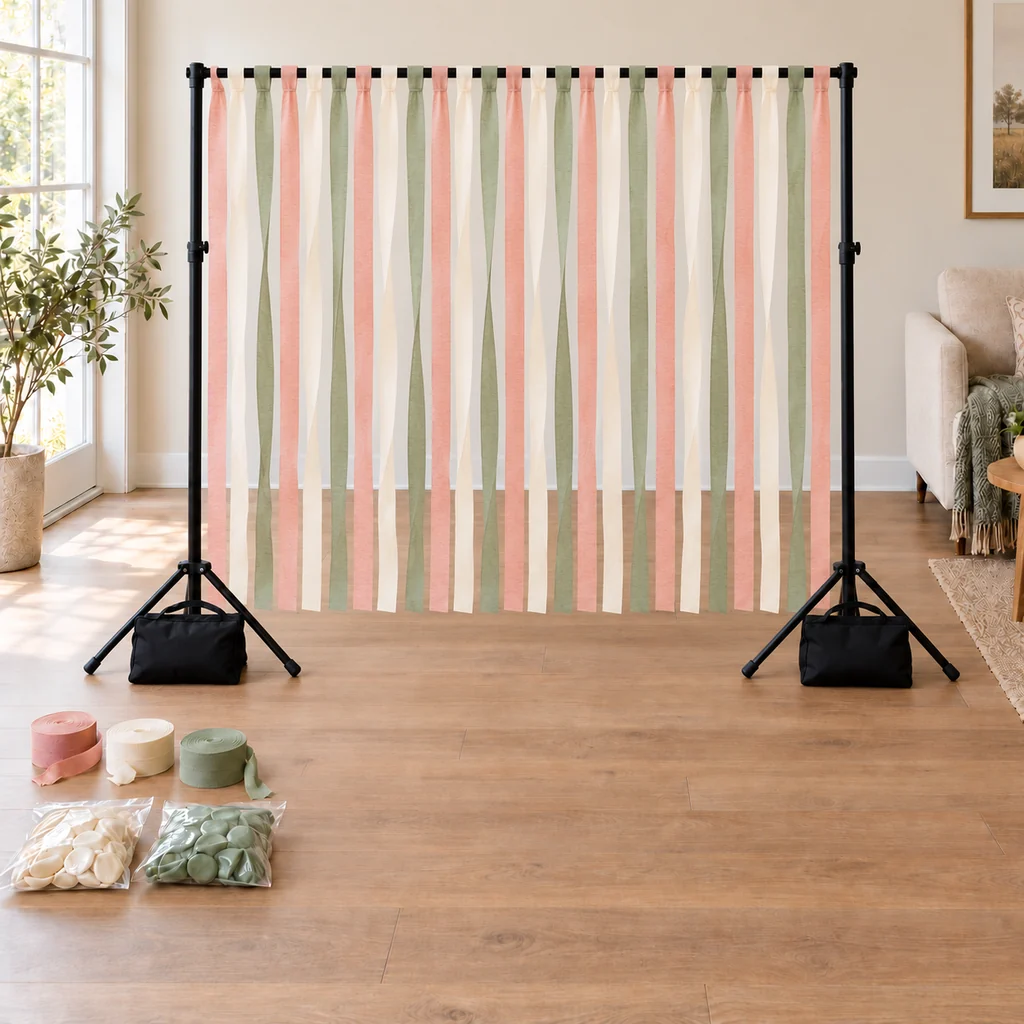
Choose a flat floor where the backdrop can stand without narrowing an exit or catching a door. Use the tape measure to mark a 5-foot-wide photo area and check that the stand feet and weights fit entirely outside the path people will walk. Look at the light from the camera position: a window beside the photographer is easier to work with than one directly behind the backdrop. Lay the closed streamer rolls and balloon packets near the chosen spot so you can assess the color order before cutting.
Step 2: Assemble and Weight the Stand
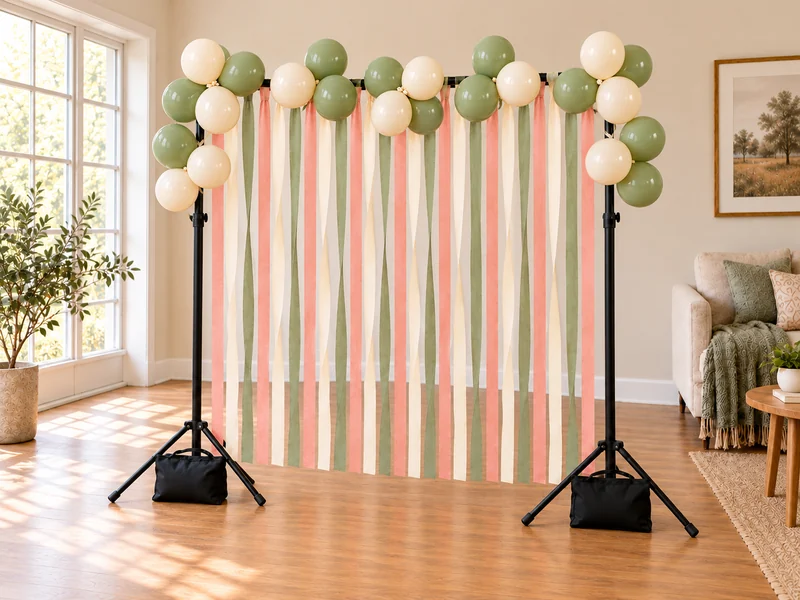
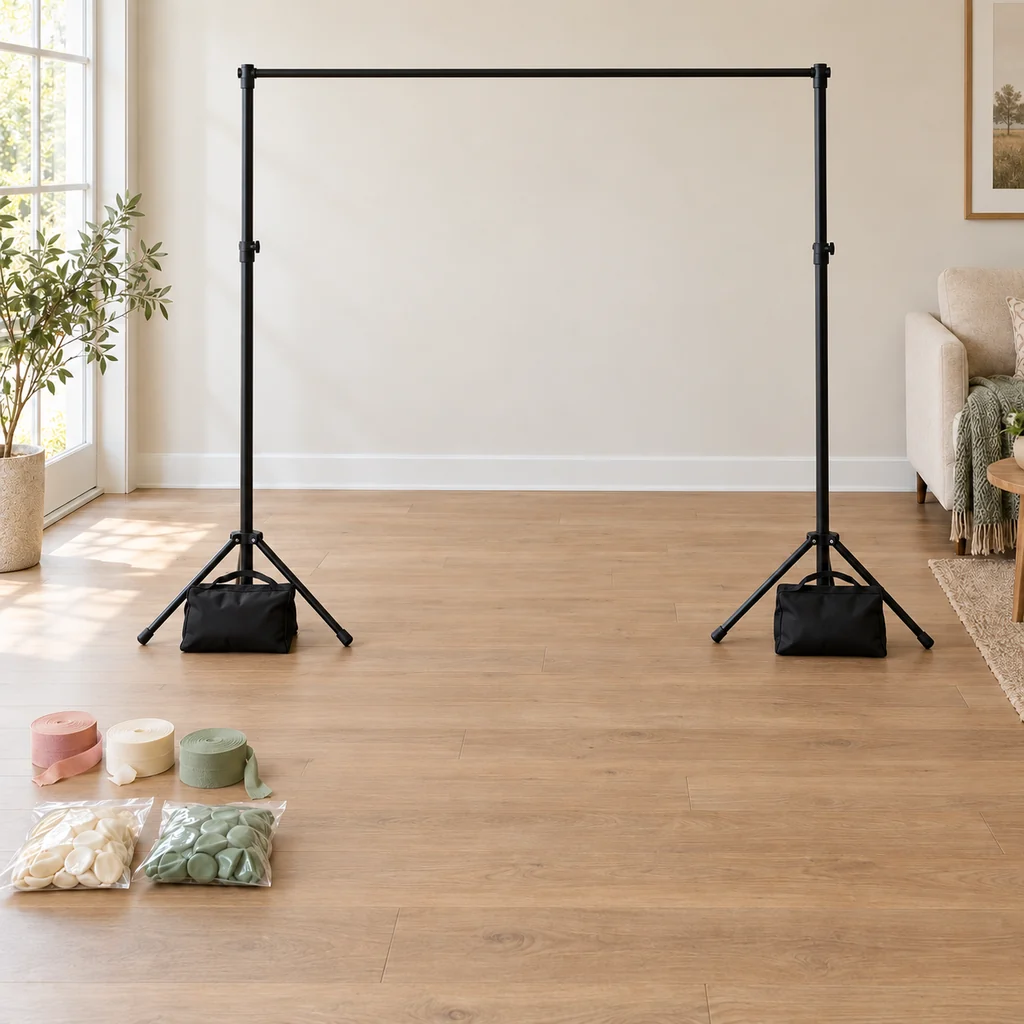
Set the crossbar to roughly 5 feet wide and 6 feet high, or to the safe dimensions your stand allows. Lock both uprights and place a weight at each base according to the manufacturer’s instructions. Gently test the empty stand for wobble before adding paper or balloons. The photo shows the crossbar supported by two uprights with both base weights on the floor; the decorations will hang from this bar, not from the wall.
Step 3: Cut Streamers to the Same Starting Length
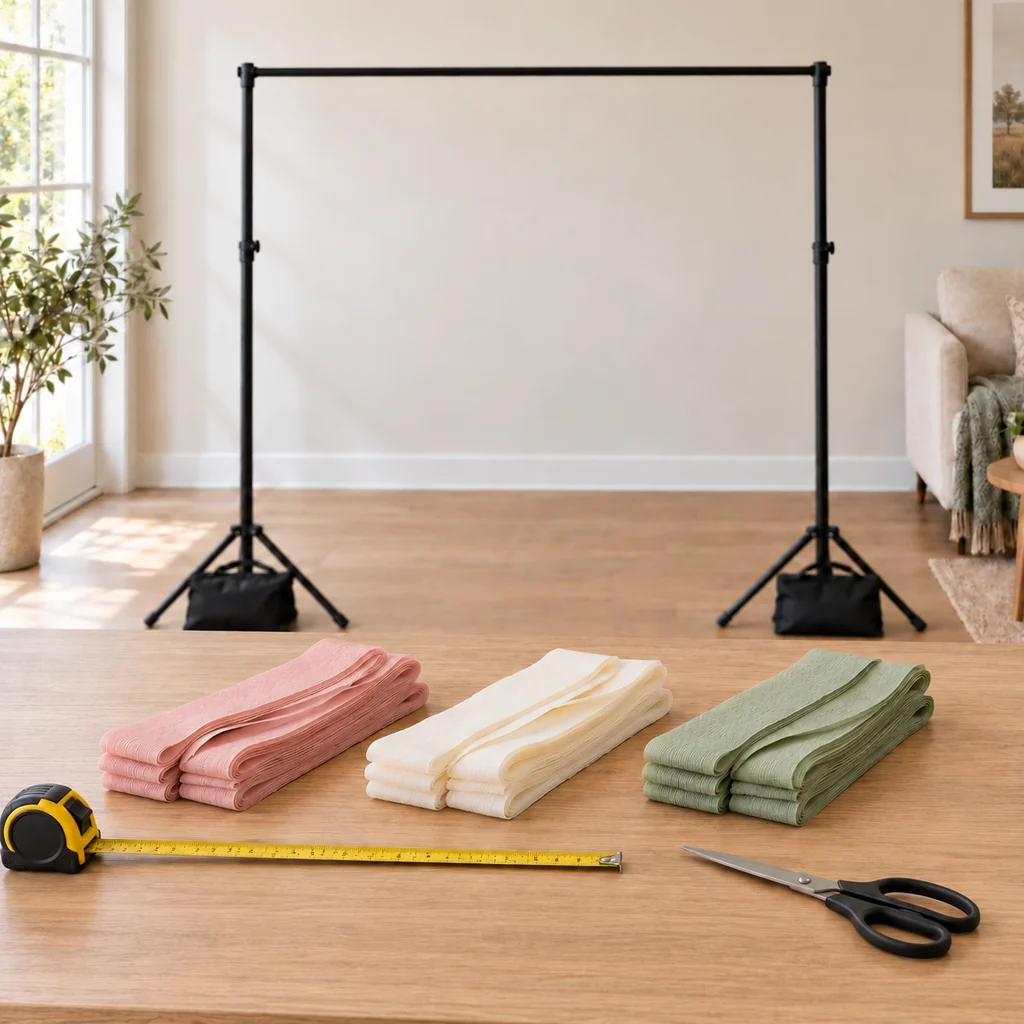
Cut a test strand about 6½ feet long. Fold its top 6 inches over the crossbar as a loop and see where the lower end falls; it should skim the floor without piling underfoot. Adjust the length for your actual stand, then cut about 24 to 30 strands in a balanced mix of the three colors. Keep each color in a separate loose stack so the paper does not tangle. Crepe paper stretches and tears when pulled hard, so cut with sharp scissors and handle it gently.
Step 4: Loop the Paper Over the Crossbar
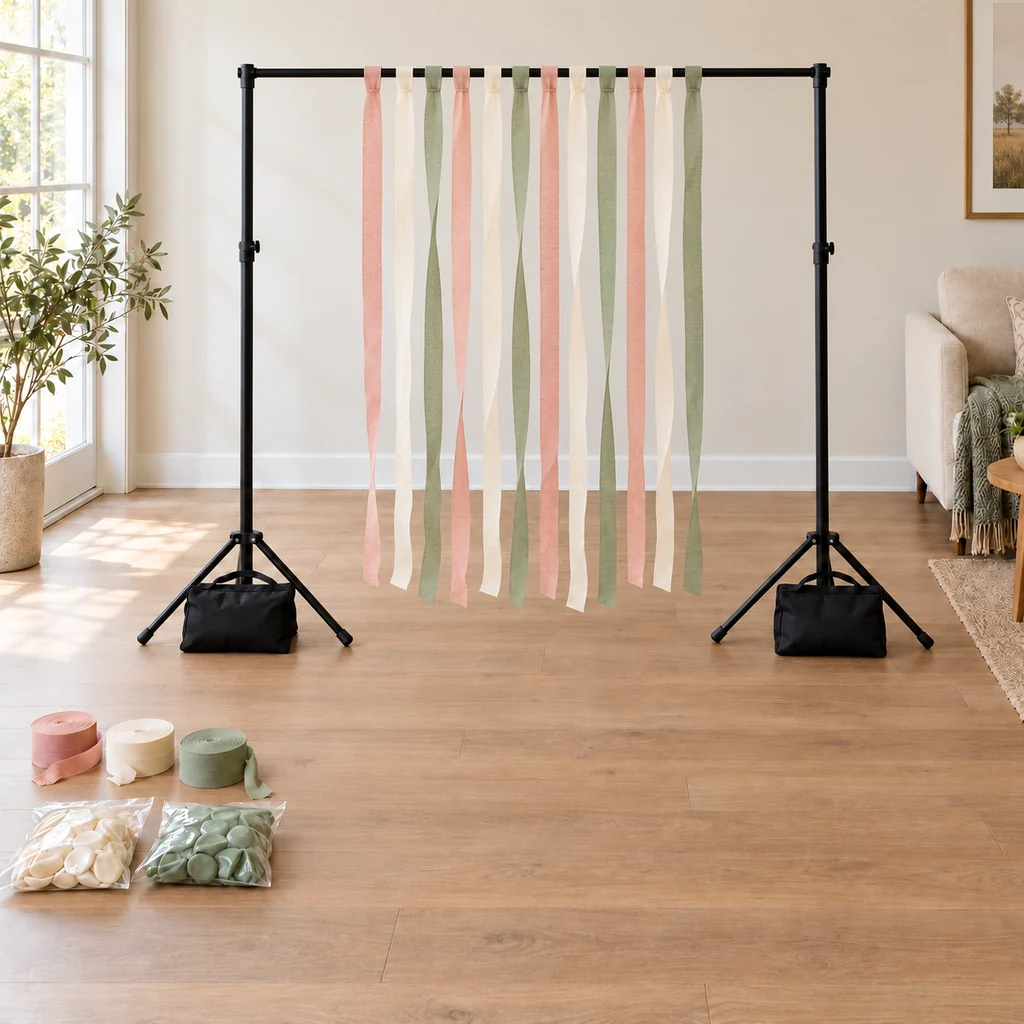
Start in the center and work toward both ends. Fold the top 6 inches of each streamer over the crossbar and secure the folded section to itself with a small piece of tape, keeping tape off any finish that might peel. Alternate colors and let the strips hang straight; about 2 inches between attachment points gives a light curtain rather than a solid sheet. Two small clamps can temporarily hold the first test strands while you set the spacing. Step back after every few strips and correct bunching before the bar becomes crowded.
Step 5: Finish the Curtain and Trim the Bottom
Fill the rest of the five-foot span with the remaining strands. Let the crepe relax for a few minutes, then trim only the ends that drag on the floor. Keep the bottom just above the surface so shoes do not catch it. From a camera-height view, look for obvious gaps and add a strand where needed. The curtain should be full but still light enough that the stand is stable. Do this adjustment before balloons hide the crossbar.
Step 6: Inflate and Pair the Balloons
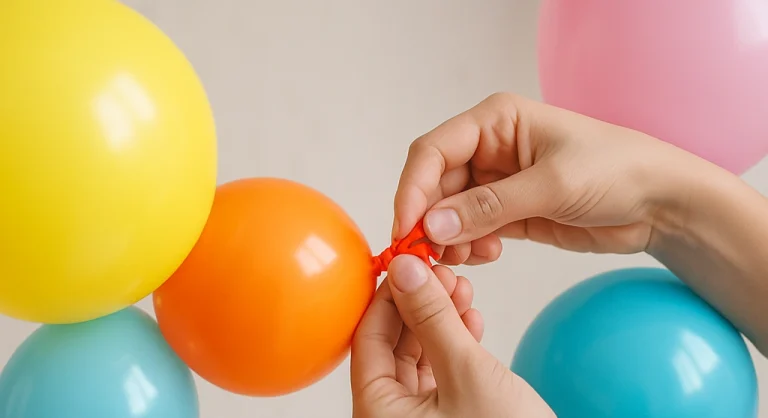
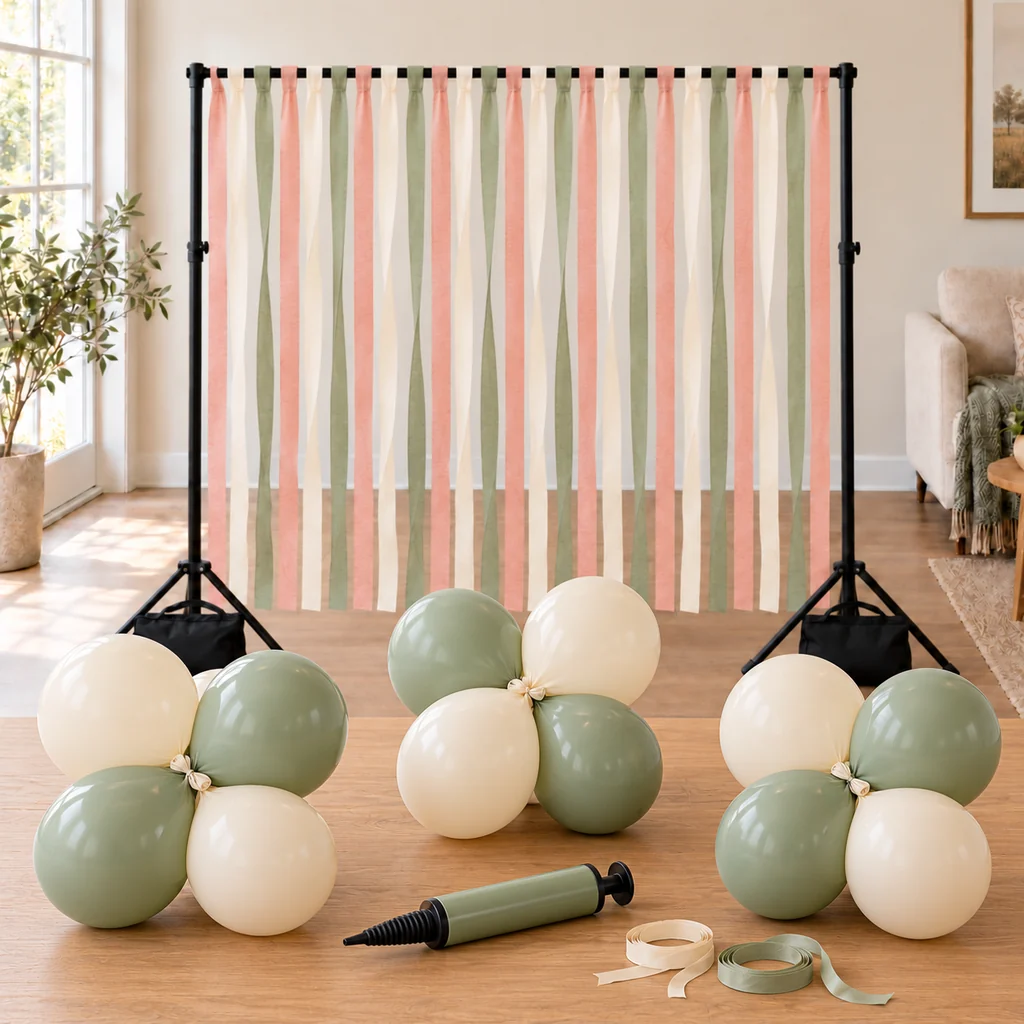
Use the pump to inflate about two dozen balloons to a similar modest size, roughly 10 inches across. Tie each neck securely; do not overfill the balloons until they look pointed. Pair tied balloons by gently knotting their necks together or using balloon ties. Make about six groups of four by twisting two pairs together. Keep the groups on a clean surface away from sharp edges while you work. Air-filled balloons are all this backdrop needs; helium would make the grouping harder to control.
Step 7: Attach the Clusters and Check the Photo Frame
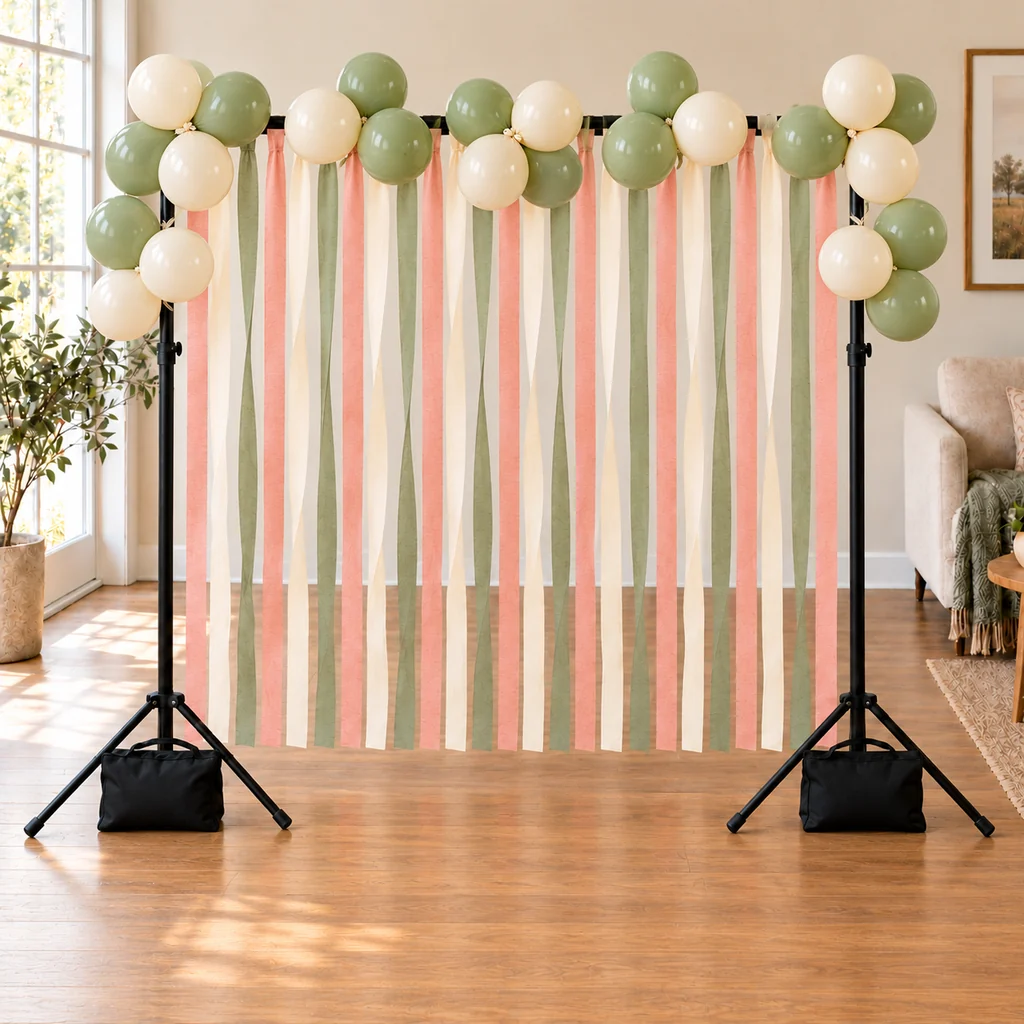
Working with another adult if the crossbar is high, tie the six balloon groups to the crossbar with short ribbon loops. Spread them across the top and tuck one or two slightly lower at the outer edges to frame faces without hiding the center of the paper curtain. Keep the clusters clear of lights and the camera sightline. Retest the weighted stand for wobble, remove any loose or broken balloon pieces, and take a phone photo from guest height. If the center looks crowded, move a cluster toward an edge rather than adding more balloons. The final view should leave a clean central area for people to stand in front of.
Make It Work for Your Party
For a baby shower, keep the palette soft and place a simple chair in front of the backdrop only after the stand is fully checked. For a birthday, swap in brighter streamers while keeping the same construction. For a smaller room, use a narrower stand and recalculate streamer lengths rather than cramming the full five-foot setup into a doorway. Keep the paper dry; wet crepe can sag or transfer color.
If you want a different balloon arrangement, our balloon garland ideas can help you vary the top border. For more shower planning, see our baby shower theme guide. When the party ends, remove the balloon groups first, then the paper, and finally the stand weights; collect every burst balloon piece before children return to the area.