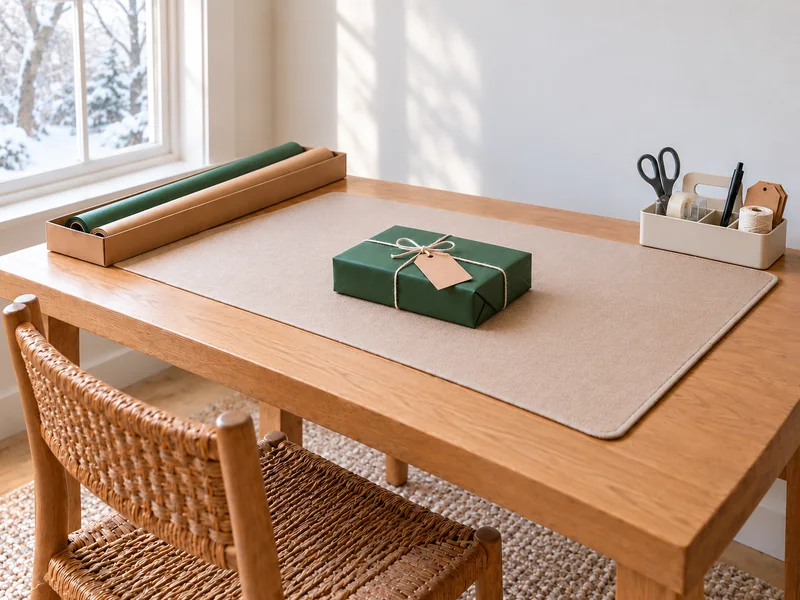
If wrapping supplies take over your dining table every December, make the station temporary on purpose. A protective mat defines the work area, a slim tray holds paper at one end, and a small caddy holds the tools at the other. The middle stays open for one gift at a time, and the whole setup can be cleared when dinner is ready.
The short version: Protect the table, park a small selection of paper on one side, put tools in a liftable caddy on the other, test the center with a real box, then return everything to its storage spot after the session.
Check the size of your table and supplies before arranging the station.
What You Need for a Temporary Wrapping Station
- A clean, stable dining table or other flat work surface
- A washable mat or table protector large enough for the gifts you plan to wrap
- A shallow tray or long box that fully supports your paper rolls
- One small handled caddy or open container for tools
- Wrapping paper, sharp scissors, tape, a pen, blank gift tags, and optional twine or ribbon
- One real gift box for a trial run
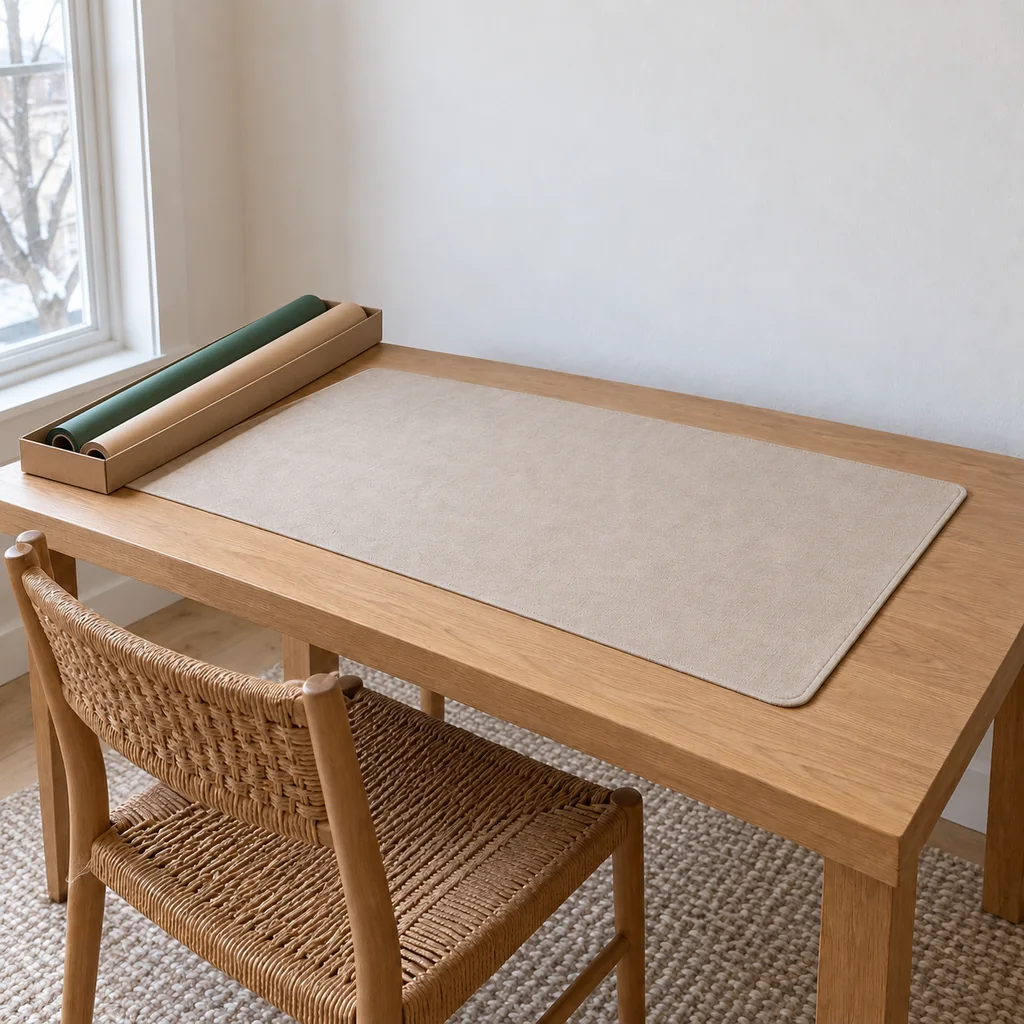
You do not need a dedicated cart or a wall organizer. Start with the supplies you already use and bring out only a few rolls at a time. The photographs show one green roll and one kraft roll as an example; the system works with different colors and paper widths.
Set Up the Station in Six Steps
Step 1: Clear and Protect the Table
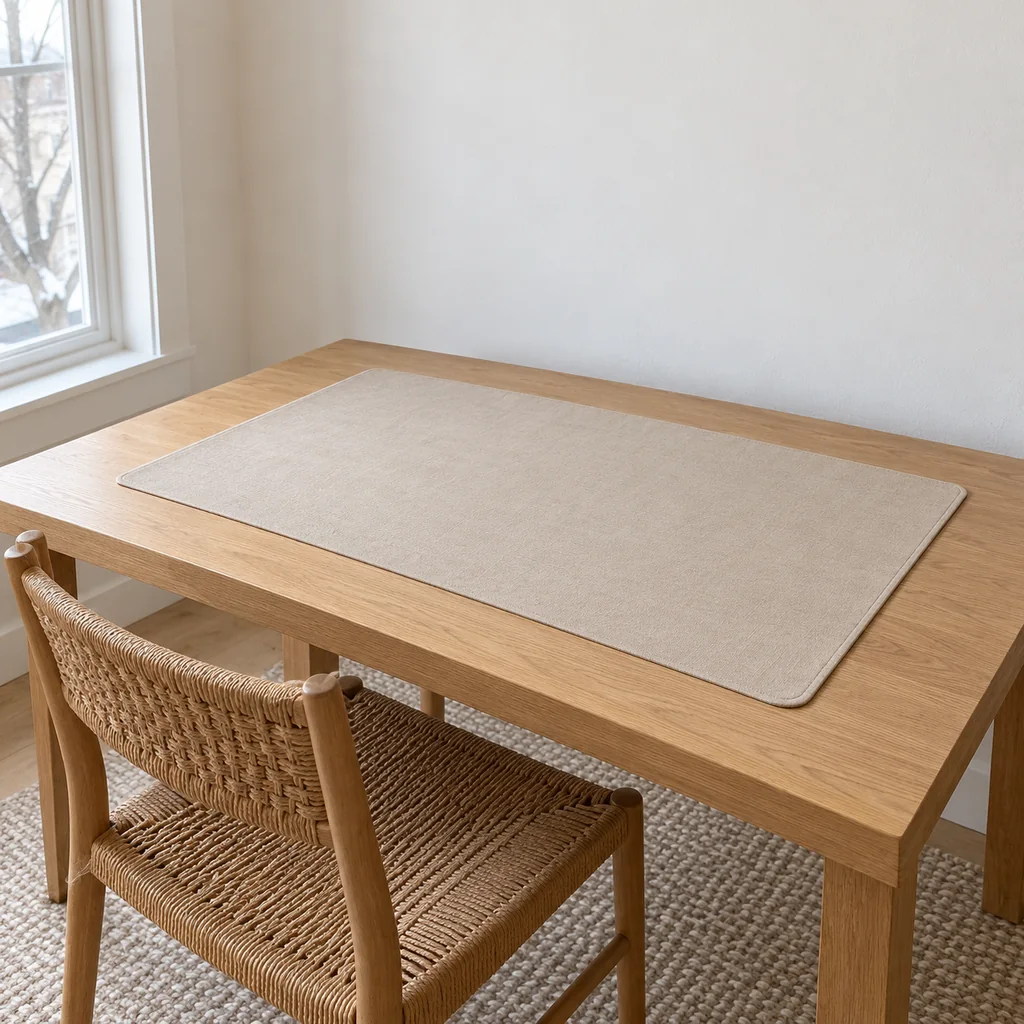
Remove dishes, food, and anything that might catch a sheet of paper. Wipe and dry the surface, then lay a clean, flat protective mat in the center. Keep the mat away from any hot appliance or open flame. If the mat slides when you move a box across it, choose one with a grippy underside or add a suitable non-slip layer beneath it.
Step 2: Keep Paper Rolls at One End
Lay the rolls horizontally in a shallow tray or long box at the far end of the table. Both ends of each roll should be supported so the paper cannot tumble onto the floor or across the work zone. Put the colors you expect to use today in the tray and leave spare rolls in storage. If the tray takes up too much tabletop, place it on a nearby stable surface and bring one roll over when needed.
Step 3: Put Tools in One Liftable Caddy
Place scissors, tape, a pen, blank tags, and any twine or ribbon in one small caddy at the opposite edge. Check that the scissors sit securely with the blades closed and that the handle is easy to grasp. The caddy can move off the table whenever you need more space; loose tools spread across the center cannot. Keep sharp tools out of reach of children when the station is unattended.
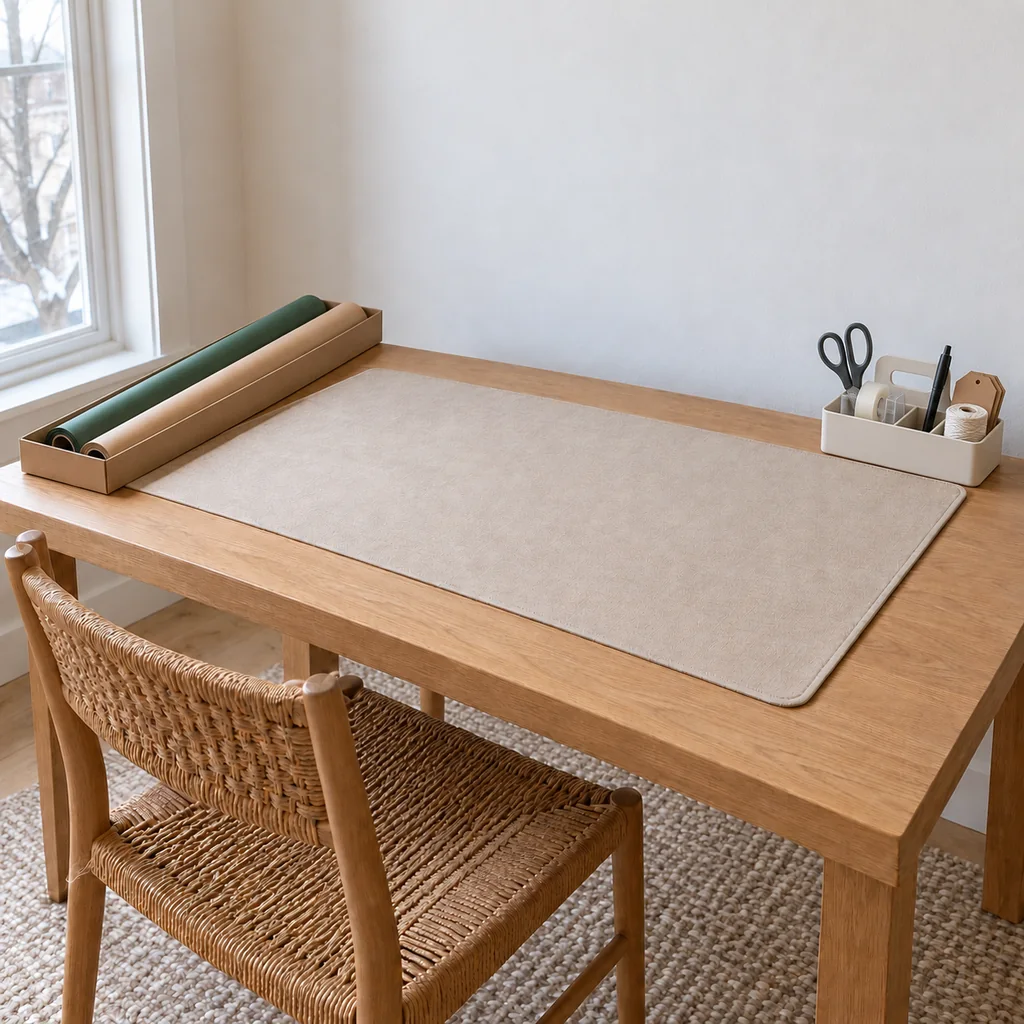
Step 4: Test the Center With a Real Box
Set the first box in the center of the mat and unroll enough paper to judge the fit before cutting. Leave room on the mat to fold the paper around the box; if its edges hang off the table, use a larger surface or wrap a smaller box here. Cut one sheet and return the roll to its tray. The cut sheet should lie flat, with the box supported on the table rather than balanced on a pile of supplies.
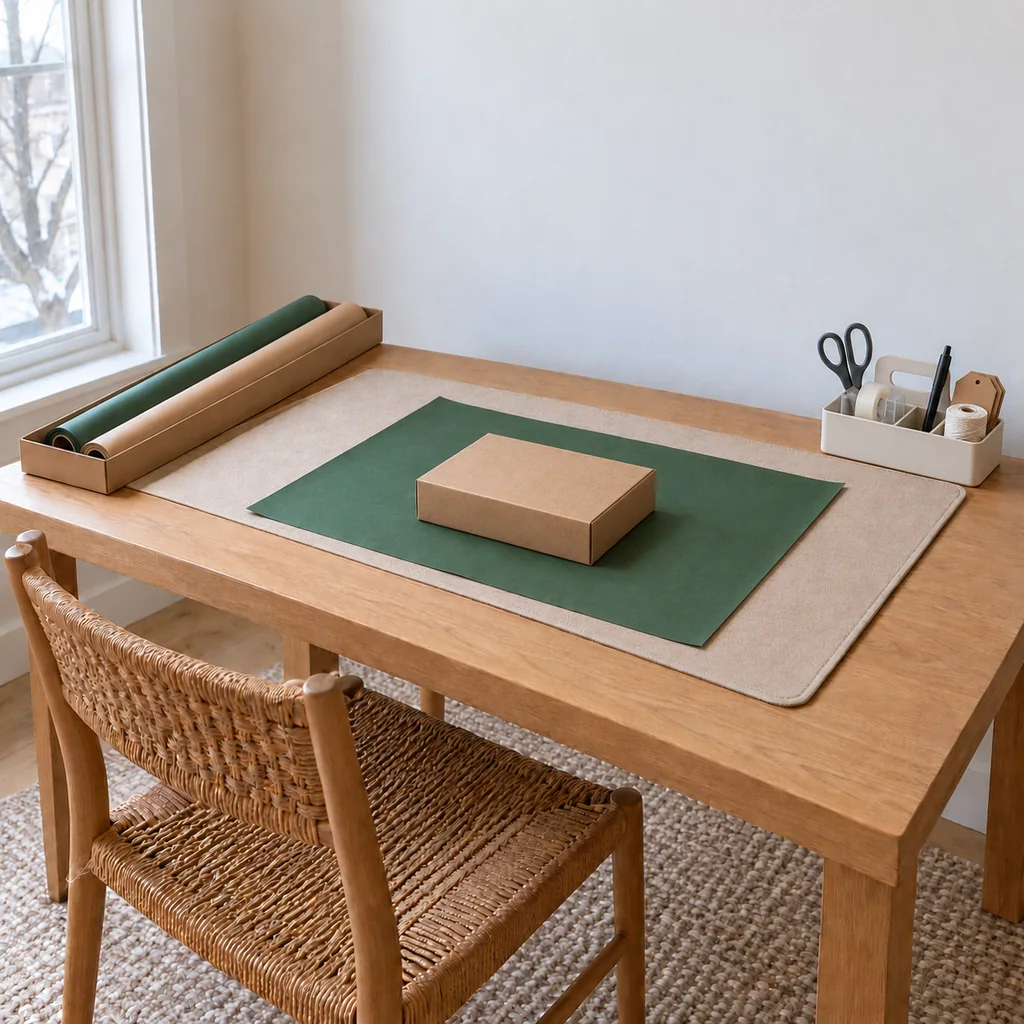
Step 5: Wrap One Gift and Adjust the Layout
Wrap the trial box using your preferred fold, tape the seams, and add a tag. Notice whether you reach the scissors and tape without dragging the caddy into the paper. If the caddy crowds your elbows, move it to an adjacent chair or nearby counter while you work. Keep the center for one gift at a time and set finished gifts away from the cutting area.
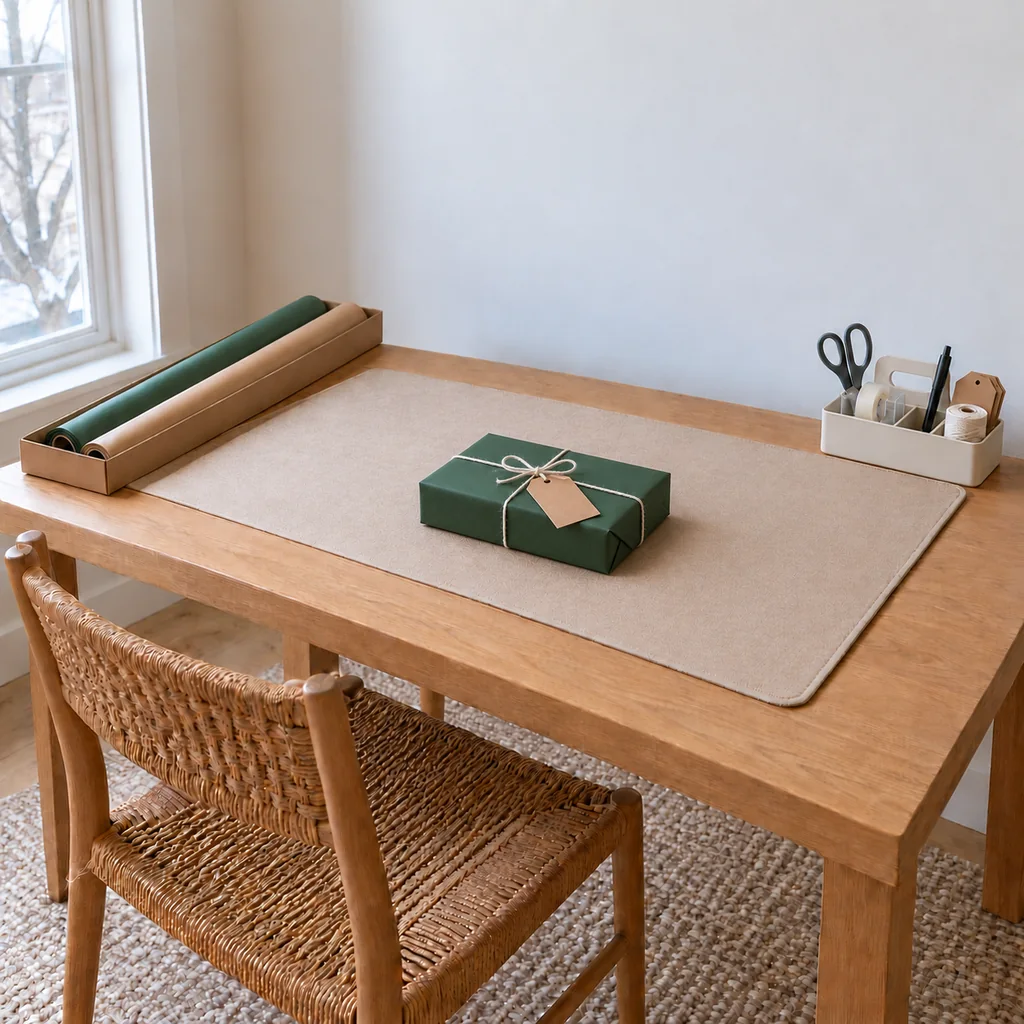
Step 6: Reset the Table When You Finish
Put the finished gifts somewhere clean and dry. Collect small paper offcuts and used tape backing, then return the tools to the caddy and the paper to its tray. Roll or fold the mat according to its care instructions. The photo shows the three supply groups gathered along the back edge just before they are carried to storage; remove them from the table before using it for a meal. If you need a longer-term home for the rolls, see our small-closet gift wrap storage plan.
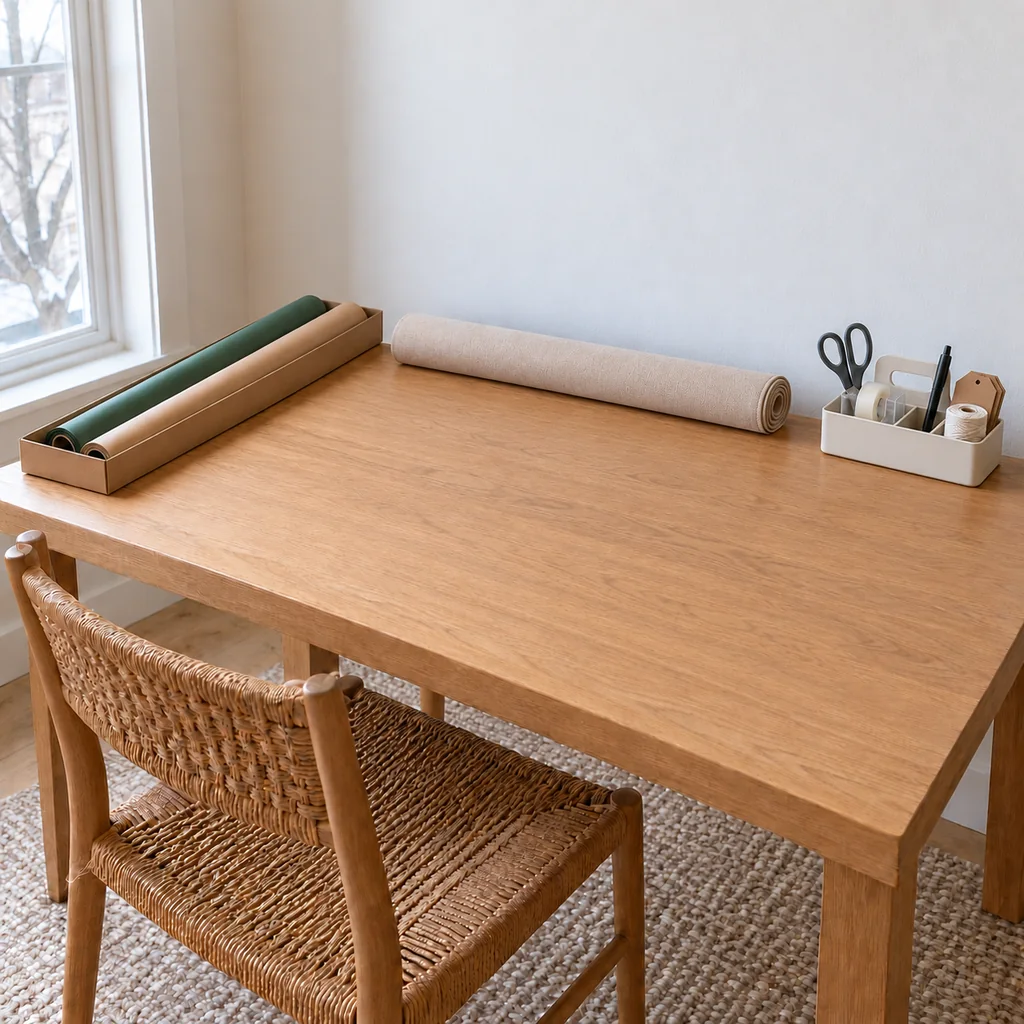
Small-Space Details That Make This Easier
- Keep the table edge free. A roll that projects beyond the tabletop can be knocked down as someone walks past.
- Use a container you can lift. A caddy makes the setup genuinely temporary because the little items leave together.
- Choose paper for the gifts on hand. Several colors can look inviting, but extra rolls can consume the space needed for folding.
- Prepare tags before you wrap. Writing the recipient’s name while the tag is still flat is easier than trying to write on a swinging tag.
- Check large packages first. This table setup is for boxes that fit fully on the protected surface. Bulky gifts may need another spot or a bag.
For a handmade finishing touch that stays separate from the work surface until the gift is ready, try our layered paper Christmas tree gift tags.
Frequently Asked Questions
Can a small dining table work as a gift wrapping station?
Yes, if you keep paper and tools at the edges and leave enough protected flat space in the center for the largest box you intend to wrap there. Test with an actual box before cutting paper.
Where should I put wrapping paper if the table is very small?
Keep the rolls on a stable nearby surface and bring one roll over at a time. A tray on the table is useful only when it leaves adequate room to fold paper around a gift.
How do I keep the dining table usable during the holidays?
Use a mat that rolls or folds, one portable tool caddy, and a shallow paper tray. Put each group back in its storage spot after a wrapping session instead of leaving the station on the table for weeks.