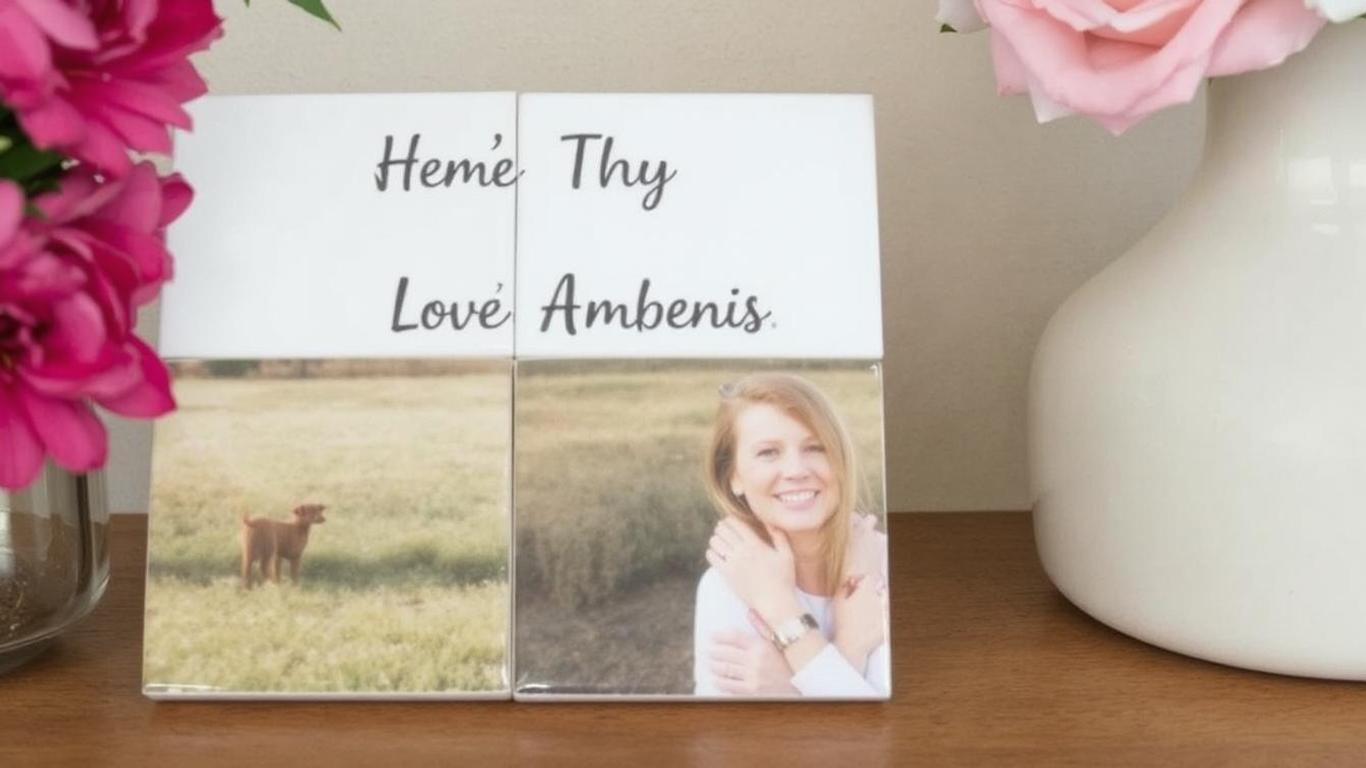
Looking for a unique, heartfelt gift for Mother’s Day? This DIY photo tile gift is simple to make and is sure to bring a smile to your mom’s face. The best part? It’s a personal, meaningful gift that she’ll cherish for years to come. Here’s how to create a beautiful photo tile gift that she’ll absolutely love.
What You’ll Need:
-
A ceramic tile (6×6 inches is a great size)
-
Photo print (use a favorite family photo or a memorable moment)
-
Mod Podge (or any decoupage glue)
-
Scissors
-
Paintbrush
-
A piece of felt (for the back of the tile, optional)
-
Ribbon or string (for hanging, optional)
-
Clear acrylic spray (optional, for sealing)
Step 1: Choose and Print Your Photo
Select a photo that is meaningful to your mom. You can choose a family picture, a picture of her and the kids, or a special memory you’ve shared. Print it on regular printer paper or photo paper. Make sure the size fits well on the ceramic tile.
Why it works: Personalizing the gift with a photo adds sentimental value, making it unique and meaningful.
Step 2: Cut the Photo to Fit the Tile
Cut the photo to fit the size of the tile. Leave a small border if you prefer or cut it right to the edges for a clean look. Make sure the photo is trimmed neatly so it fits perfectly on the tile.
Why it works: A well-sized photo will sit perfectly on the tile, ensuring a polished and professional look when finished.
Step 3: Apply Mod Podge to the Tile
Using a paintbrush, apply a thin, even coat of Mod Podge onto the surface of the tile where you want to place the photo. Be gentle and try to avoid any bubbles or lumps.
Why it works: Mod Podge will act as a glue and sealer for the photo, making sure it sticks to the tile and stays intact over time.
Step 4: Attach the Photo
Carefully place the photo onto the glued surface, smoothing out any air bubbles or wrinkles. You can use your fingers or a flat tool (like a credit card) to gently press down on the photo to ensure it sticks well.
Why it works: Properly smoothing the photo ensures a seamless finish, with no creases or air pockets that can spoil the clean look.
Step 5: Seal the Photo
Once the photo is in place, apply a thin layer of Mod Podge over the top of the photo to seal it. Allow it to dry for at least 15 minutes. After it’s dry, you can apply a second coat of Mod Podge for extra protection.
Why it works: Sealing the photo with Mod Podge protects it from damage and gives it a glossy finish that looks professional.
Step 6: Add a Backing for Stability
If you’d like to make the tile stand up on a surface or hang it on a wall, cut a piece of felt and glue it to the back of the tile. Alternatively, you can attach a small ribbon or string at the top for hanging purposes.
Why it works: The felt backing helps protect surfaces from scratches, and the hanging option makes it easy for your mom to display the gift in her home.
Step 7: Optional: Apply a Protective Coating
For extra durability, you can apply a clear acrylic spray to seal the tile, making it water-resistant and more long-lasting.
Why it works: This step is optional but adds an extra layer of protection, ensuring your DIY gift stays intact for years to come.
A Personalized and Thoughtful Gift
This DIY photo tile gift is a fun, meaningful way to show your mom how much you care. It’s easy to make, affordable, and looks beautiful in any home. Whether it’s displayed on a shelf or hung on the wall, this gift will be a constant reminder of the love you share.