
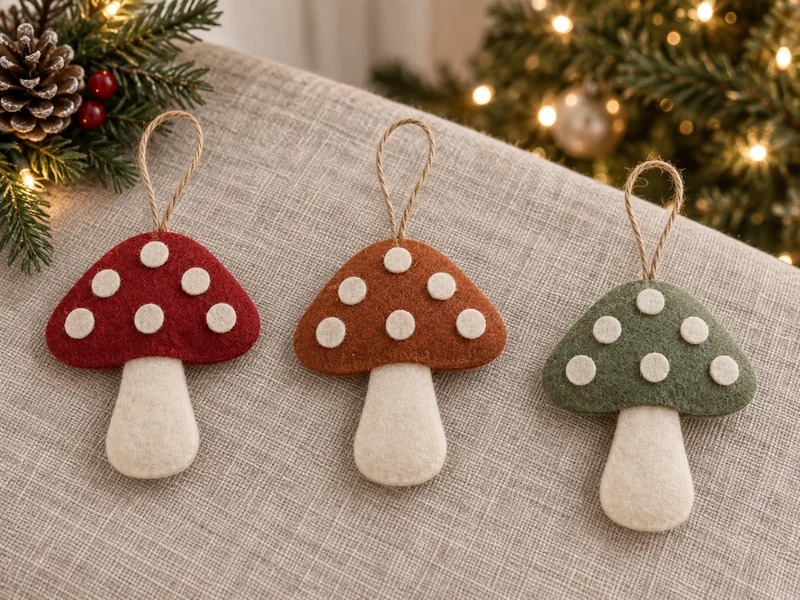
These no-sew felt mushroom ornaments turn a few small felt scraps into soft woodland decorations without a needle or sewing machine. The construction is simple: glue matching front and back pieces, add a twine loop, use only a pinch of stuffing, and close the final opening after the shape has settled.
The pattern is designed around one 4-inch ornament, but the same method works as a batch. Red feels classic, while rust and muted sage make the set easier to mix with natural, Scandinavian, or cottage-style Christmas decor.
Materials for Three Ornaments
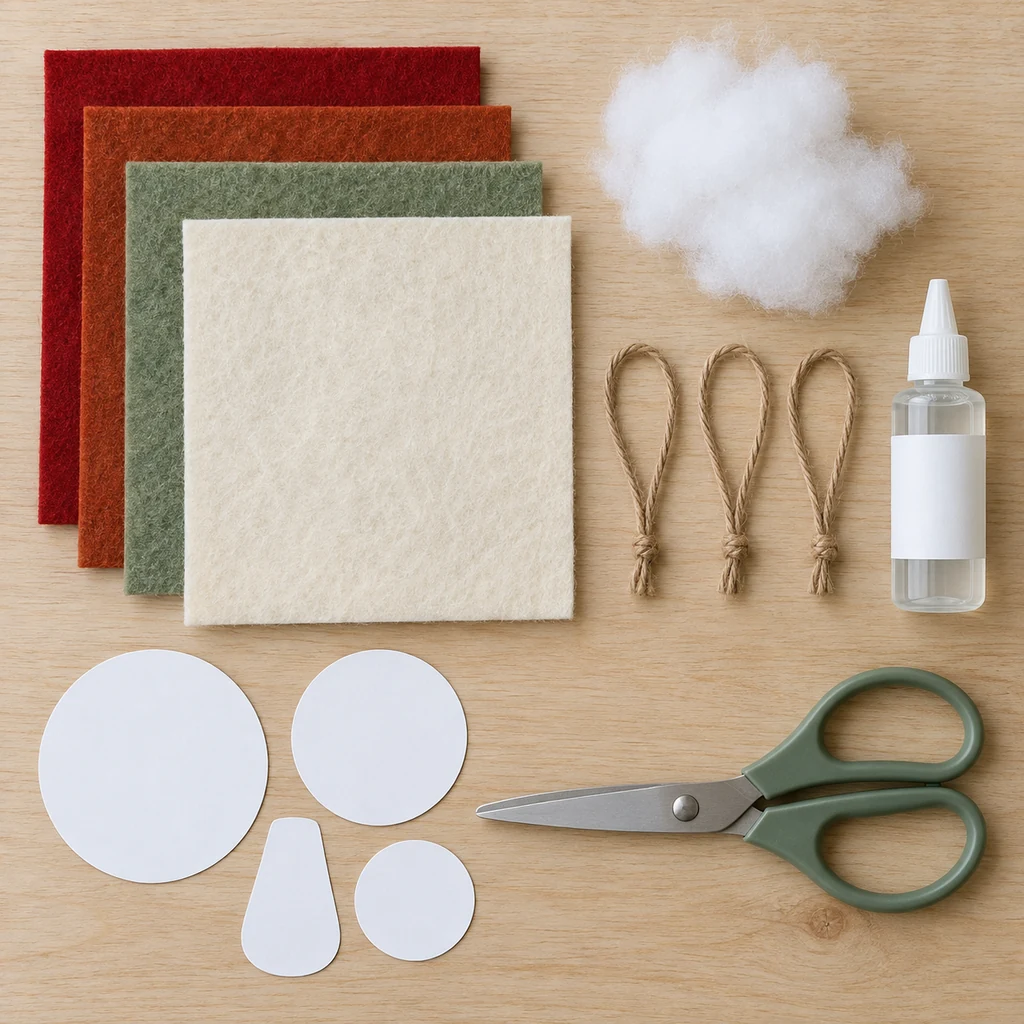
- One 9-by-12-inch sheet each of red, rust, sage, and cream felt
- Clear-drying fabric glue suitable for felt
- Sharp fabric scissors
- Cardstock or plain paper for templates
- Three 8-inch lengths of thin natural twine
- A small handful of polyester stuffing
- Pencil or disappearing fabric marker
- Optional clips or clothespins for holding edges while glue sets
Choose felt that cuts cleanly and does not stretch easily. Very thin felt can show glue; very thick felt is harder to align. Test a dot of glue on a scrap and let it dry before starting.
Simple Mushroom Pattern and Measurements
Draw a cap 4 inches wide and 2 1/4 inches tall with a gently curved top and a nearly straight lower edge. Draw a stem 1 1/2 inches wide at its broad base and 2 1/2 inches tall, narrowing slightly toward the top. Cut five or six cream circles between 3/8 and 1/2 inch wide.
For each ornament, trace and cut two identical caps, two identical stems, and five or six dots. Flip the template for the second piece if your felt has a distinct front and back.
How to Make No-Sew Felt Mushroom Ornaments
1. Cut and dry-fit every piece
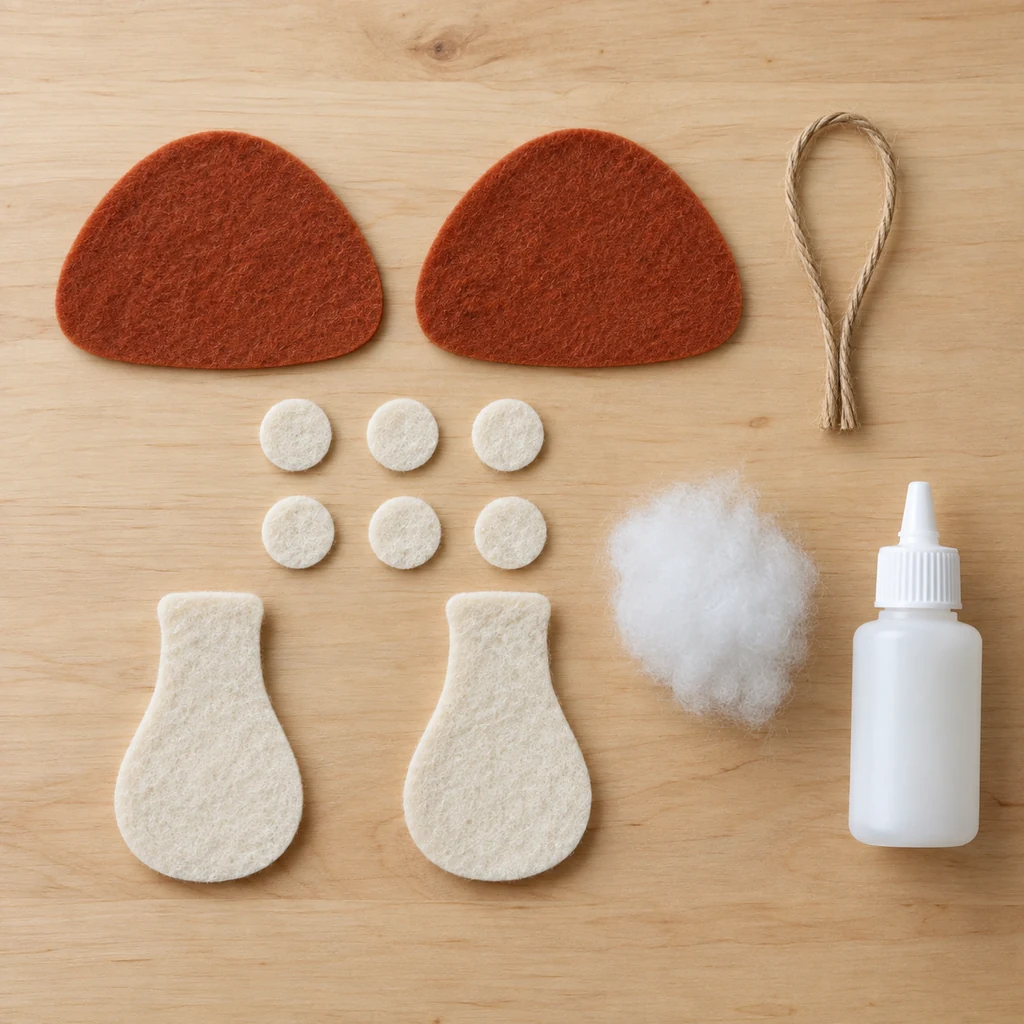
Stack each matched pair and trim only obvious bumps. Place the stem behind the cap so about 1/2 inch overlaps. Check that the finished silhouette looks balanced before gluing.
2. Build the front and back
Glue one stem to the back of one cap at the overlap. Repeat with the second pair. These become the front and back silhouettes. Glue the cream dots to the front cap only, leaving at least 1/4 inch between dots and the outer edge.
3. Add the hanging loop
Fold one twine length in half. Place the two loose ends between the front and back layers at the cap’s top center, with about 3/4 inch hidden inside. Add glue around those ends and press firmly. Let this anchor set before sealing the rest.
4. Glue the perimeter
Apply a narrow line of glue just inside the edge of the back piece. Leave a 1 1/2-inch opening along one outer side of the cap. Align the front, press from the center outward, and wipe away glue immediately with a scrap if it squeezes out. Use clips sparingly so they do not leave dents.
5. Add a small amount of stuffing
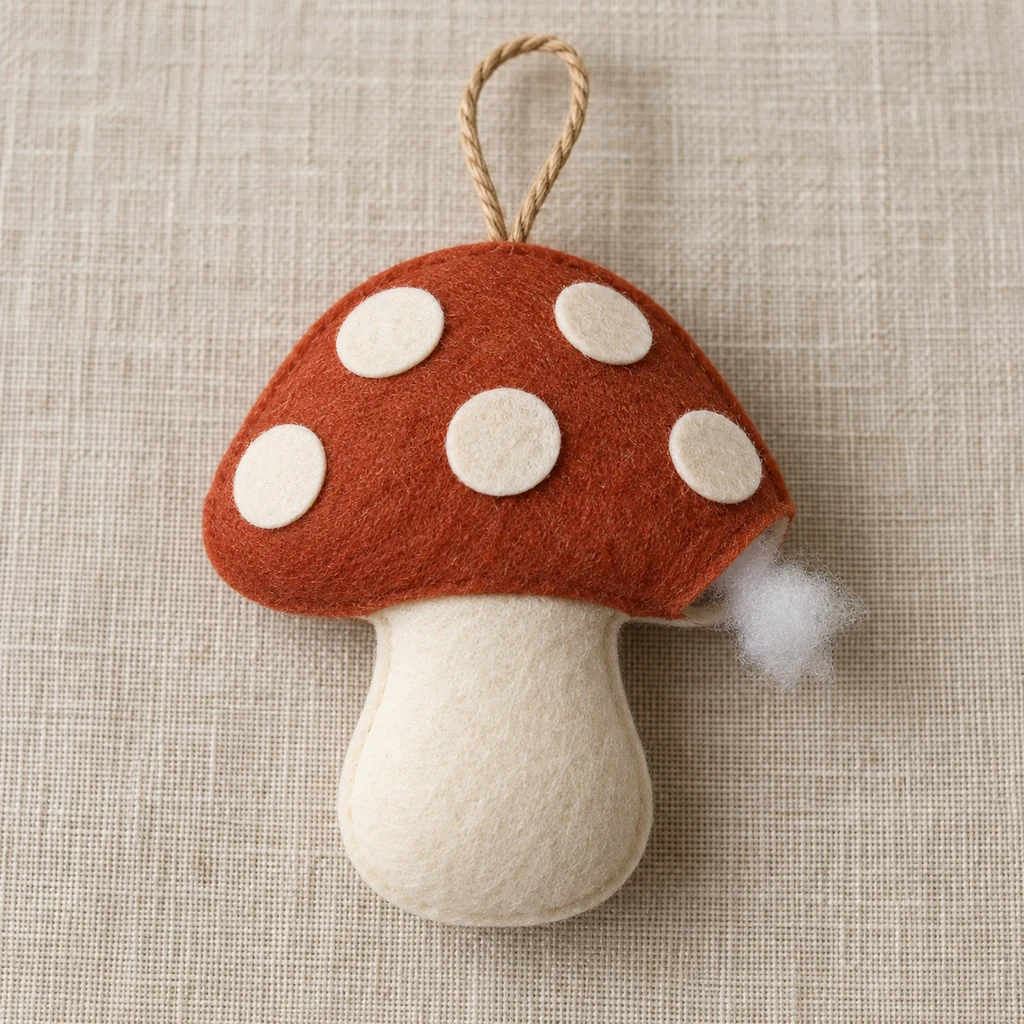
Once the glued perimeter can hold gentle pressure, push tiny tufts of stuffing through the opening. Fill the stem first, then the cap. The ornament should feel softly padded but remain mostly flat.
6. Close and cure
Run a thin line of glue inside the open edge, align it, and press. Lay the ornament flat under a light book protected by parchment, keeping the twine loop outside. Follow the glue manufacturer’s full cure time before hanging.
How to Keep the Edges Neat
- Use less glue than you think; a continuous narrow line holds better than puddles.
- Cut both layers together only if your scissors can do so without shifting.
- Keep stuffing away from the final seam so fibers do not interfere with adhesion.
- Do not hang the ornament while the glue still feels cool or flexible.
- Trim dried glue only after curing, using small precise snips.
Color and Style Variations
For a traditional set, combine deep red caps with cream stems. Woodland palettes work well in rust, ochre, moss, and brown. You can replace circles with tiny felt stars or crescent shapes, but keep embellishments flat so the ornament stores easily.
Pair the mushrooms with flat-storing paper bag stars or the natural color in a dried orange and bay leaf garland. For a larger display, use the spacing ideas in small-entryway Christmas decor.
Storage and Safety
Store fully cured ornaments flat in a dry box with tissue between layers. Do not compress them under heavy decor. These are decorations, not toys: keep small felt dots, twine, glue, scissors, and loose stuffing away from young children and pets. An adult should handle cutting and supervise any child participating in the craft.
Frequently Asked Questions
Can I make these without stuffing?
Yes. Skip the opening and glue the full perimeter for a completely flat ornament.
Can I use hot glue?
You can, but it often creates hard ridges and bulky edges. Fabric glue gives more working time and a flatter finish.
Why are my layers sliding?
Too much glue is the usual cause. Use a narrow line, align one section at a time, and let the twine anchor set first.
How long do they need to dry?
Use the cure time printed on your glue. “Dry to the touch” is not always fully cured, so wait before hanging or packing.
A clean pattern, a narrow glue line, and restrained stuffing make these ornaments look polished. Once the first one is complete, cut the remaining pieces in batches so the whole woodland set comes together efficiently.