
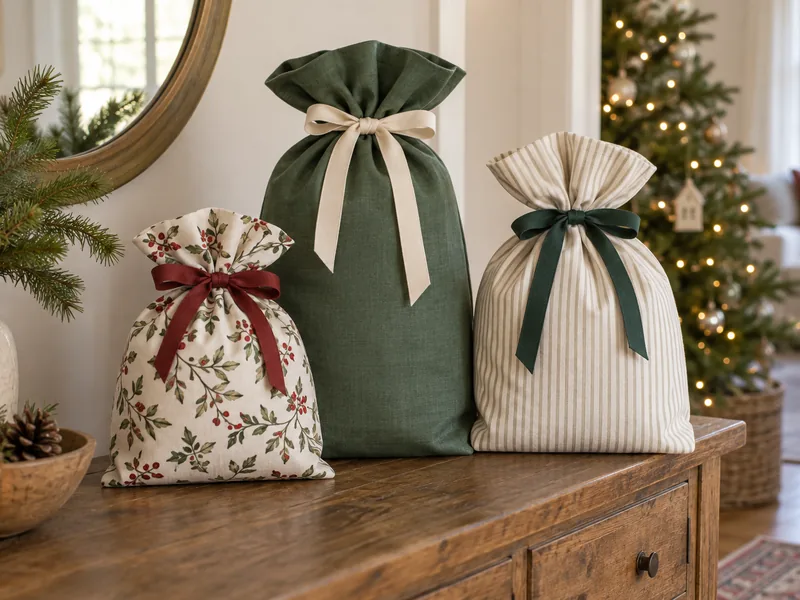
A pillowcase can become a reusable fabric gift bag with one straight cut, one glued hem, and a removable ribbon. The factory-sewn closed end stays intact as the bottom of the bag, so there is no need to build a base seam or pretend that fabric glue can replace every kind of stitching.
This project works best for light, box-shaped gifts that already fit inside the pillowcase. The finished bag gathers above the present instead of using a drawstring channel. That makes the construction simpler, keeps the ribbon replaceable, and lets the bag fold flat after the celebration.
Why This No-Sew Method Works
- The strongest seam is already finished: the pillowcase’s closed end becomes the bottom.
- Only one raw edge needs attention: a double fold encloses it before gluing.
- The closure is adjustable: a separate ribbon works with boxes of slightly different heights.
- The bag stays reusable: untie it, fold it flat, and store it with the ribbon.
Reuse is the important part. Buying a brand-new pillowcase solely to cut it up may not save material or money. Start with a clean case that is no longer wanted for bedding but is still strong enough to hold a gift.
Materials
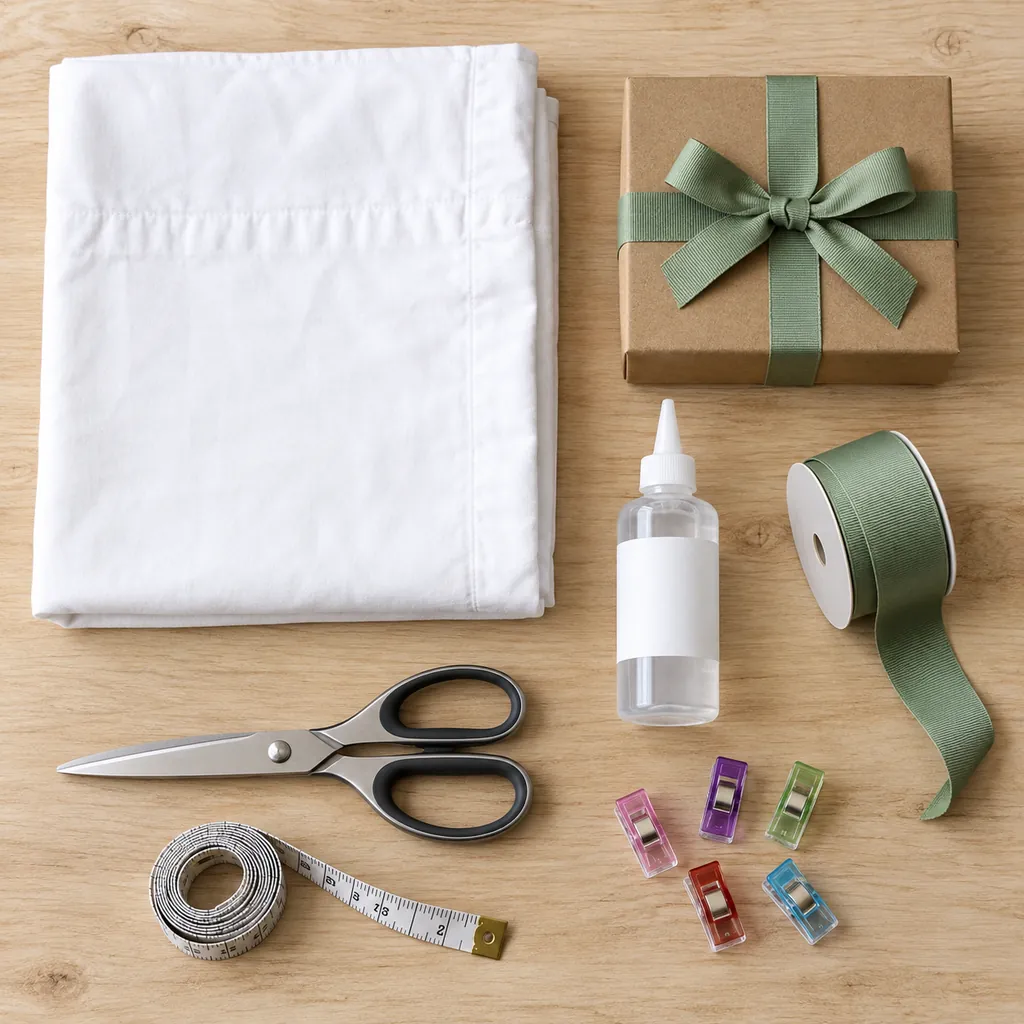
- One clean, tightly woven cotton or cotton-blend pillowcase
- The gift box you plan to wrap
- Flexible fabric glue suitable for the pillowcase fiber
- Fabric scissors
- Measuring tape or ruler
- Washable fabric marker, tailor’s chalk, or a few small clips
- Sewing clips or clothespins for holding the hem
- One length of reusable grosgrain or cotton ribbon
Read the adhesive label before starting. Use the glue only on fibers listed by the manufacturer, work with appropriate ventilation, and follow its stated drying and curing times. If you want the bag to be washable, the adhesive must explicitly say that it remains washable after curing.
Choose a Pillowcase That Fits the Gift
Slide the box into the uncut pillowcase before measuring anything. The fabric should move around the box without stretching, and the side seams should not bow outward under tension.
For a quick flat-width check, the pillowcase width should be at least:
box width + box depth + 1 inch (2.5 cm) of ease
For example, an 8-inch-wide box that is 3 inches deep needs a pillowcase at least 12 inches wide when laid flat. This is a practical allowance rather than a tailoring formula; bulky, irregular, or soft gifts may need more room.
Do not use this glued bag for very heavy, sharp, wet, hot, leaking, or fragile items. Keep fabric glue, ribbon, scissors, and loose decorative pieces away from young children and pets.
How to Make a Reusable Pillowcase Gift Bag
Step 1 — Measure From the Closed End
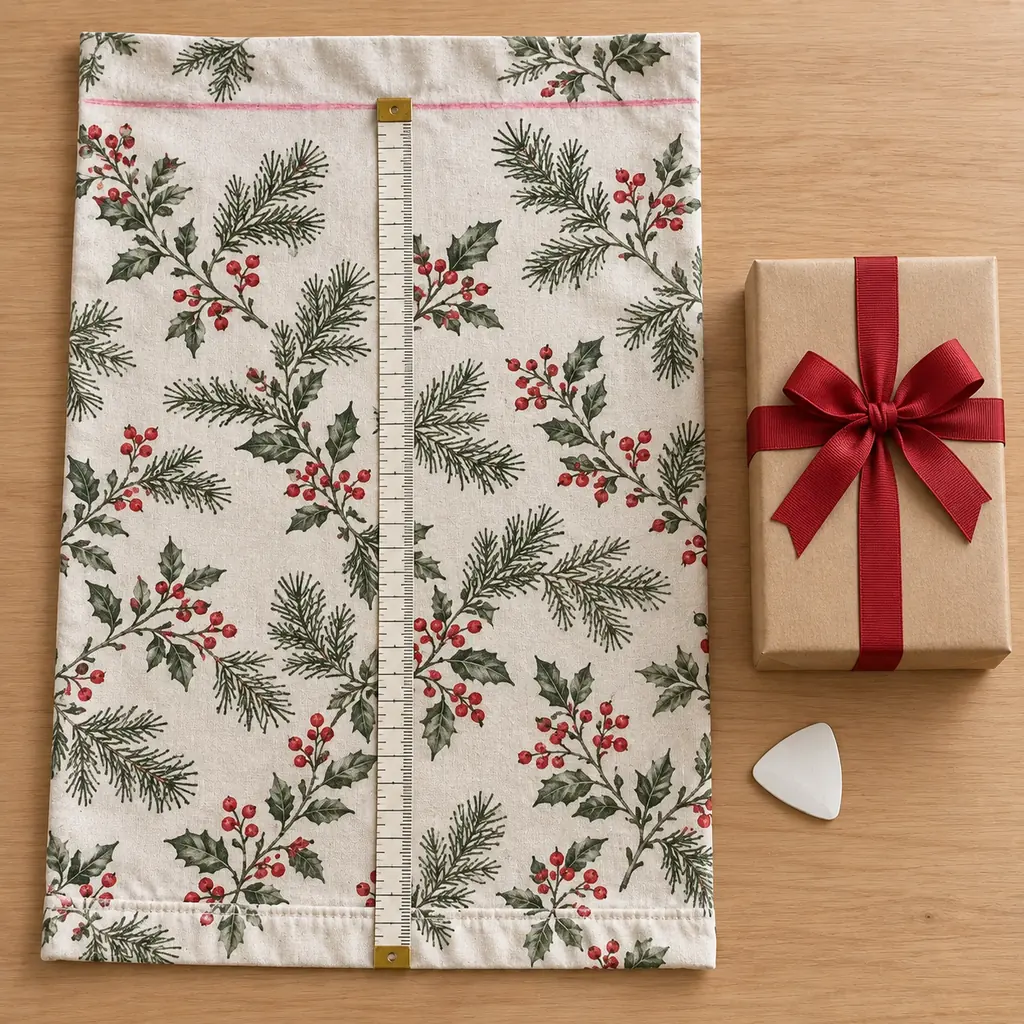
Place the empty pillowcase flat with its factory-sewn closed end at the bottom. Measure the gift’s height and depth. Mark the cut line this distance from the closed end:
gift height + half the gift depth + 7 inches (18 cm) for gathering + 1½ inches (4 cm) for the hem
A 6-inch-high box that is 3 inches deep would need approximately 16 inches of pillowcase length from the closed end: 6 + 1½ + 7 + 1½. If the fabric is thick or the gift is irregular, add another inch before cutting.
Step 2 — Make One Straight Cut
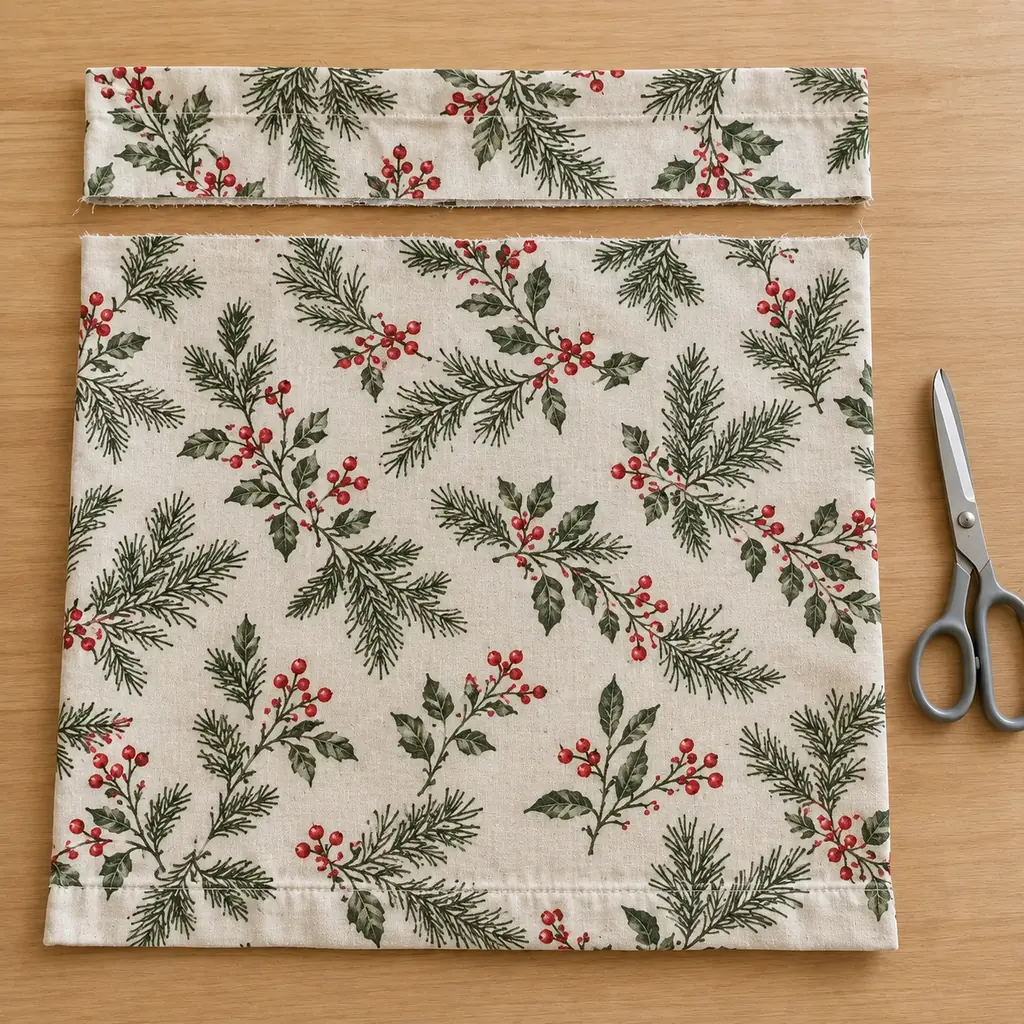
Confirm that the marked section includes the original closed end. Cut straight across both layers at the mark. Set the open-end offcut aside for another textile project rather than treating it as part of this bag.
If the pillowcase shifts, clip the two layers together a few inches below the cut line. Never cut while the gift is inside.
Step 3 — Test the Height Before Gluing
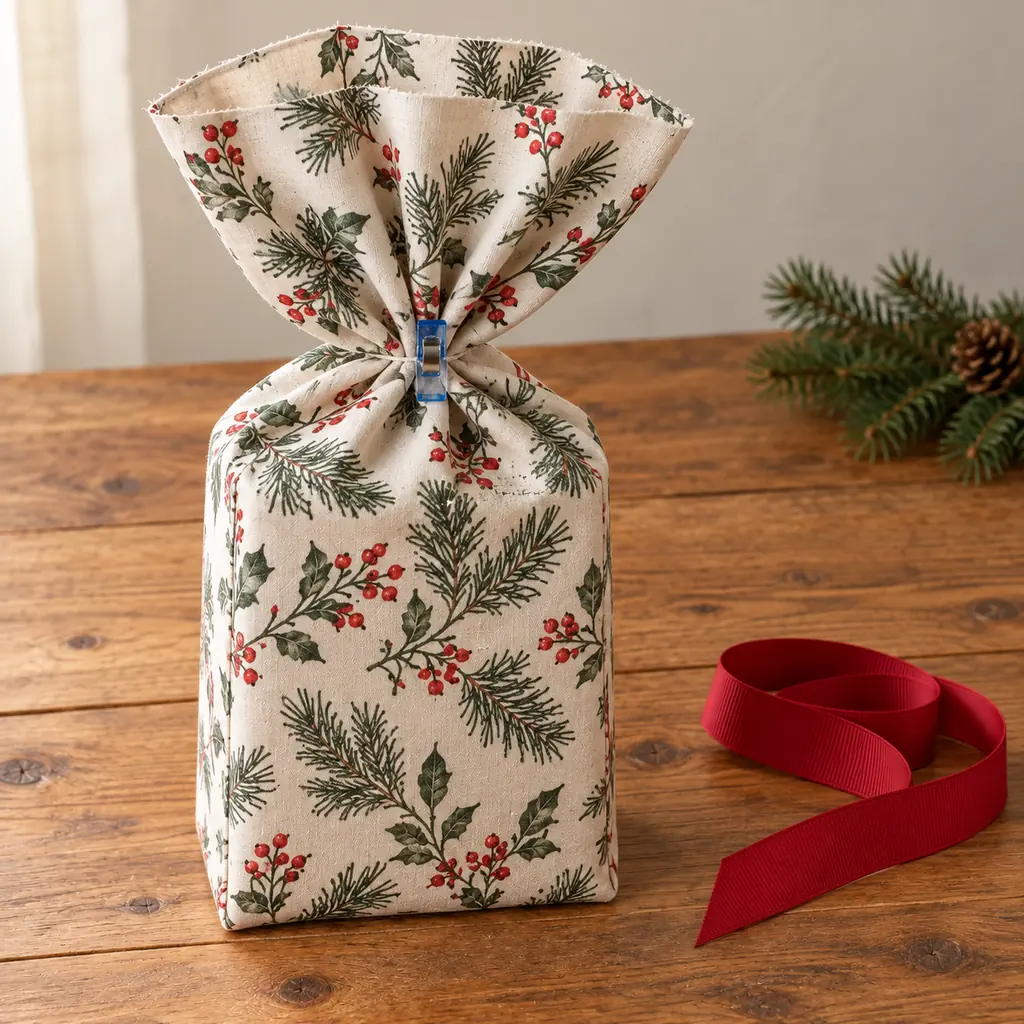
Put the box into the cut piece with the factory seam at the bottom. Pinch the fabric together above the box where the ribbon will sit. You should have enough cloth to gather without exposing the gift, plus a short fabric fan above the tie.
If the top barely meets, choose a smaller gift or start again with a longer pillowcase section. Do not solve a short bag by placing the ribbon directly on the box; it can slip off and does not close the opening.
Step 4 — Create a Double-Fold Hem
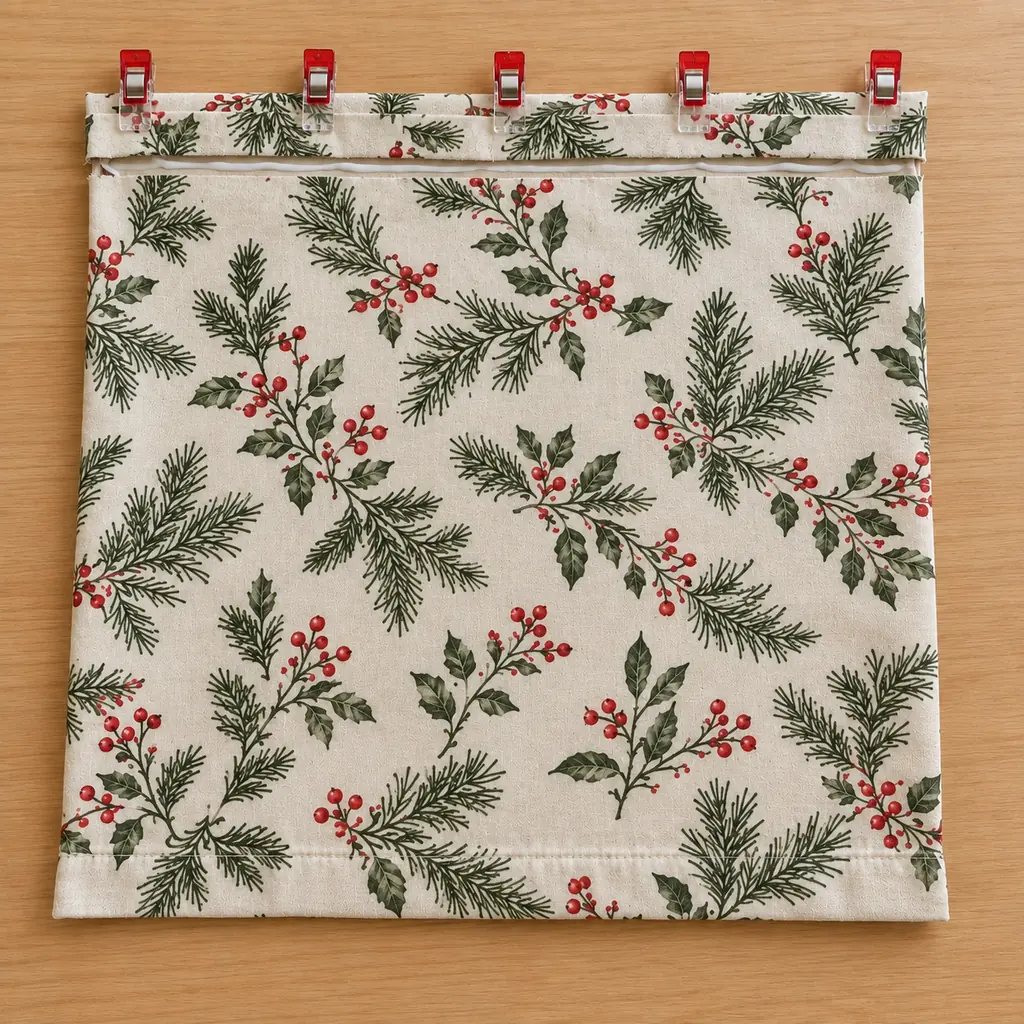
Remove the gift. Turn the raw top edge ½ inch (1.3 cm) toward the inside and press it flat with your fingers. Fold it inward again by 1 inch (2.5 cm), fully enclosing the cut edge.
Apply a thin, controlled line of flexible fabric glue beneath the lower edge of the second fold. Smooth the fold into place and add clips every 2 to 3 inches. Glue only the hem layers together; keep the front and back of the bag separate so the opening does not seal shut.
Step 5 — Let the Adhesive Cure
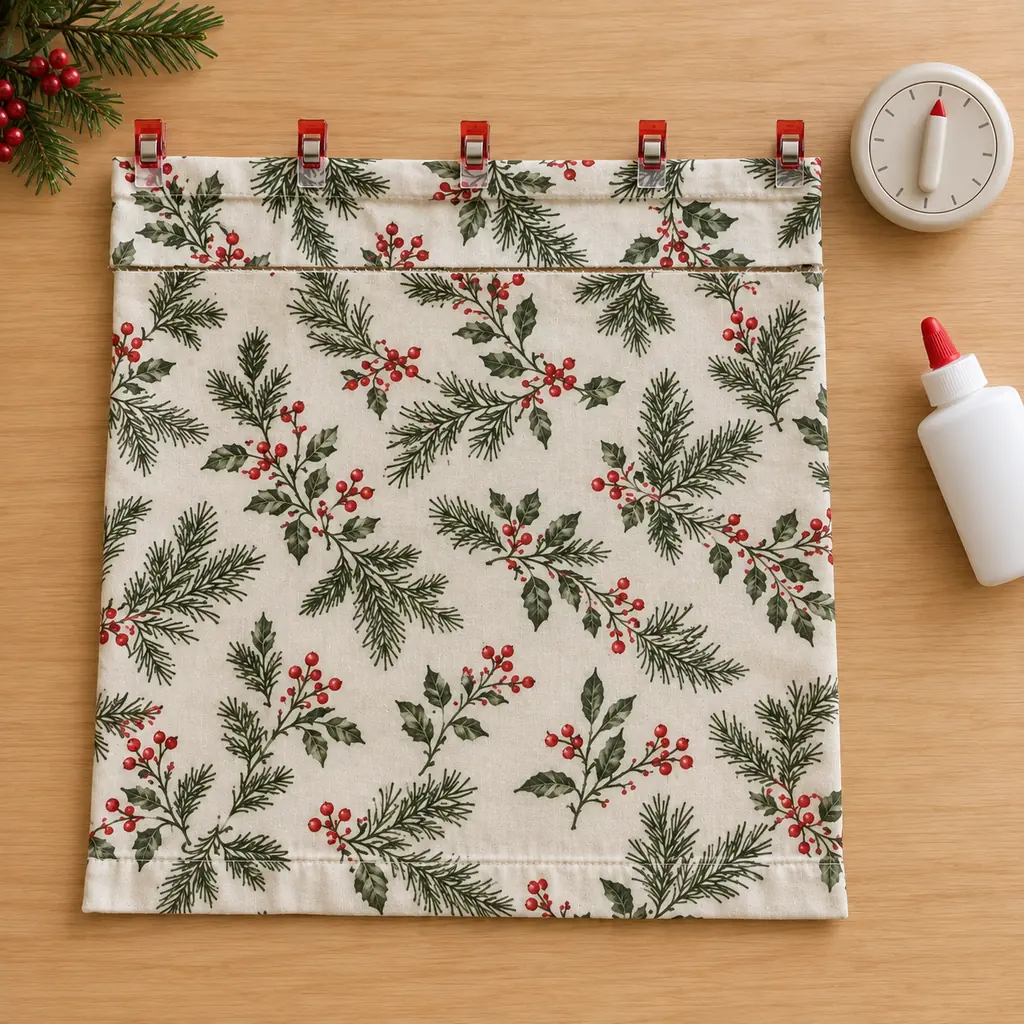
Leave the bag flat and undisturbed for the full time printed on the glue label. “Dry to the touch” is not always the same as fully cured. Do not fill, pull, wash, or gift the bag before the stated cure time has passed.
After curing, remove the clips and gently inspect the entire hem. Reapply a tiny amount of glue only where a section has lifted, then allow that repair to cure as well.
Step 6 — Fill, Gather, and Tie
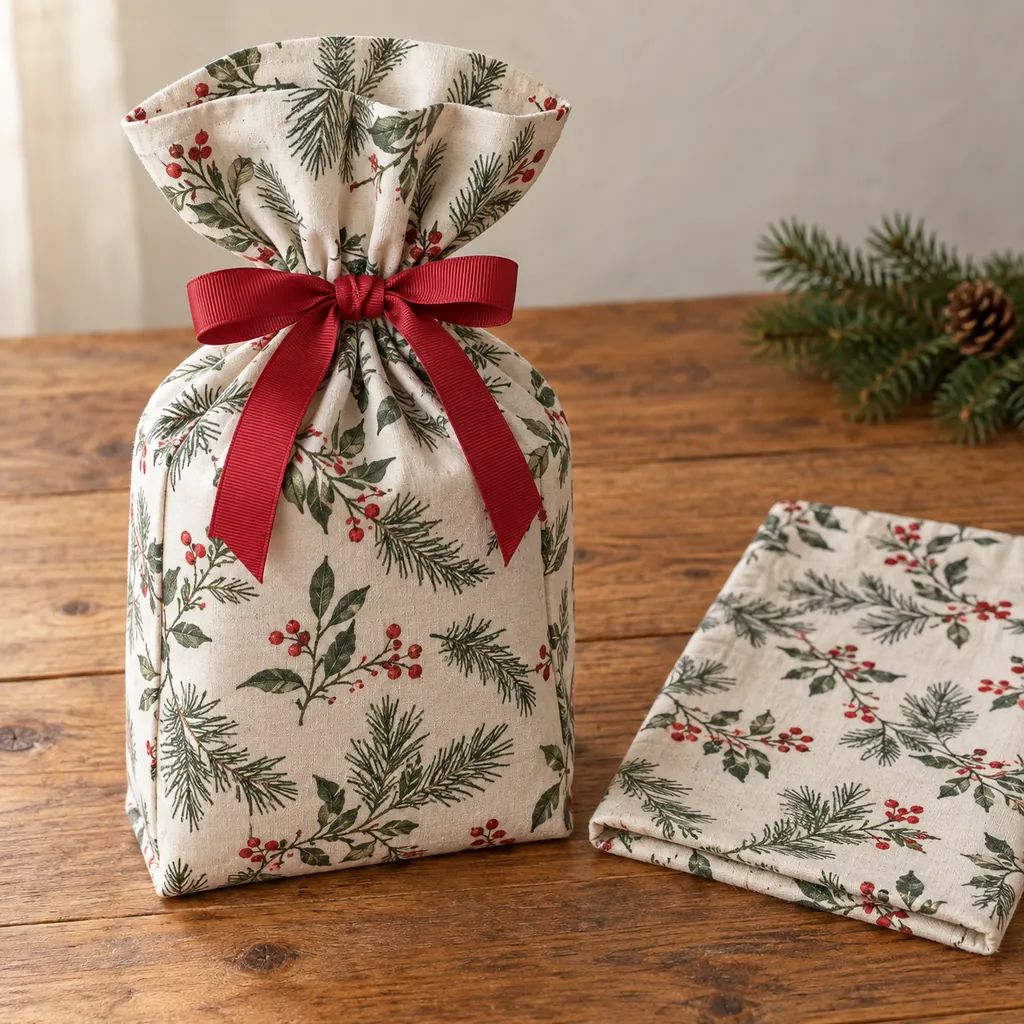
Slide the box to the bottom of the bag. Center the side seams, gather the extra fabric evenly above the gift, and wrap ribbon around the narrowest part of the gathered neck. Tie a firm bow with two loops and two tails.
For most medium bags, start with 30 to 36 inches (76 to 91 cm) of ribbon. Trim only after tying a test bow. Seal synthetic ribbon ends only by the method recommended for that ribbon; do not bring an open flame near fabric, glue, or decorations.
Step 7 — Store It for the Next Gift
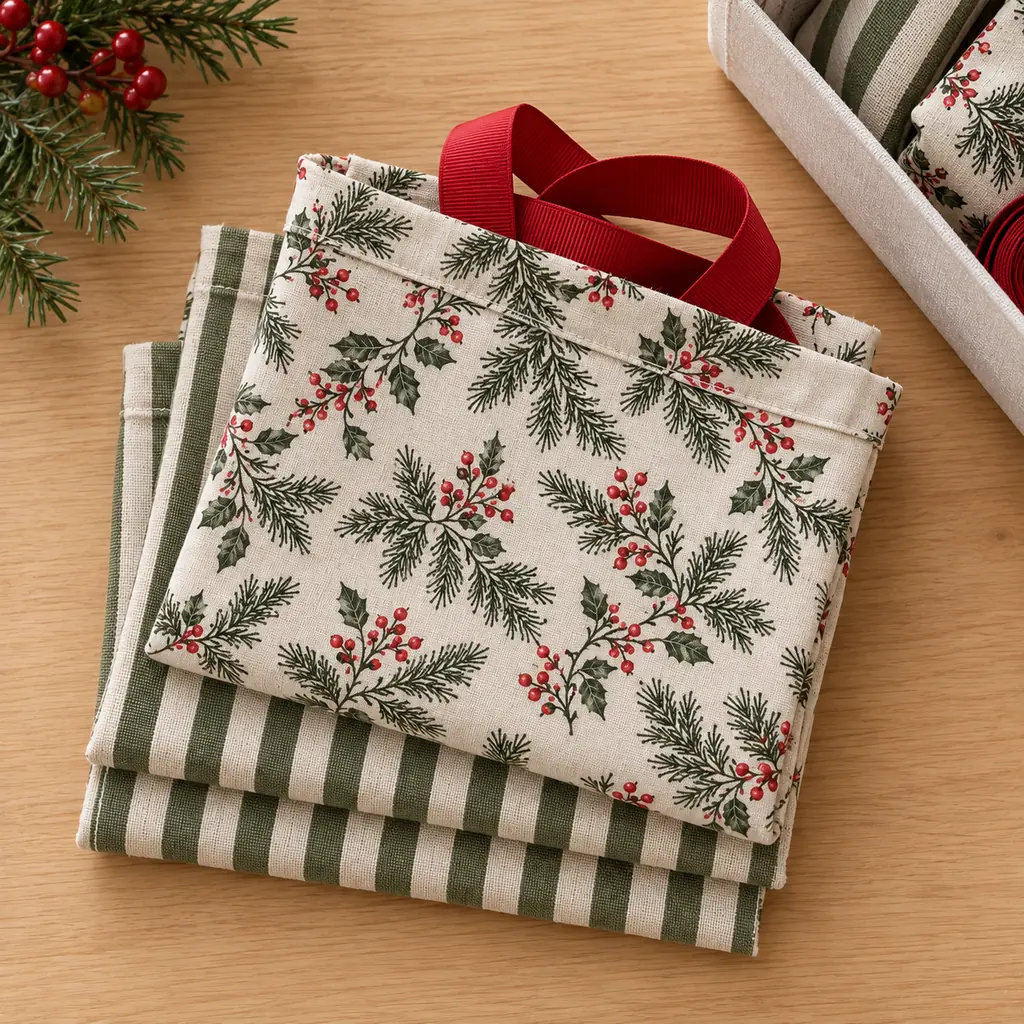
After use, remove the ribbon instead of leaving it tightly knotted. Fold the empty bag along its side seams and place the ribbon inside. Store both in a dry bin or upright file with other gift supplies.
If loose bags, tissue, and ribbon have taken over a shelf, use this five-zone gift-wrap storage system to give every supply a fixed boundary.
Size Guide for Common Gifts
| Gift | Pillowcase choice | Adjustment |
|---|---|---|
| Small book or boxed accessory | Standard case with ample width | Shorten the case, but preserve 7 inches above the gift |
| Folded sweater | Standard or queen case | Use a shallow box first for a cleaner shape |
| Shoe box | Queen or king case, depending on depth | Test the width before cutting |
| Large lightweight toy box | King case only if it slides in easily | Do not force or stretch the side seams |
These are starting points because pillowcase and gift dimensions vary. The physical test—easy insertion with relaxed seams—is more reliable than the label “standard,” “queen,” or “king.”
Five Ways to Make the Bag Look Intentional
- Repeat one ribbon color: mixed pillowcase prints look coordinated when every bag uses the same ribbon.
- Turn the quiet side forward: center the best part of the print before gathering.
- Add a removable ornament: attach a lightweight decoration to the ribbon, not through the fabric. These blanket-stitched felt mushroom ornaments can become part of the gift.
- Use a flat paper tag: tie it to one ribbon tail so the bag remains unpunctured.
- Pair the fabric with the recipient: stripes, botanicals, solids, and children’s prints can all work without being specifically “holiday” fabric.
For a small handmade extra that slips under the ribbon, make one of these pressed-flower bookmarks. If another usable pillowcase should remain intact, this no-sew pillow-cover method is a better project for it.
Troubleshooting
| Problem | Likely cause | Fix |
|---|---|---|
| The hem opens | Wrong adhesive, too much handling, or incomplete curing | Check fiber compatibility, reglue the lifted section, clip it, and allow the full cure time |
| The bag will not gather | Too little fabric above the gift | Use a shorter gift or remake the bag with the full 7-inch gathering allowance |
| The sides pull tight | The gift is too wide or deep | Move the gift to a wider pillowcase instead of forcing the seams |
| The bottom looks unstable | A tall narrow gift is tipping inside a flat bag | Place the item in a shallow box or choose a shorter, wider bag |
| The ribbon slides upward | The bow is tied too close to the top edge | Gather lower on the neck and tighten the first knot before making the bow |
Frequently Asked Questions
Can I use hot glue instead of fabric glue?
Use an adhesive specifically labeled for your fabric and intended use. Hot glue can create a stiff ridge and may not tolerate repeated folding or washing. Follow the product label rather than substituting adhesives by appearance.
Can this bag go in the washing machine?
Only if both the pillowcase and the fully cured adhesive are labeled washable under the same care conditions. Otherwise, spot-clean gently and avoid soaking the glued hem.
Can I make a drawstring version without sewing?
A reliable drawstring channel needs accurate openings and reinforcement where the cord exits. This tutorial deliberately uses an external ribbon so no hidden cuts or false channel construction are required.
What if I do not want to cut the pillowcase?
Use it whole for a large gift, gather the excess above the item, and tie it securely. The result will be taller and softer, but the pillowcase remains reversible to its original purpose.
Is this suitable for mailing?
No. This is decorative gift wrapping, not protective shipping packaging. Put the wrapped gift inside a correctly sized shipping box with appropriate cushioning if it must be mailed.
How many times can it be reused?
There is no honest universal number. Reuse it while the fabric, factory seams, glued hem, and ribbon remain clean and secure. Inspect the bag before every use.