

Real leaves already contain the printing plate: raised veins, tiny notches, and asymmetrical edges that a manufactured stamp tends to smooth away. Press those details onto a plain cotton towel with fabric paint and the result looks botanical rather than mass-produced. This project uses a thin coat of paint and firm, straight pressure, so the leaf reads clearly without becoming a solid blob.
The method is simple, but three choices matter: use flexible leaves, work with paint made for fabric, and follow that paint manufacturer’s curing directions. The photographs below follow one continuous project on cream flour-sack cotton with rust, olive, and muted ochre prints. Keep the imperfections; broken color around a vein is part of the handmade character.
Active time: Allow about 45–60 minutes for one towel, plus the drying and curing time required on your fabric-paint label.
Why Real Leaves Make Better Prints
The underside of a leaf has more pronounced veins than the glossy upper surface. A light coat of paint catches those ridges, and pressure transfers them while leaving narrow unprinted lines between. Freshly fallen leaves that still bend are ideal. Brittle leaves crack under a brayer, while very wet leaves can dilute the paint or slide.
Flour-sack cotton is inexpensive and absorbent, but smooth cotton or a cotton-linen blend also works. A loose, heavily textured weave will produce a more broken print. That is not necessarily a failure; make a test impression on scrap fabric before committing to the towel.
Materials and Tools
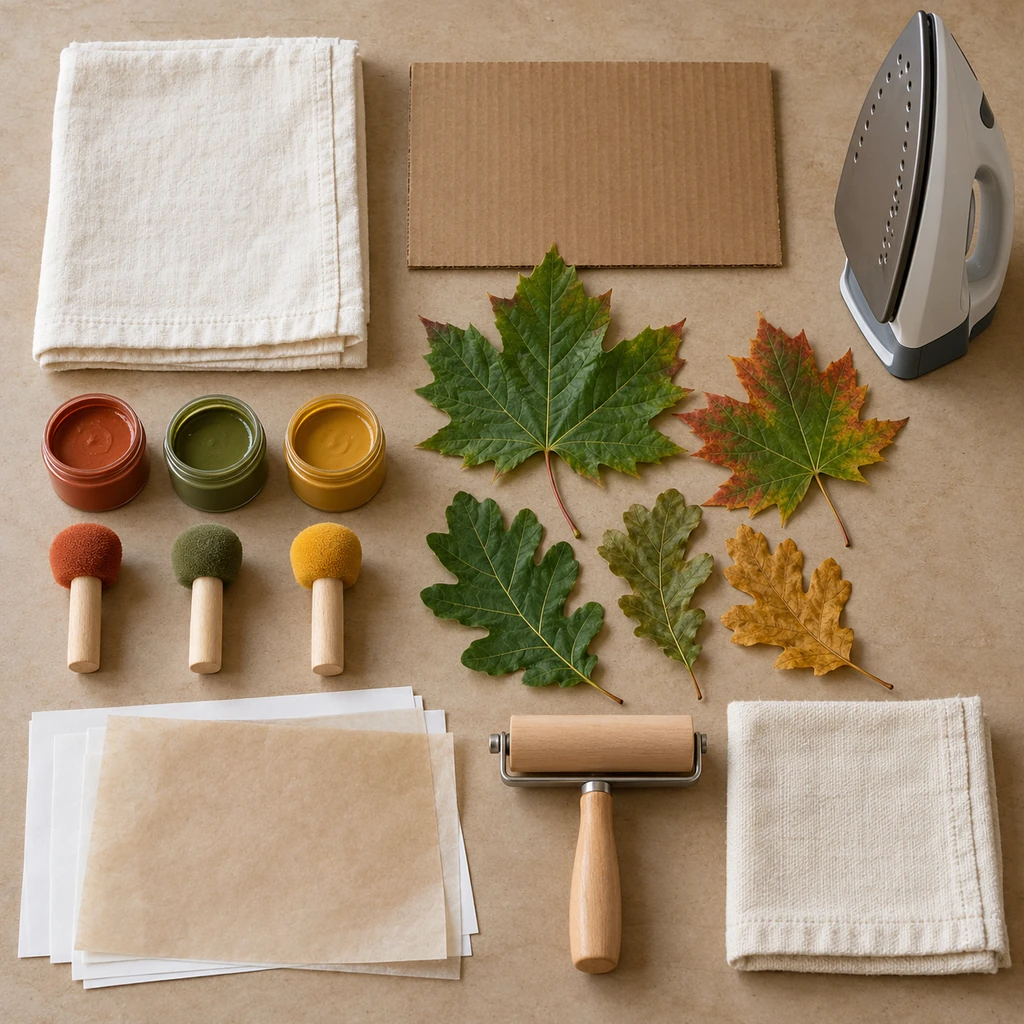
- One or two plain, light-colored cotton tea towels
- Fresh, flexible leaves with distinct veins, such as maple, oak, or small oval leaves
- Opaque fabric paint intended for the towel’s fiber content
- A small foam pouncer or dense cosmetic sponge for each color
- Scrap paper for painting the leaves
- A flat piece of cardboard slightly smaller than the towel
- Parchment paper or clean plain paper for pressing
- A clean brayer or small rolling pin
- An iron and clean pressing cloth if the paint label requires heat setting
- Optional gloves and a washable paint palette
Do not use a food rolling pin or plate for paint and then return it to food preparation. Keep a separate craft tool or protect it completely. Even when a paint is described as non-toxic, avoid printing areas that will intentionally touch uncovered food unless the product specifically states that use is suitable.
Before You Start: Make One Test Print
Different paints, fabrics, and leaves behave differently. Test the complete method on a fabric offcut: dab, press, lift, dry, cure, and wash it according to the label. This reveals whether the paint bleeds through the weave or becomes stiff. It also prevents a beautiful towel from becoming the experiment.
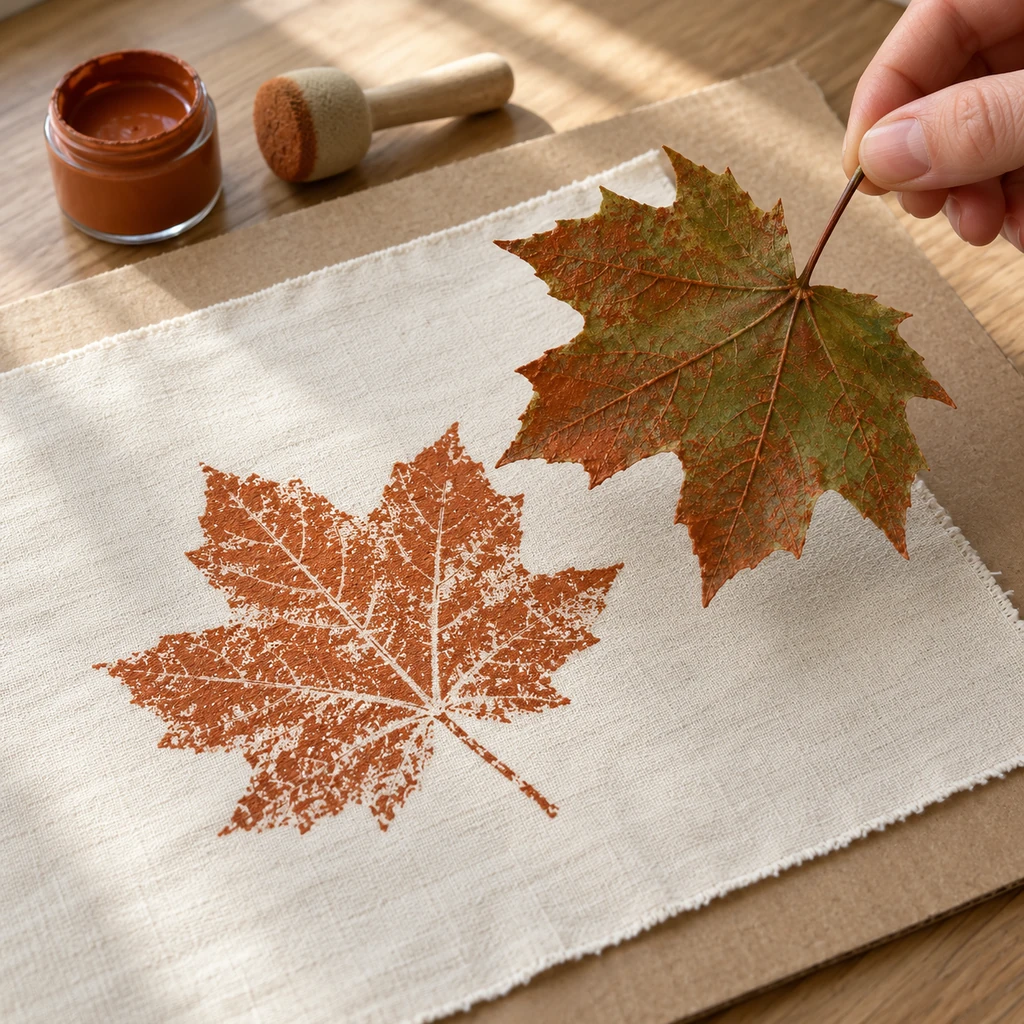
Choose two or three colors rather than the whole paint box. Rust, olive, and ochre feel seasonal while remaining useful beyond one holiday. Plan generous blank space around each leaf. A print needs room to be recognized from a Pinterest-sized image and from across a kitchen.
Step-by-Step Instructions
1. Prewash, Press, and Back the Towel
Wash and dry the towel without fabric softener. Prewashing removes sizing or finishing residue that can resist paint. Press the towel smooth, then slide cardboard between its layers so paint cannot transfer to the back. The board should support the printing area without creating a ridge beneath it.
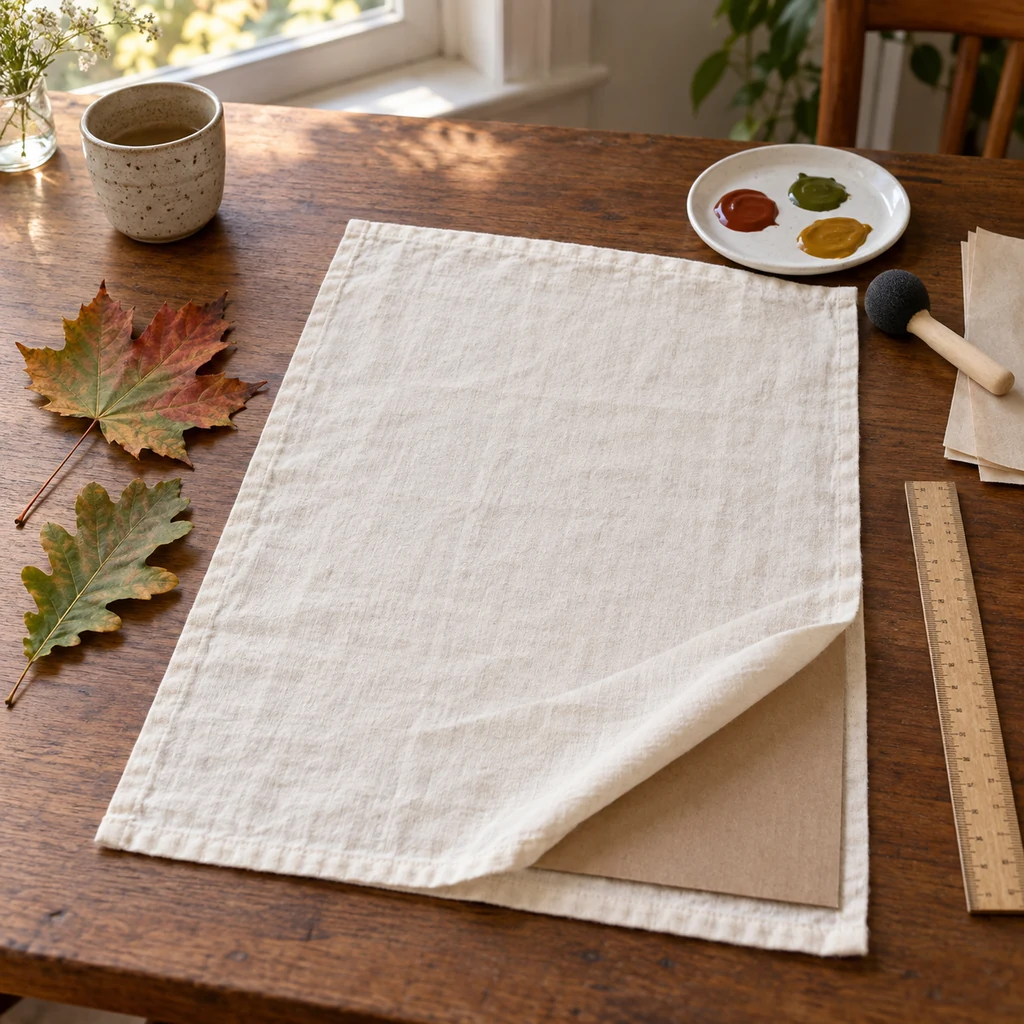
2. Coat the Veined Side of One Leaf
Wipe the leaf clean and let its surface dry. Lay it glossy side down on scrap paper, leaving the raised, veined underside facing up. Use the foam pouncer to tap on a thin, even coat of fabric paint. Cover the edges and veins, but stop before paint forms shiny puddles.
Work with one leaf at a time. Fabric paint begins changing as it sits in the air, and a loaded leaf is harder to move without smearing.
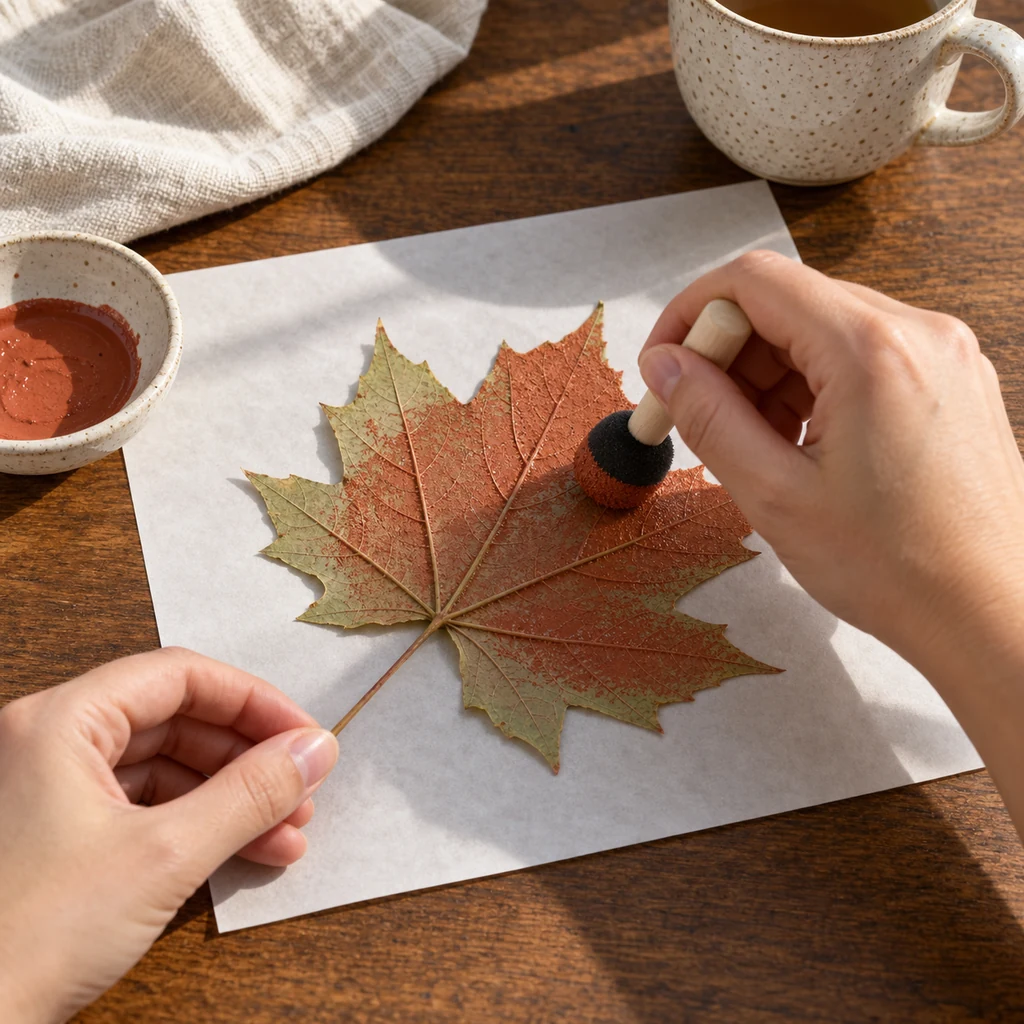
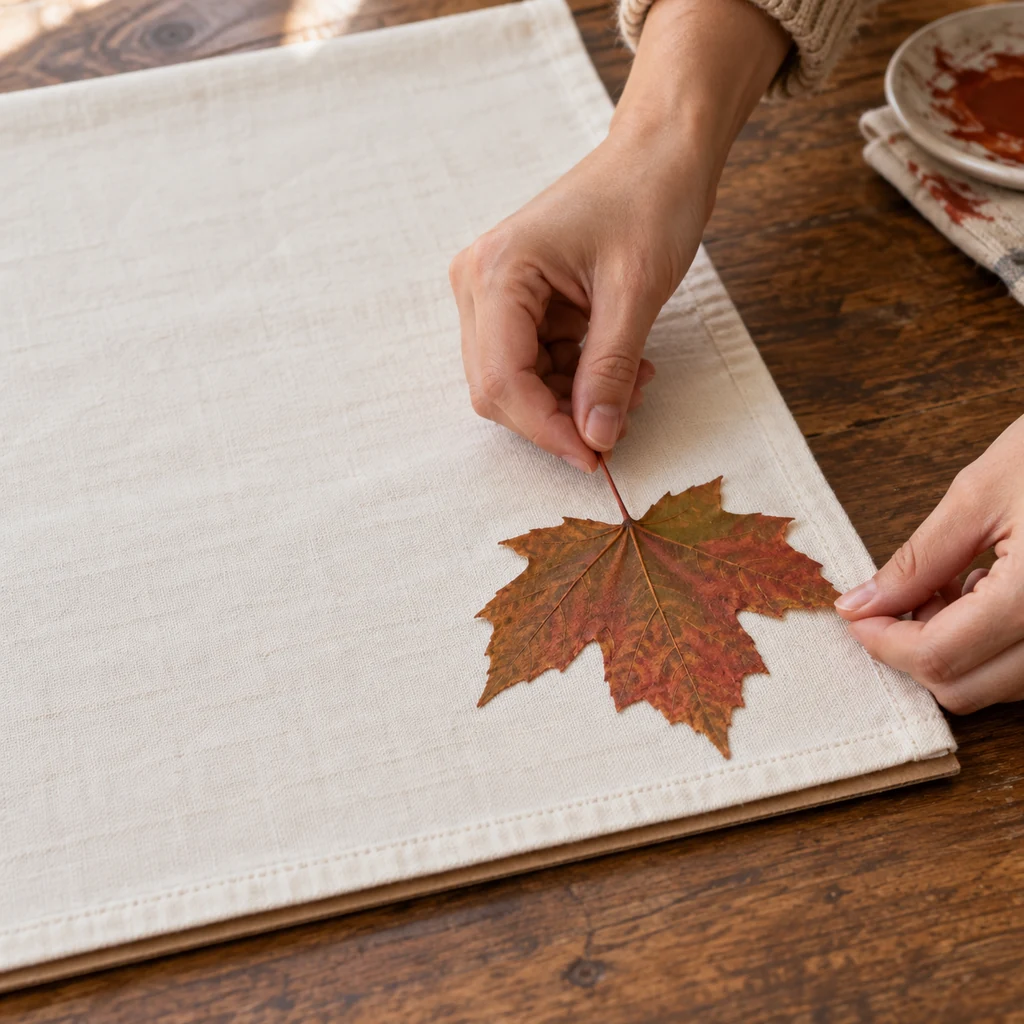
3. Place the Leaf Paint-Side Down
Lift the leaf by its stem and one edge. Turn it over and lower the painted underside onto the fabric. Once it touches down, do not reposition it; sliding even a few millimeters creates a double edge. The natural-colored top of the leaf should now face you because the painted veins are against the towel.
4. Cover and Press Without Sliding
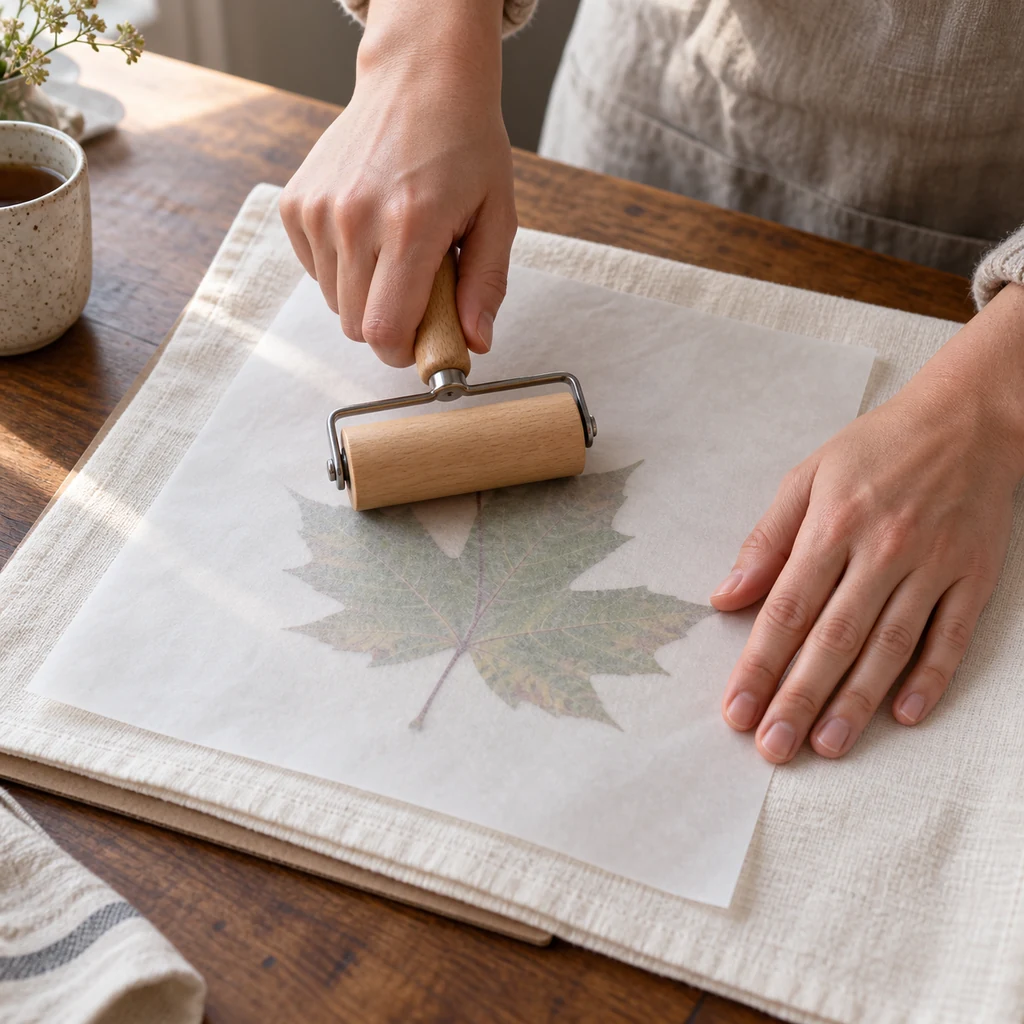
Lay a clean sheet of parchment or plain paper over the leaf. Hold the paper still and roll from the stem toward the tips with steady pressure. Make two or three controlled passes instead of scrubbing back and forth. Pay attention to the outer lobes, but do not shift the leaf under the paper.
A brayer distributes pressure more evenly than fingertips. If you use a rolling pin, reserve it for crafts or keep it fully protected from paint.
5. Lift from the Stem to Reveal the Print
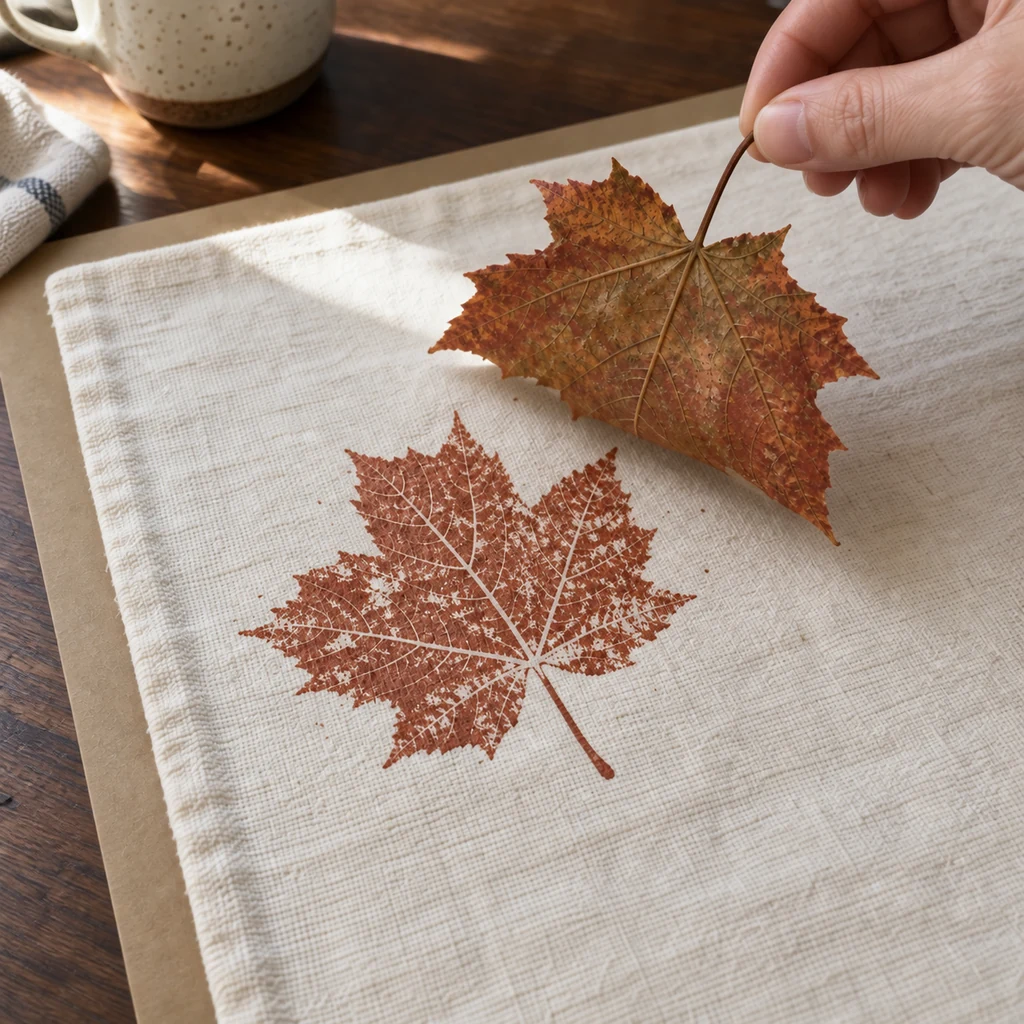
Remove the paper, grasp the stem, and peel the leaf upward in one smooth motion. Do not press it down again to repair a pale spot; a second contact rarely aligns perfectly. Small gaps and varied color show the actual leaf structure and look more convincing than an overworked print.
6. Build a Balanced, Airy Pattern
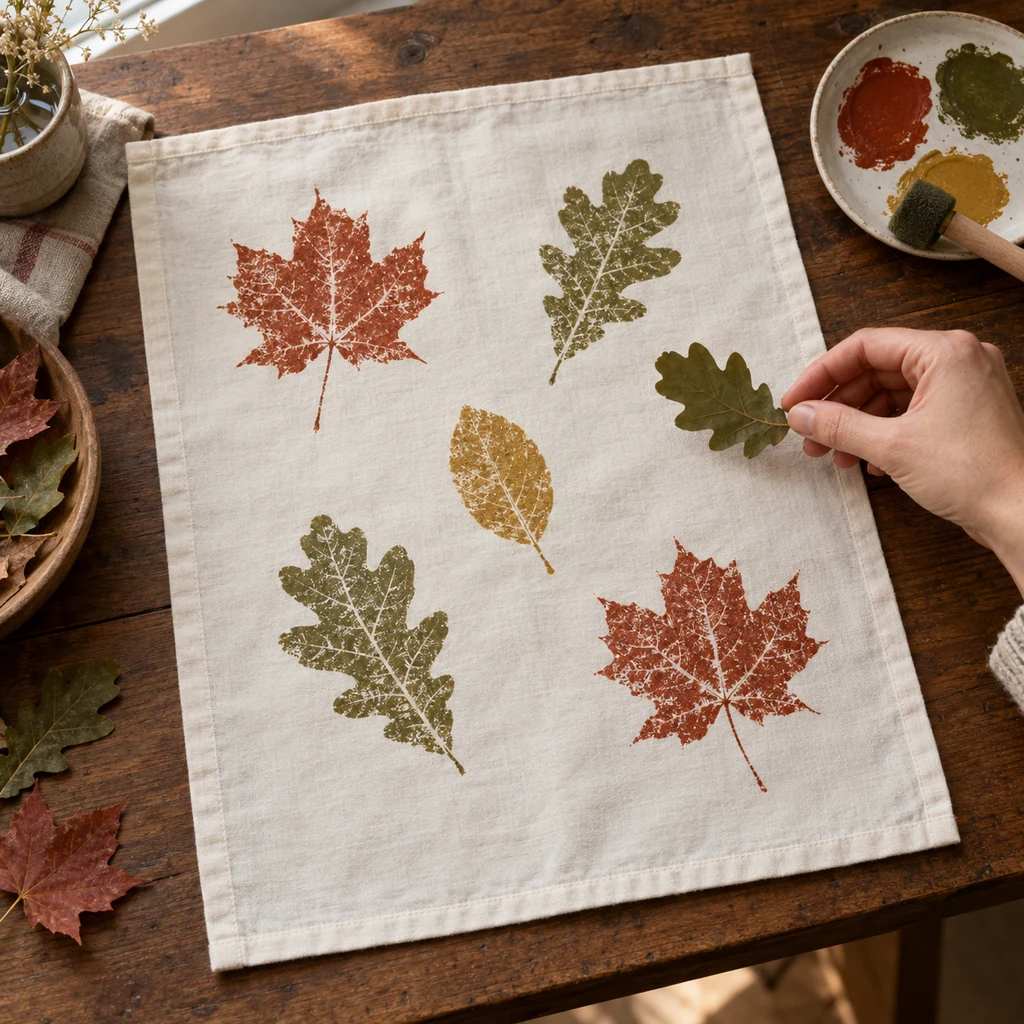
Repeat the process with clean leaves and fresh scrap paper. Rotate shapes rather than arranging every stem in the same direction. Keep prints separate and alternate large and small leaves. Five well-spaced impressions often have more impact than a crowded field of fifteen.
Use a new sponge for each color or wash and dry it completely before switching. Mixing traces of rust into olive can turn both shades muddy. Step back after every print and look at the whole towel before choosing the next location.
7. Dry and Cure According to the Paint Label
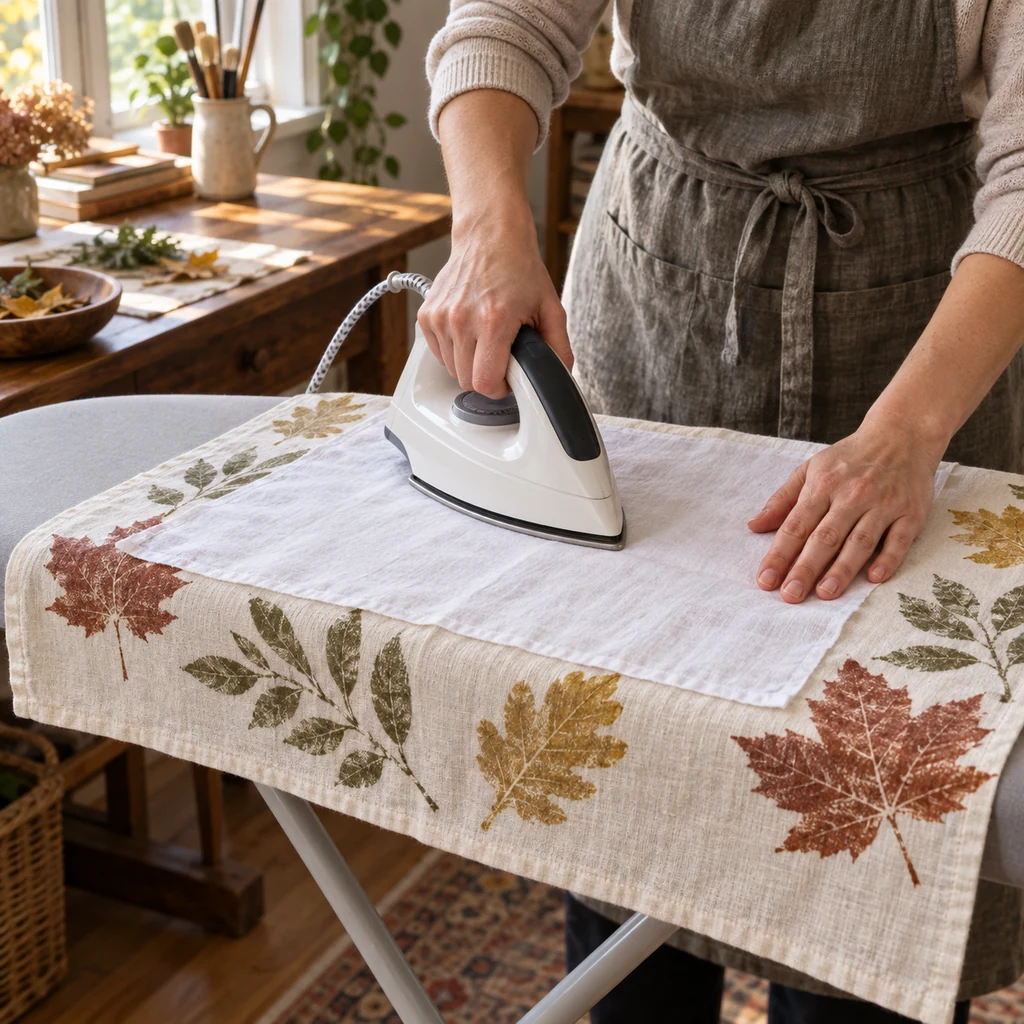
Lay the towel flat where it will not be disturbed and allow the paint to dry for the full time stated by its manufacturer. If the label calls for heat setting, use its specified temperature, duration, and method. For an iron method, make sure the print is completely dry, cover it with a clean pressing cloth, switch off steam, and keep the iron moving so the fabric does not scorch.
Instructions vary between fabric-paint formulas, so the product label takes priority over a universal number. Let the towel cool before folding or washing.
Substitutions & Variations
- No brayer: press with the flat base of a clean craft-only jar, lifting between presses rather than twisting.
- No maple leaves: use any non-toxic, flexible leaf with strong veins. Avoid plants that irritate skin, and identify foraged material before handling it.
- Darker towels: choose opaque fabric paint formulated to show on dark textiles and test it after curing.
- Minimal look: print one large leaf near a lower corner instead of covering the towel.
- Year-round version: use fern fronds or herb leaves with a single deep green paint, provided the plant is safe to handle.
Common Problems and Practical Fixes
The print is a solid block. Too much paint filled the vein channels. Blot the loaded pouncer on scrap paper and apply a thinner coat to a fresh leaf.
The edge is doubled. The leaf slid while being placed or pressed. Lower it once, cover it, and move the brayer in one direction while the other hand anchors the paper.
The center is pale. The leaf may be cupped or the surface uneven. Use a flatter, flexible leaf and place the cardboard on a hard table, not a padded surface.
The paint washed out. The fabric may have retained sizing, or the paint was not cured as directed. Prewash without softener and complete a test swatch through one wash cycle.
Care and Everyday Use
Wait the full curing period listed on the paint before the first wash. Launder with a mild detergent using the water temperature and cycle allowed by both the towel and paint labels. Skip bleach unless the paint manufacturer confirms compatibility, and avoid ironing directly on the printed surface.
These towels work well for drying clean hands or dishes and for seasonal display. Do not place bread, produce, or other uncovered food directly on the painted area unless the paint maker explicitly approves food-contact use.
What to Make Next
If you enjoy preserving real botanical shapes, try pressed fall leaf suncatchers. For a three-dimensional project, the botanical moth shadow box uses fern fronds as the main design material. A dried orange and bay leaf garland continues the natural autumn palette.
Frequently Asked Questions
Can I use ordinary acrylic paint?
Choose fabric paint or combine acrylic with a compatible textile medium exactly as that medium directs. Plain acrylic can dry stiff and may crack or release during washing.
Which side of the leaf receives paint?
Paint the underside, where the veins feel most raised. When the leaf is placed, that painted underside faces the towel and the natural upper surface faces you.
Can I reuse the same leaf?
Sometimes, but detail usually declines after the first or second impression. Wipe away excess paint carefully and stop if the leaf curls, tears, or becomes too soft to lift cleanly.