
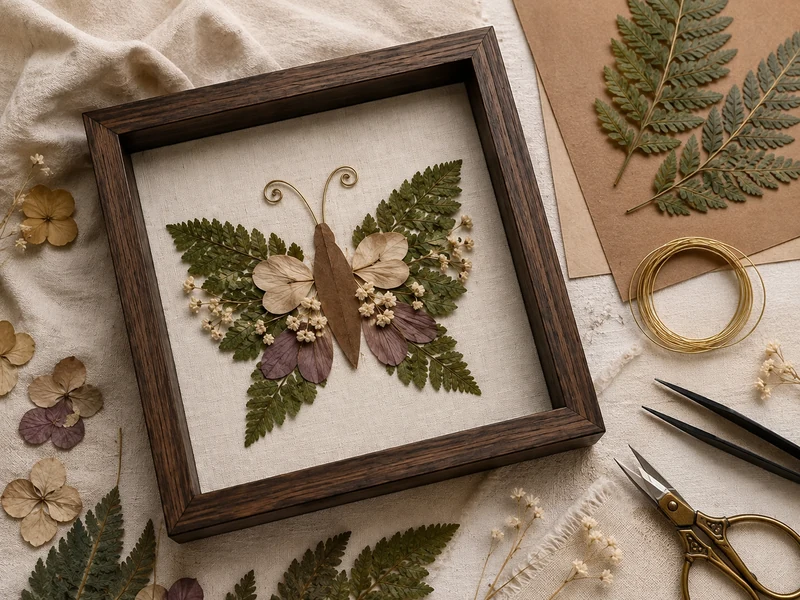
This pressed-fern moth is a decorative craft, not a preserved insect. It matches the popular pin: four fern fronds form the wings, kraft paper forms the body, pale petals add color, and two smooth brass wires become curled antennae. The measurements fit a 10-by-10-inch shadow box.
Allow about 75 minutes of hands-on work, plus 12 to 24 hours for the glue to cure. If you are starting with fresh plants, press them for 7 to 14 days first. The project is beginner-friendly, but dried ferns are brittle; arrange everything without glue before committing.
Materials and Exact Sizes
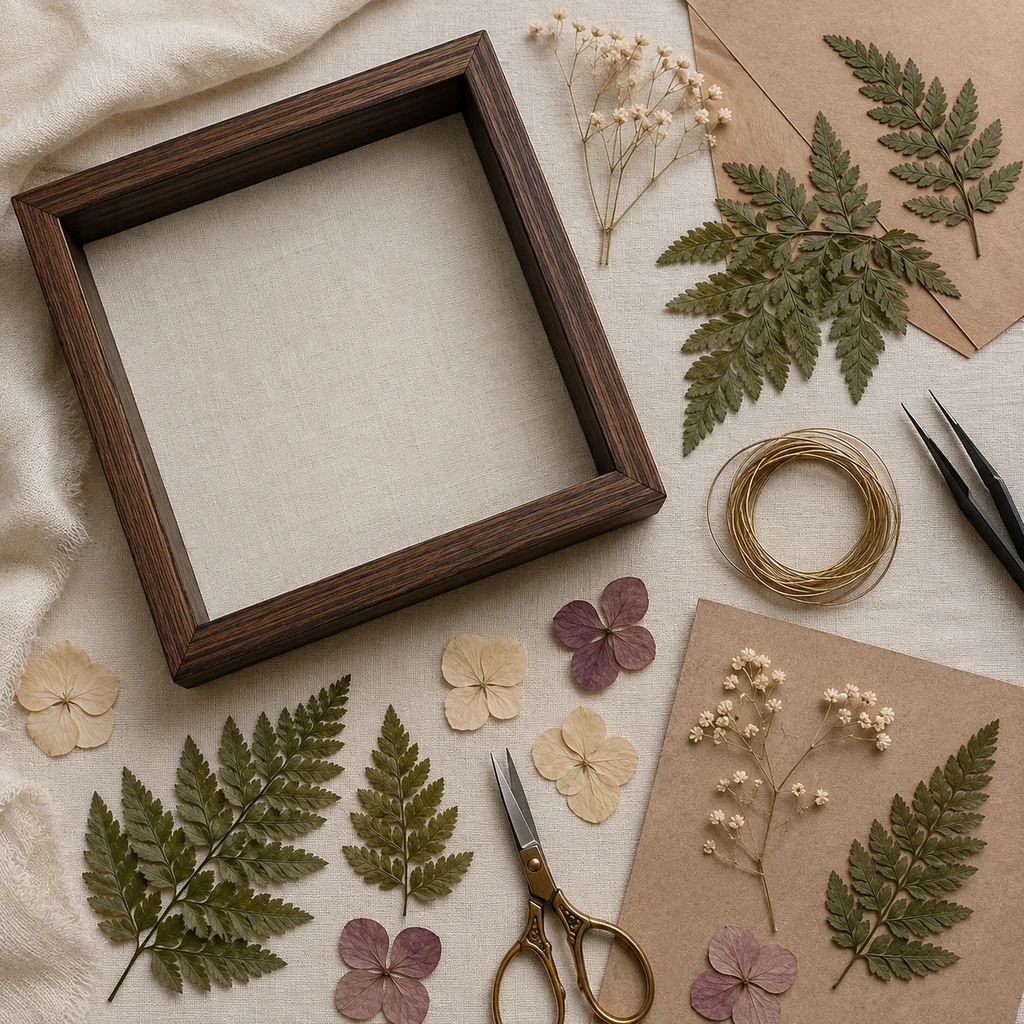
- One 10-by-10-inch shadow box with at least 1 inch of interior depth
- One 12-by-12-inch piece of cream linen or tightly woven cotton
- Four fully pressed fern tips: two about 4 inches long and two about 3 inches long
- Four pale hydrangea florets, four muted mauve petals, and 6 to 10 tiny dried flower sprigs
- One 4-by-2-inch piece of brown kraft cardstock for the body
- Two 5-inch pieces of smooth 22-gauge brass craft wire
- Acid-free, clear-drying PVA craft glue and a toothpick for applying it
- Acid-free double-sided tape for securing the linen behind the backing board
- Ruler, pencil, small scissors, wire cutters, tweezers, parchment paper, and a soft brush
Before You Begin
Use only plants that feel flat and papery. Press fresh ferns between absorbent paper inside a heavy book. Change damp paper after 24 hours, then leave the plants under weight for 7 to 14 days. Flexible or cool-feeling foliage can curl or mold behind glass.
The target is a stylized moth: longer upper wings, smaller lower wings, and a paper body hiding all four stems. The curled wire is intentionally simple, not comb-shaped. Before gluing, confirm the arrangement fits beneath the glass.
Step-by-Step Instructions
1. Sort and Pair the Botanicals
Pair the two 4-inch fern tips as upper wings and the two 3-inch tips as lower wings. Trim only bare stem ends. Divide the petals and flowers into matching left and right groups with similar visual weight. Keep the wire and kraft cardstock beside the arrangement.
2. Cover the Backing With Linen
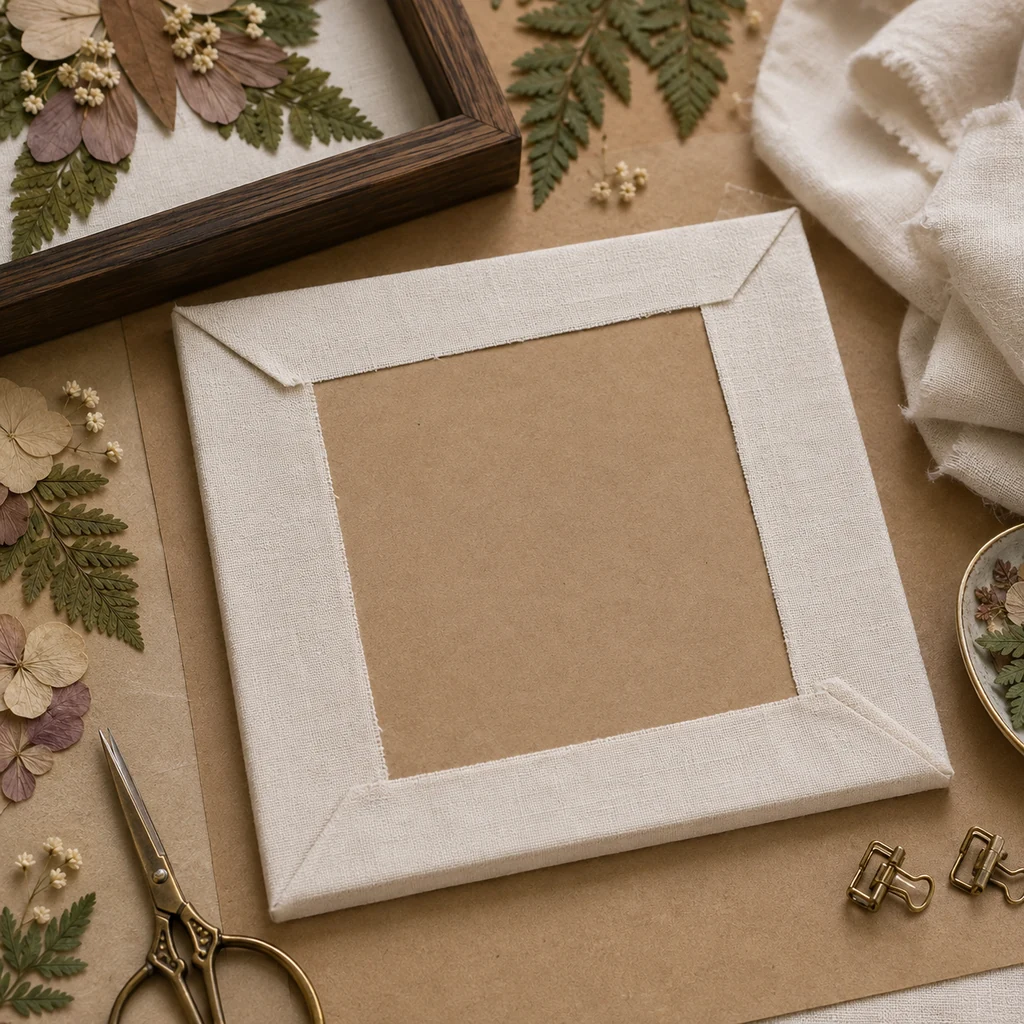
Center the backing board face down on the 12-inch linen square, leaving about 1 inch beyond every edge. Pull opposite sides smooth without stretching the weave. Secure the excess to the back with acid-free tape, then fold and tape the corners. Keep all adhesive behind the board.
3. Mark a Simple Moth Guide
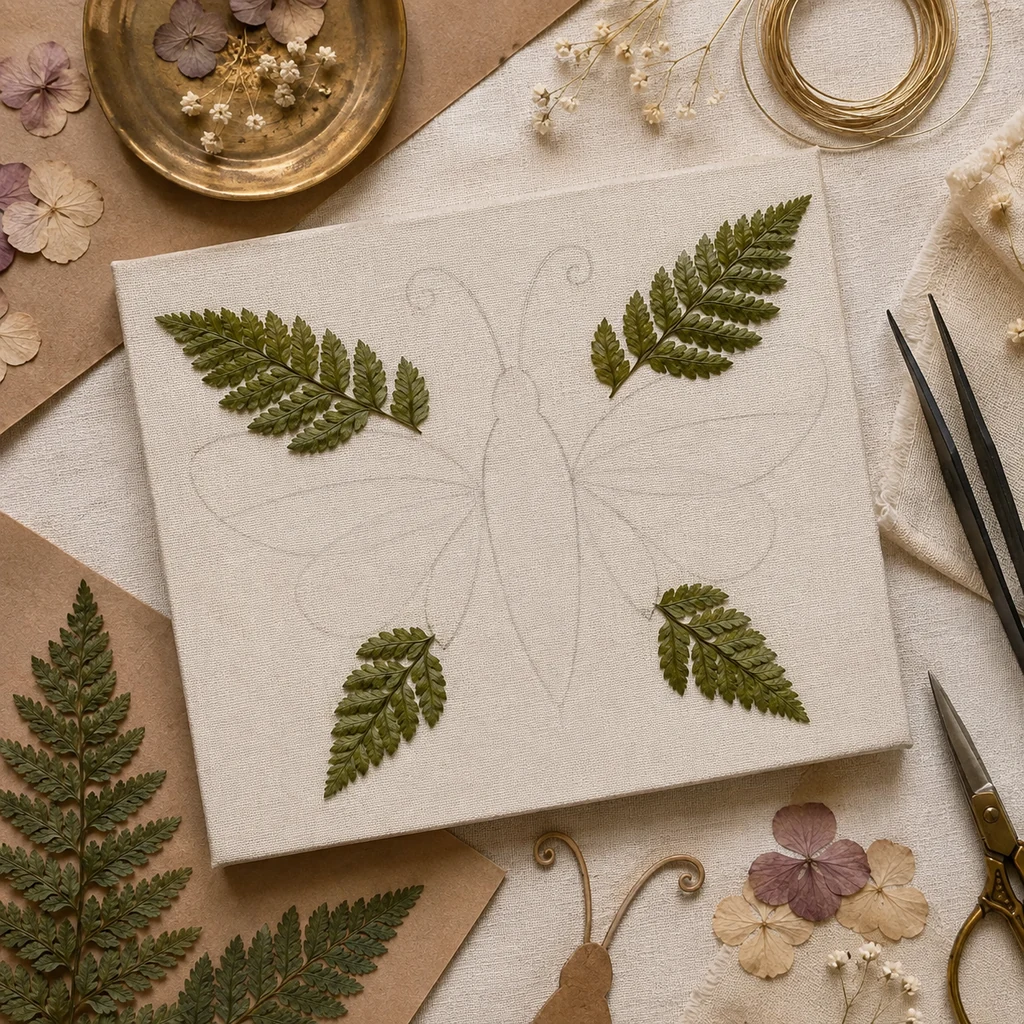
Return the covered board to the empty frame temporarily and mark its visual center. Remove it again. Draw a very faint vertical line 3¾ inches long for the body. Mark an overall wingspan of about 7 inches, leaving at least 1¼ inches of breathing room between the wing tips and frame. Sketch only four loose wing boundaries: two larger upper wings and two smaller lower wings. Do not copy the detailed anatomy of a real moth; every pencil mark must disappear beneath the ferns and paper body.
4. Dry-Arrange the Fern Wings
Place the two longer fern tips above the horizontal center line with their stems pointing inward. Angle them slightly upward. Position the shorter pair below them, angled downward, again with stems meeting at the center. Lay two pale florets and two mauve petals on each side, then add small flower sprigs near the inner wing edges. Keep some linen visible between pieces; negative space makes the moth readable. Photograph this dry arrangement from directly above so you can restore every piece after lifting it to glue.
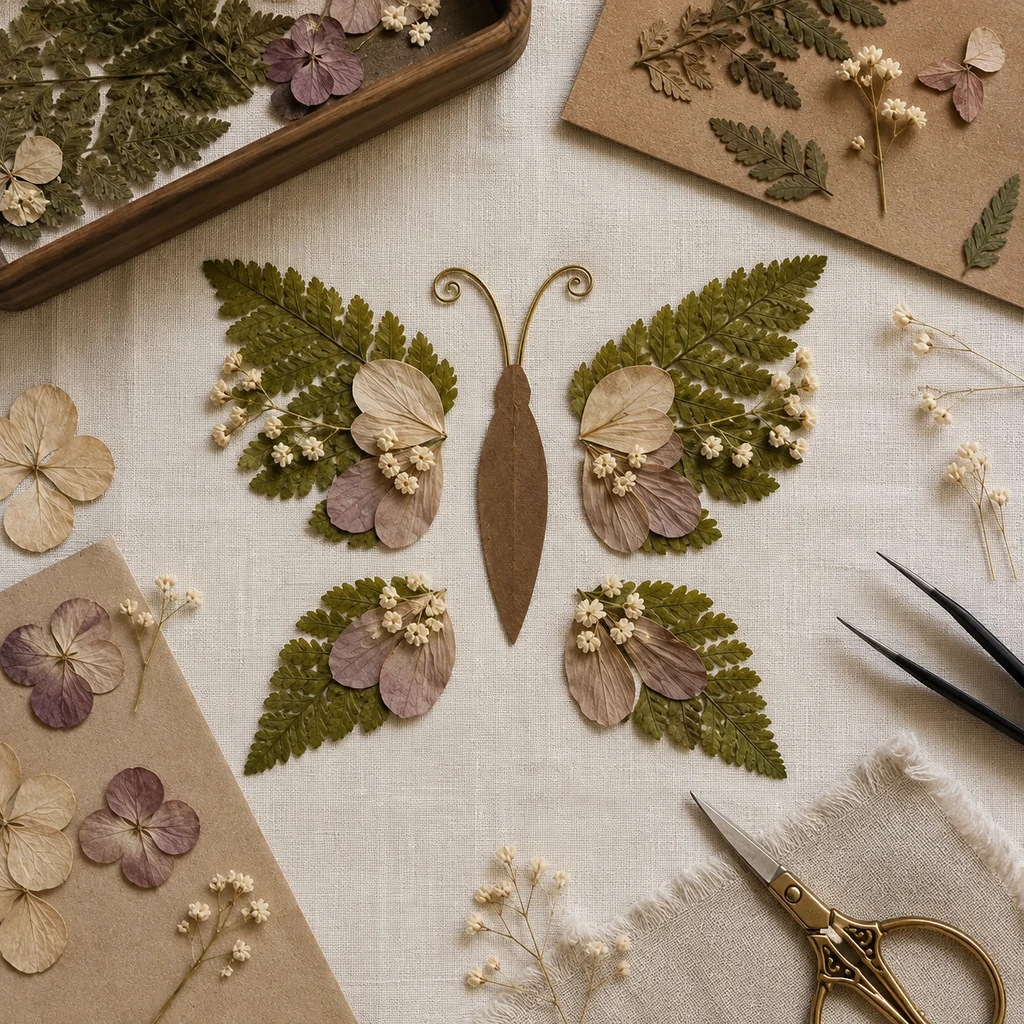
5. Glue One Piece at a Time
Test the PVA on a fern offcut and linen scrap; it must dry clear. Lift one piece and use a toothpick to place tiny dots beneath the stem and sturdy leaflet joints. Return it to the photographed position and press through parchment for 20 to 30 seconds. Repeat with the remaining pieces. Never coat whole leaves or flood the fabric. Leave the board flat for 60 minutes.
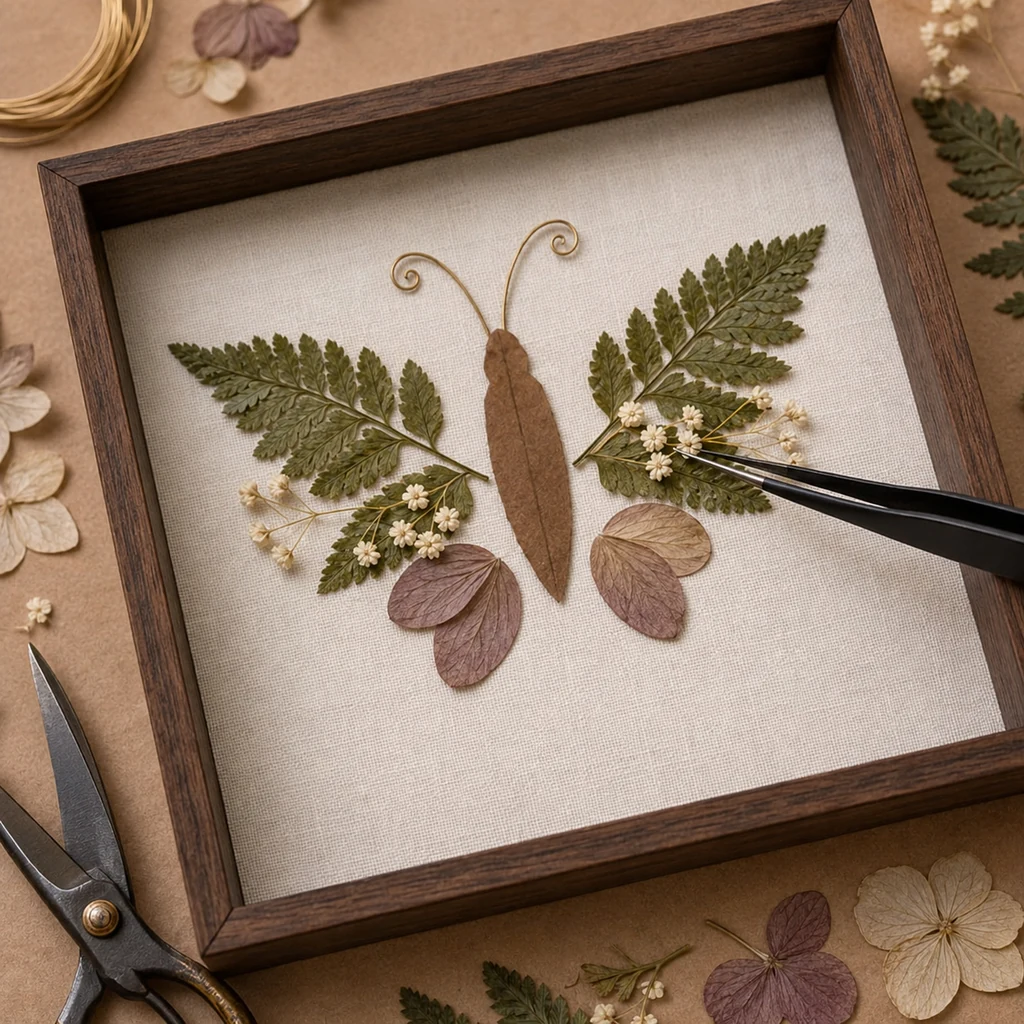
6. Make the Paper Body and Wire Antennae
From the kraft cardstock, cut a 3¾-inch body approximately ¾ inch wide at the rounded top and tapering to a point at the bottom. A shallow lengthwise crease adds dimension while keeping it clearly paper. Curl only the final ¾ inch of each 5-inch wire around a pencil. Bend the lower wire ends so they meet behind the body, trim as needed, and glue them to its reverse. Once secure, glue the body over the four fern stems. The photograph should show smooth curled wire—not feathered antennae or a furry insect body.
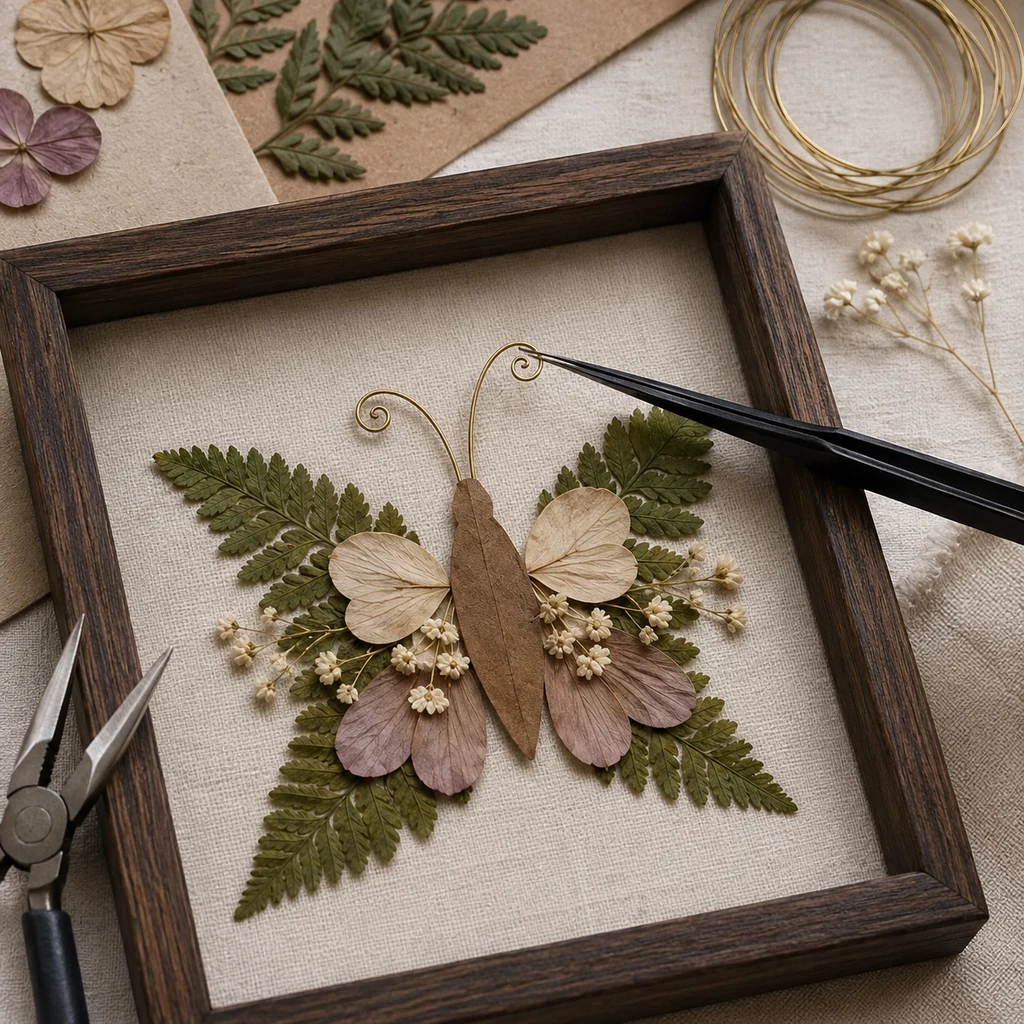
7. Cure, Inspect, and Close the Frame
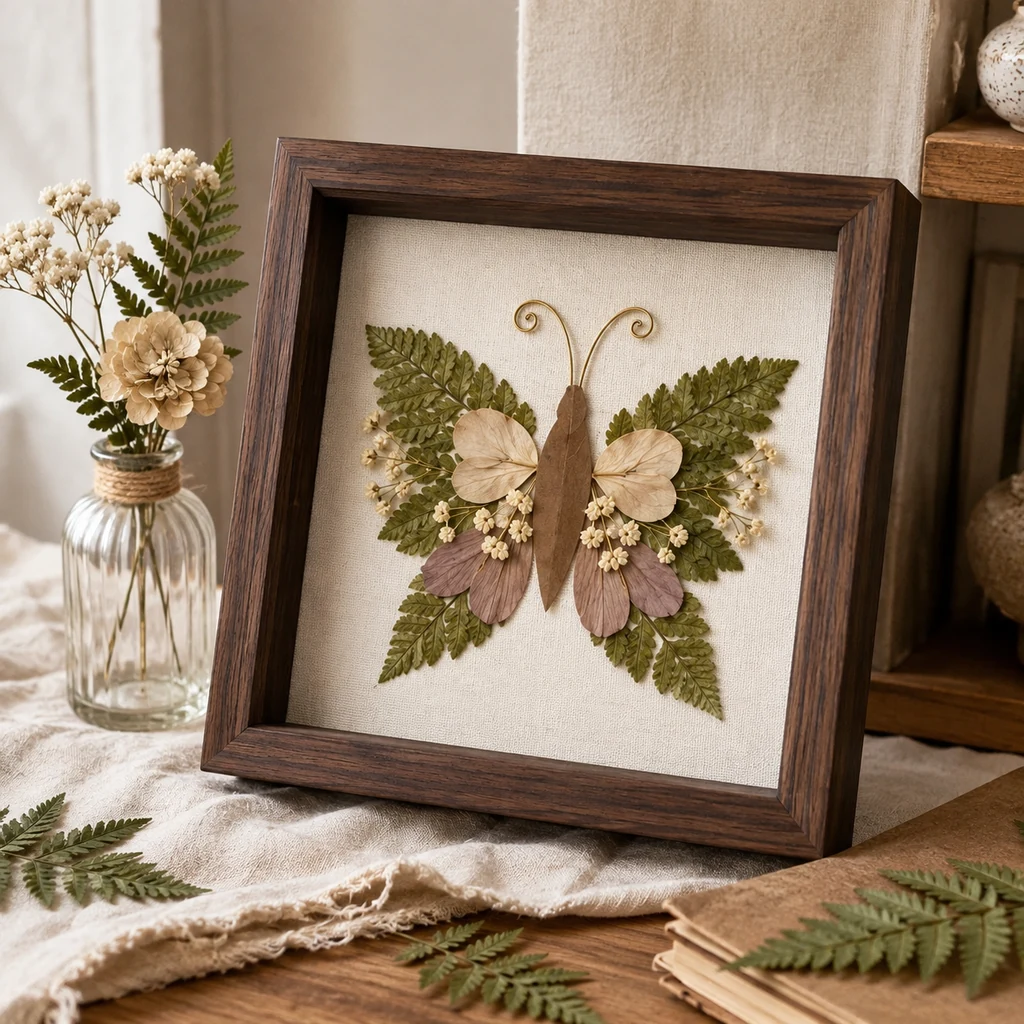
Keep the work horizontal and uncovered for 12 to 24 hours. When the glue is clear and dry, hold the board upright over a clean surface and tap its back gently; reglue anything that shifts. Remove loose plant dust with a soft brush. Set the board into the 1-inch-deep frame and check for at least ¼ inch of clearance between the highest botanical and the glass. Close the frame only after this check. The finished piece should match the same kraft-body, four-fern-wing design shown throughout the steps.
Substitutions and Variations
If fern tips are unavailable, use flat branching foliage such as pressed dusty miller or small olive stems, but keep the four-part structure. Copper wire can replace brass. Handmade brown paper can replace kraft cardstock, provided it is firm enough to hide the stems. For a darker palette, swap the mauve petals for burgundy ones; do not add a realistic insect body or manufactured wings, because those materials are not part of this tutorial.
Troubleshooting a Clean Finish
If the moth looks like a butterfly, reduce the lower wings, thicken the paper body, and angle the fern tips less horizontally. If glue darkens the linen, stop and switch to a drier, acid-free PVA applied with a toothpick. If a fern touches the glass, remove bulky flowers or use a deeper frame instead of crushing the arrangement. A phone photo is the fastest way to spot a crooked center line or a visually heavier wing.
What to Display It With
Place the shadow box beside quiet botanical prints, old books, a glass bud vase, or a small brass candleholder. Neutral surroundings preserve the detail of the fern wings. Avoid hanging it in direct sun or a humid bathroom; strong light fades dried plants, while moisture can soften them. For a gallery wall, let this piece remain the focal point and choose simpler neighboring art.
Frequently Asked Questions
Can I use fresh ferns?
No. Press them until completely flat and dry before assembly. Fresh foliage can curl, discolor, or trap moisture behind glass.
Is hot glue suitable?
Not for the fern leaflets. Hot glue creates visible lumps and can damage fragile plants. Tiny dots of acid-free PVA give better control.
Why does the frame need depth?
The petals, folded paper body, and wire sit above the linen. A shadow box with at least 1 inch of interior depth protects them without forcing the glass against the design.