

Three small windows of autumn color, made from fallen leaves and clear contact paper: that is the whole idea. These pressed fall leaf suncatchers use a simple kraft-paper frame, not resin or glass. Hang them where daylight can pass through the leaves and you get a little seasonal color without a bulky decoration or a complicated supply run.
The important part is not a perfect leaf arrangement. It is choosing leaves that are dry and flat, leaving enough clear film around them to seal, and building a frame that can support the finished piece. Here is a repeatable version with measurements for three square suncatchers.
What You’re Making
Each finished piece is an approximately 8-by-8-inch square of kraft cardstock with a 6-by-6-inch opening. The leaves sit between two clear, self-adhesive contact-paper squares inside that opening. A short cotton-twine loop runs through a hole in the top paper border. It is a lightweight indoor decoration, not a permanent window film or a weatherproof outdoor ornament.
Allow about 30–45 minutes of hands-on time after your leaves have dried flat. Leaf pressing adds a couple of days, sometimes longer for thick or damp leaves. If you want to make only one, divide the quantities below by three.
Materials for Three Suncatchers
- Six 8-by-8-inch squares of sturdy kraft cardstock or thin, clean cereal-box cardboard, two per suncatcher
- Six 7-by-7-inch squares of clear, self-adhesive contact paper, two per suncatcher
- About six to nine small, clean fallen leaves in different autumn colors, fully dry and pressed flat
- Plain absorbent paper and one or two heavy books for pressing the leaves
- Pencil, ruler, scissors, and a craft knife with cutting mat for the square openings
- Narrow double-sided tape, a single-hole punch, and three short lengths of cotton twine
Size check: A 7-inch film square overlaps a 6-inch opening by half an inch on every side when centered. That overlap is what lets the paper frame hide and hold the film edges. Use leaves that fit well inside the opening; one oversized leaf can fill it, but leave clear space around the leaf so the two film layers can bond.
Step-by-Step Instructions
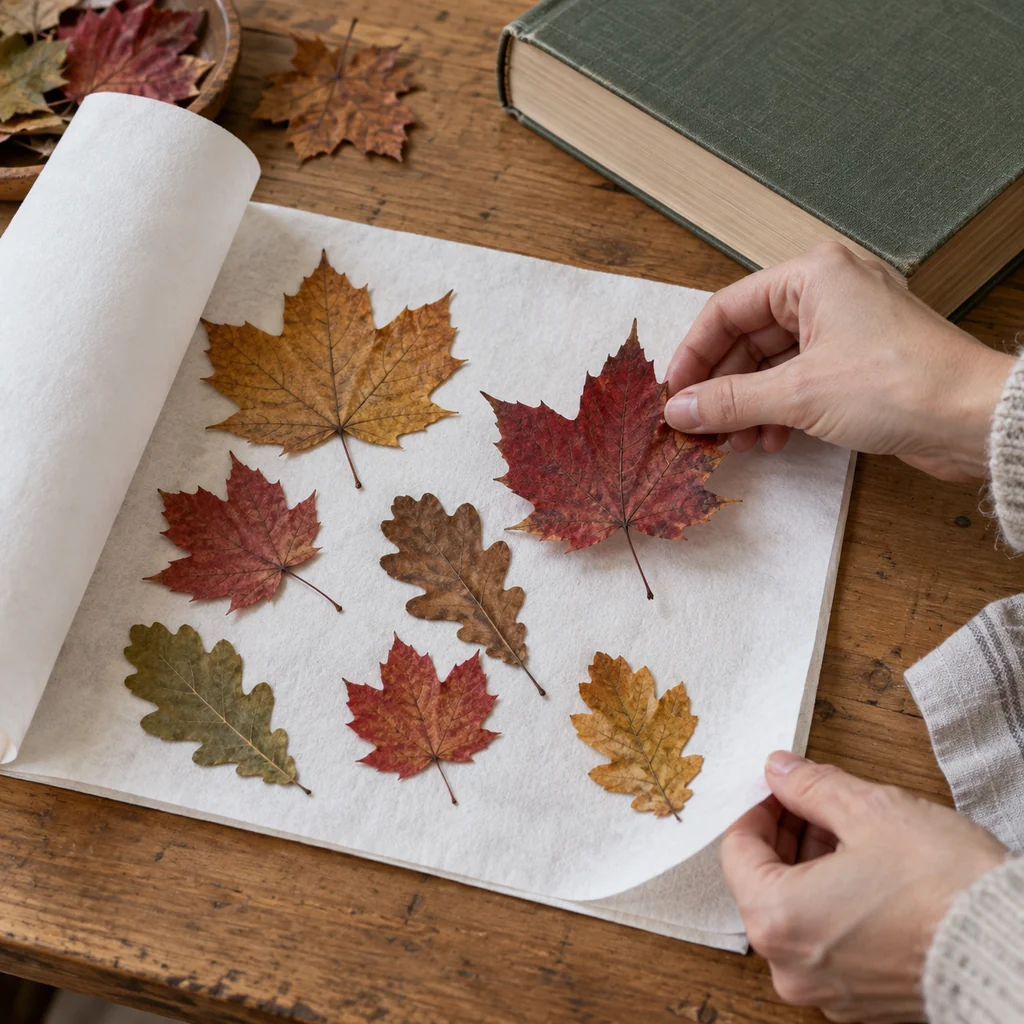
1. Press the Leaves Until They Are Flat and Dry
Pick up fallen leaves where collecting is allowed. Choose clean, intact ones, pat away any surface moisture, and place them separately between two sheets of plain absorbent paper. Put the paper inside a heavy book and weigh it down. Check after two to three days; a thick leaf may need more time or a change of paper.
Do not seal leaves that still feel damp or springy. Moisture can cloud the film and shorten the life of the piece. Small thin leaves are easier to arrange than thick clusters of stems.
2. Cut Two Matching Paper Frames for Each Piece
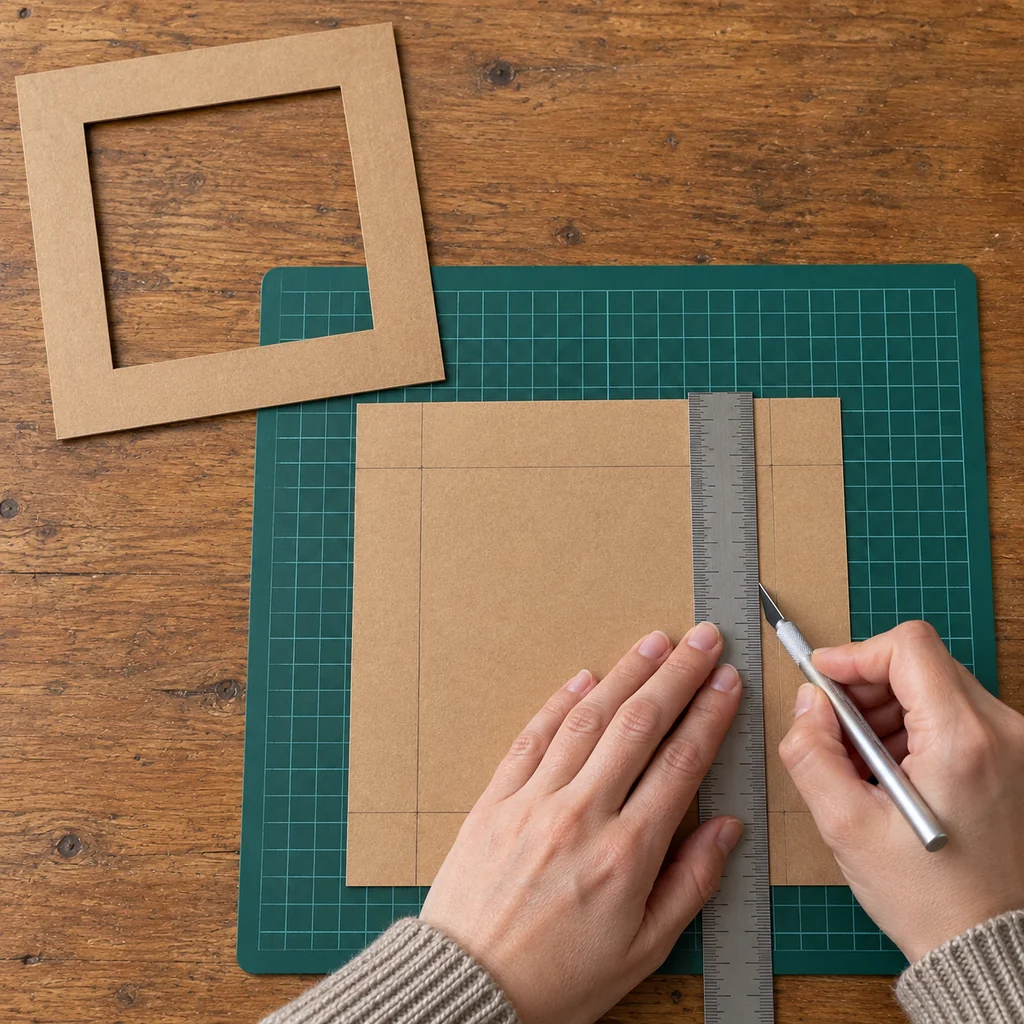
On each 8-inch cardstock square, measure one inch inward from every edge and draw a centered 6-inch square. Cut out the center, keeping the 1-inch border intact. Repeat so that each suncatcher has a matching front and back frame. A craft knife gives the neatest inside corners; an adult should handle it on a cutting mat.
Before peeling any film, lay a 7-inch contact-paper square behind a frame. It should cover the entire opening and remain hidden beneath the paper border. If the frame bends too easily, use thin cardboard instead of light construction paper.
3. Arrange Leaves on the First Clear Sheet
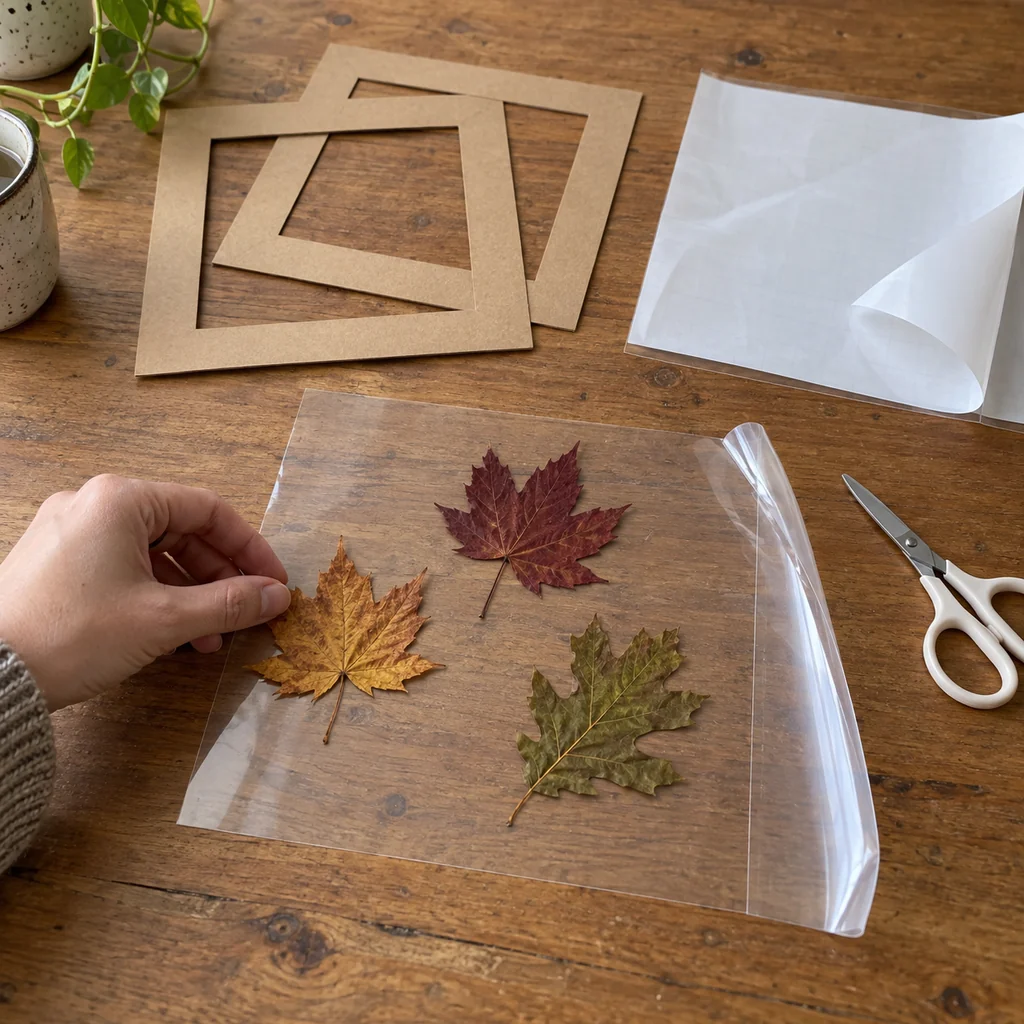
Peel the liner from one contact-paper square and set it on a clean table, sticky side up. Work with two or three pressed leaves per piece. Arrange them within the central 6-inch area, leaving open film between leaves and around the perimeter. The clear spaces let sunlight through and give the top sheet places to stick.
Set a frame over the layout without pressing it down to check that no leaf tip disappears under the border. Lift the frame again before sealing. If you change your mind, reposition carefully; fragile pressed leaves can tear if you pull them hard from the adhesive.
4. Seal with a Second Sheet, Sticky Sides Together
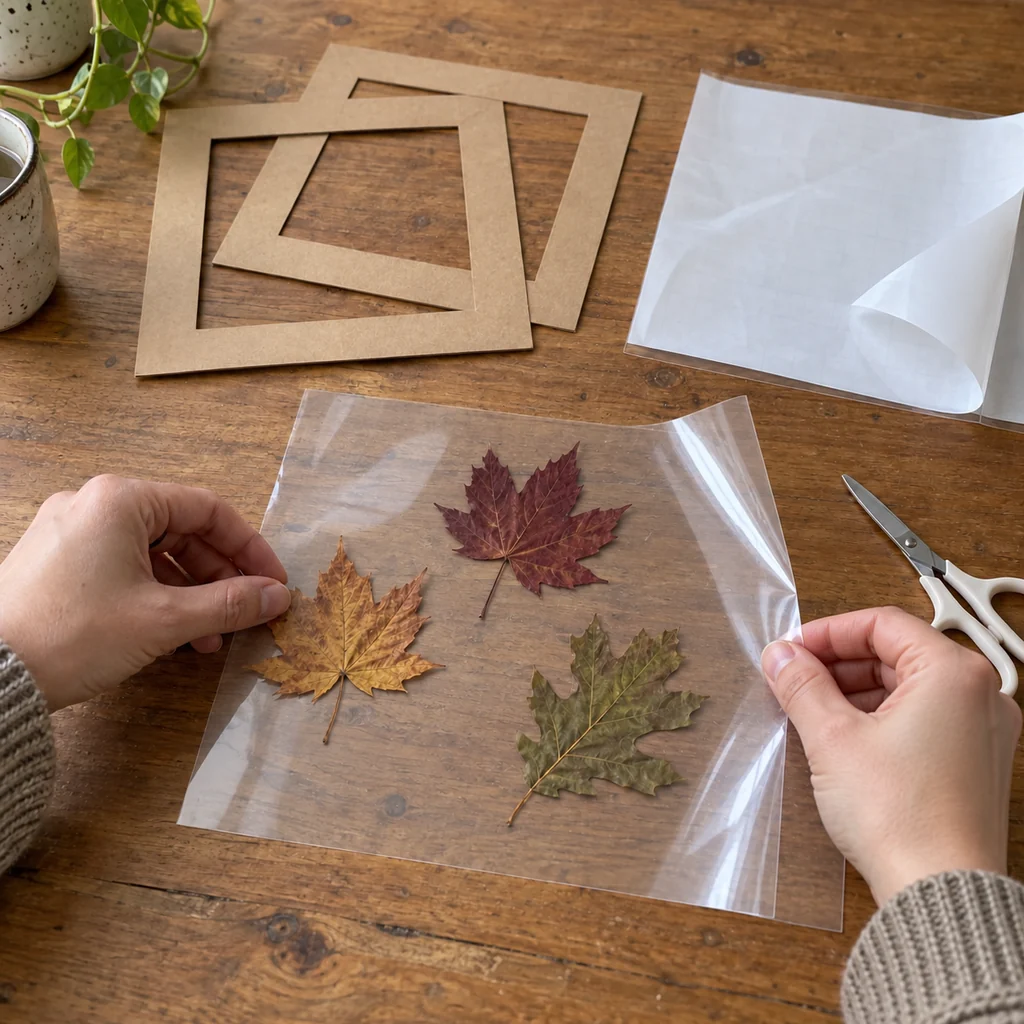
Peel a second 7-inch square and lower it onto the first with the adhesive facing the leaves. Start at one edge and smooth slowly toward the opposite edge with your fingers or a soft cloth. Press the clear areas firmly, especially around the leaves and along the perimeter. A few tiny wrinkles are normal; do not expect the thickest veins to disappear.
Trim uneven outer film edges if needed, but keep the square large enough to overlap the paper opening on every side. This is a dry adhesive sandwich: no heat, laminating machine, poured glue, resin, or liquid coating is involved.
5. Sandwich the Film Between Frames and Hang It
Turn one cardstock frame face down. Put narrow strips of double-sided tape on the back along its inside border and, if needed, its outside border. Center the sealed film square over the opening and press its overlapping half-inch edge into the tape. Add the second matching frame to the back, lining up all four sides, and press the border together.
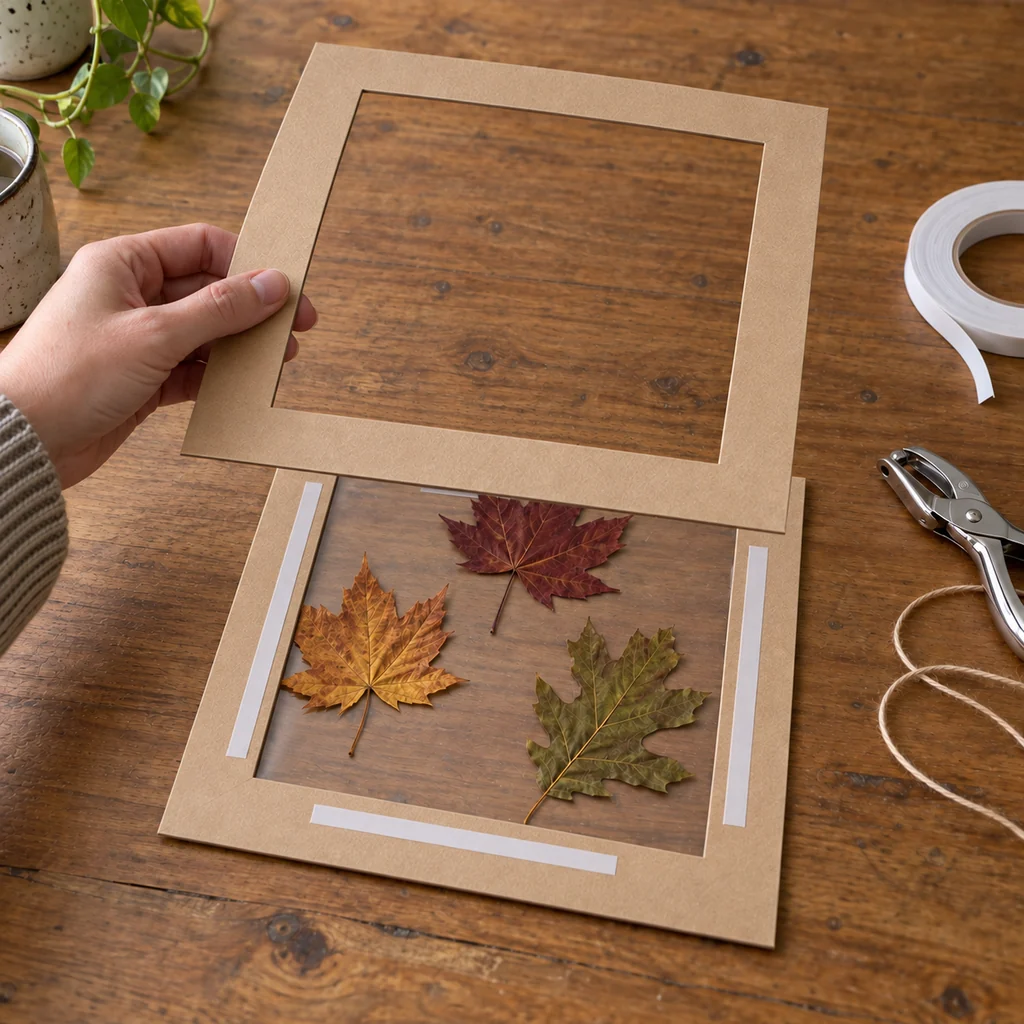
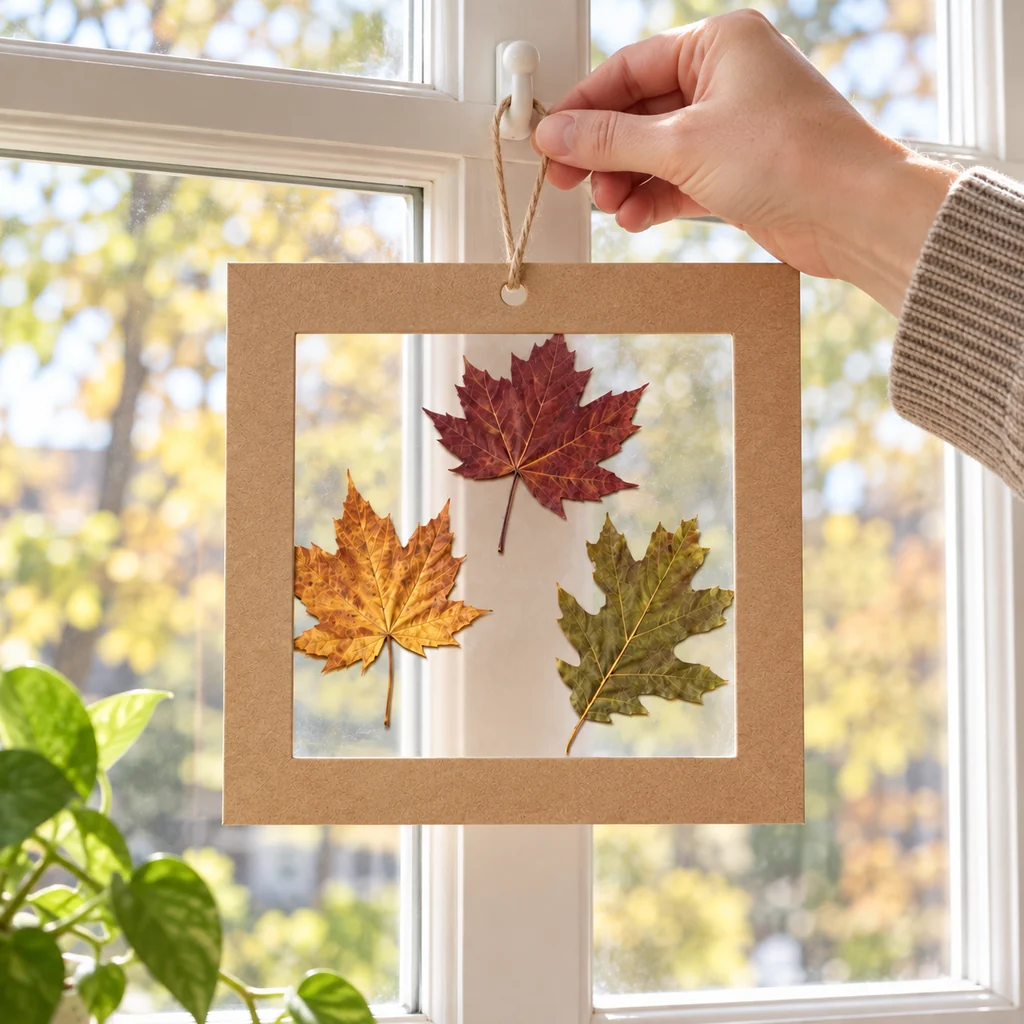
Before punching, reinforce the back of the top border with a small square of clear tape; this helps the cardstock resist tearing under the twine. Punch a hole near the middle of the top paper border, above the film edge, through both cardstock layers and the reinforcing tape. Thread a short cotton-twine loop through the hole and hang the piece from a secure hook or rod near a window. Keep cords short and out of reach of small children and pets; avoid taping adhesive film directly onto window glass.
Why a Suncatcher Might Not Look Like the Picture
The leaves look dark: Thick, opaque leaves will read as silhouettes. Try a thinner yellow or orange leaf and place it where bright daylight comes through. The film itself is clear, but leaf translucency varies by species and how dry it is.
The film wrinkles or lifts: Lay the second sheet down from one edge rather than dropping it flat all at once. Keep leaf stems away from the frame overlap and press the empty adhesive areas together. If a stem is too bulky, snip it shorter before sealing.
The frame droops: Switch to thin cereal-box cardboard, reinforce the top border with another narrow paper strip, or make a smaller version using the same proportions. Do not hang it from a long, heavy cord.
Substitutions & Variations
No kraft cardstock? The plain reverse side of a clean cereal box works, but cut both layers from material of similar thickness so they sit flush. You can also make a 6-inch version: use 6-inch frames, 4-inch openings, and 5-inch film squares. The half-inch film overlap remains the same.
For a calmer look, give each frame one statement leaf instead of three. A cluster of tiny leaves can look beautiful, too, as long as each piece is flat and the clear areas still seal. Avoid wet flowers, bulky seed pods, loose glitter, or anything that prevents the contact paper from meeting. Color may fade with prolonged direct sun; treat these as seasonal paper crafts rather than archival pressed botanicals.
Where to Display Them
A bright kitchen or living-room window is the obvious place, but the suncatchers can hang from a curtain rod or a secure hook on the window frame. Stagger three short loops at different heights so the squares do not bump each other. Keep them away from radiators, candles, cooking heat, condensation, and areas where someone might pull the cord.
If you enjoy working with pressed plants, the botanical moth shadow-box guide uses a very different, more sculptural arrangement. This project is the lighter, transparent option for a window.
Frequently Asked Questions
Can I use fresh leaves immediately?
It is better to press and dry them first. Fresh leaves contain moisture and can curl, discolor, or trap condensation after sealing. A flatter leaf also makes it easier for the two adhesive layers to bond.
Will the leaves stay bright forever?
No. Natural pigments and paper can change in sunlight. Move the suncatchers out of harsh direct light when you are not displaying them, or remake them next season with new fallen leaves.
Is this a craft for children?
Children can help choose and arrange leaves with supervision. An adult should cut the inner openings and handle the craft knife and hole punch. Keep the finished twine loops short and out of reach of young children.
Method note: The clear-contact-paper sandwich follows the basic nature-suncatcher technique described by PBS KIDS for Parents; this square double-frame version uses the measurements and assembly detailed above.