
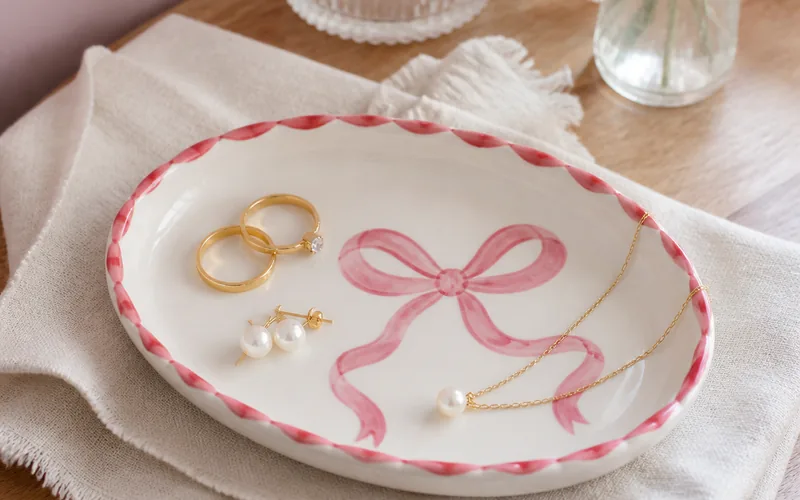
This DIY bow trinket dish turns a plain ceramic jewelry tray into a soft, romantic vanity accent. The dusty pink ribbon, red scalloped rim, and glossy sealed finish feel handmade without looking messy.
DIY Bow Trinket Dish Overview
The project works best on a small glazed ceramic trinket dish, about 6 to 8 inches wide, with a smooth blank surface where you can paint the bow motif. You will clean the surface, sketch light guide marks, build thin coats of ceramic paint, then seal the dry design for a glossy jewelry-safe finish.
- Skill level: Beginner
- Time: About 45 minutes active time, plus drying and curing
- Finished size: One small 6- to 8-inch decorative dish
- Best use: Rings, earrings, hair clips, and bedside jewelry
Materials and Tools
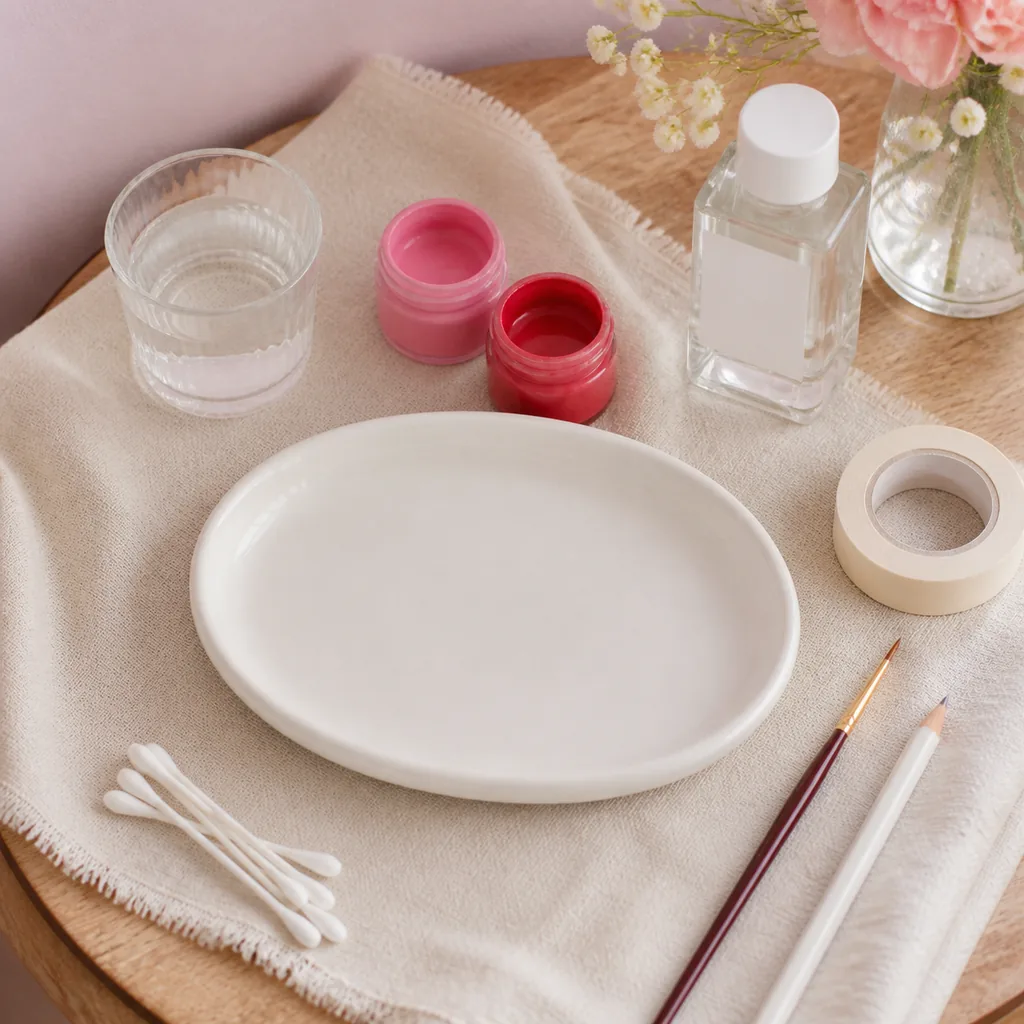
- One small glazed ceramic trinket dish
- Ceramic or multi-surface acrylic paint in dusty pink and red
- Fine round detail brush
- Small flat brush for sealer
- Pencil or washable ceramic marker
- Painter’s tape
- Cotton pads and cotton swabs
- Rubbing alcohol or mild dish soap
- Clear gloss sealer compatible with your paint
- Scrap paper for testing brush strokes
If you like delicate handmade details, pair this project with the DIY stiffened lace doily bowl for a soft vanity set.
Step 1: Clean and Tape the Dish
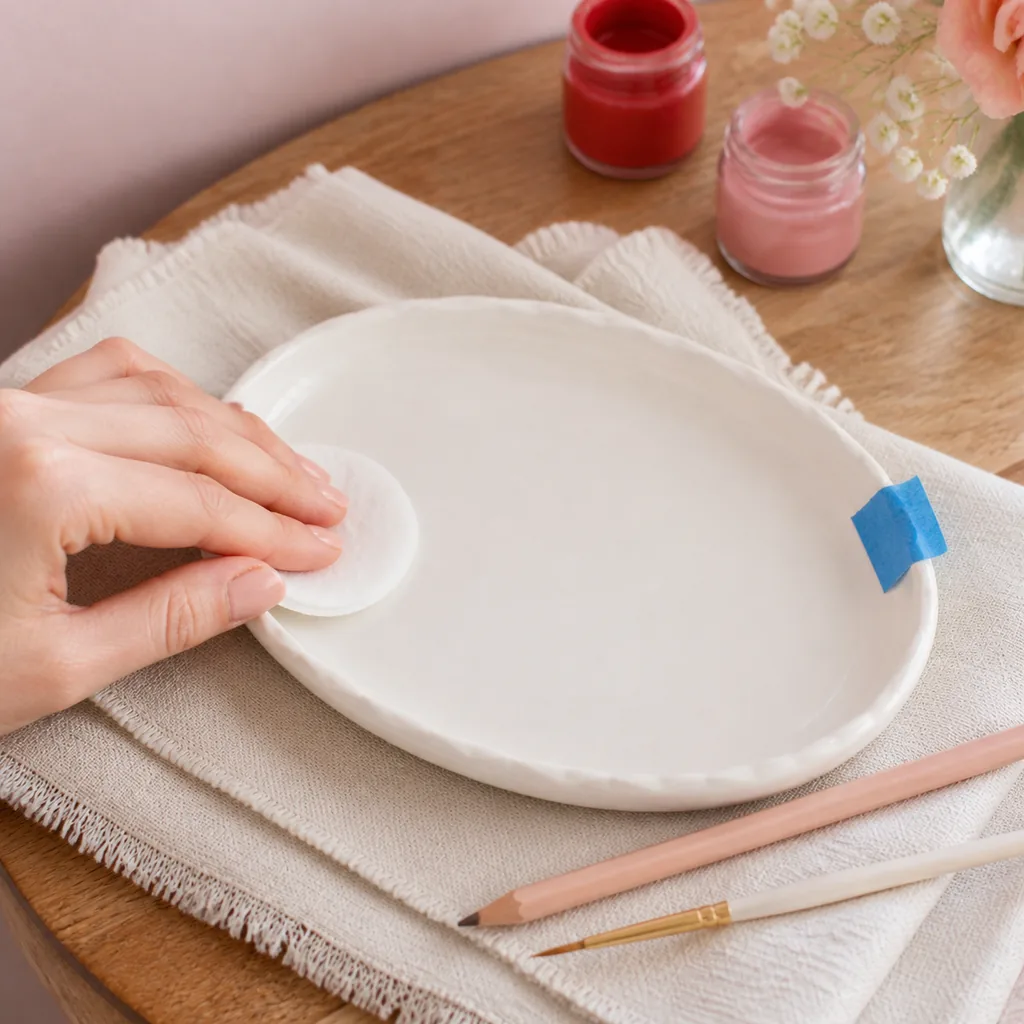
Wash the dish with mild soap, dry it completely, then wipe the painting area with rubbing alcohol. Oils from your fingers can make paint bead up, so handle the dish by the bottom once it is clean.
Use painter’s tape if you want one section of the rim to stay crisp while you work. Press the tape down gently; hard pressure can leave residue on glossy ceramic.
Step 2: Sketch the Bow and Scallop Guides
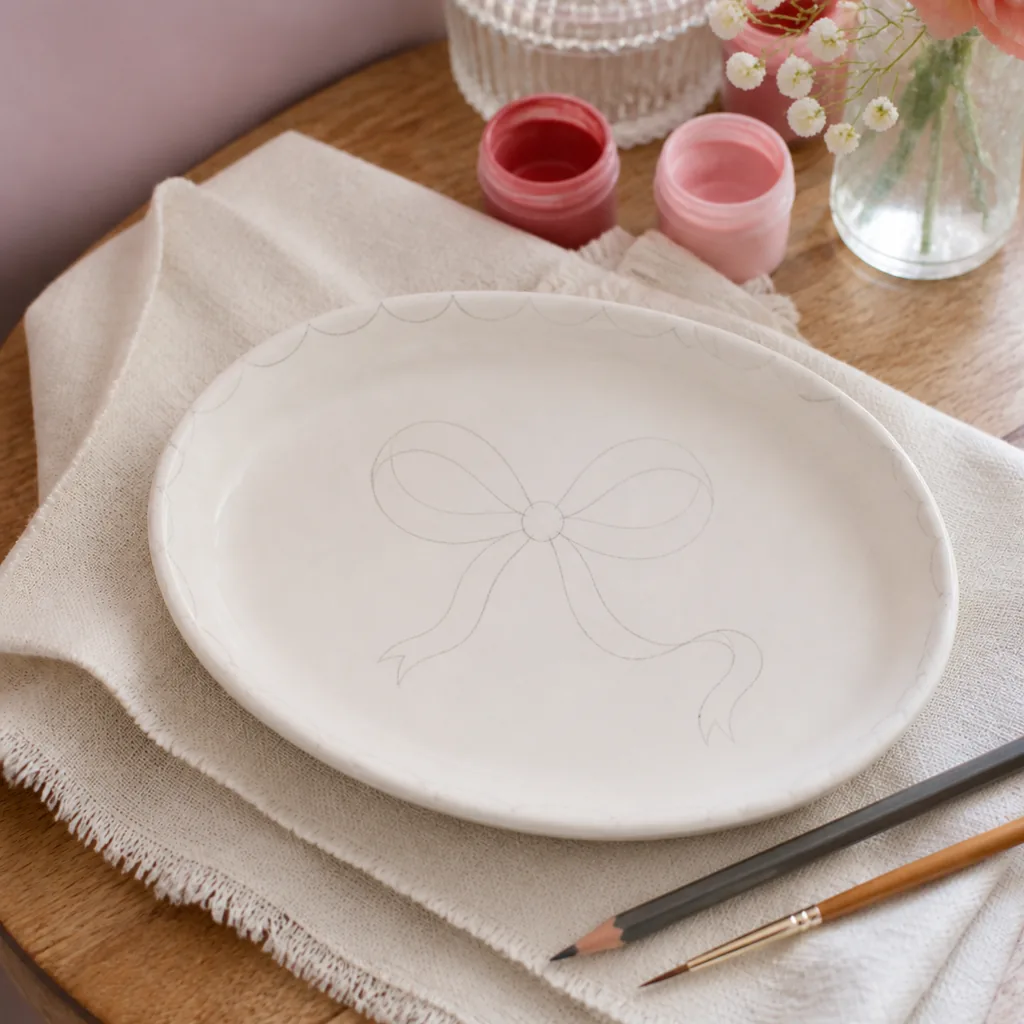
Draw very light guide lines on the flat bow loops and tails. Follow the light sketch instead of trying to make both ribbon loops perfectly identical. Around the rim, mark small half-circles about 1/4 inch wide so the scallops repeat evenly.
Keep the pencil pale. Heavy marks can show through translucent paint and may be difficult to remove after sealing.
Step 3: Paint the Dusty Pink Bow
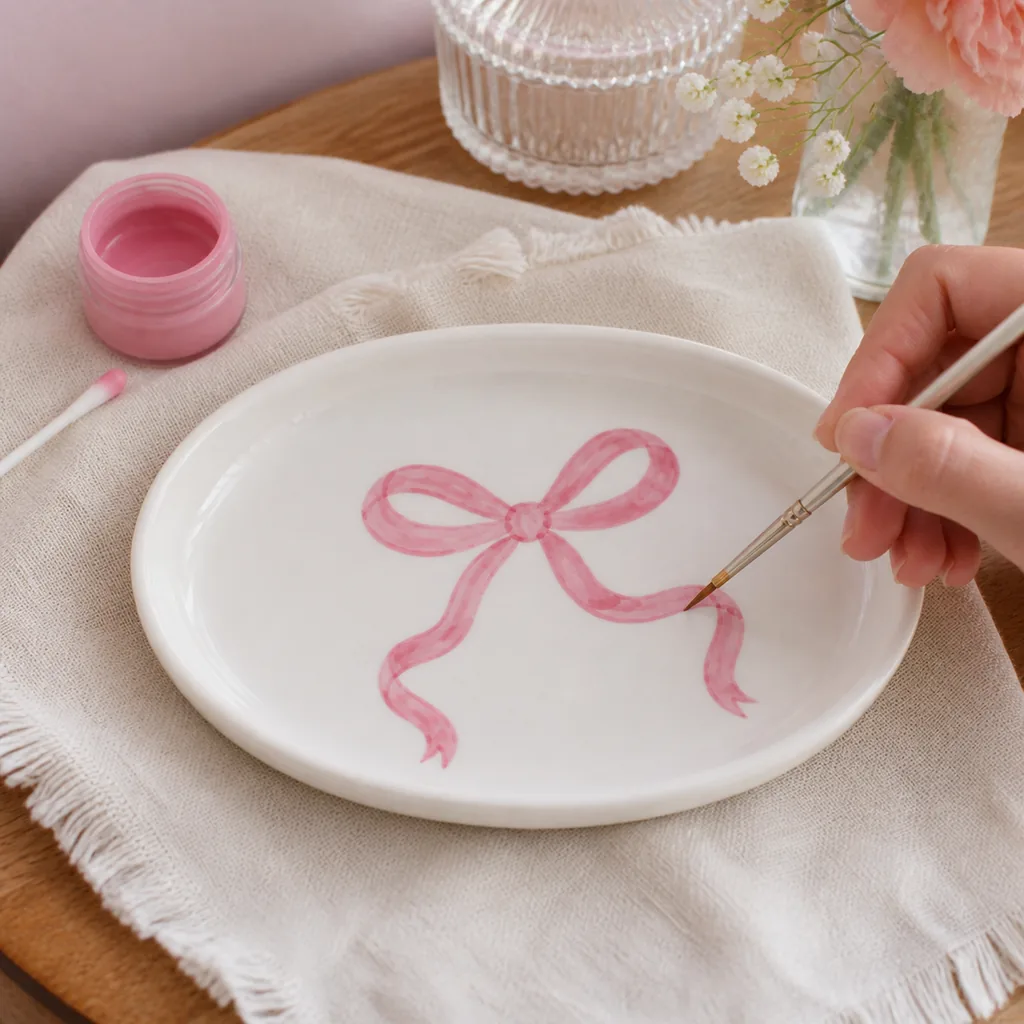
Load only the tip of the detail brush. Paint the bow in thin strokes that follow the curve of each loop and tail. Let the first coat dry, then add a second coat only where the color looks patchy.
For a softer ribbon effect, leave tiny lighter streaks instead of covering every brush mark. That handmade texture is what makes the dish feel charming rather than mass-produced.
Step 4: Add the Red Scalloped Rim
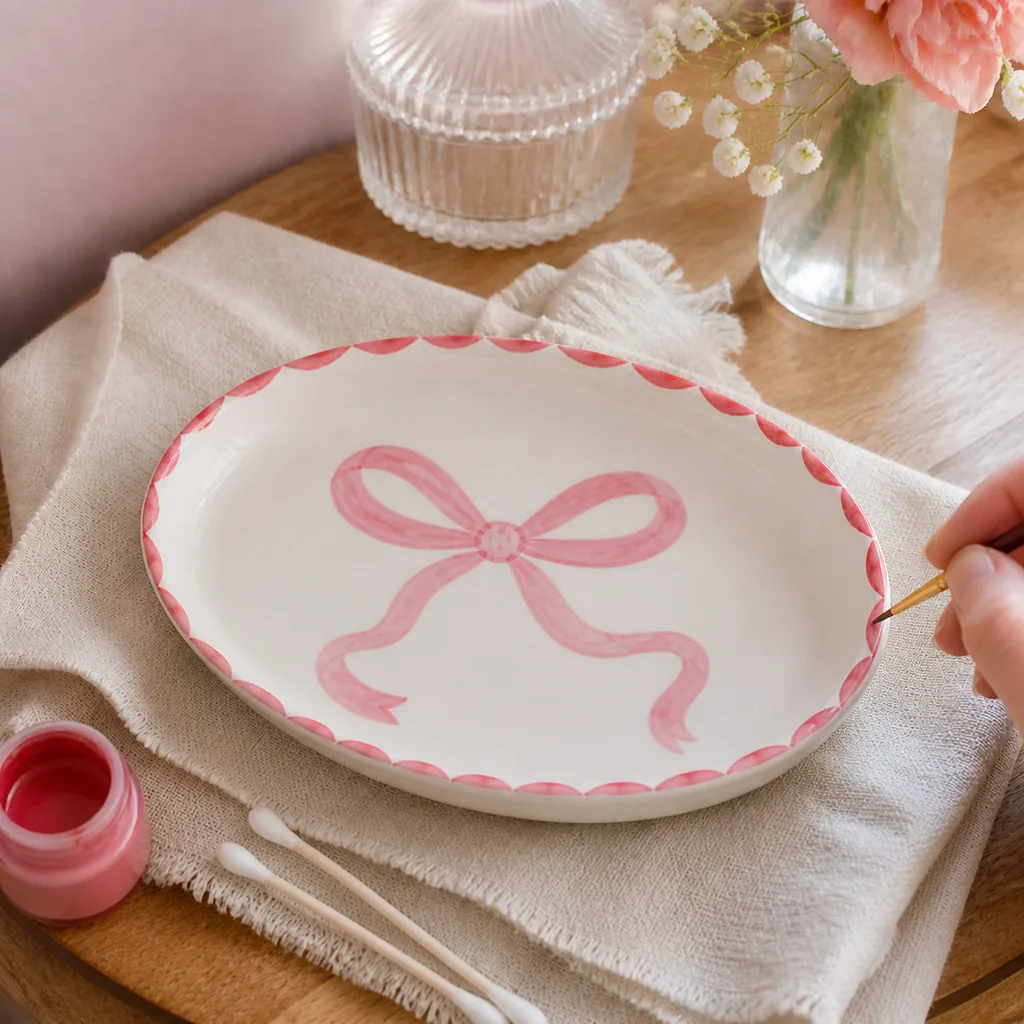
Dip the fine brush into red paint and trace each scallop mark around the rim. Work slowly and rotate the dish instead of twisting your wrist. If one scallop gets too thick, clean the edge immediately with a damp cotton swab.
This little border is what makes the dish pop in photos, much like the painted edge detail in this DIY circus lampshade makeover.
Step 5: Seal the Painted Finish
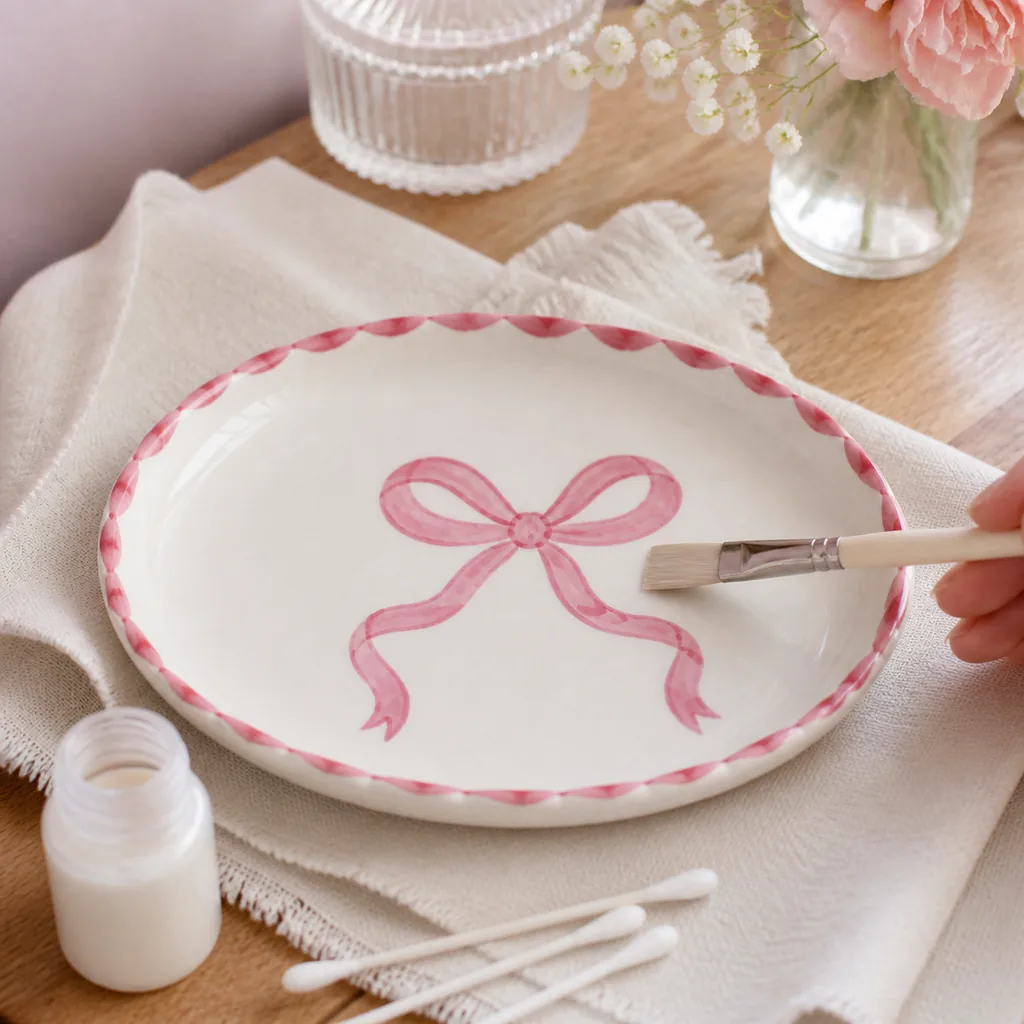
Let the paint dry according to the product label before sealing. Brush on a thin, even layer of clear gloss sealer, moving from the center outward so pooled sealer does not collect near the bow detail.
Follow the sealer’s curing time before placing jewelry on the dish. Many craft sealers feel dry quickly but need several days to harden fully.
Styling and Care
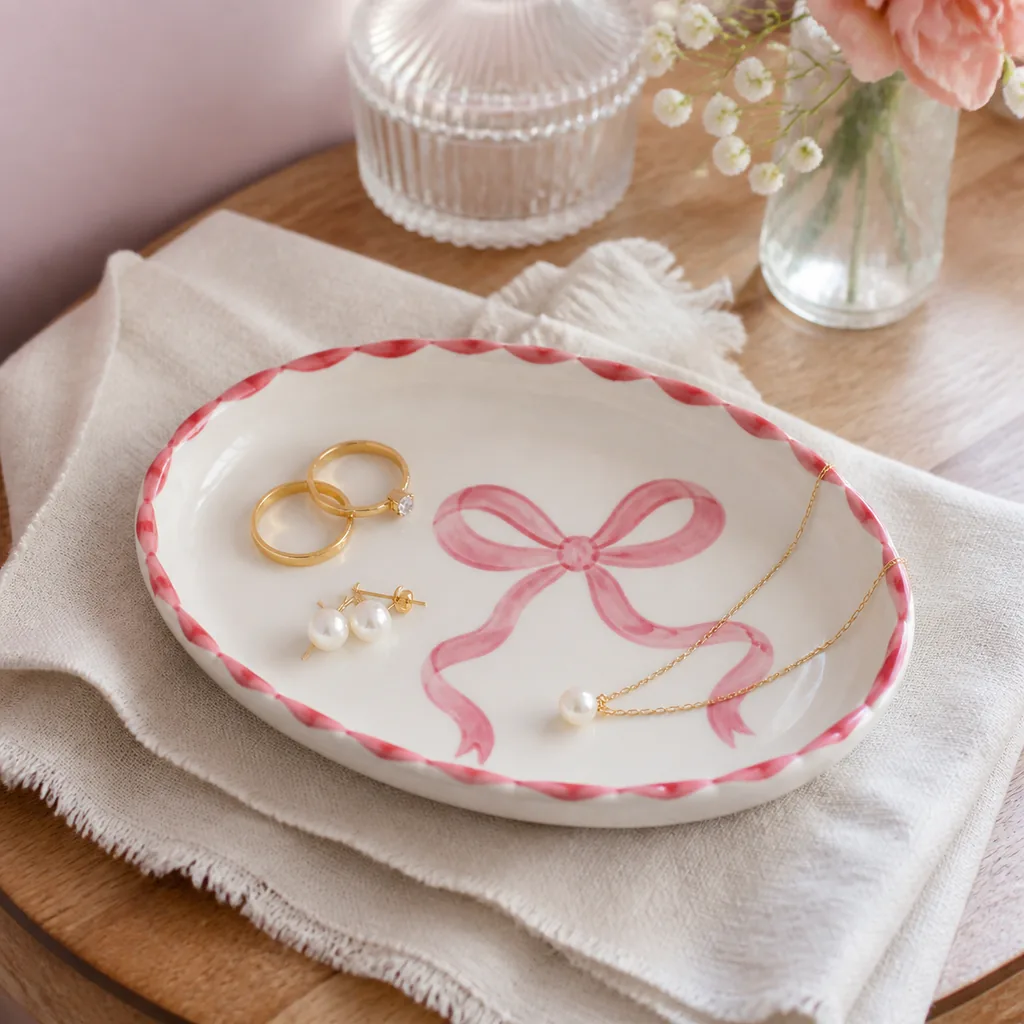
Use the finished dish on a vanity, nightstand, entry table, or guest-room dresser. It looks especially pretty with pearl earrings, gold rings, ribbon-tied perfume bottles, or a small stack of hair clips.
Clean the dish with a soft, dry cloth. Avoid soaking, scrubbing, dishwasher heat, or harsh cleaners. For another vanity project with the same polished feel, try the DIY fluted perfume display stand.
Frequently Asked Questions
Can I use regular acrylic paint?
Yes, if the dish is decorative only. Choose a multi-surface acrylic paint and seal it well. For a stronger finish, use paint made specifically for ceramic or glass.
Can this dish hold food?
No, not unless your exact paint and sealer are labeled food-safe after curing. Treat this version as a decorative jewelry dish.
What if I make a mistake?
Wipe wet paint away with a damp cotton swab. If the paint has dried, let it cure, lightly touch up the area, and keep the correction thin.
Final Notes
A small ceramic dish is one of the easiest pottery painting ideas to personalize because the surface is flat, useful, and instantly giftable. Keep the bow soft, the rim playful, and the sealer thin, and you will have a pretty handmade piece that looks ready for a Pinterest vanity board.