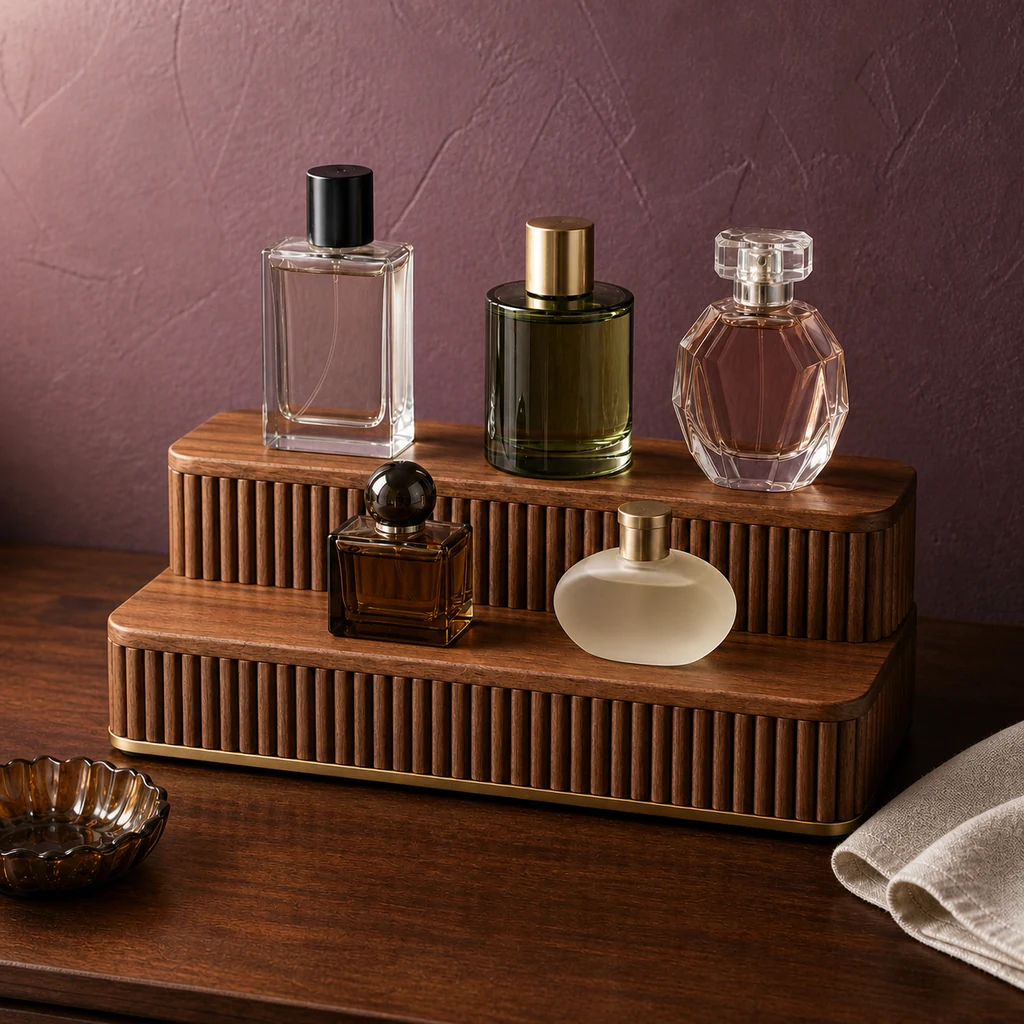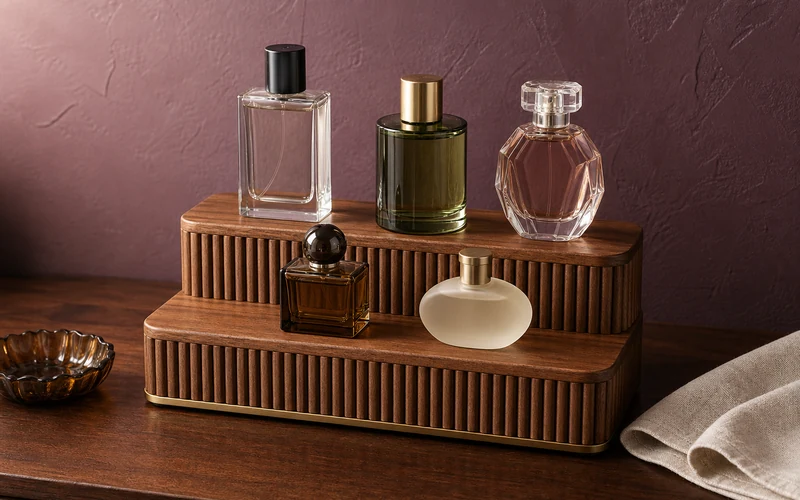
This DIY fluted perfume display stand turns simple boards and half-round molding into a two-tier organizer. At 12 inches wide and 7 inches deep, it lifts bottles into view without taking over a vanity.
Materials and Exact Cut List
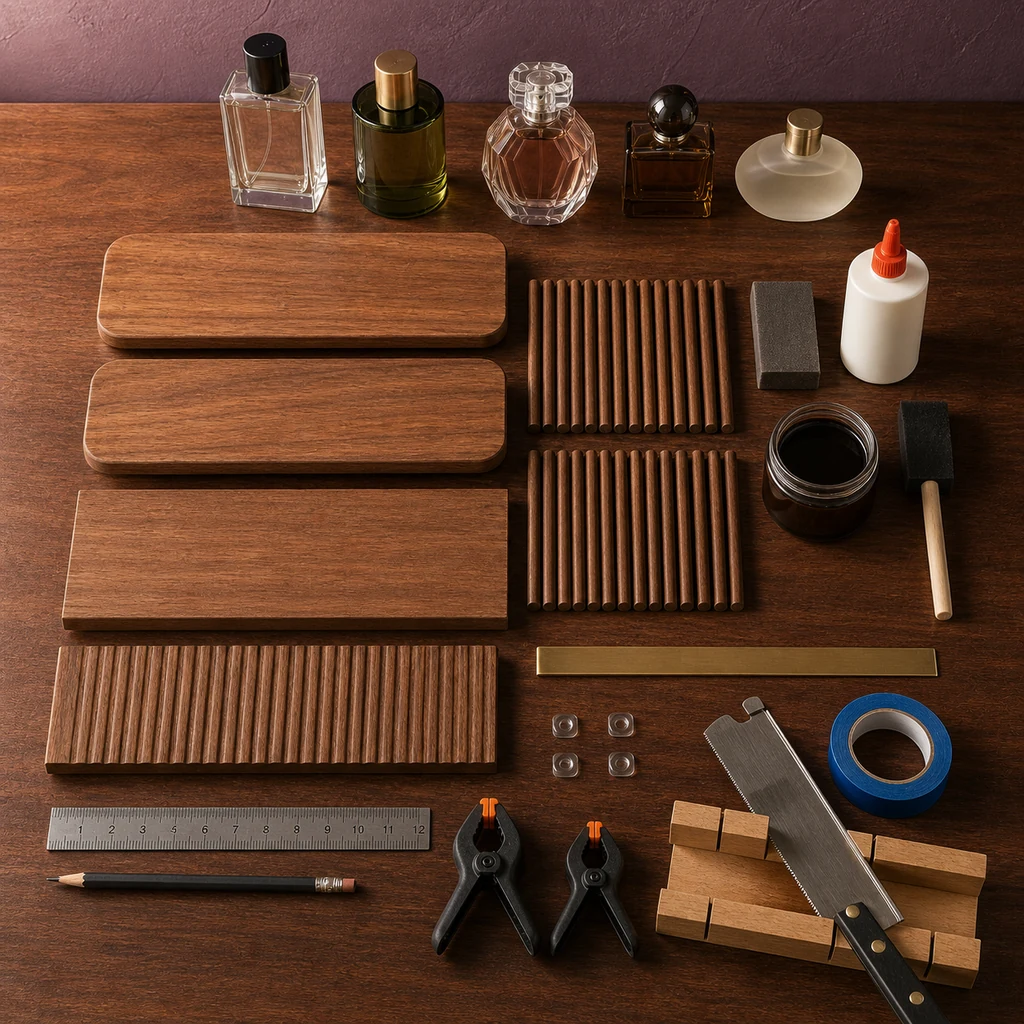
- Two 12-by-3.5-inch wood boards for the tier tops
- One 12-by-3.5-inch base and one 12-by-3-inch rear support
- Twenty-two 3/8-inch half-round molding pieces, cut to fit both front faces
- One 12-inch adhesive brass-colored trim strip
- Wood glue and two small clamps
- 180- and 220-grit sandpaper
- Walnut stain and water-based satin topcoat
- Four clear silicone feet
- Ruler, pencil, miter box, fine-tooth hand saw, square, and foam brush
Have a home center cut the main boards if needed. Wear eye protection, clamp small pieces, and keep fingers outside the saw path. For more projects, explore these DIY storage ideas for small spaces.
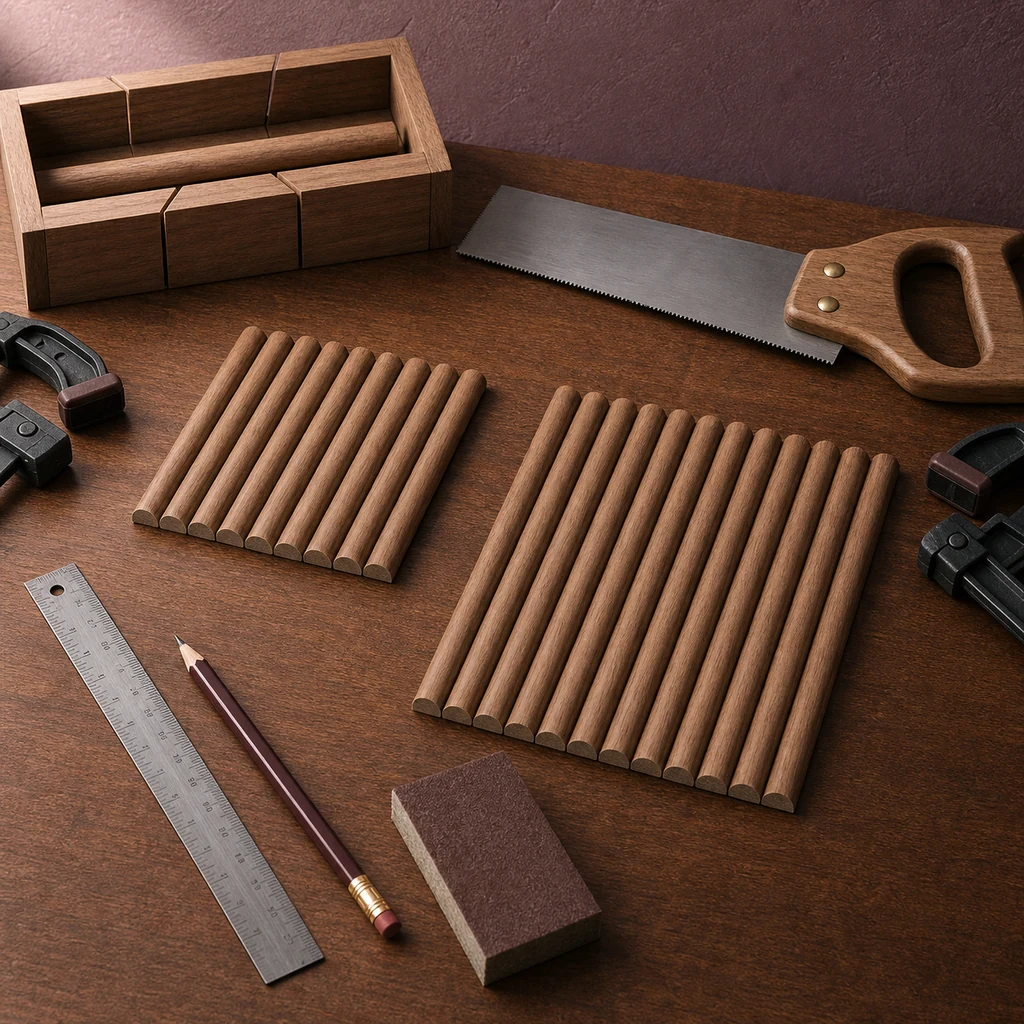
Cut and Sand the Half-Round Molding
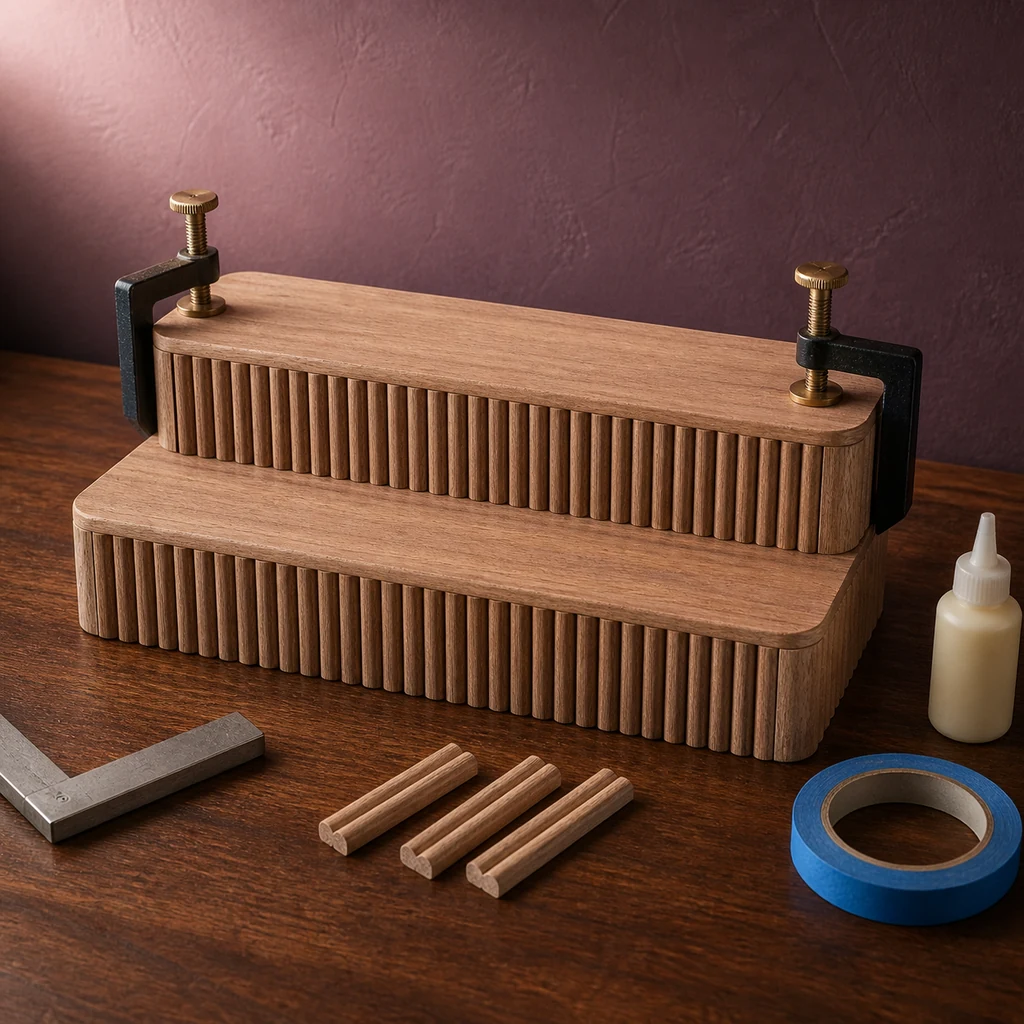
Measure each front face. Cut eleven molding pieces for the lower face and eleven for the upper face. Their flat backs sit against the wood while curved sides face forward. Sand the ends, then arrange pieces edge-to-edge to confirm each group spans 12 inches.
Build the Two Wooden Tiers
Glue the lower top to the base. Position the rear support flush with the back, then glue the second top over it. Check both tiers with a square and clamp until cured. Round only the outer front corners.
If the surrounding vanity needs a reset, use these tips for organizing a dressing room.
Attach the Fluted Fronts
Mark the center of each front face. Glue the middle molding piece first, then work outward in alternating directions. Use a thin, even glue layer and painter’s tape to prevent shifting. Keep the bottom ends aligned with a ruler. Wipe away squeeze-out immediately with a barely damp cloth.
Stain, Seal, and Add the Feet
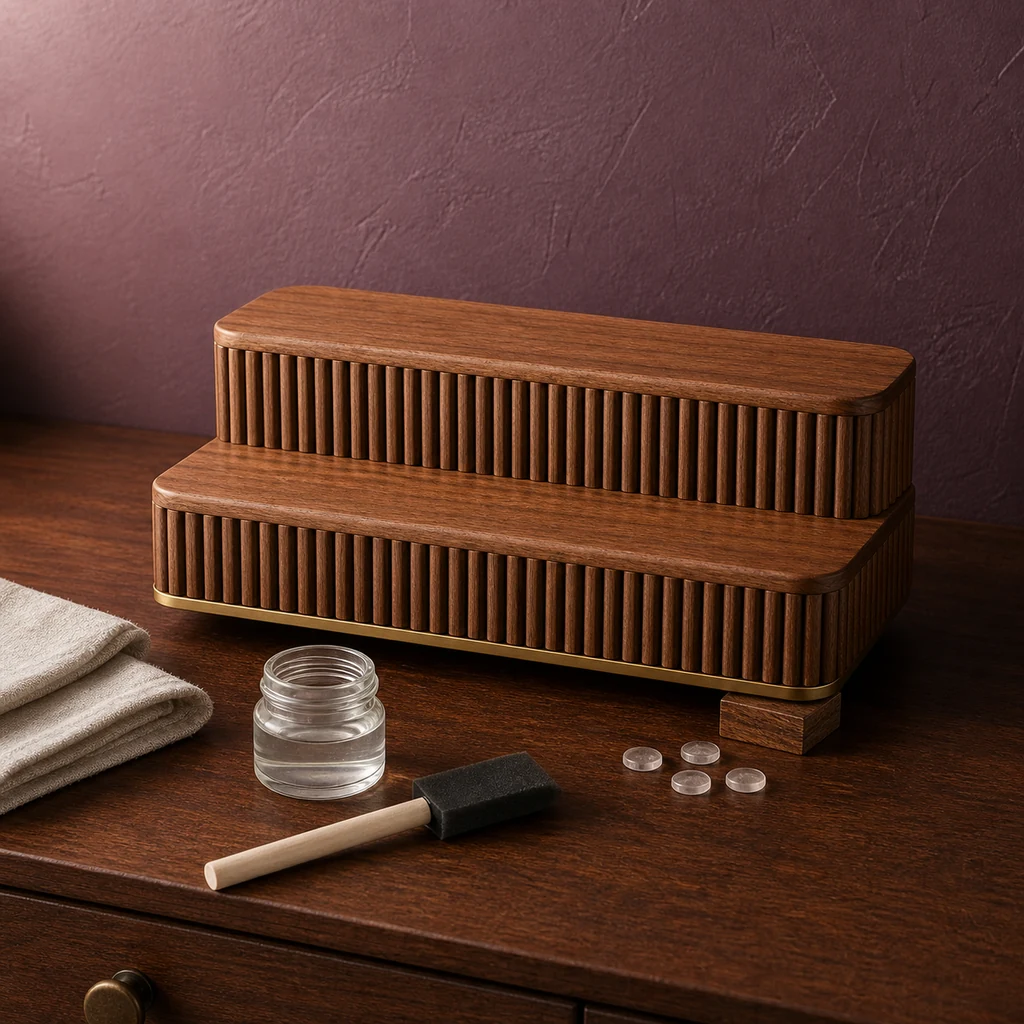
Sand the assembled stand with 220 grit and remove dust. Apply walnut stain with the grain, wiping off excess. After drying, brush on two thin water-based satin coats. Attach the brass-colored strip along the lower front edge and press one silicone foot under each corner.
Arrange Perfume Bottles Safely
Let the finish cure before adding bottles. Place taller bottles on the rear tier and shorter ones in front, leaving space to lift each bottle straight up. Store fragrances away from direct sunlight, radiators, and humid bathrooms. Keep glass bottles beyond children’s reach and never mix liquids directly on the wooden stand.
For a coordinated update, this budget dressing room makeover offers simple styling ideas.