
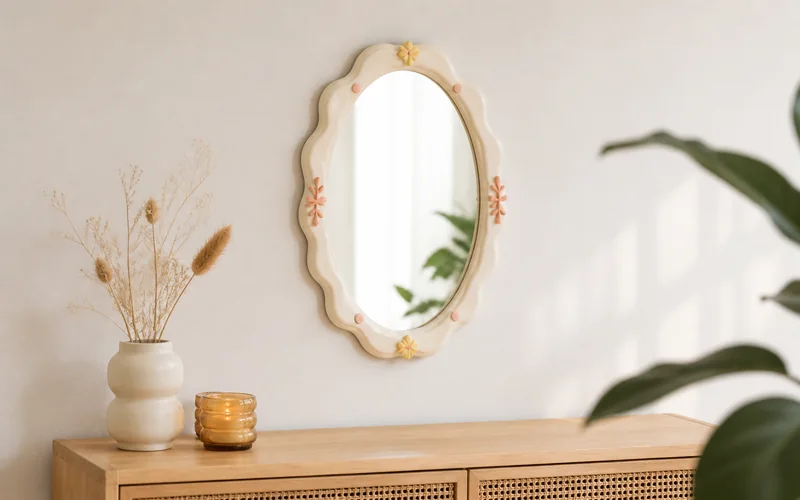
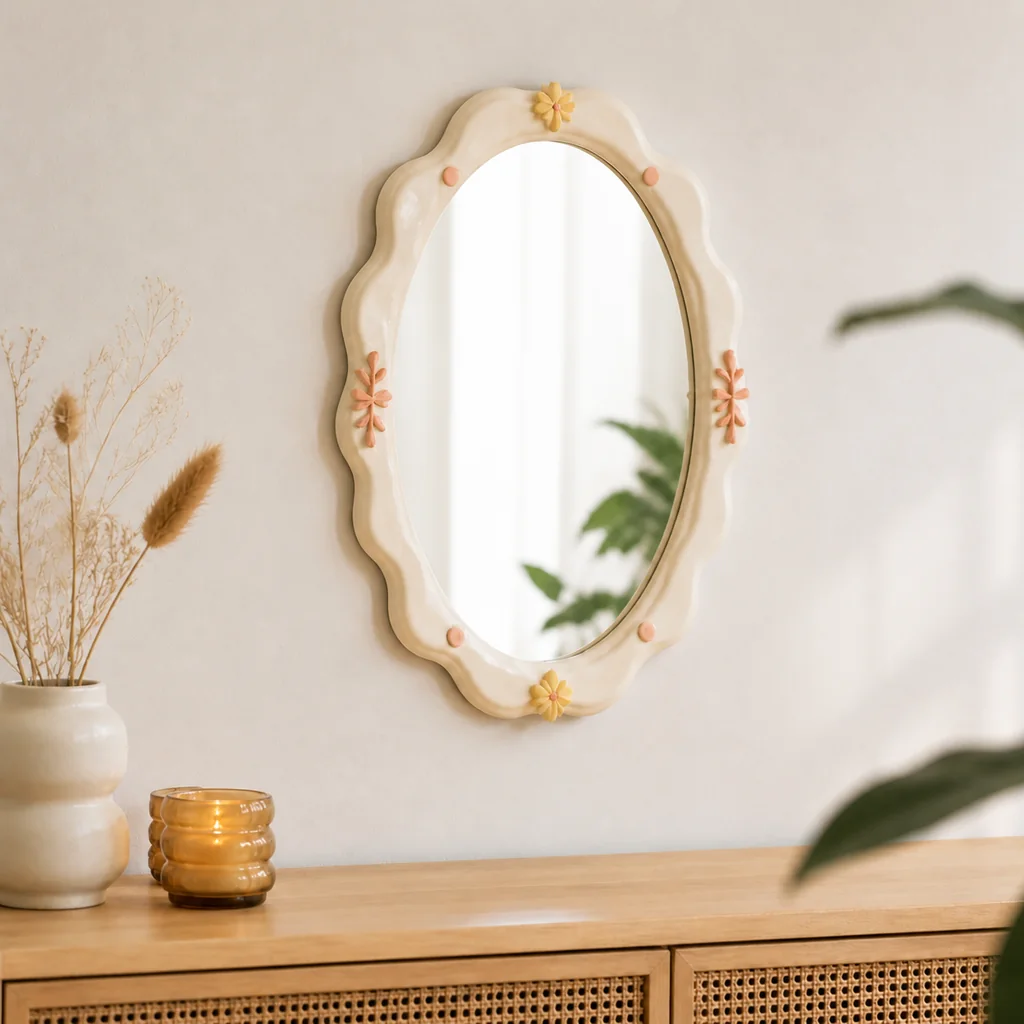
Give a plain oval mirror a soft sculptural upgrade with air-dry clay waves. This DIY wavy mirror frame uses simple tools, a forgiving shape, and a calm peach-and-yellow palette that works in bedrooms, entryways, and creative corners.
DIY Wavy Mirror Frame Overview
Plan about 2 hours of active work plus 24 to 48 hours of drying and curing. The finished frame fits a 10- to 12-inch oval mirror. Keep the mirror flat until the clay is fully dry.
Materials and Tools
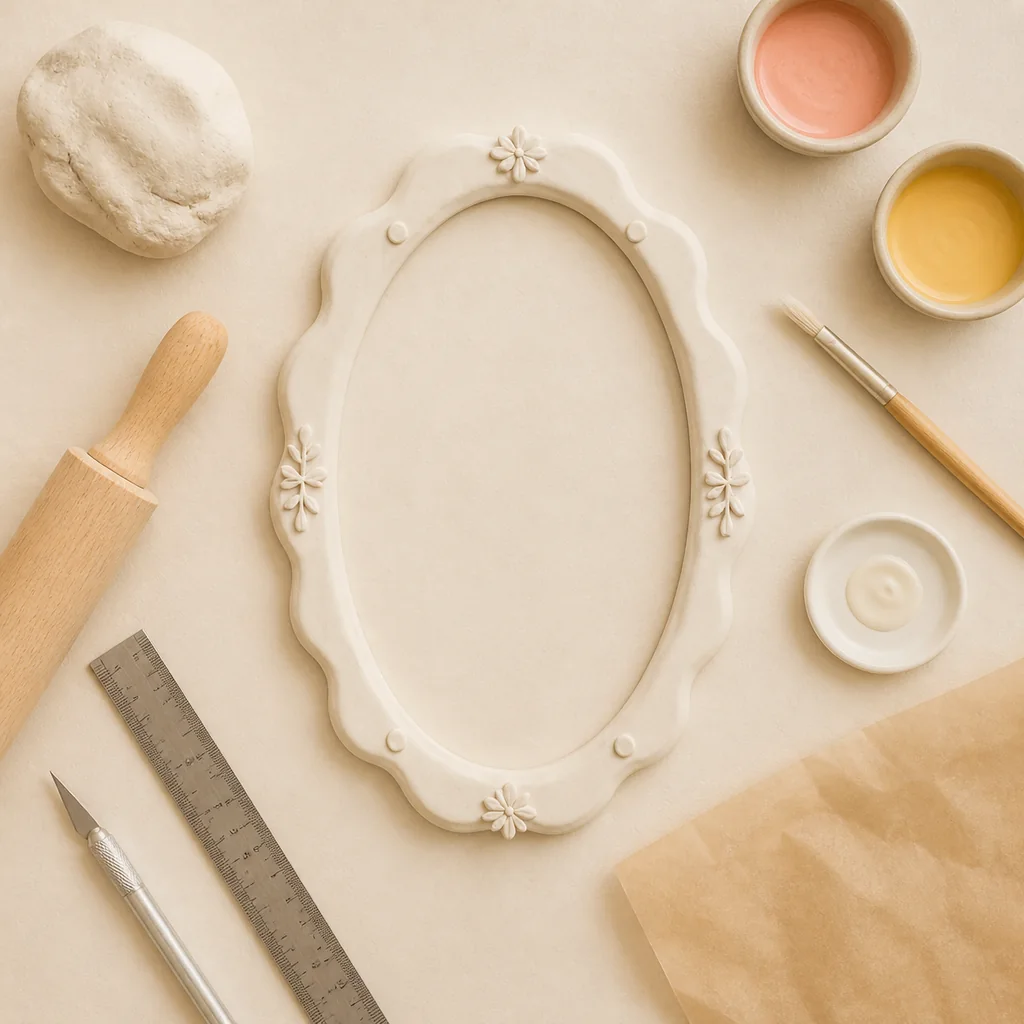
- One 10- to 12-inch oval mirror
- 1.5 to 2 pounds white air-dry clay
- Parchment paper and a smooth rolling pin
- Ruler, pencil, and craft knife
- Water-based acrylic paint in peach and butter yellow
- Fine brush and clear water-based sealer
- Strong craft adhesive rated for glass and cured clay
- Drop cloth and a small sanding sponge
Step 1: Plan the Wavy Shape
Trace the mirror on parchment and draw a second oval 1 to 1.5 inches outside the glass. Mark 12 to 16 gentle waves around that outline. Keep every wave wide enough to support the next one; very narrow points can crack as they dry.
Step 2: Roll and Shape the Clay
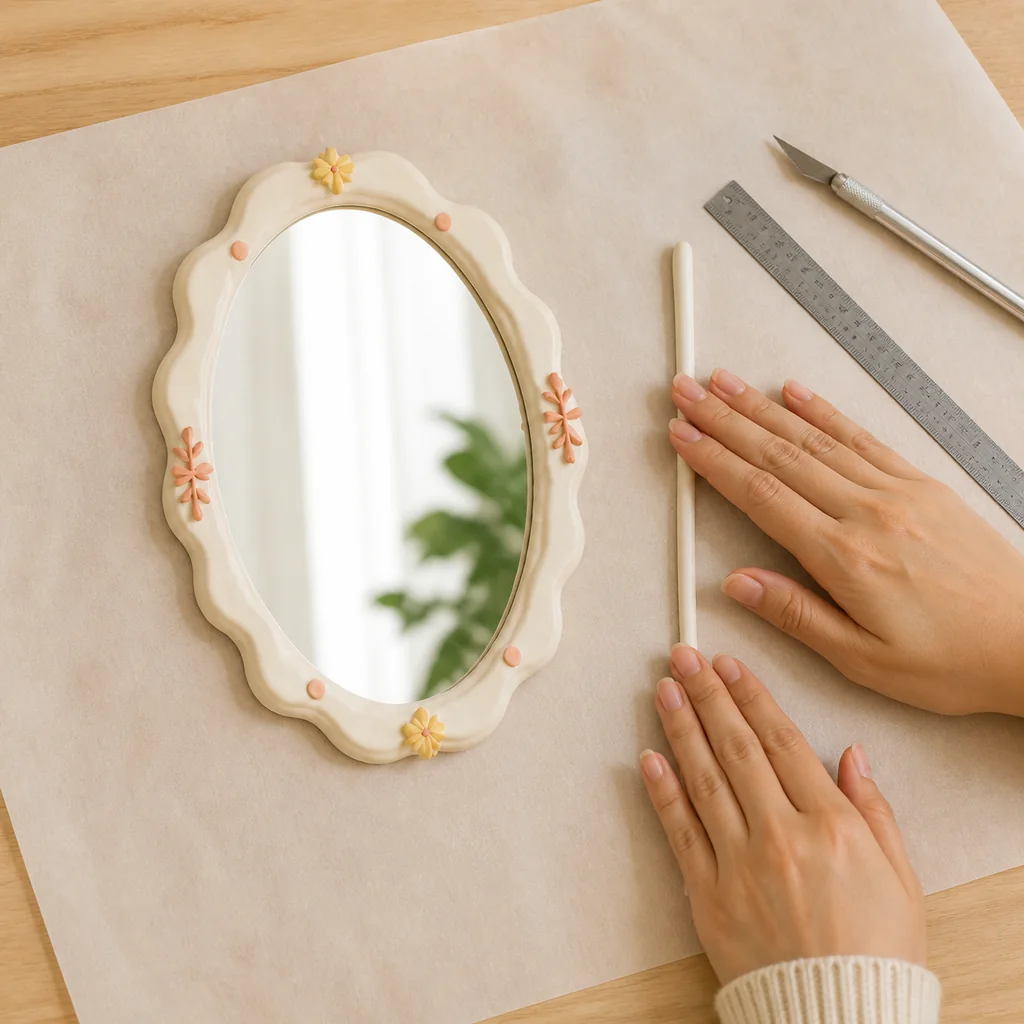
Condition the clay, then roll it to about 1/4 inch thick. Cut long strips following your guide and press the strips together around the mirror outline. Blend seams with a damp fingertip, but keep the outer edge visibly wavy instead of perfectly smooth.
Step 3: Dry Without Warping
Leave the clay frame on parchment and check it after the first hour. If one side lifts, gently flatten it while the clay is still flexible. Allow 24 to 48 hours to dry, turning the frame once halfway through. Sand only rough ridges after it is hard.
Step 4: Paint and Seal
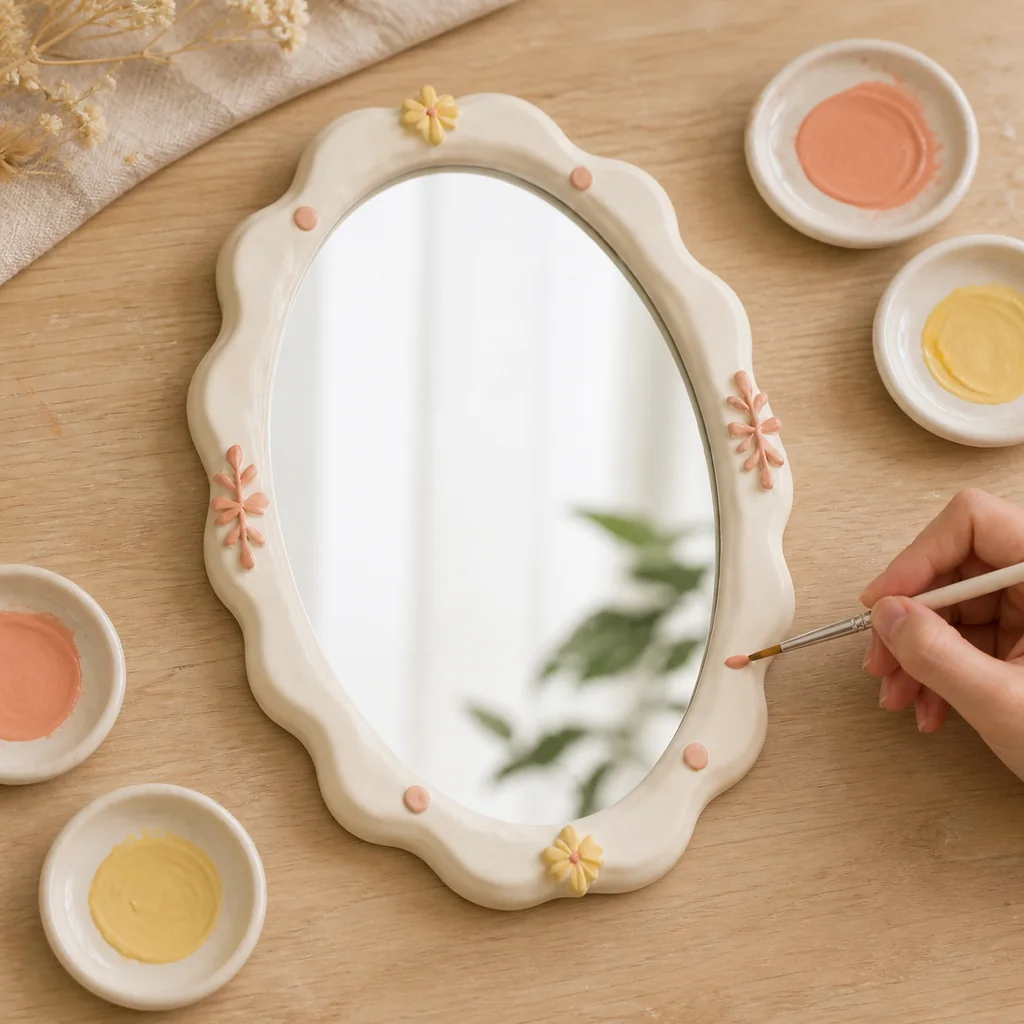
Brush on two thin coats of peach paint, letting each coat dry. Add butter-yellow accents to every third wave for rhythm. Once the paint is dry, apply one thin coat of clear sealer and let it cure according to the label.
Step 5: Attach and Hang
Test-fit the dry frame around the mirror before adding adhesive. Apply small dots to the back of the clay only, press it onto the glass edge, and support it flat for the adhesive’s full cure time. Use a wall anchor rated for the finished weight.
Tips and Troubleshooting
- Cracks usually mean the clay was rolled too thin or dried too quickly.
- Uneven waves are easy to disguise with alternating paint accents.
- Keep adhesive off the mirror face; wipe any wet residue immediately.
- This is decorative wall art, not a bathroom mirror for constant moisture.
Frequently Asked Questions
Can I use polymer clay?
Yes, but polymer clay must be baked according to its package directions before painting and attaching it.
How do I clean it?
Dust with a soft dry brush. Avoid soaking the clay or using ammonia-based glass cleaner on the frame.
Final Notes
The best part of this project is the repeatable silhouette: one oval mirror, one generous clay border, and a few controlled color accents. Photograph it near a window and save the measurements for a second frame in a different room.