
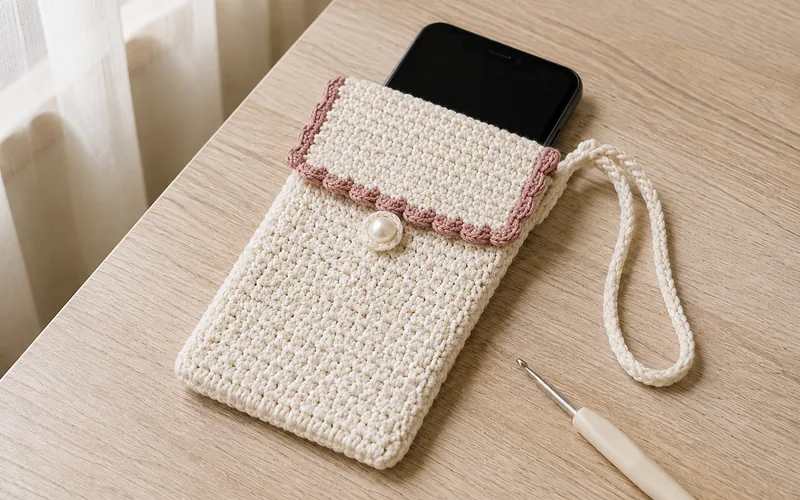
Turn a small amount of cotton yarn into a polished, everyday accessory with this easy crochet lace-edge phone pouch. The body and solid rectangular flap are made from one beginner-friendly single-crochet rectangle, so there is no complicated shaping. A dusty rose scalloped edge, pearl-style button, and optional wrist loop give the finished pouch a romantic lace-inspired look.
The pattern is sized directly around your own phone, including its everyday case. That makes it useful whether you carry a compact phone or a larger model—and it removes the guesswork that often comes with fixed stitch counts.
Project at a Glance
- Skill level: Confident beginner
- Main stitches: Chain, single crochet, slip stitch, double crochet
- Construction: One rectangle, two side seams, solid flap with a scalloped edge
- Approximate time: 3–6 hours, depending on experience
- Finished measurements: Customized to your phone; worked example measures about 3 3/4 inches wide by 7 1/4 inches tall when blocked flat
Jump to: Materials · Gauge and sizing · Quick pattern · Step-by-step instructions · Frequently asked questions
Materials
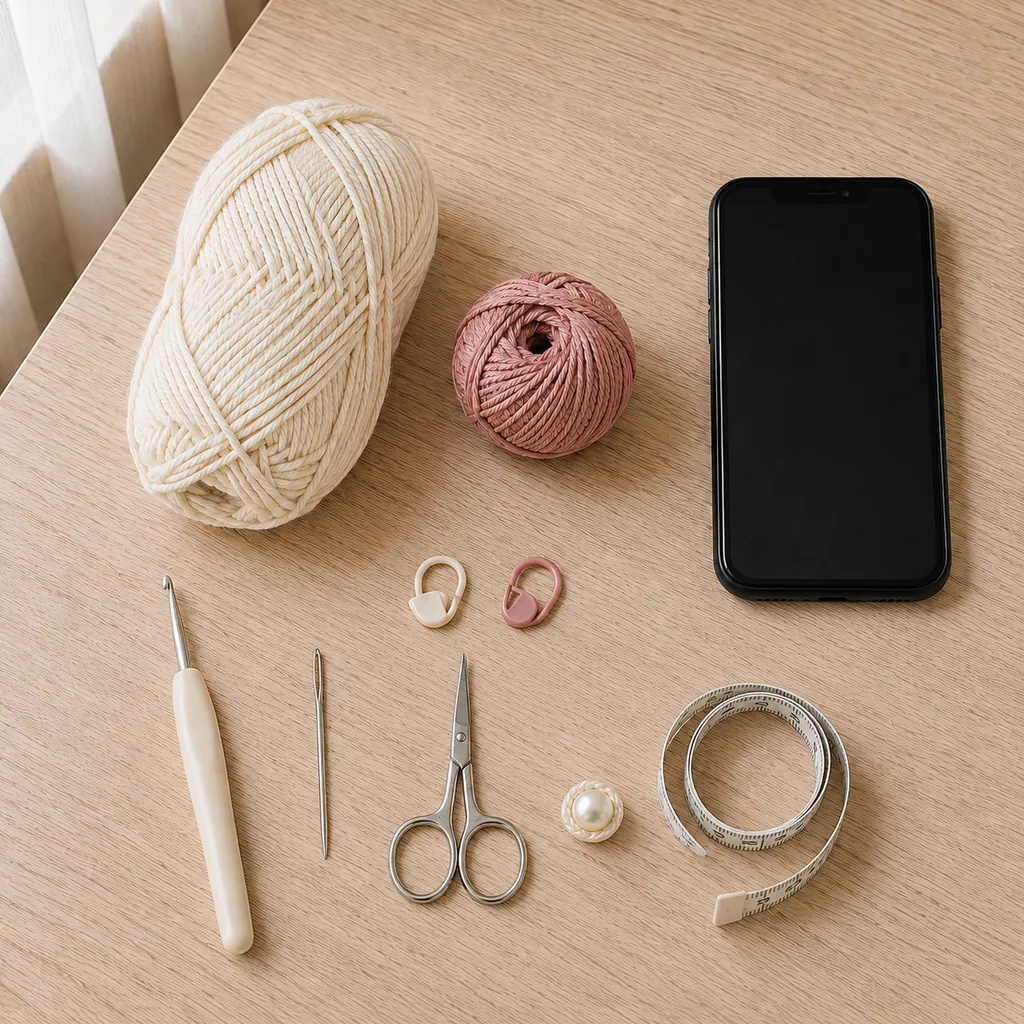
- Approximately 90–120 yards of DK-weight cotton yarn in ivory
- Approximately 10–15 yards of DK-weight cotton yarn in dusty rose
- Hook size: 4 mm hook, or the hook needed to create a firm fabric
- Tapestry needle
- Scissors
- Tape measure
- Two stitch markers
- One 18–20 mm pearl-style or shank button
- Your phone in the case you normally use
Yarn tip: Smooth cotton makes the stitches easy to see and gives the pouch enough structure to hold its shape. If you substitute another fiber, avoid very stretchy yarns and check the fit before seaming.
Gauge and Custom Sizing
A useful starting gauge is approximately 17 single crochet stitches by 20 rows = 4 inches (10 cm). Exact gauge is not essential because you will measure the work against your phone.
- Measure the phone’s width while it is inside its normal protective case.
- Add about 1/2 inch (1.25 cm) for ease.
- Make the foundation chain until it reaches that measurement without stretching.
- For the length, work until the rectangle can travel from the bottom of the phone up the front, over the top edge, and down the back with about 2 1/2 inches (6.5 cm) left for the flap.
If your crochet fabric stretches easily, use slightly less ease. If the phone has a thick case, add a little more. It is better to test the fit several times than to rely on a universal stitch count.
Worked example: For a phone in its case measuring approximately 3 1/4 inches wide by 6 1/2 inches tall, the stated gauge gives a useful starting point of ch 17, producing 16 sc per row (16 sts). Work 78 rows. Blocked flat, the rectangle should measure about 3 3/4 inches wide by 15 1/2 inches long before folding. After seaming, the finished pouch measures about 3 3/4 inches wide by 7 1/4 inches tall, with a 2 1/2-inch flap. This is an example rather than a fixed count—your yarn, tension, phone thickness, and case can change the final numbers.
Abbreviations
- ch: chain
- sc: single crochet
- dc: double crochet
- sl st: slip stitch
- st(s): stitch(es)
Quick Pattern Summary
- Chain until the foundation measures the phone width plus about 1/2 inch.
- Work single crochet rows until the rectangle wraps around the phone with 2 1/2 inches left for the flap.
- Fold the lower section upward and seam both sides, leaving the solid rectangular flap free.
- Work an even single-crochet setup row around the three free flap edges; for the worked example, aim for 56 sc around the flap edge before starting the shells.
- Add dusty rose shell stitches around the edge only.
- Add the center button loop, sew on the button, and attach the optional wrist loop.
How to Crochet the Phone Pouch
1. Crochet the Base Rectangle
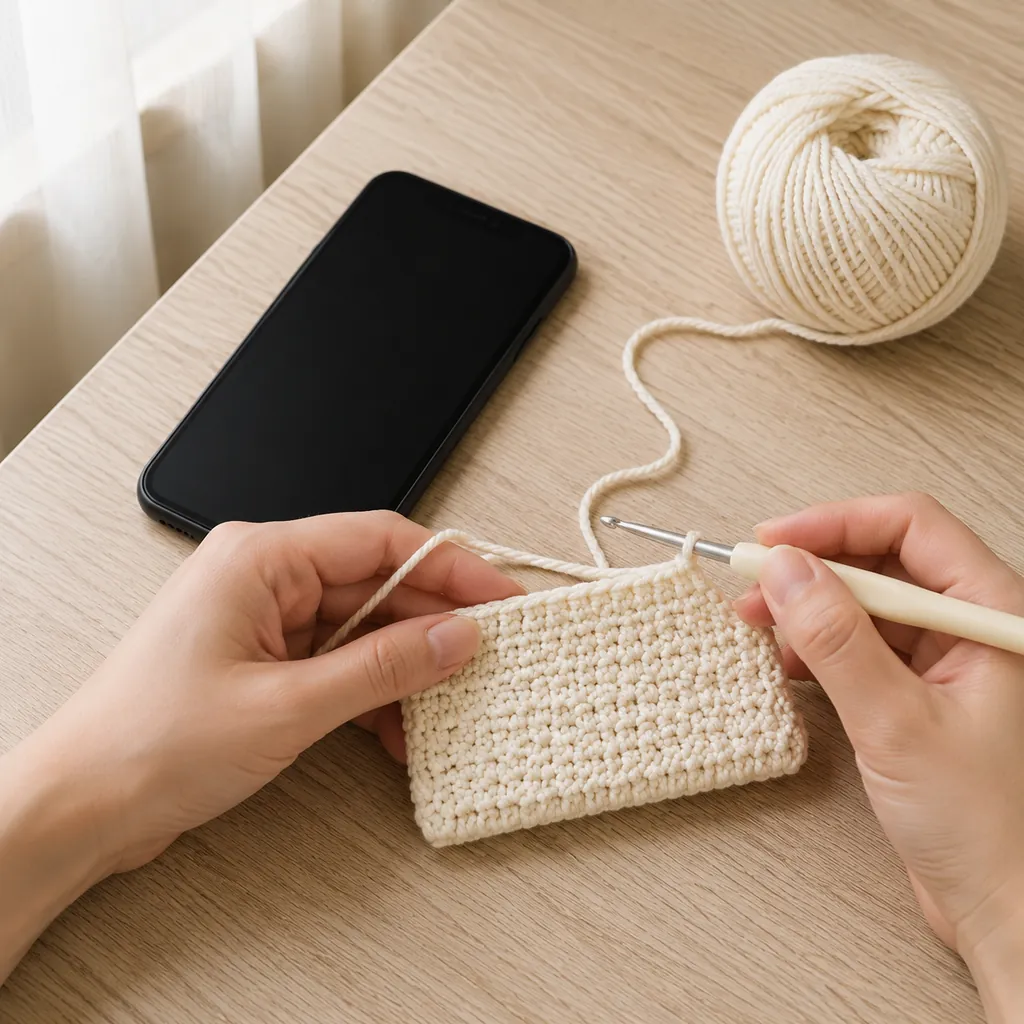
With the ivory yarn, make a foundation chain that is the width of your phone plus approximately 1/2 inch. Keep the chain relaxed so the lower edge does not pull inward.
Row 1: Sc in the second ch from the hook and in every ch across. Ch 1 and turn.
Row 2 and onward: Sc in every st across. Ch 1 and turn. Continue in rows, counting occasionally to make sure the sides remain straight.
For a tidy edge, place the first sc in the first stitch of every row and the last sc in the final stitch. Move a stitch marker up the edge if you find those stitches difficult to identify.
2. Check the Length Before Fastening Off
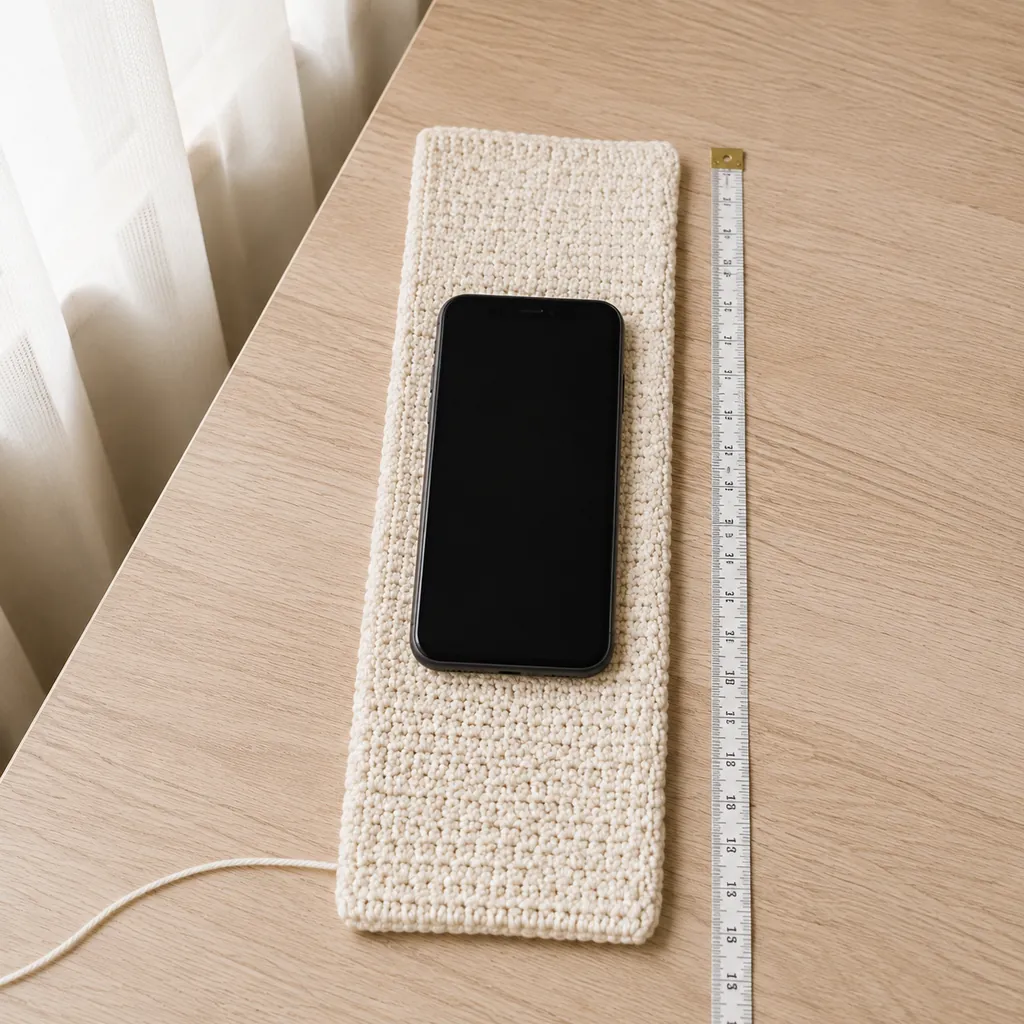
Lay the phone near one short end of the rectangle. Fold the fabric up over the phone to form the front and back of the pouch. The remaining upper section should fold down as a flap by about 2 1/2 inches.
Slide the phone in and out before you cut the yarn. The fit should be secure but not tight. Add more rows if the flap is too short; unravel a few rows if the pouch is excessively long. Fasten off, leaving a 24-inch tail for seaming.
3. Fold and Seam the Sides
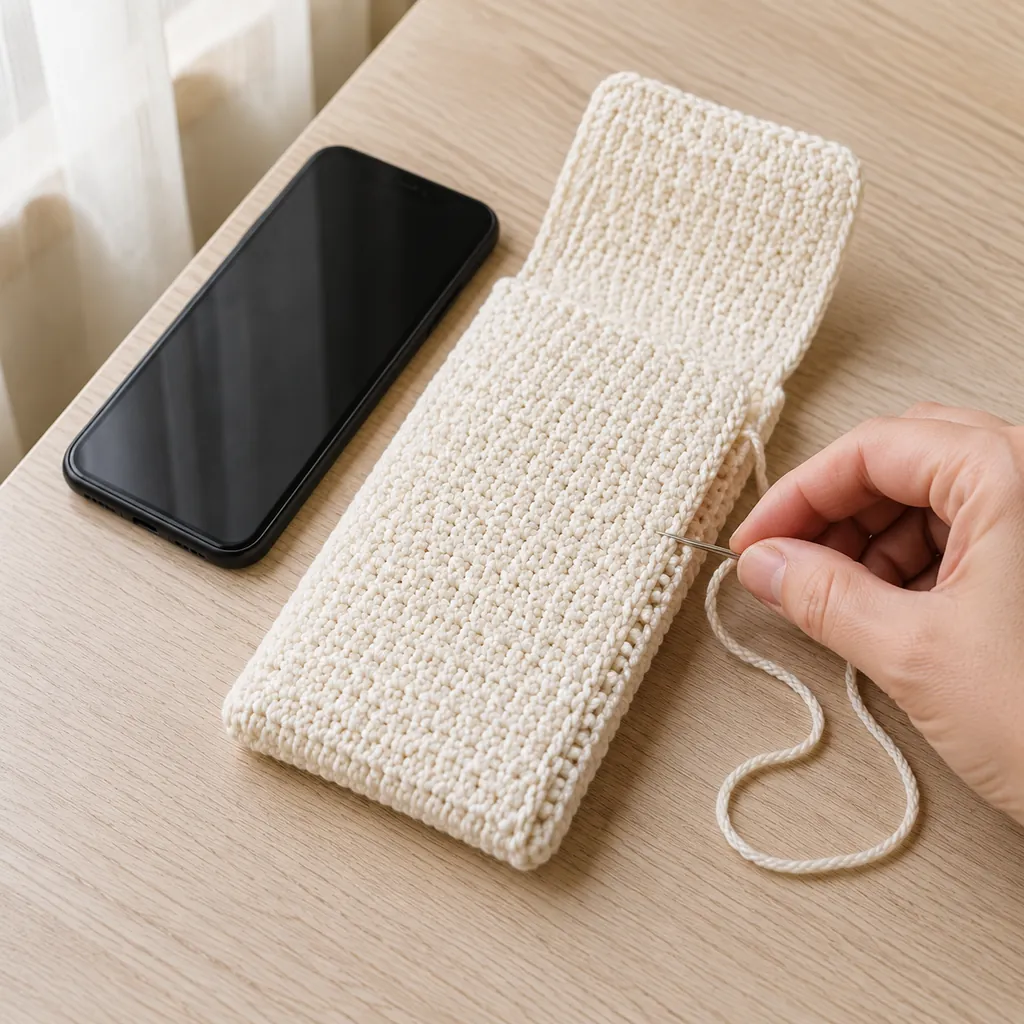
Remove the phone. Fold the lower part of the rectangle upward, leaving the flap free. Clip or mark the two upper corners of the pouch body so both sides finish at the same height.
Thread the long ivory tail onto the tapestry needle. Whipstitch through the matching edge loops from the bottom corner to the marked top edge. Secure the yarn without pulling the seam too tightly. Join a second length of ivory yarn and repeat on the opposite side.
Turn the pouch right side out and test the fit again. The phone should slide in smoothly without bowing the seams.
4. Add the Dusty Rose Scalloped Edge
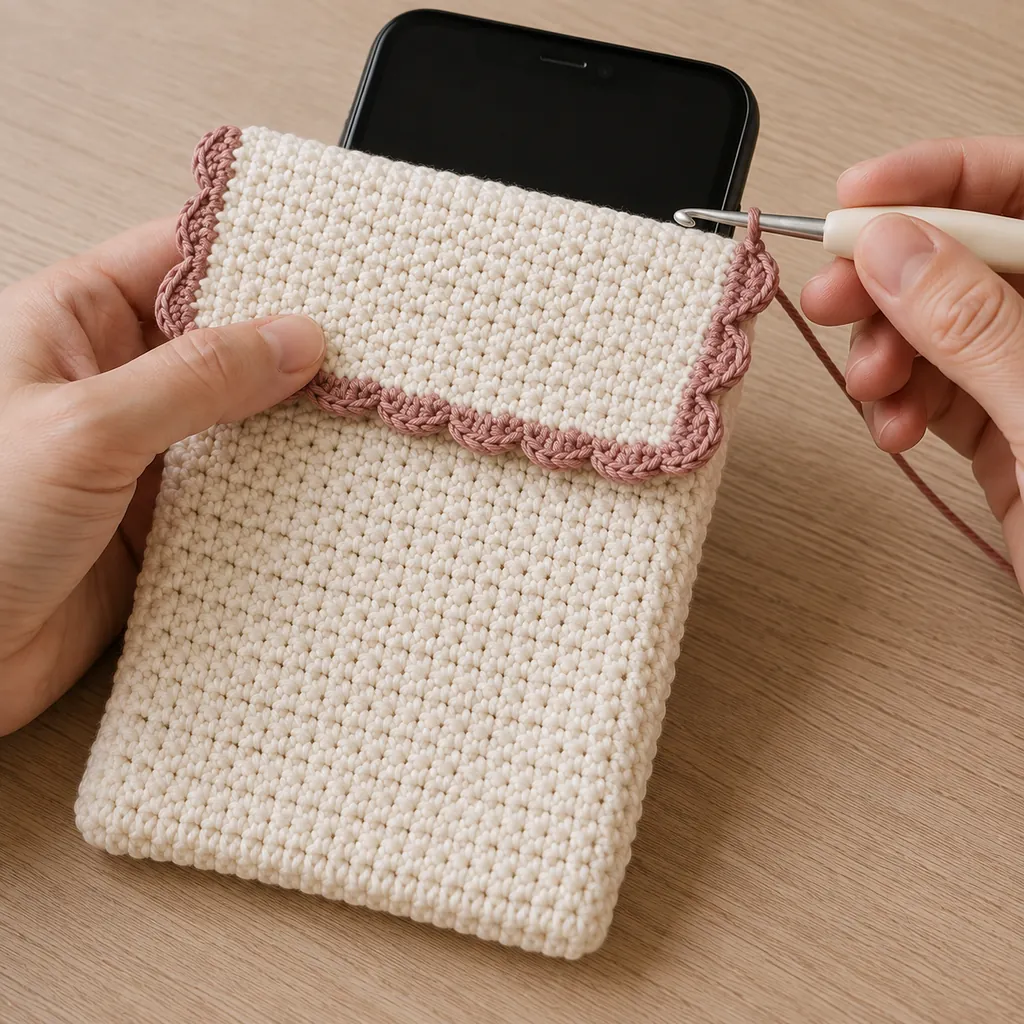
The flap remains a solid rectangle of single crochet; the decorative lace effect is added only at its outer edge. Join the dusty rose yarn at one lower corner of the flap. Work a row of evenly spaced sc up the first side, across the free short edge, and down the second side. This setup row creates clean places for the shells and helps the border lie flat.
For the scallops, repeat: sl st in the next st, skip 1 st, 5 dc in the next st, skip 1 st. Continue around the flap and finish with a sl st near the opposite corner. On the worked example with 56 setup-row stitches (56 sts total), this creates about 14 shells around the flap edge.
Edge spacing can vary slightly because you are working around row ends. If the scallops ruffle, use fewer shells; if the edge pulls inward, place the shells a little closer together. Test the first two shells before completing the entire edge.
5. Make the Button Loop and Attach the Button
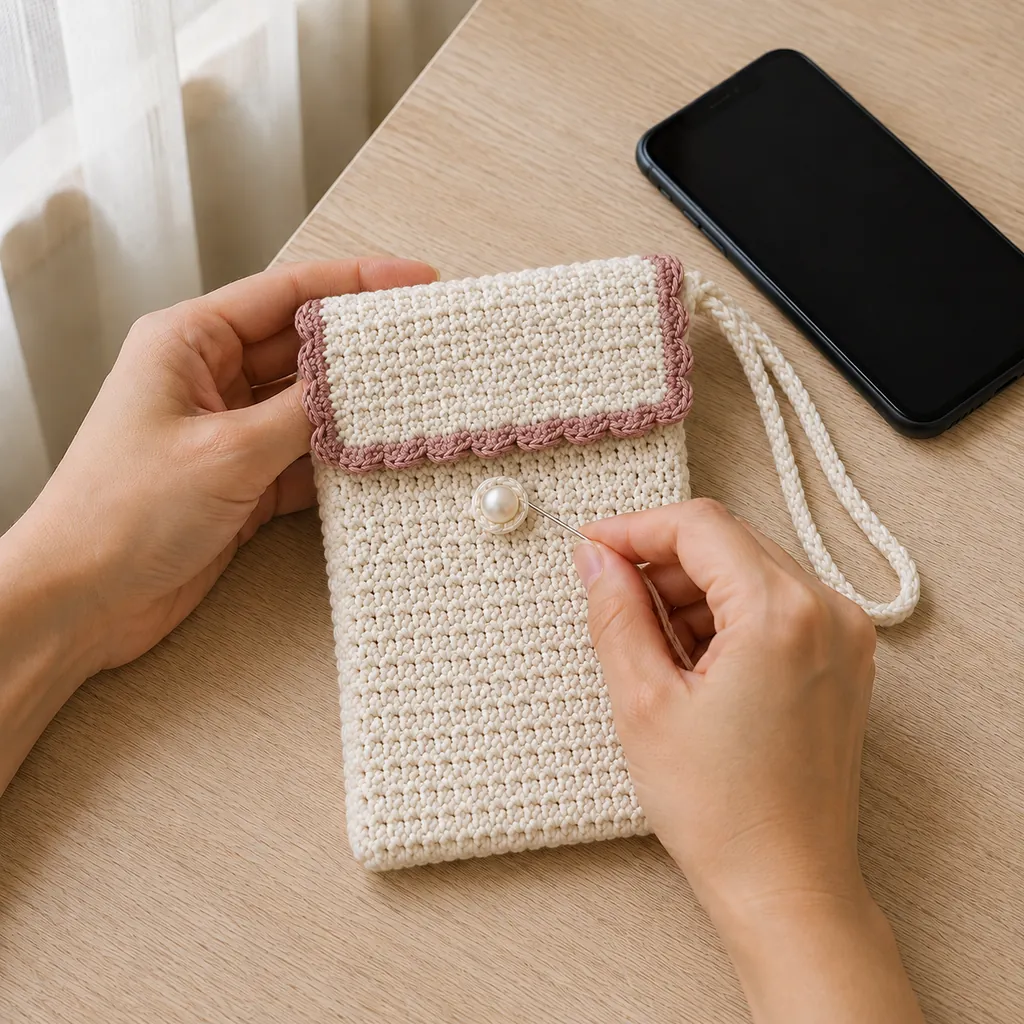
At the center of the flap edge, join the dusty rose yarn and ch 10 for the worked example. Bring the chain around the button to test the size, then sl st back into the starting point to form a loop. Use ch 8 for a smaller 18 mm button or ch 12 for a thicker 20 mm button. The loop should pass over the button without stretching the flap out of shape.
Close the flap and mark where the loop touches the pouch front. Sew the pearl-style button firmly at that point using several passes of matching thread or yarn. Keep the stitches inside the front layer so they do not catch the phone.
6. Add an Optional Wrist Loop
For the wrist loop, join ivory yarn at the upper side seam and chain until the strand measures about 14–16 inches before folding; at the stated gauge this is usually ch 58–66. Slip stitch back along the chain for extra strength, form a loop, and secure both ends to the seam. Weave in every tail on the inside.
The loop is convenient for lifting the pouch from a bag, but it is decorative and should not be treated as a weight-bearing or anti-theft strap.
Finishing Tips for a Professional Result
- Steam lightly, never press: Hover a steamer above cotton stitches and shape the pouch by hand. Avoid touching a hot iron directly to the yarn.
- Keep the flap flexible: Block the scallops gently so they open without becoming stiff.
- Hide tails in several directions: Weave each yarn tail through at least three paths so it is less likely to loosen.
- Check the button backing: Cover any rough thread ends on the inside so they cannot scratch the phone.
Easy Ways to Customize the Pattern
Once the basic construction makes sense, the pouch is easy to personalize. Try a charcoal body with cream scallops for a modern look, use a wooden button for a natural finish, or work the flap in a contrasting color. A short crossbody strap can be crocheted separately, but it should be attached with reinforced tabs and used only for a lightweight phone.
For another lace-inspired project, try this DIY stiffened lace doily bowl. If you want a larger beginner-friendly crochet project, continue with the easy crochet summer shirt tutorial. For a reusable carry-all made with the same beginner-friendly spirit, save the easy crochet mesh market bag pattern too.
Frequently Asked Questions
Can I use worsted-weight yarn?
Yes. Use a hook that creates a firm fabric and make fewer foundation chains to reach the same phone width. A worsted-weight pouch will be thicker and may need slightly more ease.
Why is my rectangle getting wider?
You are probably adding a stitch at one or both row ends. Count every row and mark the first and last stitches until the edges stay straight.
Can I make the pouch without the scallops?
Absolutely. Work one round of single crochet around the flap in a contrasting color, then add the button loop at the center.
How do I wash the finished pouch?
Remove the phone, hand-wash the pouch in cool water with mild detergent, reshape it, and dry it flat. Care instructions can vary by yarn, so follow the yarn label first.
Is this pattern suitable for a first crochet project?
It is best for a beginner who can already make chains and single crochet stitches. The scalloped edging introduces double crochet, but the repeated shell is simple and easy to practice on a swatch first.
Save the Pattern Details
The most important fit rule is simple: crochet the width to match your phone with a little ease, then continue the rectangle until it wraps around the phone and leaves enough length for the flap. Check the fit before every irreversible step, especially before fastening off, seaming, and positioning the button.
With its uncomplicated construction and polished lace-edge finish, this crochet phone pouch is a useful small project for leftover cotton yarn, handmade gifts, and a relaxing afternoon of crochet.