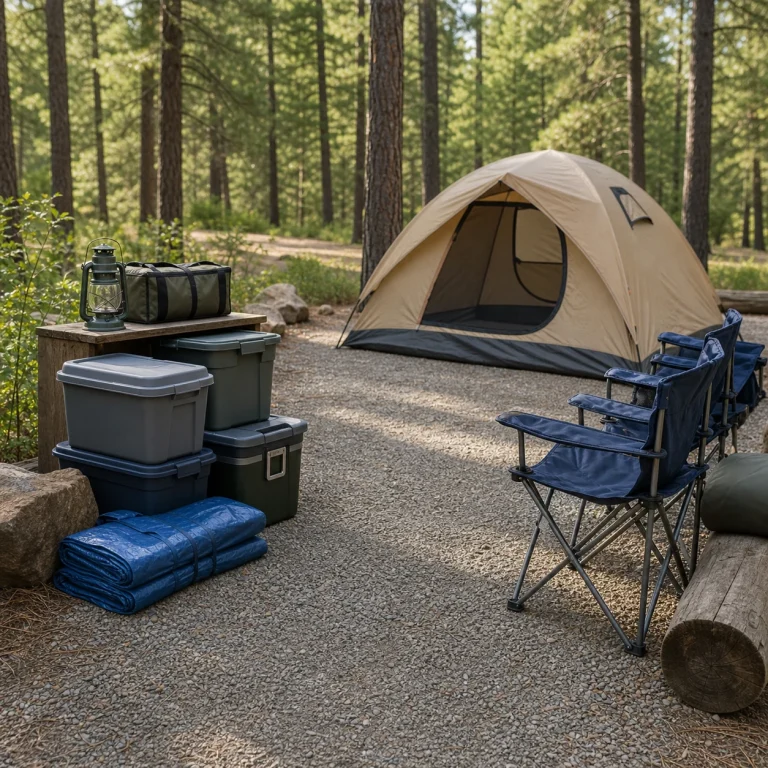
Getting home with a damp tent is easy. Remembering to unpack it before the next trip is the part that saves the fabric and waterproof coating. Even when the outside looks dry, moisture can linger under the floor, inside seams, and between layers of the rainfly. You can dry a two-person tent in a small apartment without pitching it across your living room.
Quick answer: Unpack the tent as soon as practical. Separate the body, rainfly and footprint, brush away grit, and drape each piece loosely where air can reach both sides. Check seams and folded corners by touch before putting the completely dry fabric in a roomy breathable bag. Keep poles and stakes separate and store everything in a cool, dry place. Follow your tent maker’s care instructions if they differ.
What You Need
- A clean, dry area with a wipeable floor
- Two or three sturdy freestanding drying racks, or another clean support that will not snag fabric
- A soft brush and clean cloth for loose dirt
- Optional room fan for gentle airflow
- An oversized breathable cotton or mesh bag for long-term storage
Keep the tent away from heaters and hot dryers. Do not use a washing machine or tumble dryer. If the fabric is heavily soiled or the waterproof coating is failing, consult the manufacturer’s cleaning and repair instructions before adding any product.
How to Dry a Wet Tent at Home
Check the fit and weight limits of your racks and tent before setting them up.
Step 1: Unpack and Separate Every Layer
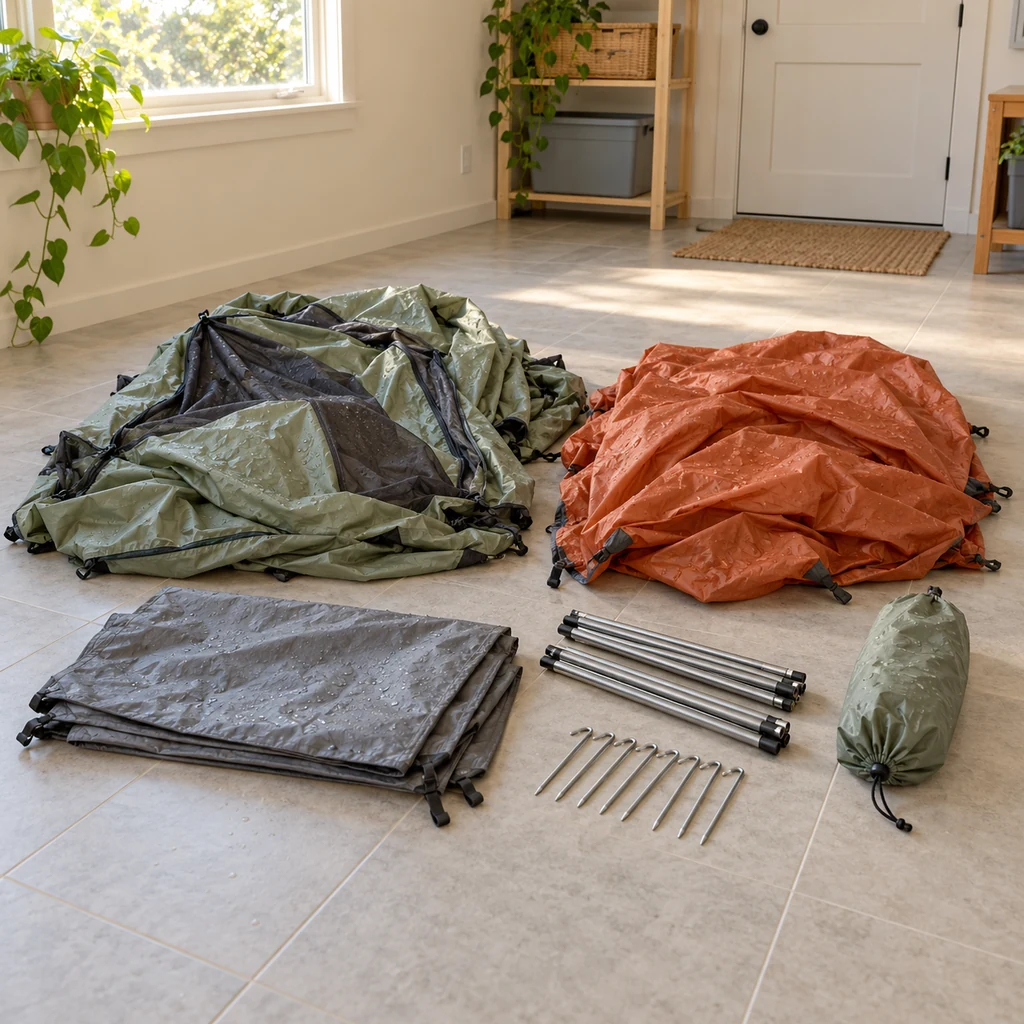
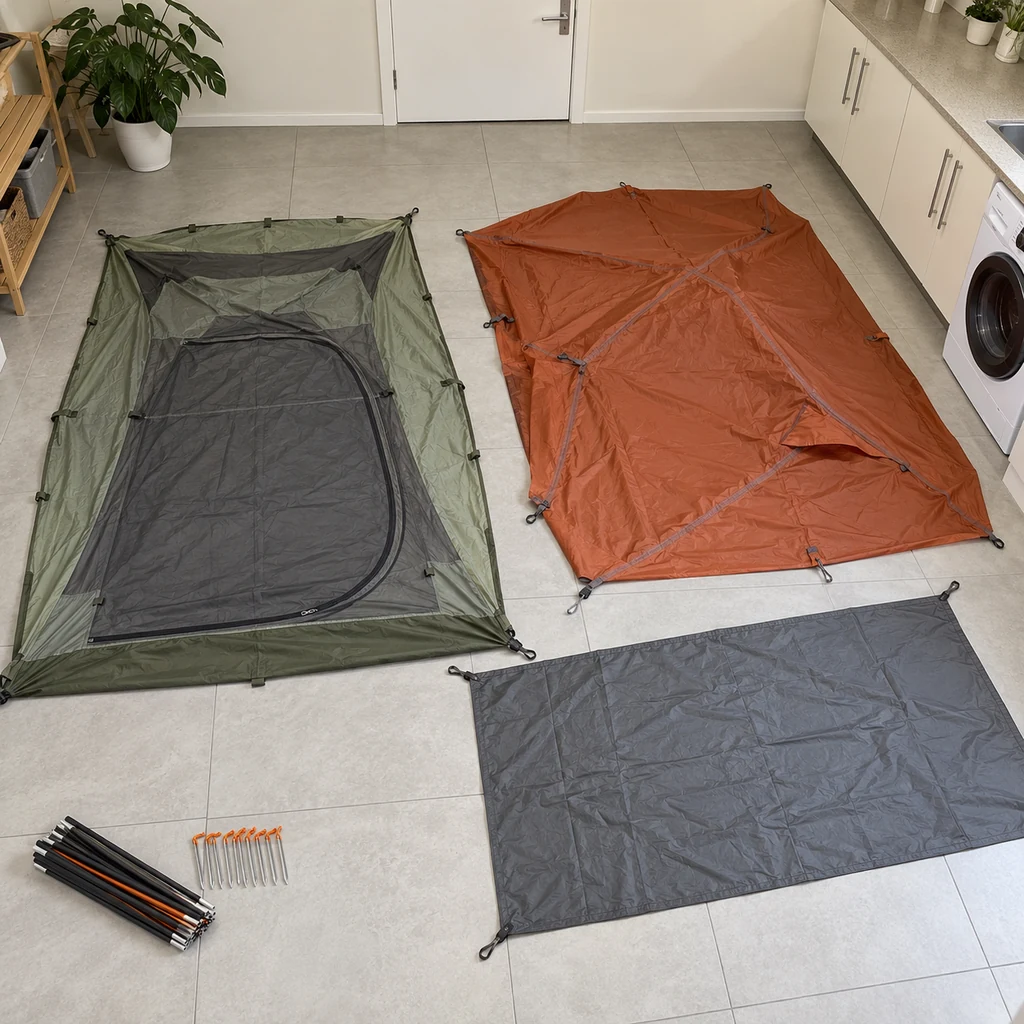
Take the tent out of its tight travel sack when you get home. Separate the inner body, rainfly and footprint so damp layers are not pressed together. Set the poles and stakes aside where nobody will step on them. If you cannot start a full dry-out immediately, at least open the sack and spread the fabric rather than leaving the wet bundle sealed.
Step 2: Remove Grit Before It Gets Folded In
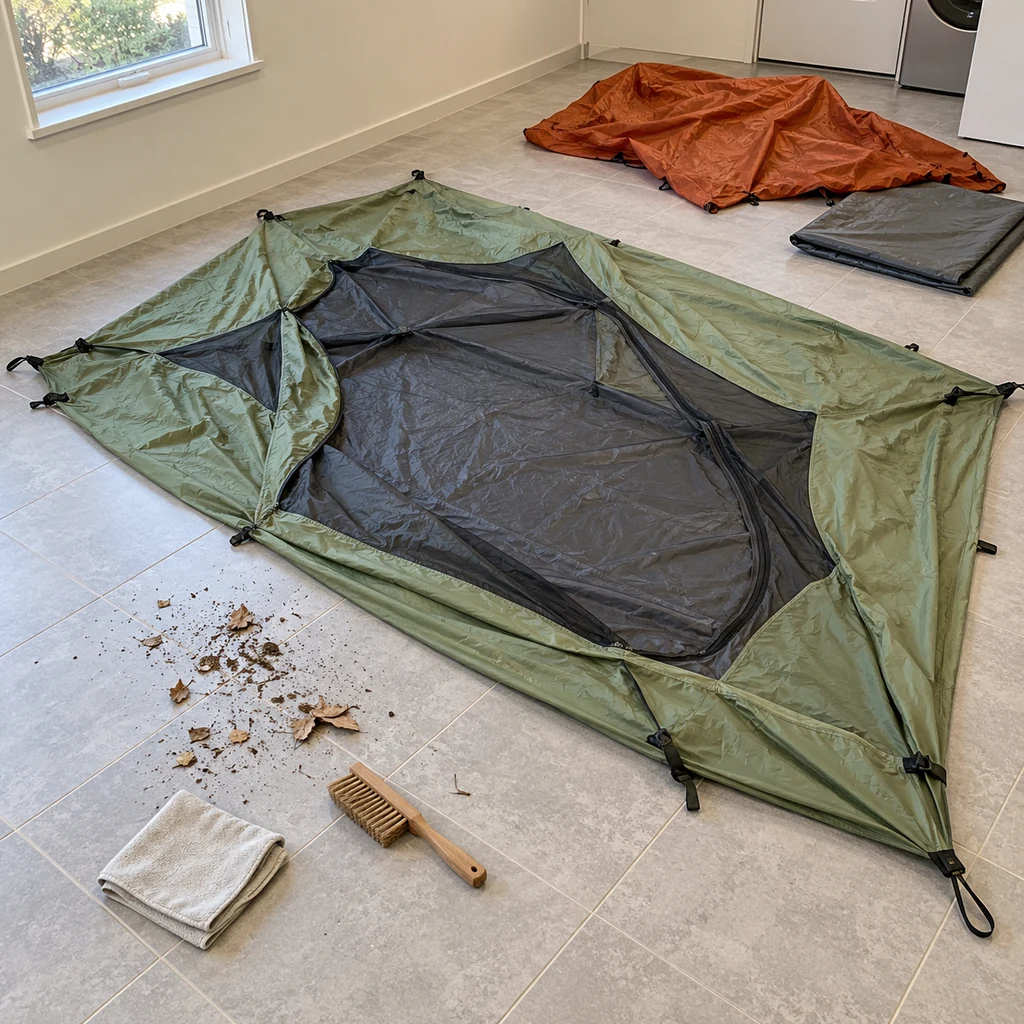
Shake out leaves and dirt carefully, then use a soft brush or clean cloth on gritty spots. Check the tent floor and zipper teeth. A lightly soiled tent does not need a full wash after every trip; if you need to spot clean, use the care method on its label and rinse away any approved cleaner. Let cleaned areas dry completely with the rest of the tent.
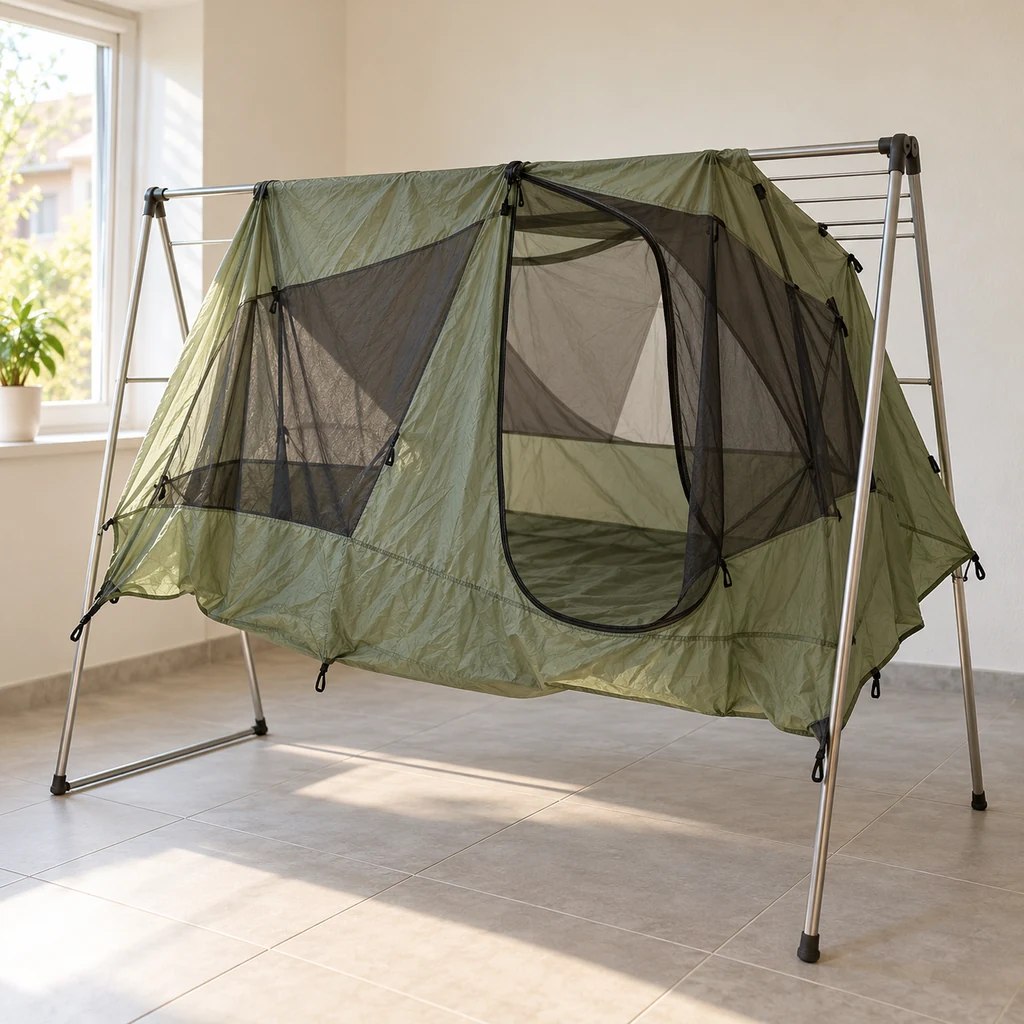
Step 3: Drape the Tent Body So Air Reaches Both Sides
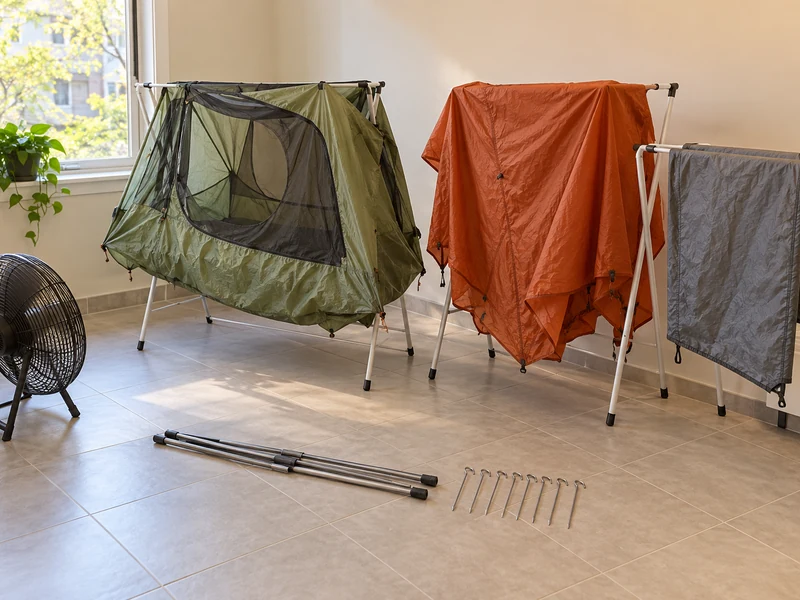
Lay the inner body loosely over a clean, sturdy freestanding rack. Open the door or zipper to expose mesh and floor panels, and avoid sharp rack ends that could catch fabric. Do not pile the whole body on one narrow bar. If only one rack fits, rotate the fabric and rehang it so the parts touching the bar can dry too.
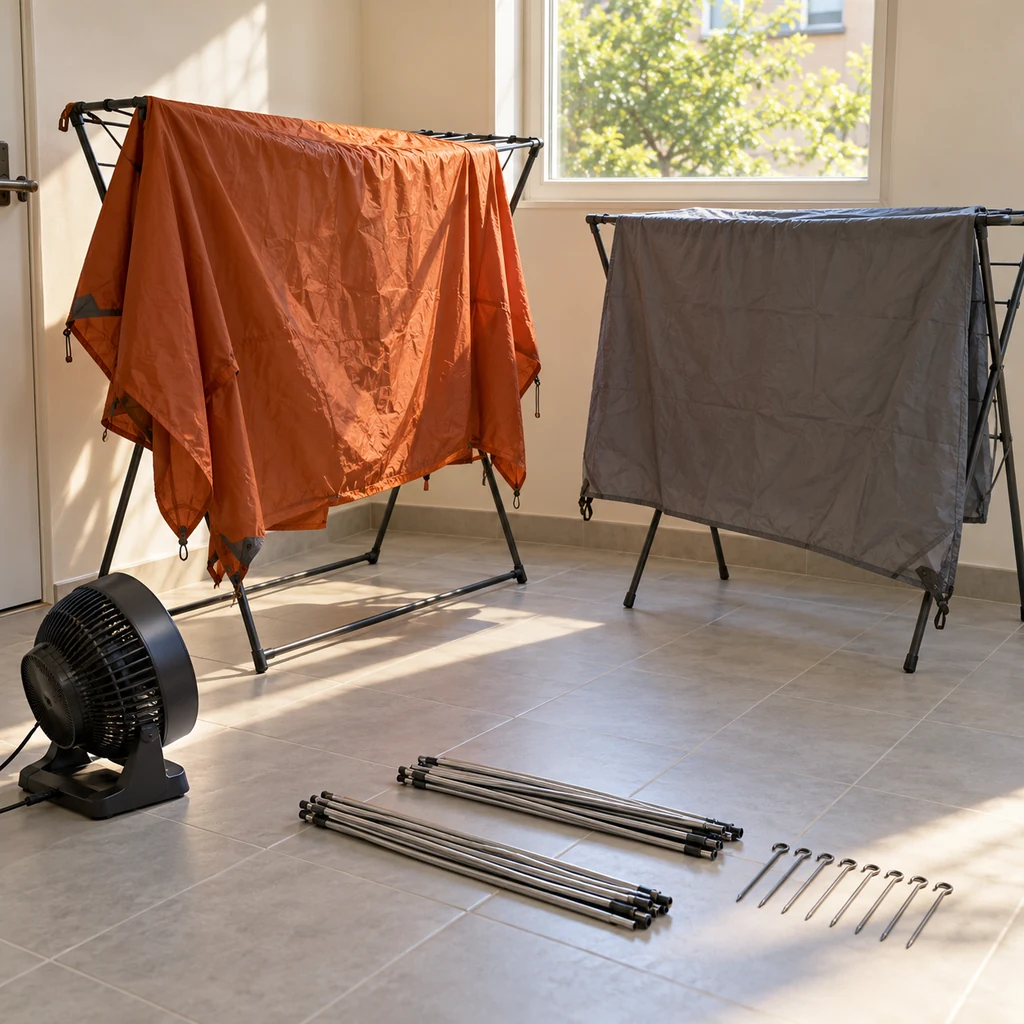
Step 4: Dry the Fly and Footprint Separately
Put the rainfly on its own support and hang the footprint so its underside is exposed. Both pieces often hold moisture where they contacted the ground or tent body. A room fan can move air through the space, but avoid direct heat, rubbing the fabric against a fan, or leaving cords in the walking path. Turn the pieces once and inspect the folds that were touching a rail.
Step 5: Check the Hidden Damp Spots
Before packing, feel along seam tape, floor corners, zipper flaps and the underside of the fly. Move the fabric to a new position and inspect where it rested on a rack. If any patch feels cool or damp, keep airing it and check again later. Drying time varies with fabric, weather and room humidity, so use the condition of every piece rather than a fixed hour count.
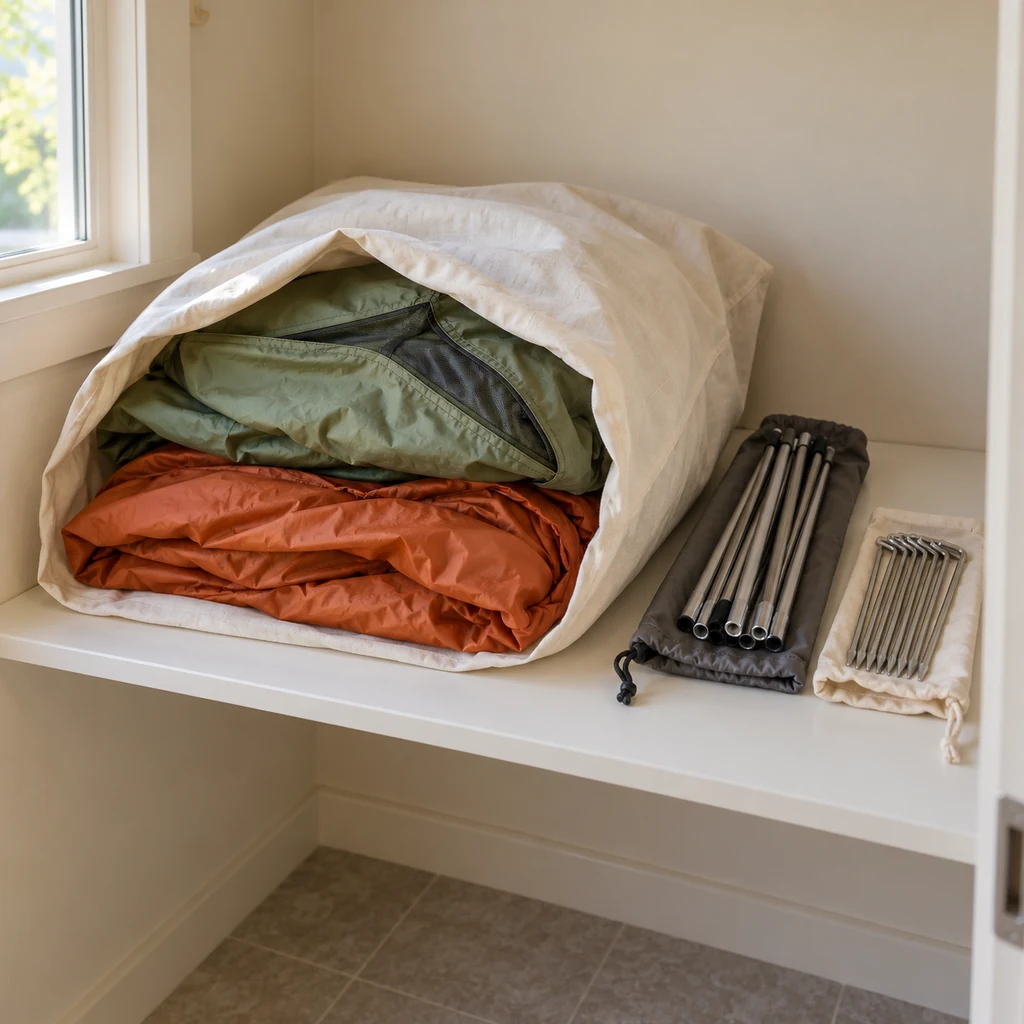
Step 6: Store Dry Fabric Loosely
Once all pieces are completely dry, place the fabric loosely in an oversized cotton pillowcase or mesh storage bag. Keep poles and stakes in separate sleeves so hardware cannot abrade the tent. Store the bag in a cool, dry indoor place rather than leaving it compressed in the small trail sack. When collapsing shock-corded poles, work from the middle toward the ends to distribute tension evenly.
Small-Apartment Drying Checklist
- Unpack: Body, fly and footprint are separate.
- Clean: Loose grit is brushed off; any spot-cleaned area is rinsed as directed.
- Air out: Both sides of each piece and every fold have had a chance to dry.
- Inspect: Seams, floor corners, zipper flaps and rack contact points feel completely dry.
- Store: Fabric is loose; poles and stakes have their own sleeves; storage place is cool and dry.
Mistakes That Keep a Tent Damp
Leaving the wet tent in its travel sack. The tight roll presses damp faces together, hiding moisture at the floor and fly.
Drying only the outside. The floor underside, seam folds and rainfly interior deserve a separate check.
Using heat to hurry. A hot dryer or heater can harm fabric and coatings. Give the layers airflow instead.
Storing in a damp room. A fully dried tent can pick up moisture again in a humid storage spot. Check that the shelf and room are dry.
Frequently Asked Questions
Can I dry a tent indoors without setting it up?
Yes. Drape the body, rainfly and footprint separately over clean racks or other smooth supports. Rotate them to expose contact points, then check every layer before storage.
How long should a wet tent dry?
There is no reliable single time. Fabric, ventilation and humidity vary. Store it only when the body, fly, footprint, seams and folds are completely dry.
Can I keep it in the original stuff sack?
The compact sack is useful for carrying the tent on a trip. For longer storage, a roomy breathable bag in a cool, dry place gives the fabric more space.
Next Trip, Less Moisture
Drying after the trip protects the tent you already own. For fewer damp mornings while camping, see our guide to reducing tent condensation overnight. Even after a clear night, check the underside of the floor and fly when you get home.