
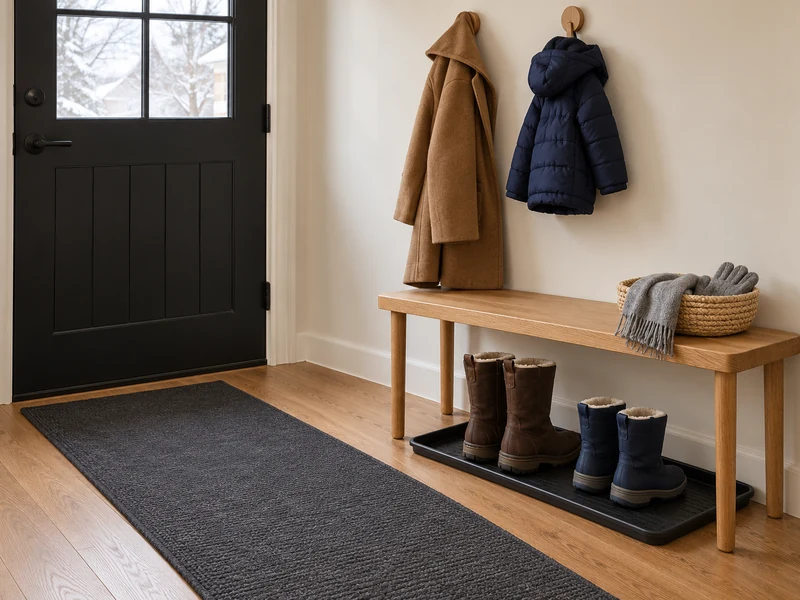
A narrow entryway can handle winter gear without turning into a pile of wet boots and lost gloves. The trick is to give water, footwear, and small accessories separate landing spots while keeping the path through the door clear. This five-step setup uses a boot tray, a washable runner, and a slim bench you can adapt to the space you actually have.
Quick answer: Measure the door swing and free floor space first. Place a lipped, easy-to-clean boot tray beside a washable runner; stand wet boots upright with air between pairs. Give coats individual hooks and gloves a small basket. Empty the tray and dry wet items before putting them into closed storage.
What You Need
- A tape measure and a piece of paper for your dimensions
- A shallow boot tray with a raised lip, sized to your available floor area
- A washable runner or mat with a nonslip backing appropriate for your floor
- Optional slim bench or narrow shelf, only if it leaves a clear walking route
- Existing coat hooks or a properly installed hook rail and one small open basket
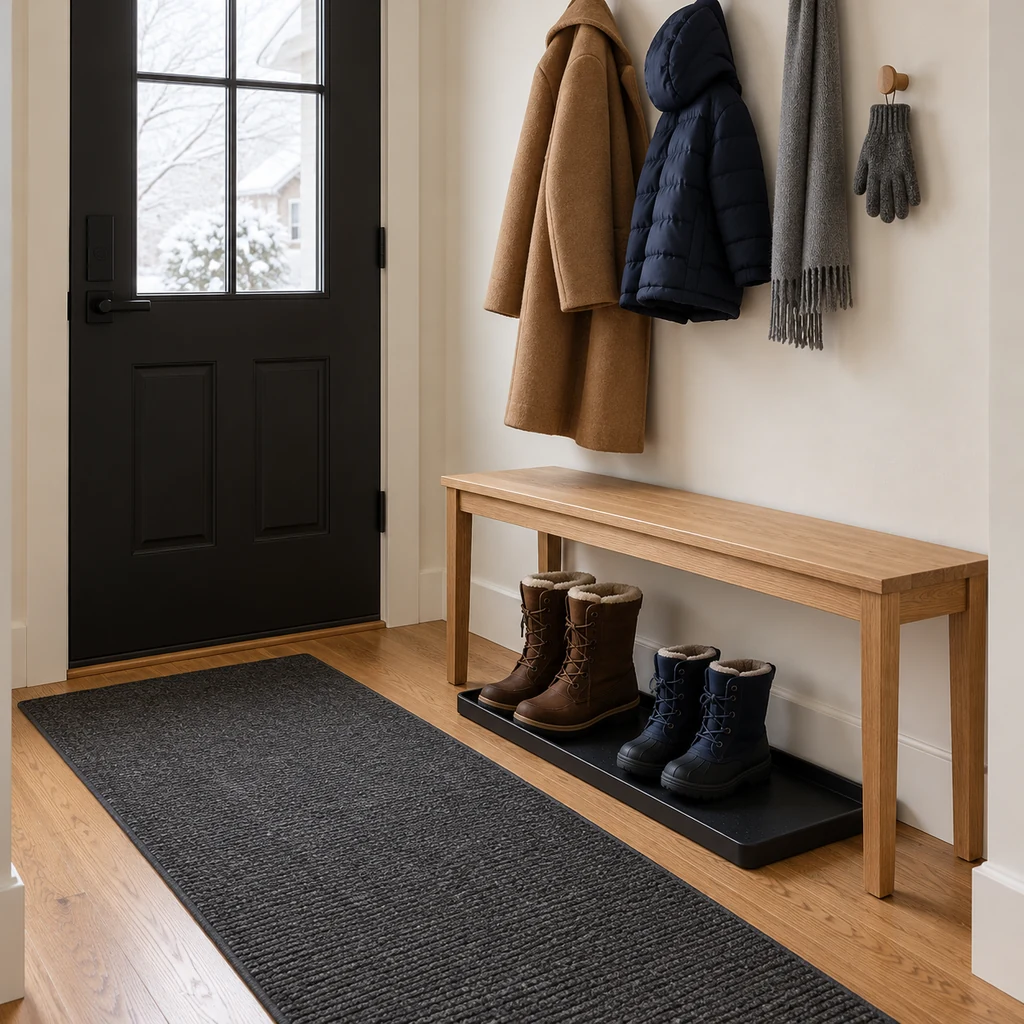
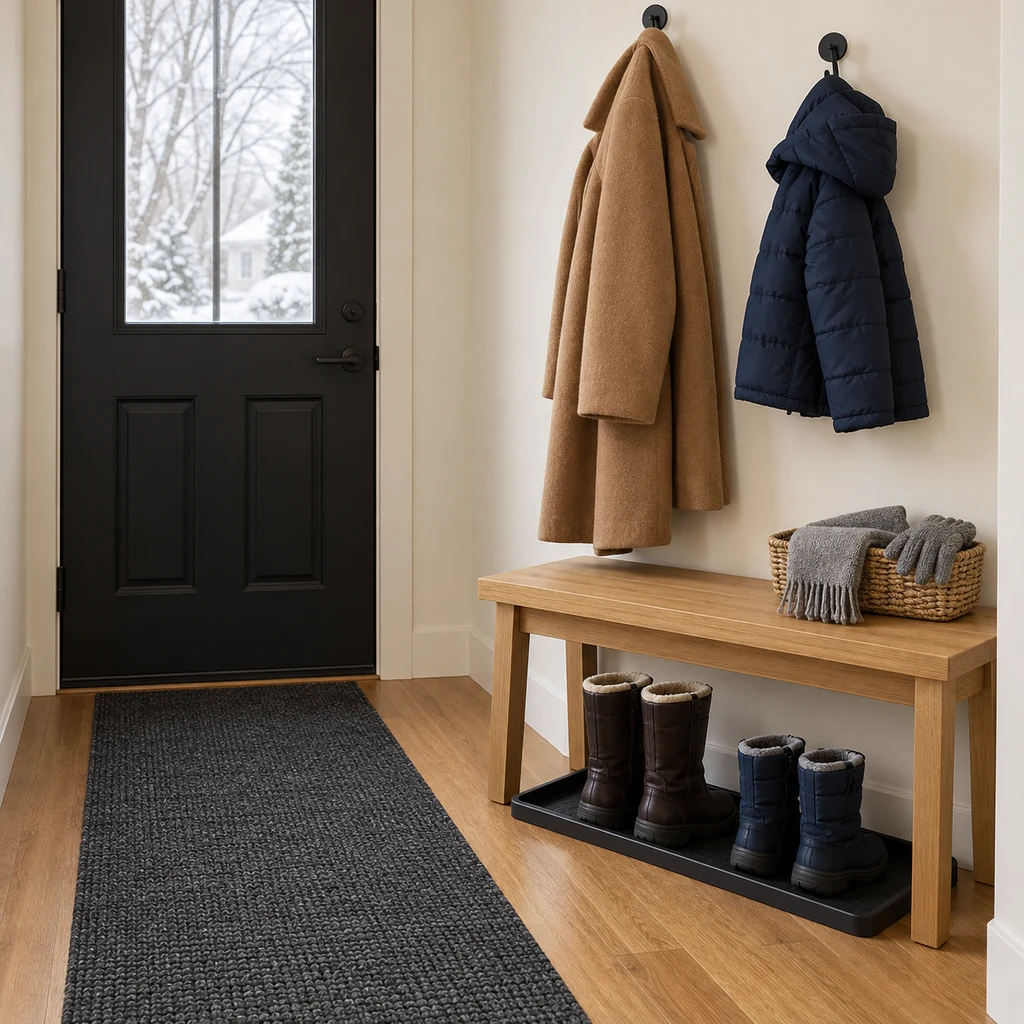
Use the smallest setup that fits. The photos show a slim bench and four boots, but a narrow entry may need only a tray and two hooks. Check the door’s full swing before buying or mounting anything. Follow your floor and wall product instructions for mats, hooks, and cleaning.
Build a Winter Boot Station in a Small Entryway
These photorealistic images are visual guides to the layout and sequence. They illustrate one possible entryway rather than a measured installation in your home.
Step 1: Identify the Bottleneck
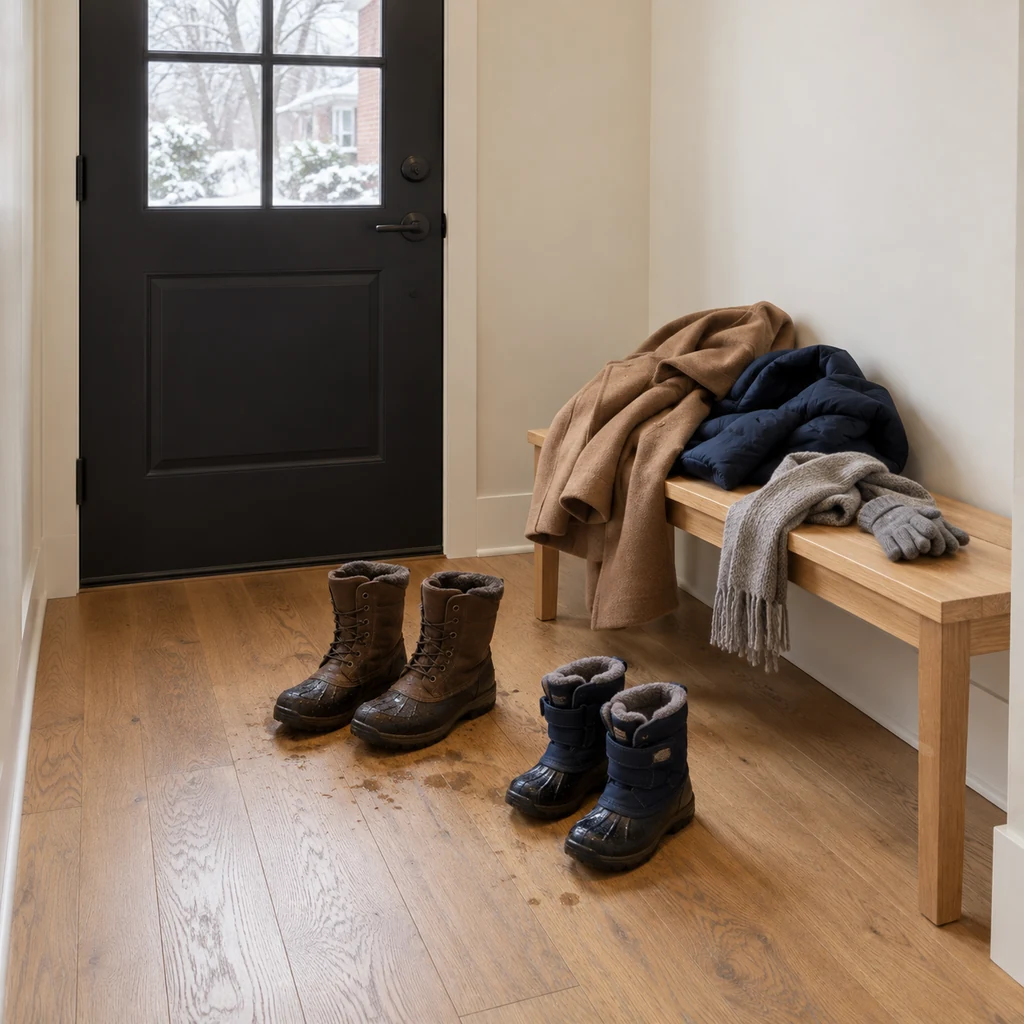
Take everything off the floor and sort it into three groups: wet shoes, outerwear, and small accessories. Notice where the door catches a boot or coat and where someone actually walks. Do not plan storage over that walking lane. This quick before view shows why one catchall pile is hard to use when everyone arrives at once.
Step 2: Measure the Space With the Door Open
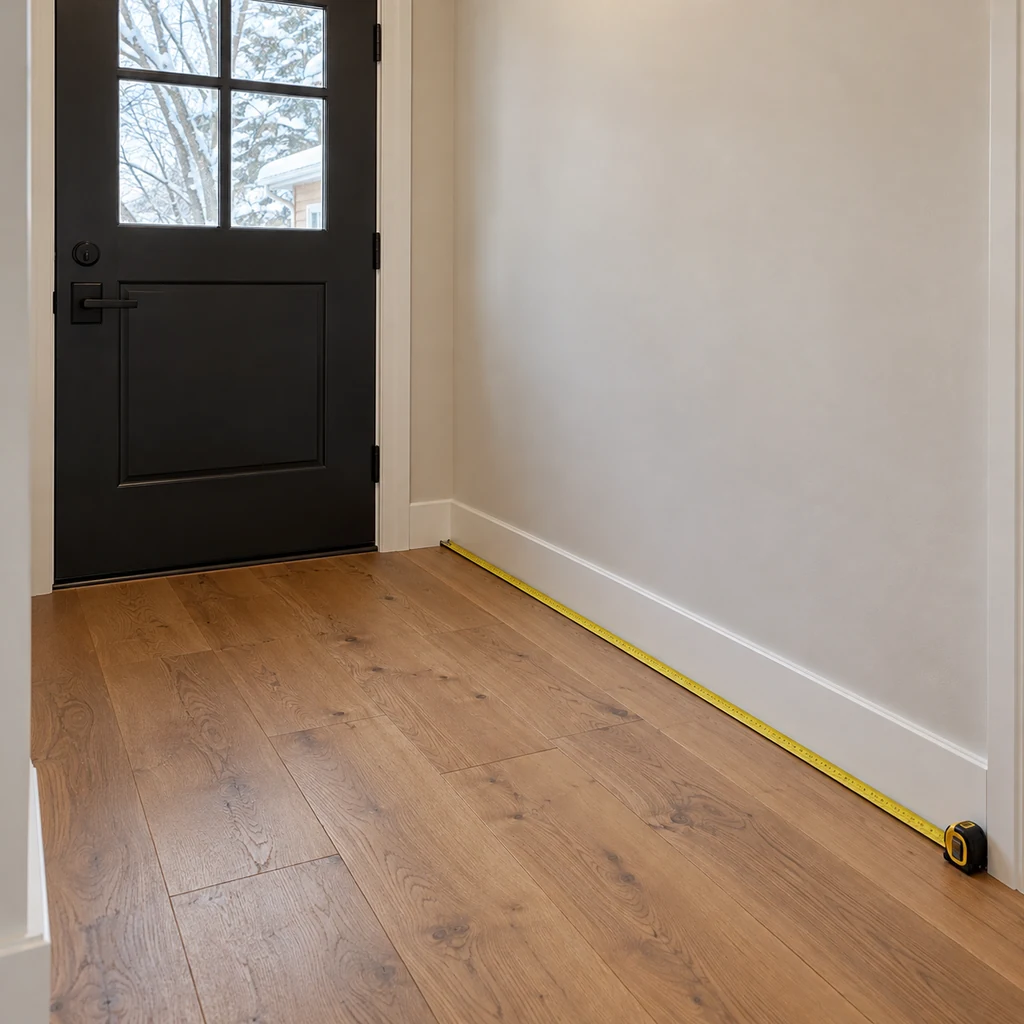
Open the door completely and measure the remaining usable floor width and depth. Mark the door swing and the uninterrupted path into the home. Measure the boots you need to store side by side, then choose a tray that fits both the boots and the available floor space. If a bench narrows the path, leave it out. A ruler or tape measure is more useful here than copying an attractive photo’s dimensions.
Step 3: Make a Washable Floor Zone
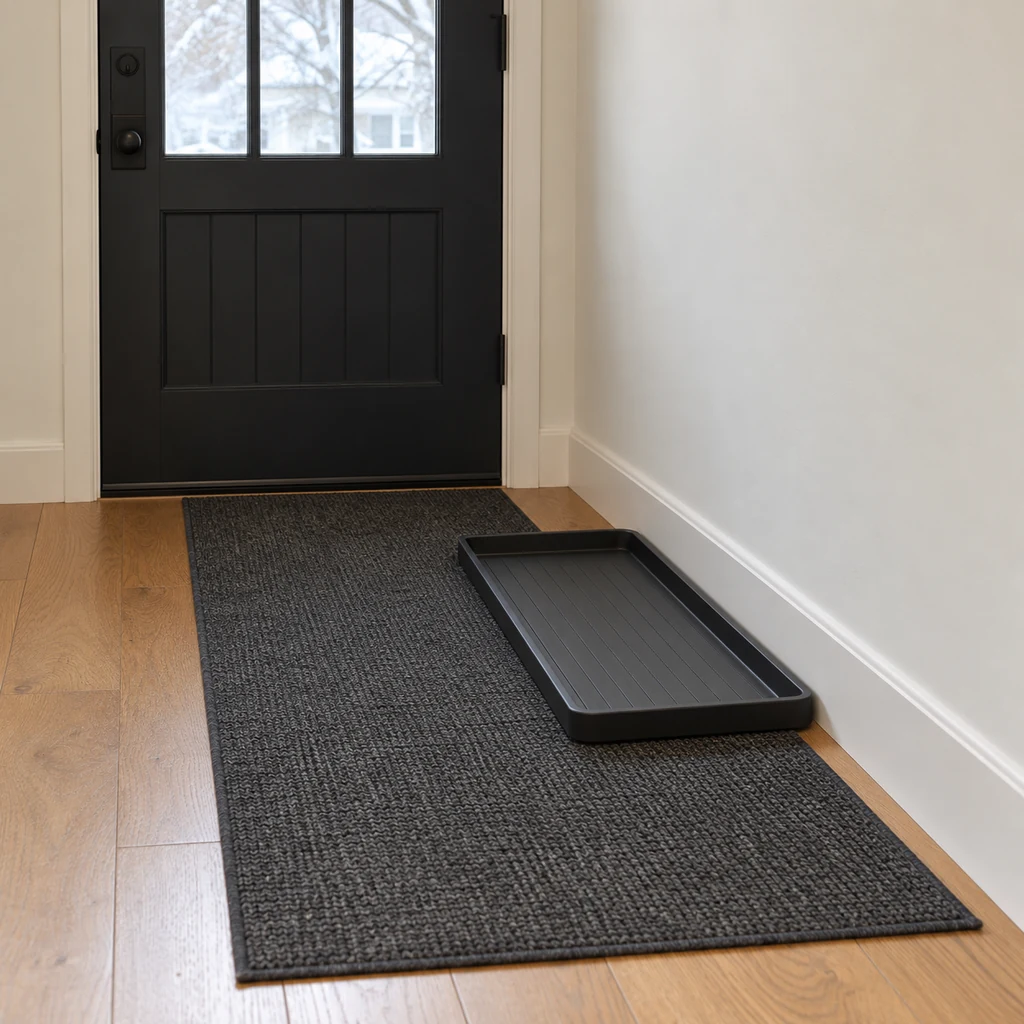
Place a washable runner where people step in, using a backing that stays put on your floor. Set a waterproof, raised-lip boot tray beside its edge against the wall, clear of the swinging door. The lip should contain drips; the tray must still be easy to lift and empty. Keep the runner and tray flat so neither creates a trip edge. If the floor beneath becomes wet, lift the mat and dry both surfaces.
Step 4: Park Boots Upright With Space Between Pairs
Put the wettest boots on the tray as soon as you come in. Stand each boot upright and leave a little space between pairs so air can circulate; do not stack boots or close them in a shoe cabinet while damp. Wipe off heavy slush first, and remove insoles if the boot maker recommends it. A slim bench can sit above or beside the tray only if boots fit without being crushed and the path remains open.
Step 5: Give Coats and Gloves a Daily Reset
Hang coats separately on secure hooks rather than layering wet fabric on one peg. Keep gloves and scarves in a shallow open basket only after they are dry; spread damp items out first. At the end of the day, empty standing water from the boot tray, wipe it clean, and check under the runner. A one-minute reset keeps tomorrow’s shoes from landing on yesterday’s puddle.
Small-Space Layout Rules
- Protect the route: A clear path and full door swing matter more than fitting an extra bench.
- Contain the wet zone: The tray catches drips; the washable runner catches tracked-in grit.
- Dry before closing up: Leave wet boots and clothing in open air before storing them in a cabinet or basket.
- Keep only current-season gear here: Extra pairs belong elsewhere, so the station stays usable.
Common Mistakes
A tray that is too small. If heels hang over the lip, water still reaches the floor. Measure the boots as a group, not just the width of one pair.
A runner that slides. Choose a backing suitable for your flooring and check it stays flat. Replace or reposition a mat that curls at the edge.
Hiding damp items. A closed basket looks tidy but traps damp gloves. Spread wet accessories to dry first, then return them to their spot.
Forgetting the floor beneath. Lift the tray and mat during cleanup. If moisture gets under either one, dry the floor promptly rather than covering it again.
Frequently Asked Questions
Can I use a shoe cabinet instead of an open tray?
Use closed storage for boots that are already dry. A tray is easier for fresh snow or rain because it keeps drips contained and makes it obvious when water needs emptying.
What if I do not have room for a bench?
Skip it. A floor tray, a narrow mat, hooks, and a small basket on an existing shelf can do the job without taking away walking space.
How often should I empty the tray?
Check it whenever boots come in wet and empty visible water before it spills or sits overnight. Lift and clean the tray as needed for salt and grit. Dry any wet floor beneath it promptly.
Keep the System Easy
Start with the wet zone, then add only the storage you need for the people using the door. For another small-space organization project, see our four-zone small linen closet guide. A winter entry works best when every item has a nearby home and the floor is easy to check and dry.