

Waking up to a damp tent does not always mean the rainfly leaked. Warm, moist air from breathing can meet cold tent fabric overnight and leave droplets on the inside of the outer fly. The practical goal is to keep that moisture away from your sleeping area, not to promise a perfectly dry fly every morning.
This seven-step setup uses a double-wall tent with an inner body and a separate rainfly. Start with a drier site, keep a gap between the two layers, give humid air a route out, and check where any morning moisture actually collected. The photos are AI-generated visual aids; use your tent’s own instructions for its vent locations, guyline points, and weather limits.
What You Need Before You Pitch
- A complete double-wall tent with intact rainfly, working vents, stakes, and guylines
- The tent’s fitted footprint, if you use one; it should not protrude beyond the floor
- A small groundsheet or waterproof bag for damp boots and clothing in the vestibule
- A clean microfiber cloth for inspecting and wiping morning moisture
Check the forecast and your shelter’s instructions before leaving. A tent is weather protection, not a heated room: never use a stove, fuel-burning heater, candle, or other flame-producing device inside or beside it.
How to Reduce Tent Condensation Overnight
Step 1: Choose a Drier, Level Campsite
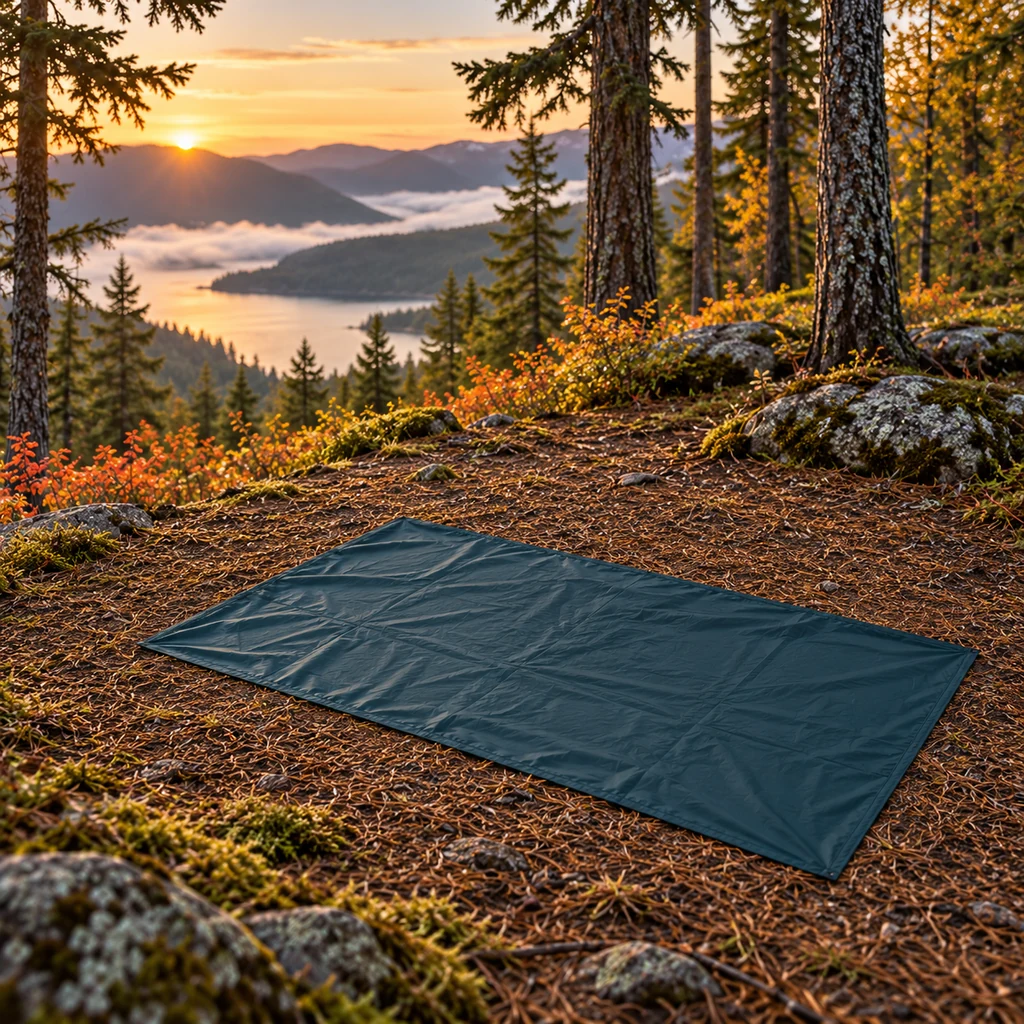
Look for a legal, durable, nearly level site that does not collect runoff. Avoid a hollow where cold, damp air settles or water may flow during rain. Tree cover can moderate temperature, but inspect overhead branches and move away from dead limbs. If you use a footprint, lay it flat and keep all its edges under the tent floor so it does not collect rainwater.
Check before moving on: no visible puddles, drainage channel, sharp debris, or unsafe branches over the sleeping area. For a complete camp layout, use our beginner campsite zone guide.
Step 2: Tension the Rainfly Without Touching the Inner Tent
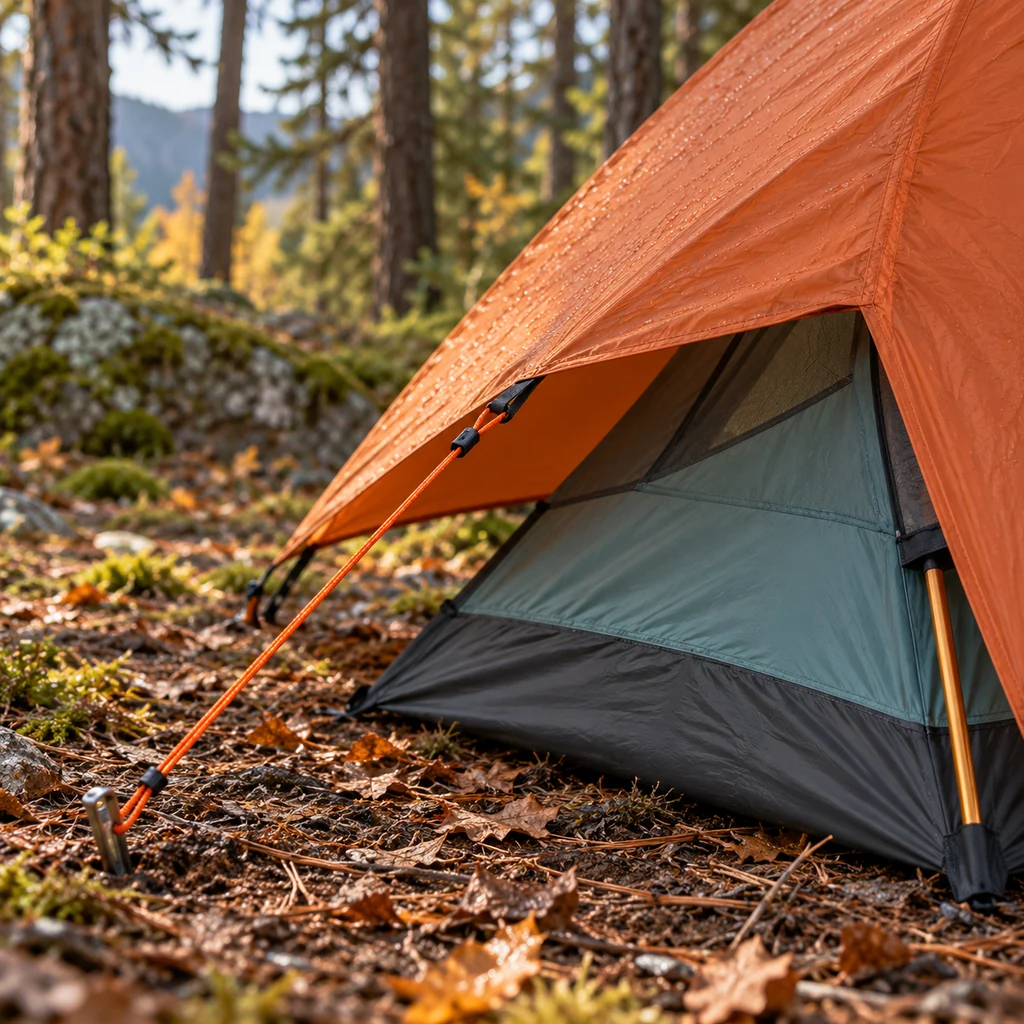
Pitch the tent as its maker directs. Stake the corners and use the intended fly tie-outs or guylines to hold the outer fabric taut. Look along both sidewalls: the fly should stand apart from the inner body instead of sagging onto mesh or fabric. Recheck tension after the fly becomes wet, because some fabrics relax.
Check: there is a visible separation between layers, and no guyline pulls a pole or seam out of shape. Do not overtighten or invent an attachment point.
Step 3: Open Protected Vents Early

Open the fly vents before settling in, rather than waiting for droplets to form. If your tent has opposing vents or inner mesh panels, open those that remain protected in the current weather. In fair weather, a partly open door can add airflow; in wind-driven rain, close the exposed opening and use the sheltered vents instead. Never assume every tent can leave a door open safely in rain.
Ventilation can reduce moisture buildup, but very humid or rainy outside air may limit the benefit. Adjust the openings for weather and comfort rather than treating “open everything” as an all-night rule.
Step 4: Keep Wet Gear Out of the Inner Sleeping Area
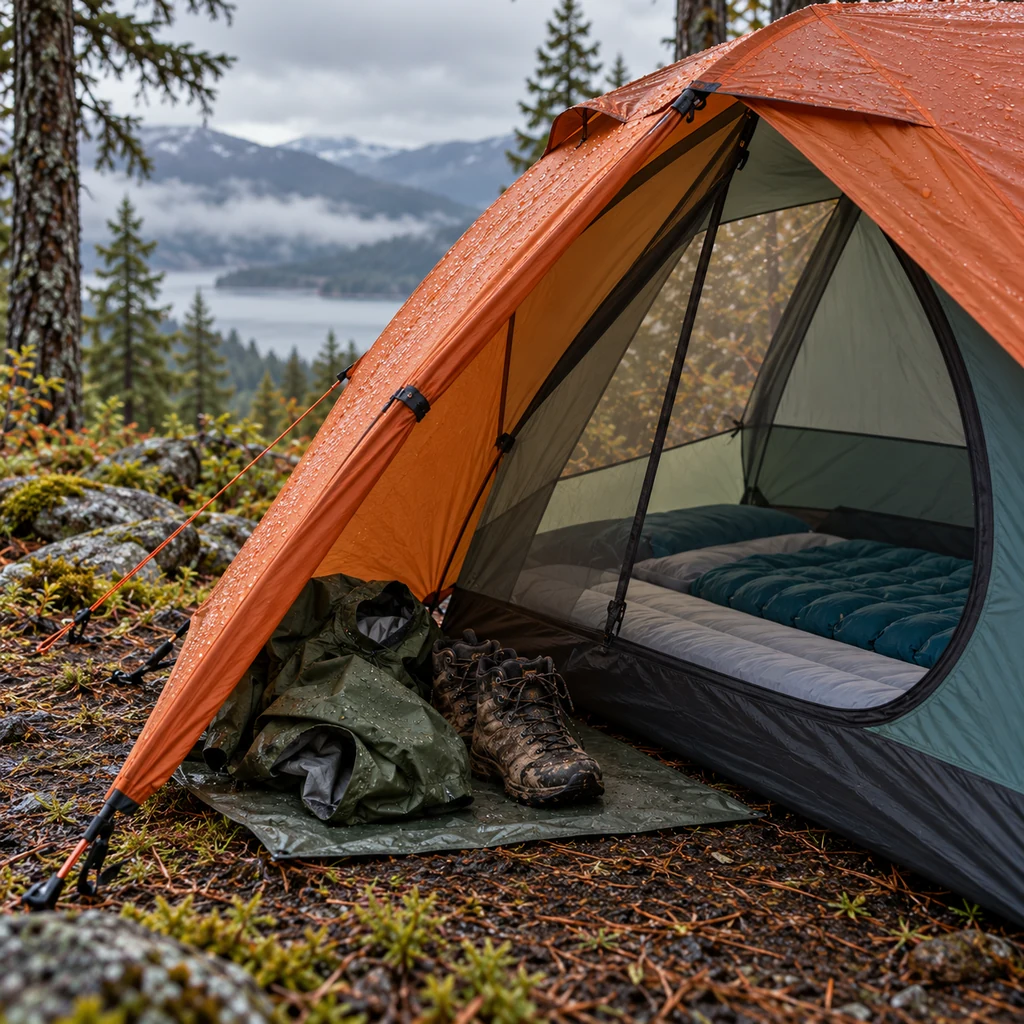
Take off wet boots and rainwear before entering the inner tent. Put them in the covered vestibule on a small groundsheet or in a waterproof bag, without blocking the exit or touching the fly. Keep damp towels and clothing out of the sleeping area; they add moisture as they dry. If your vestibule is too small, use another weather-protected storage spot allowed at your campsite.
For a tidy cooking area that stays separate from the tent, see our one-bin car-camping kitchen setup. Cook outside the tent and vestibule.
Step 5: Leave Space Between Bedding and Tent Walls

Move your pad and bedding inward so the fabric does not rub against the inner wall. This matters most near the head and foot of a small tent, where a long sleeping bag can push against the side. Keep loose clothing off the mesh and check again after both campers settle in. This does not remove condensation, but it helps keep any collected moisture away from insulation.
Step 6: Check Where Morning Moisture Collected

Before packing, look at the underside of the fly and the inner walls. Fine droplets spread across the cold fly, especially after a calm night, point toward condensation. A single wet line below a seam during rain, water running in from the ground, or repeated wetness at one damaged point calls for a different check: inspect seam tape, fabric, the footprint edge, and site drainage.
Success check: the sleeping bag and inner floor are dry even if the outer fly has droplets. If the inner is wet, identify the exact location before assuming that more ventilation alone will solve it.
Step 7: Dry the Fly Before Long-Term Storage

Shake off loose droplets, open the tent for airflow, and dry the fly and inner body when conditions allow. Keep fabric off sharp branches and dirty ground. If you must pack a damp shelter for the trip home, unpack it promptly and air-dry every layer before long-term storage. Check seams, corners, footprint, and stuff sack for trapped moisture.
Condensation or a Leak? A Quick Check
| What you see | Likely next check |
|---|---|
| Fine droplets spread across the fly underside | Normal condensation is likely; inspect inner walls and improve site choice, fly gap, and airflow. |
| Wet inner wall where the fly touches it | Retension the correct fly tie-out and restore the gap between layers. |
| Wet line below one seam during rain | Inspect seam tape and that specific point for damage or failed waterproofing. |
| Water pooled under or inside the floor | Check slope, runoff, floor condition, and whether a protruding footprint caught rain. |
Common Questions
Can you stop tent condensation completely?
Usually no. Breathing adds moisture, and a cold fly can collect it even with good ventilation. A dry inner sleeping area is the more useful target.
Should I close every vent to stay warmer?
Closing every opening can trap more humid air. Use the protected vents your tent provides and adjust them for wind and rain. A tent alone is not a substitute for a suitable sleeping bag and pad.
Will a footprint prevent condensation?
A fitted footprint helps protect the floor from abrasion and ground moisture, but it cannot remove moisture released inside the tent. Keep it tucked beneath the floor so rain does not pool on top.
Why is the fly wet when it did not rain?
The fly can cool below the temperature of moist air inside the tent. Water vapor then condenses on its colder surface. Check that moisture stayed on the outer layer and did not soak the sleeping area.
The easiest routine to remember is dry site, clear fly gap, protected airflow, dry gear, dry bedding, morning check, full drying before storage. These steps reduce avoidable moisture while keeping the shelter’s weather protection intact.