
Good campsite setup ideas make the first hour at camp feel calmer. Instead of dropping gear wherever it lands, you give every part of the site a job: sleep here, cook there, store gear in one place, keep the path clear, and make the evening routine easy before it gets dark.
This beginner guide focuses on a practical campsite layout, not a long shopping list. You can use it for a weekend campground trip, a simple family tent setup, or a quiet outdoor reset where the goal is comfort, order, and fewer little frustrations.
Start with a Simple Campsite Map
Before unpacking everything, stand at the edge of the site and look for the natural zones. Notice the flattest ground, the picnic table, shade, wind direction, water access, and the path from the car. A good campsite usually has four working areas: sleep, kitchen, storage, and seating.
- Sleep zone: the tent, sleeping pads, bedding, and overnight bags.
- Kitchen zone: food storage, water, dishes, and cooking tools.
- Storage zone: bins, cooler, extra layers, shoes, and lanterns.
- Comfort zone: chairs, shade, lighting, and a clear place to relax.
Keeping these zones separate helps you find things faster and reduces the chance of stepping over cords, bags, and loose gear all weekend. If you still need a packing baseline, pair this guide with the essential camping gear checklist for beginners.
Pick the Best Tent Spot First
The tent should be the first major item you place because everything else can move around it. Look for level ground, avoid low spots where water could collect, and keep the doorway facing a clear path instead of a pile of gear.
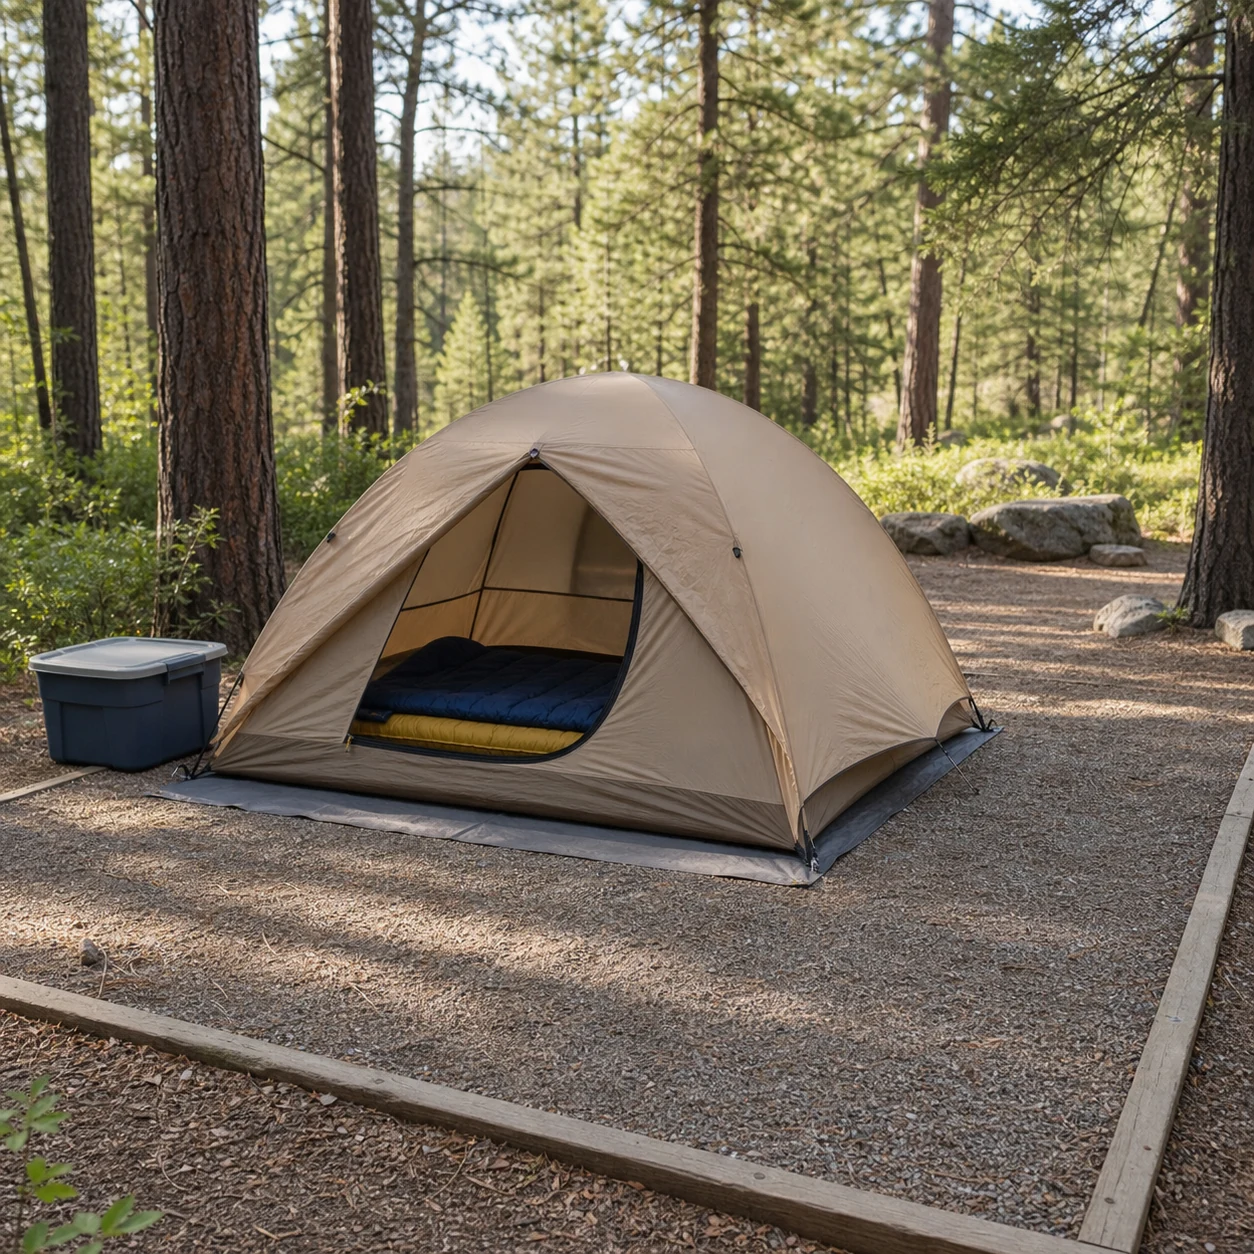
Quick tent placement checks
- Choose the flattest spot before opening bins.
- Keep the tent away from the cooking area.
- Leave space to walk around at least one side.
- Angle the doorway toward the main path or seating area.
- Keep shoes, muddy gear, and wet towels outside the sleeping area.
Create a Camp Kitchen That Stays Tidy
A beginner camp kitchen works best when it is small, contained, and easy to clean. Use one table surface for prep, one closed cooler for cold items, one water station, one dish bin, and one covered storage box for dry goods. Keep food covered and return it to storage when you are done.
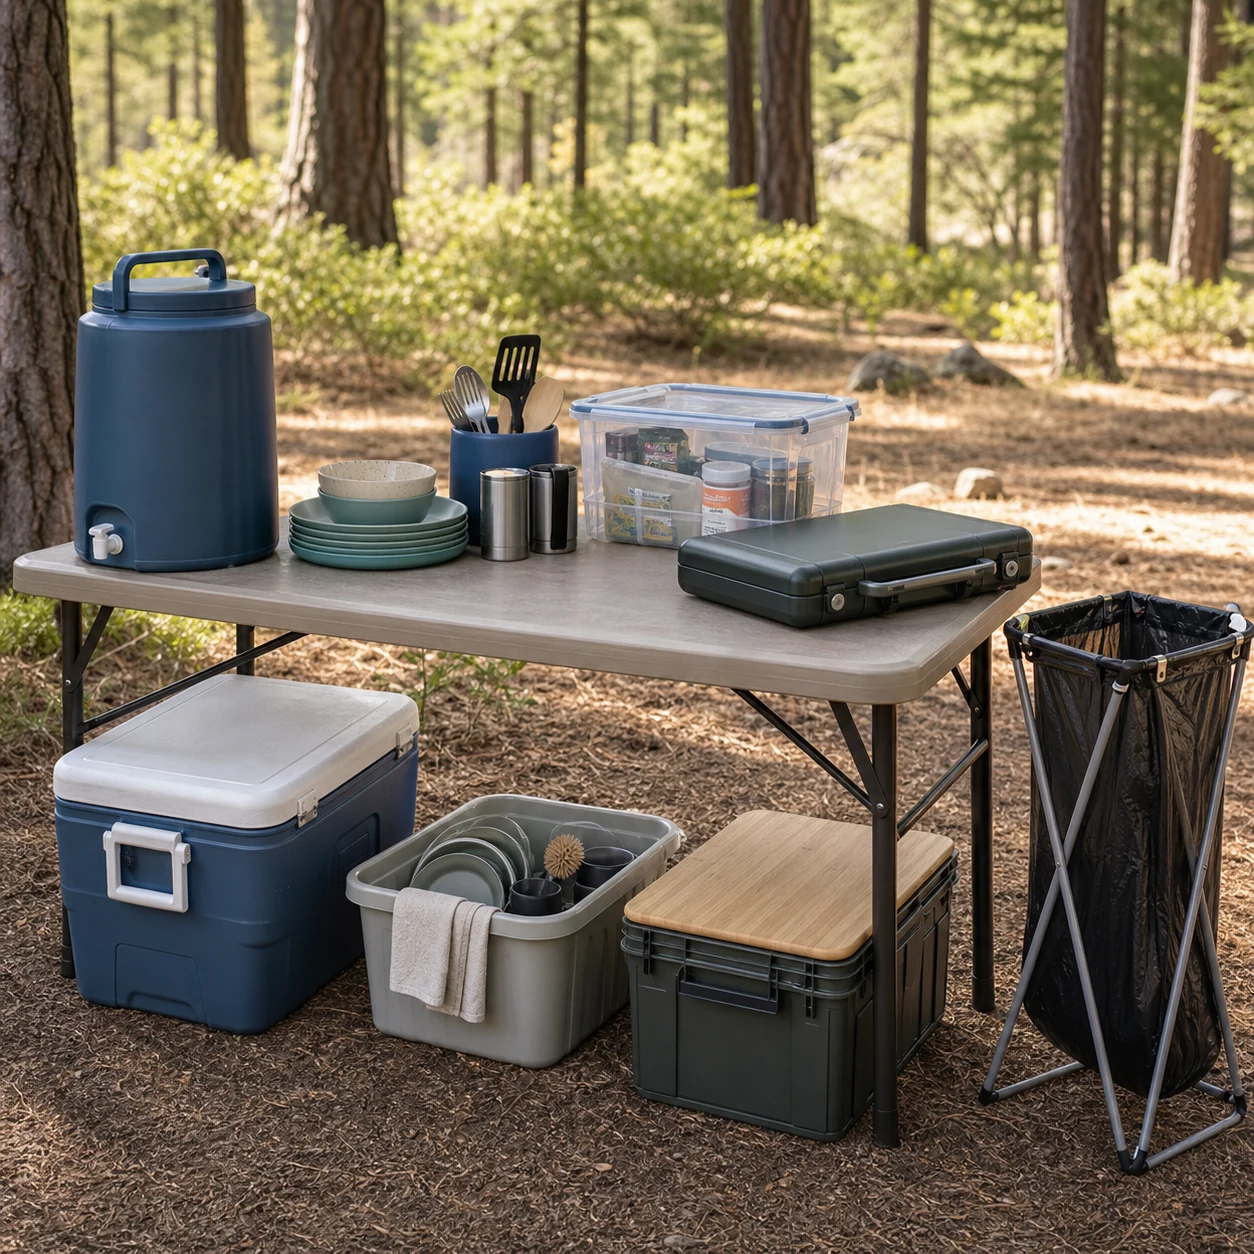
Keep the kitchen separate from the tent
Do not turn the tent doorway into the snack counter. Food smells, crumbs, spills, and sticky packaging belong away from the sleep zone. Even in a developed campground, this makes the site cleaner and easier to manage.
Use closed containers
Closed bins are more useful than loose bags because they stack, wipe clean, and help you see what belongs where. Labeling is optional, but the categories should be clear: food, dishes, cleanup, lighting, and personal items.
Put Storage Where You Can Actually Reach It
One of the easiest campsite setup ideas is also the least glamorous: make a gear parking zone. Put bins, cooler, folded blankets, extra shoes, and backup lights in one predictable area near the table or tent path. When everything has a home, the site stays peaceful longer.
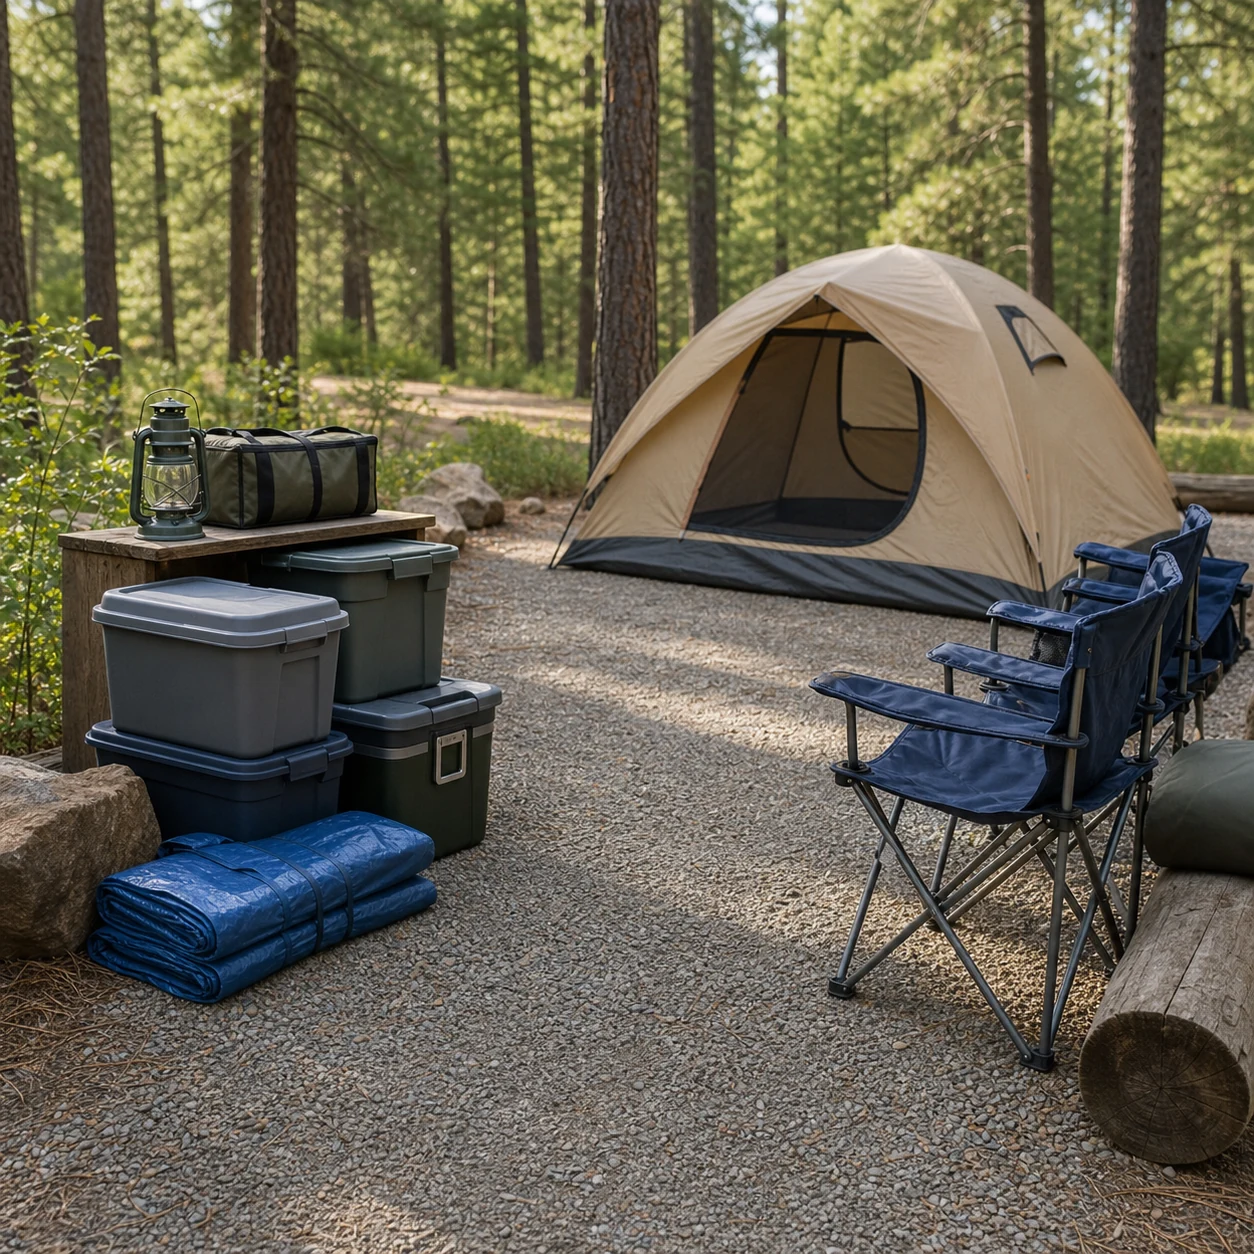
Good storage rules
- Keep daily-use items at the top of bins.
- Store rain layers and flashlights where they are easy to grab.
- Keep dirty shoes and wet towels out of the tent.
- Use one small bag for keys, chargers, and first-aid basics.
- Close bins before leaving the site or going to sleep.
Plan Shade and Rain Protection Early
It is much easier to pitch a tarp while the weather is calm than to rush once the sun is harsh or clouds roll in. A tarp can protect the table, create a dry prep zone, and make the campsite feel more settled.
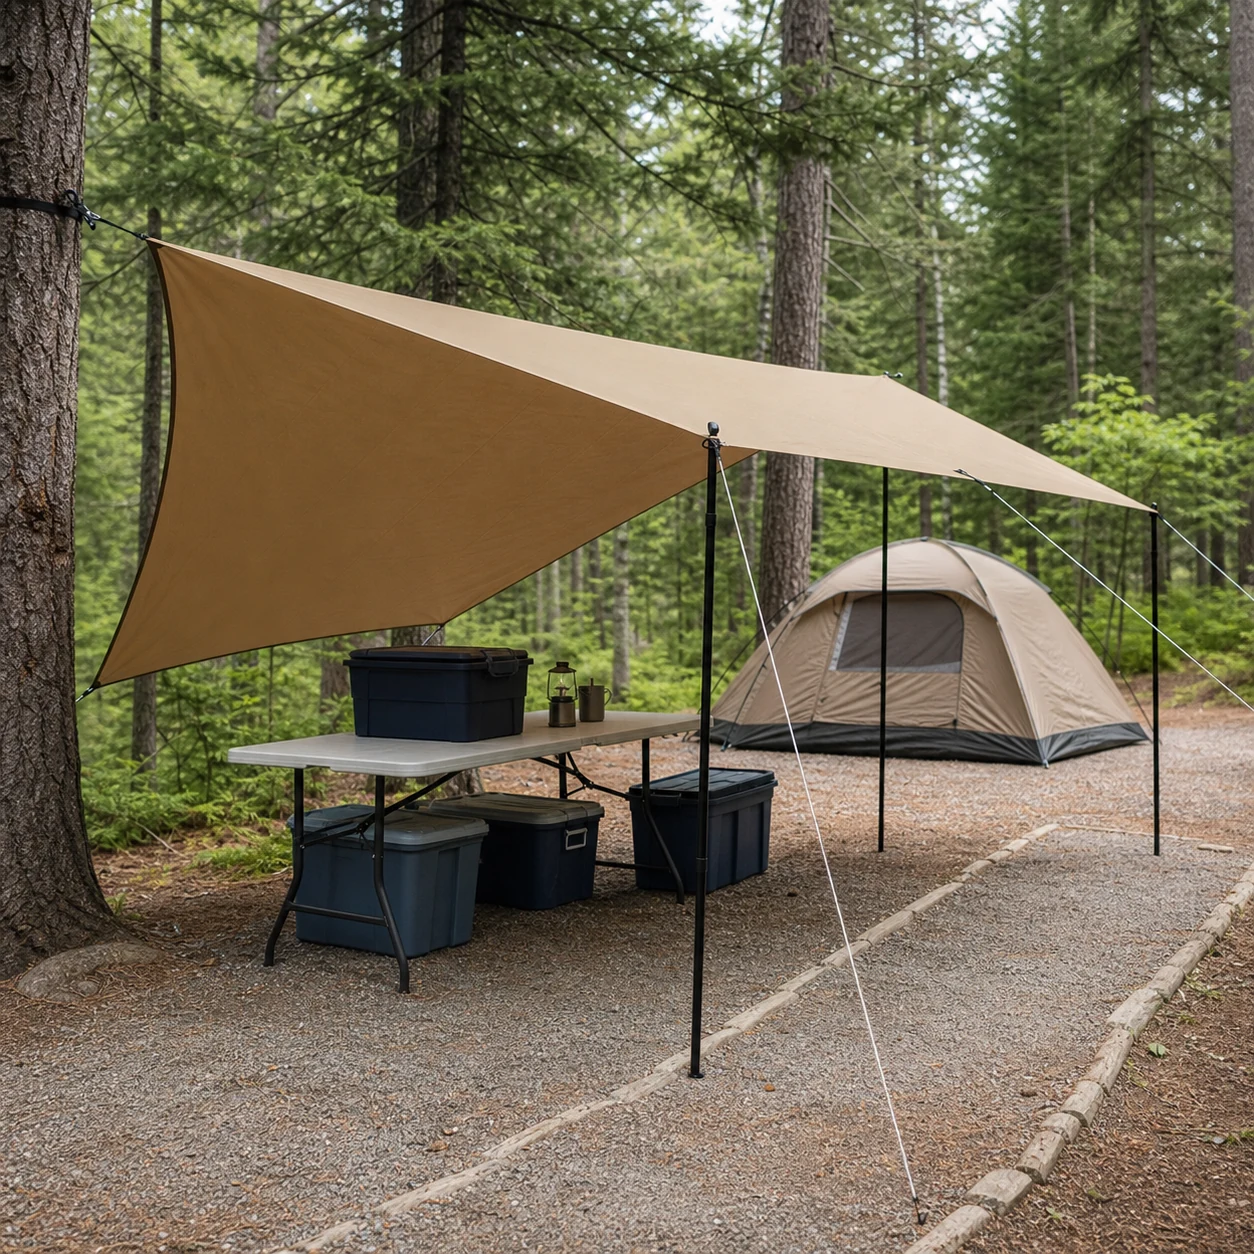
Simple tarp placement tips
- Angle the tarp so water can run off instead of pooling.
- Keep lines visible and out of the main walking path.
- Set the table under the highest, easiest-to-access area.
- Leave enough space between the tarp and tent for airflow.
- Use shade for people and food storage, not just chairs.
Set Up Lighting Before Sunset
Lighting is one of the easiest campsite comfort upgrades. Put a lantern on the table, keep a small light near the tent door, and add soft battery lights under the tarp if you have them. The goal is not to make the campsite bright; it is to make movement simple and safe.
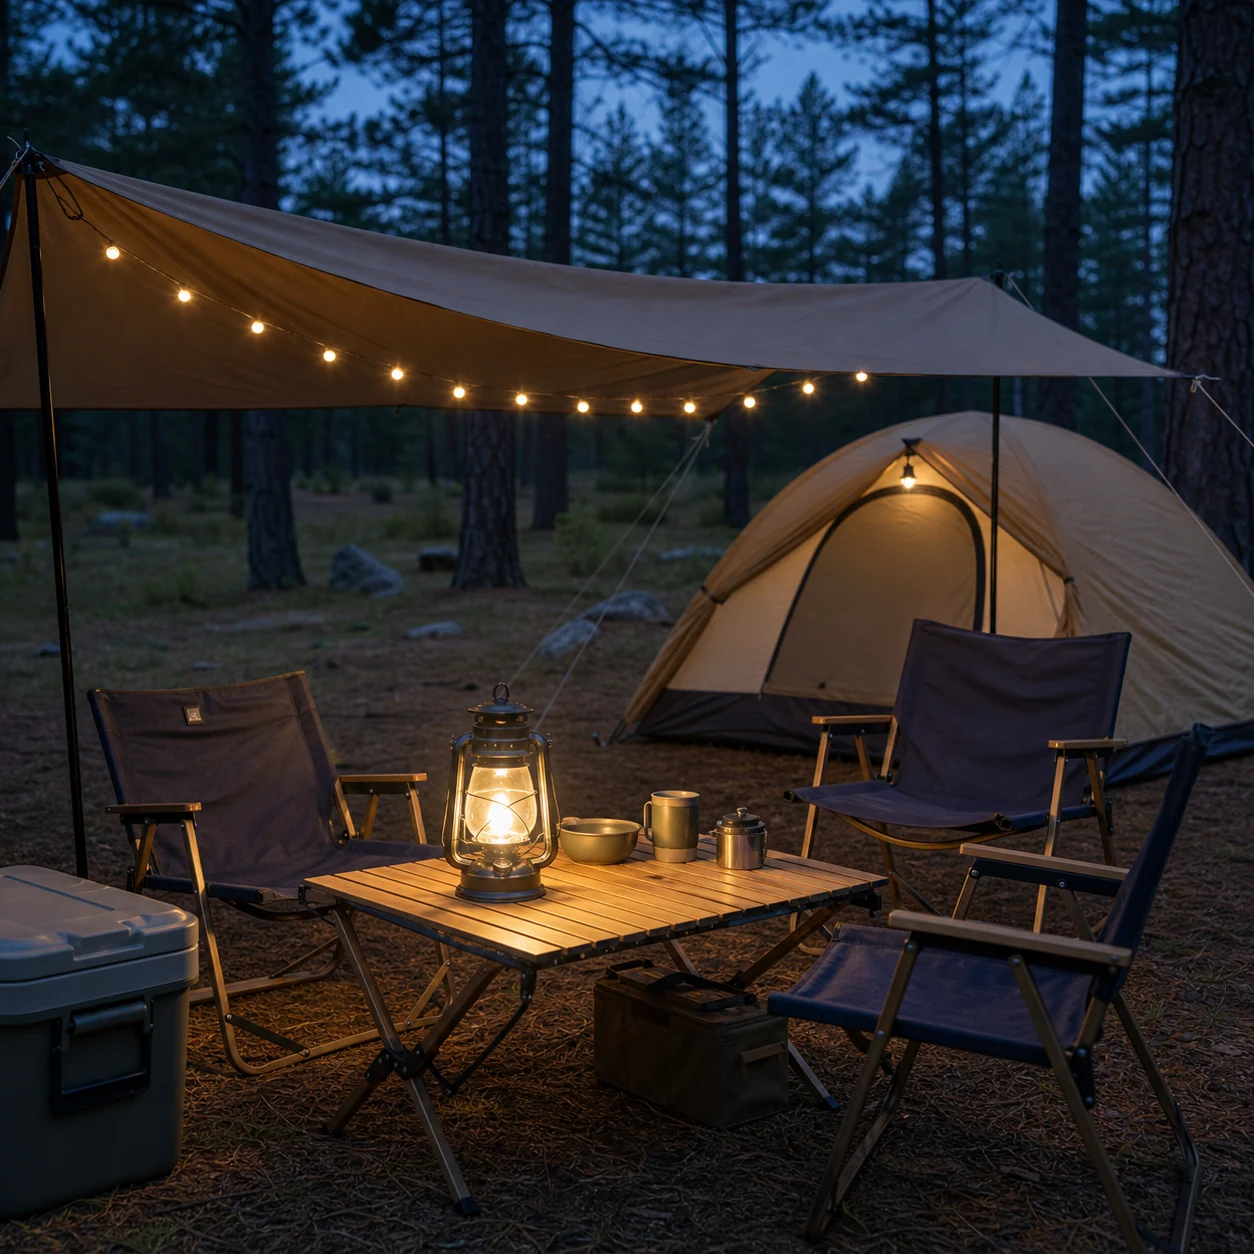
- Put one lantern on the table.
- Keep one light inside or just outside the tent.
- Use low, warm lighting around the seating area.
- Avoid shining lights into neighboring campsites.
- Store backup batteries in the same bin as the lights.
Keep the Seating Area Clear
Chairs should invite people to sit, not block the whole campsite. Place them near the table or tarp, but leave the path from tent to table open. If the site is small, fold extra chairs until they are needed.
This is where many small camping hacks help. A single bin that doubles as a side table, a lantern hook, or a shoe mat near the tent can make the site feel more organized without adding much gear. For more small fixes, see genius camping hacks that make outdoor life easier.
Make a First-Night Routine
A smooth campsite is not just about where things sit. It is also about what happens before bed. Do a short reset while there is still light, then again before sleeping.
- Put food and dishes away.
- Move shoes to the tent entrance or shoe mat.
- Check that lights are easy to reach.
- Secure loose bags, towels, and paper items.
- Keep water and a basic first-aid pouch easy to find.
Leave the Site Better Than You Found It
The final campsite setup habit is a clean departure plan. Start packing by zone instead of grabbing random items. Kitchen first, bedding next, chairs and shade last. Walk the site once before you leave and check for small items around the tent pad, table, and storage area.
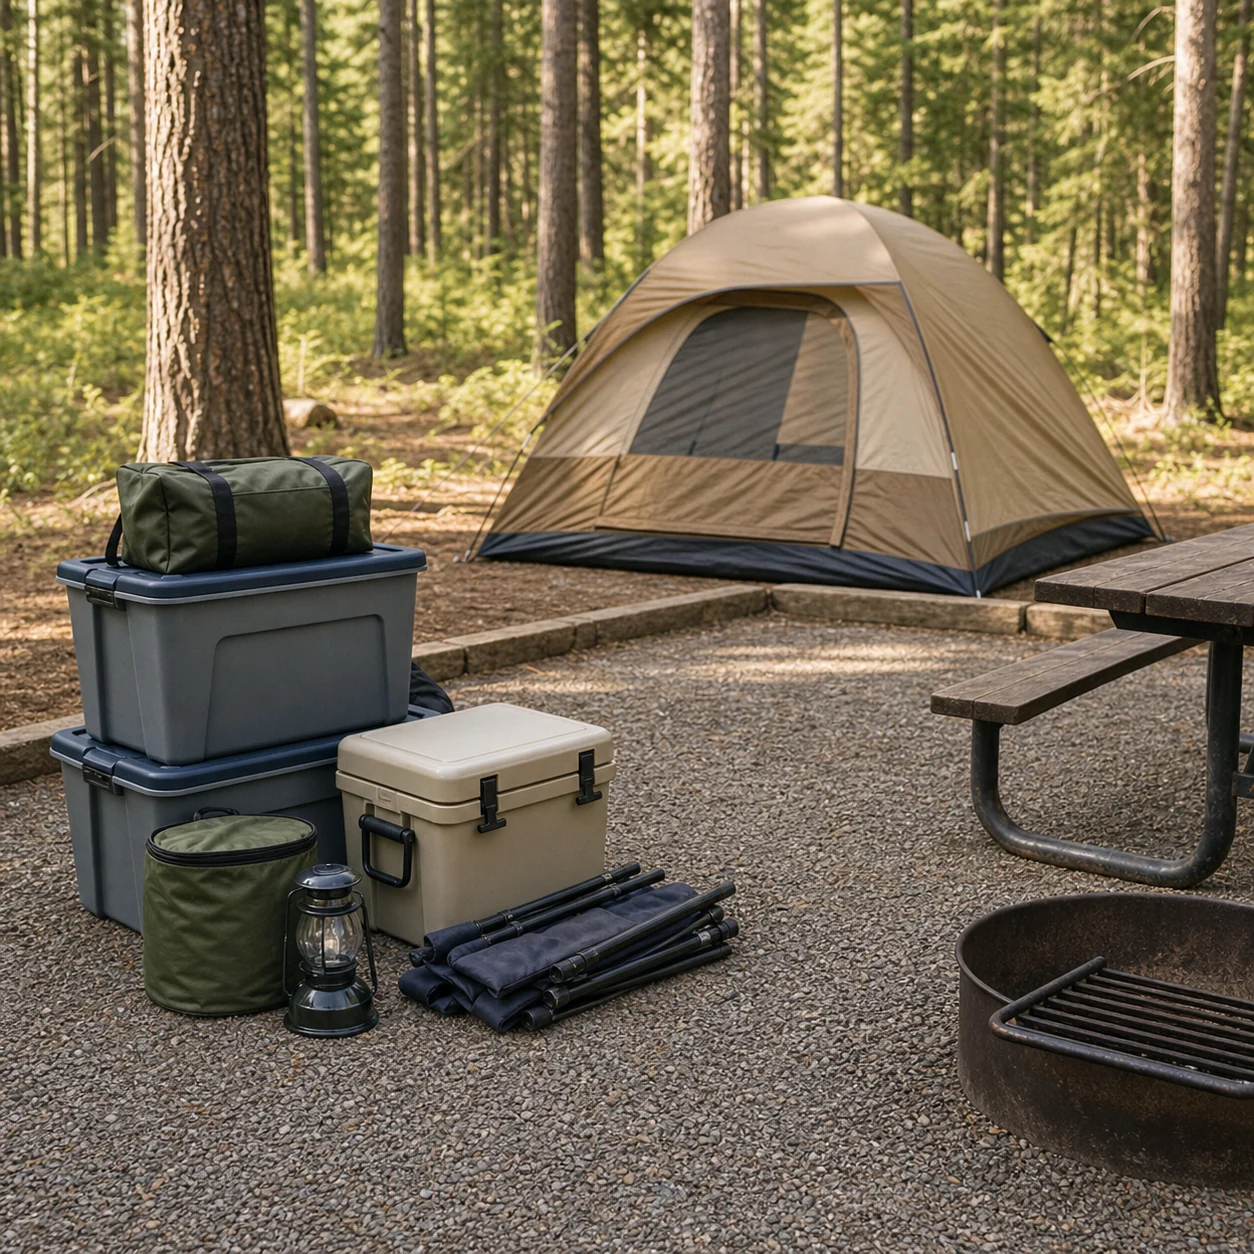
Departure reset checklist
- Pack all food and dishes before folding the table area.
- Shake out the tent and check corners for small items.
- Look under chairs, bins, and the picnic table.
- Collect every tie, wrapper, and loose paper item.
- Leave the ground clear and the site ready for the next group.
Campsite Setup FAQ
What should I set up first at a campsite?
Set up the tent first, then the kitchen table, storage zone, and lighting. The tent location controls the rest of the campsite flow.
Where should the camp kitchen go?
Place the kitchen near the table and away from the tent doorway. Keep food covered, dishes contained, and water easy to reach.
How do I keep a campsite from getting messy?
Use zones and close containers. Put items back after each meal, keep shoes outside the tent, and do a short reset before dark.
Do beginners need a tarp?
A tarp is not required, but it is useful for shade, light rain, and keeping the table area comfortable. If you bring one, pitch it early and keep lines out of the walking path.
For seasonal planning, you may also like Spring Camping Tips.