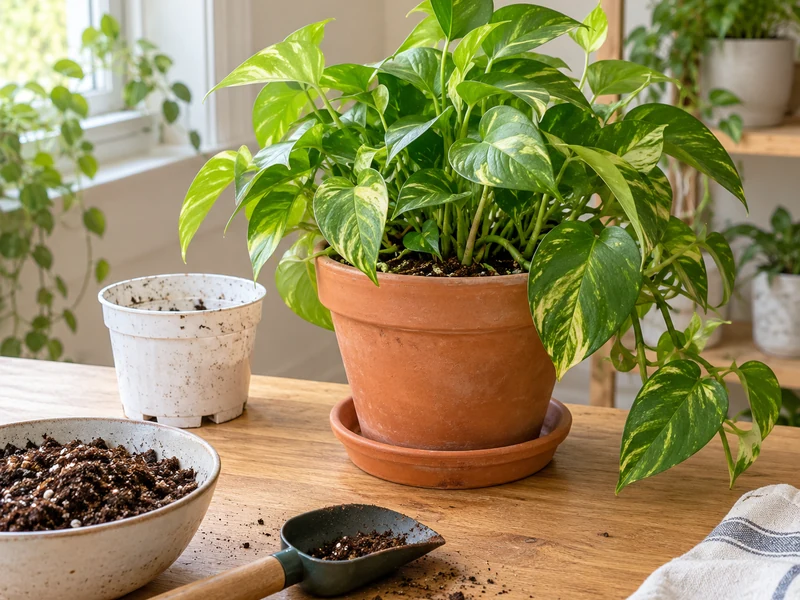
Roots peeking through the drainage holes can make a pothos look ready for a much bigger pot. The useful move is smaller: confirm that the root ball is crowded, then move it into a container only slightly wider with fresh, airy potting mix. This guide shows exactly what to check and where the plant should sit in its new pot.
Quick answer: Slide the pothos from its old pot and look for roots circling densely around the outside. If it is truly pot-bound, choose a pot with drainage about 1–2 inches wider, gently loosen the outer roots, set the plant at its original depth, fill around it with indoor potting mix, then water and let it drain. Do not add a gravel layer.
What You Need
- A pothos in its current nursery pot
- A clean new pot with a drainage hole, about 1–2 inches wider if you want more growth
- A saucer and a tray or protected work surface
- Fresh, well-draining indoor soilless potting mix and a scoop
- Water and a place where the pot can drain completely
Golden pothos is toxic to cats and dogs if chewed, so keep the plant, fallen leaves and potting area away from pets.
How to Repot a Root-Bound Pothos
Step 1: Check for More Than One Root-Bound Clue
Look for roots growing through the drainage holes, a pot that dries out unusually fast, or growth that has slowed during the growing season. A few visible roots alone are a clue, not a diagnosis. Tilt the pot over a tray so you can inspect the bottom without yanking the plant. Penn State Extension recommends checking the root ball itself when these signs appear.
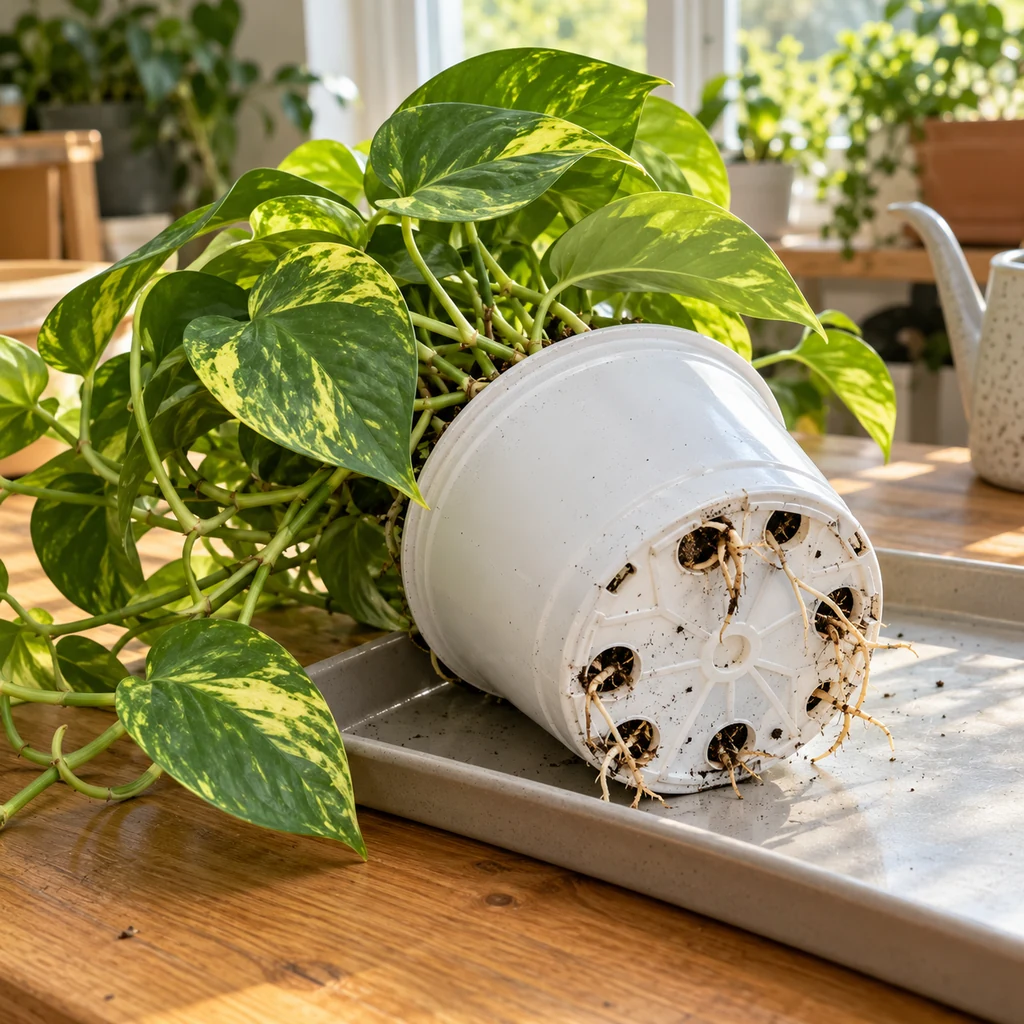
Step 2: Choose a Slightly Larger Pot With Drainage
Set your current pot next to the new one. If the old pot is about 6 inches wide, an approximately 8-inch pot is a sensible next size; the exact choice depends on the root ball. Confirm that the new pot has a real hole through its bottom before you start. A decorative pot without a hole can hold the nursery pot as a cover, but it should not be the planted container. Use a fresh indoor potting mix rather than garden soil. Skip gravel: it does not replace a drainage hole or improve the soil’s drainage.
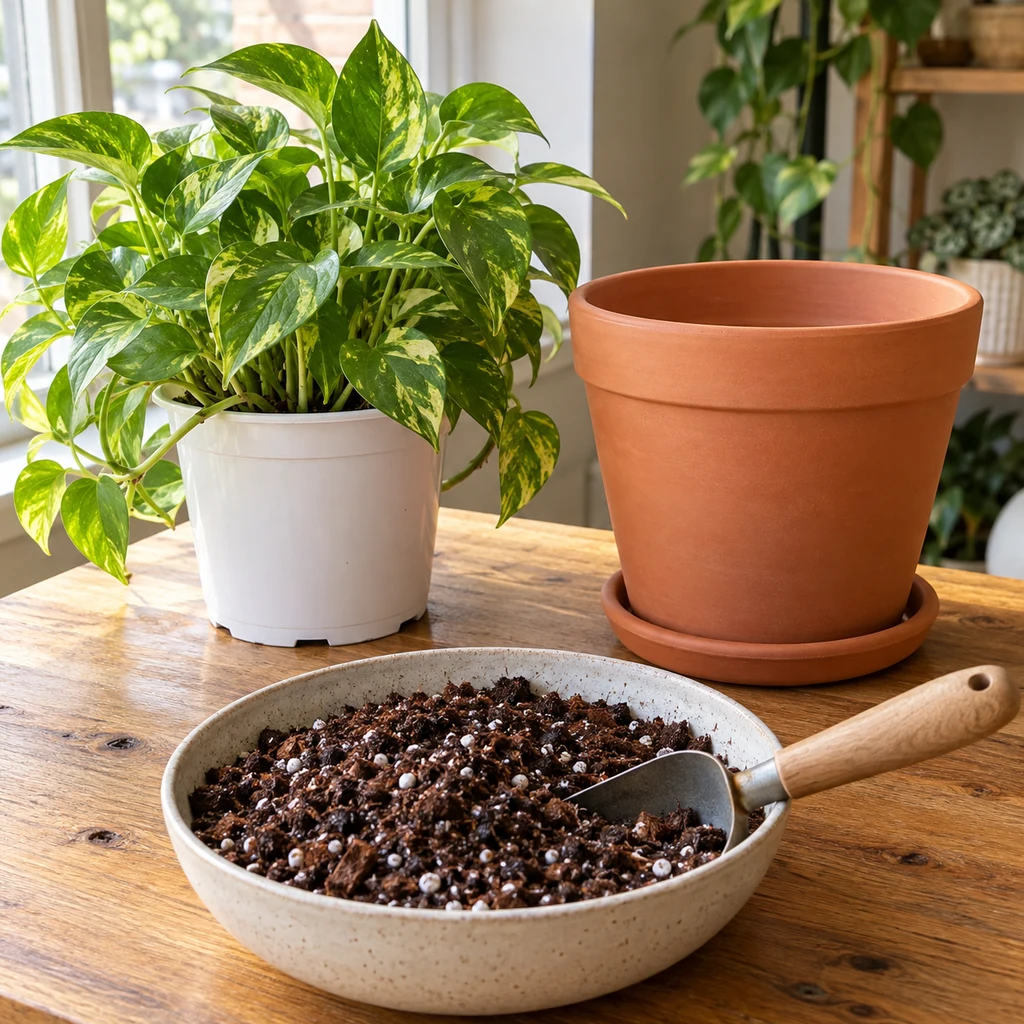
Step 3: Slide Out the Plant and Inspect the Root Ball
Support the soil and stems near the surface, squeeze a flexible nursery pot gently, and slide the whole root ball out over a tray. Do not pull on a vine. Dense roots circling the outside with little potting mix visible confirm that more space is useful. Firm, pale roots are different from dark, mushy roots; if the root ball is wet and decaying, address the watering problem before treating a larger pot as the fix.
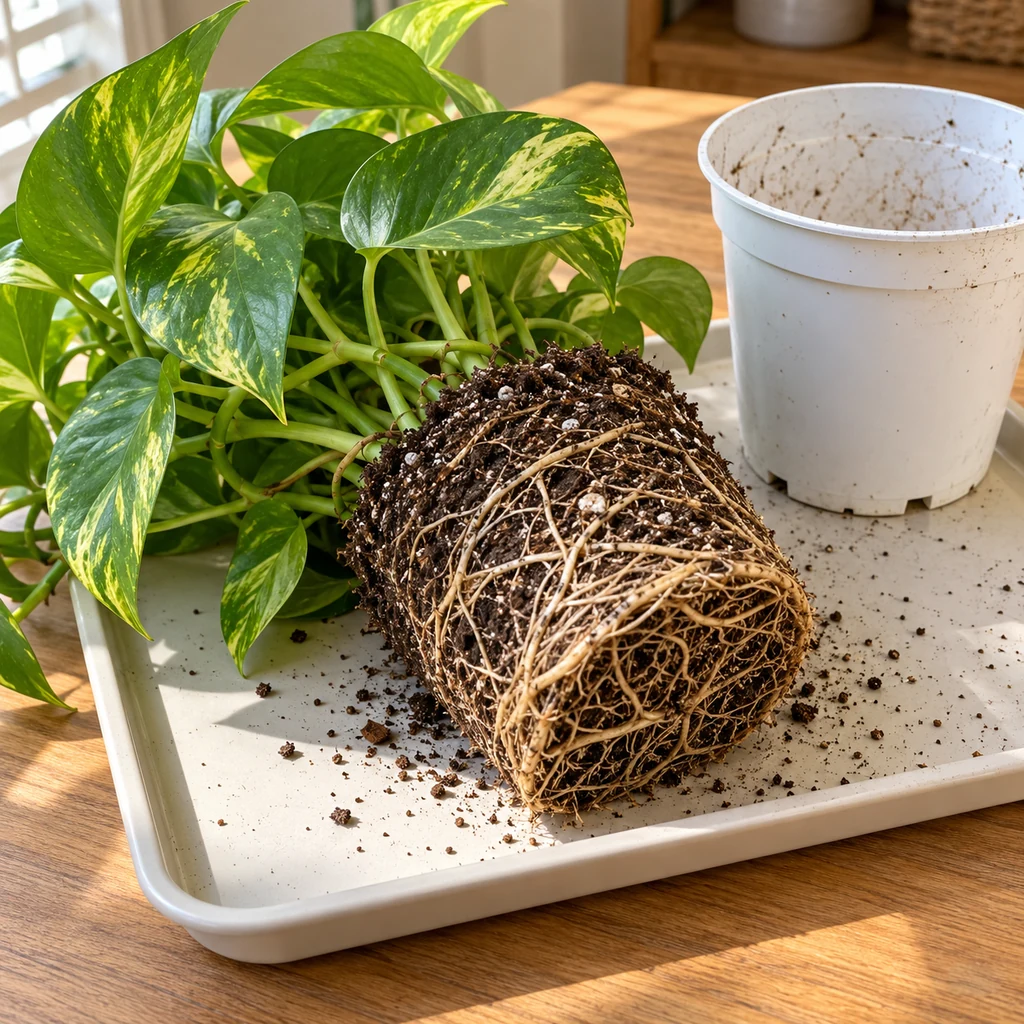
Step 4: Gently Loosen the Outer Roots
Use your fingers to tease apart the most tightly circling roots at the sides and bottom so their tips can point into fresh mix. Work lightly; you do not need to strip away all the old soil or unravel every fine root. The root ball should remain attached to the stems and hold together. If the plant is severely packed or you plan to keep the same pot size, follow a more deliberate root-pruning method rather than tearing through the whole mass.
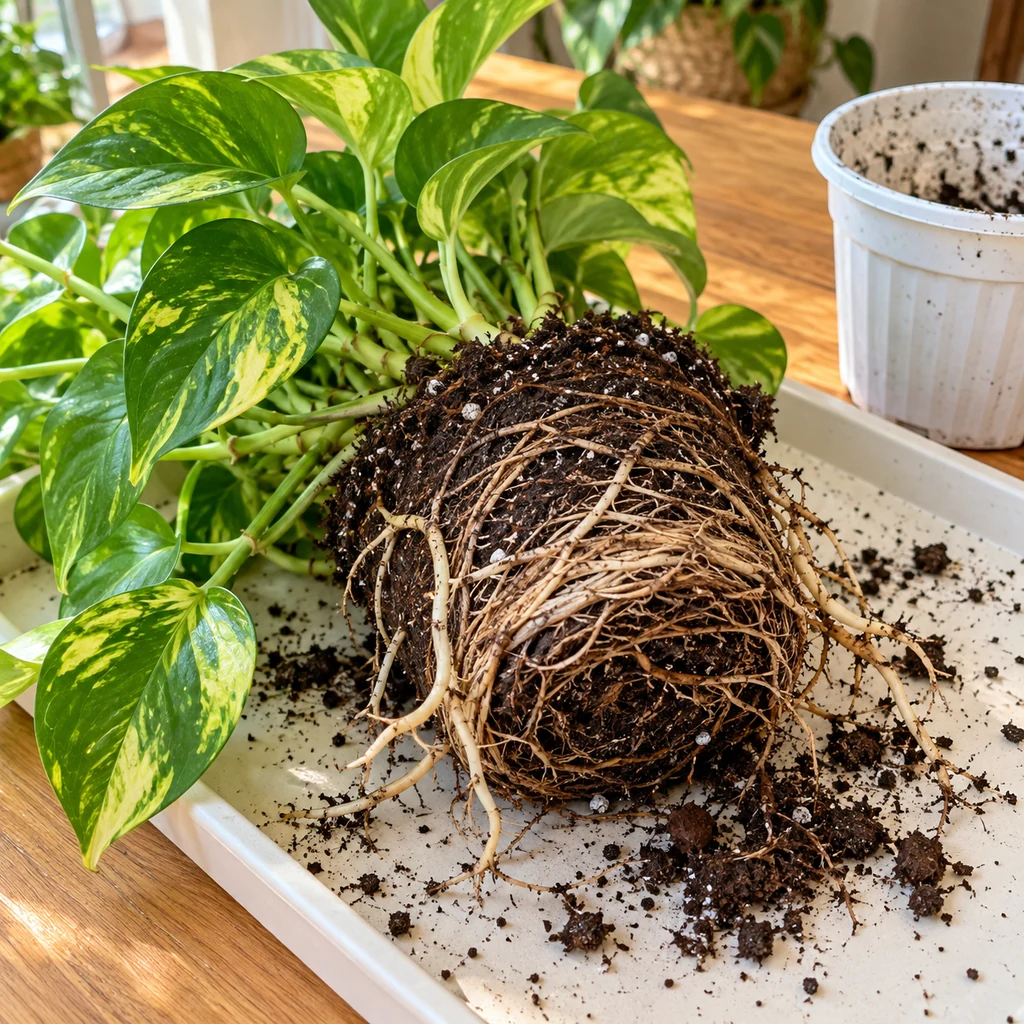
Step 5: Set the Pothos at Its Original Depth
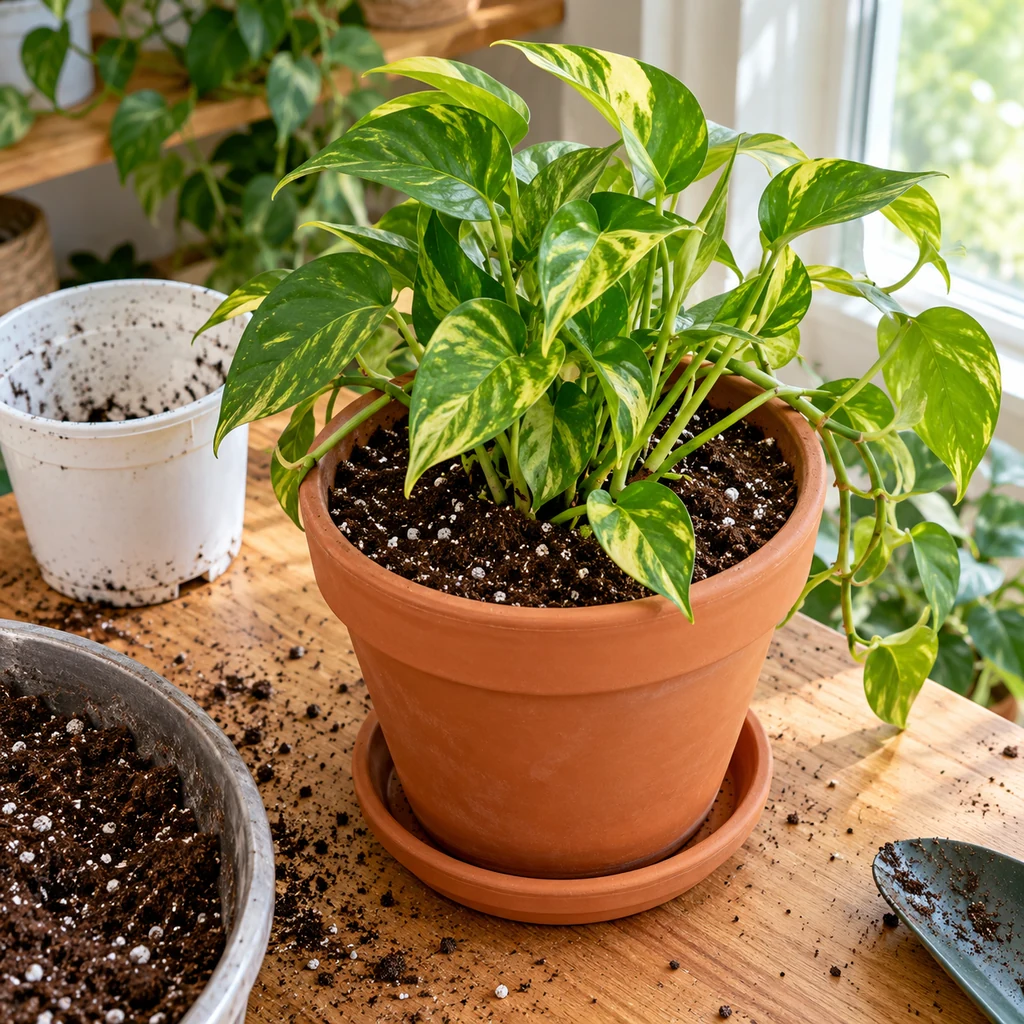
Add enough mix to the new pot so the top of the old root ball sits about an inch below the rim. Center the plant, then fill the gap around the sides with fresh mix. Firm it lightly without packing it hard, and leave the stems at the same soil level they had before. Do not bury vines or heap new mix over the crown. Keeping some space below the rim makes watering less messy.
Step 6: Water Through and Let the Pot Drain
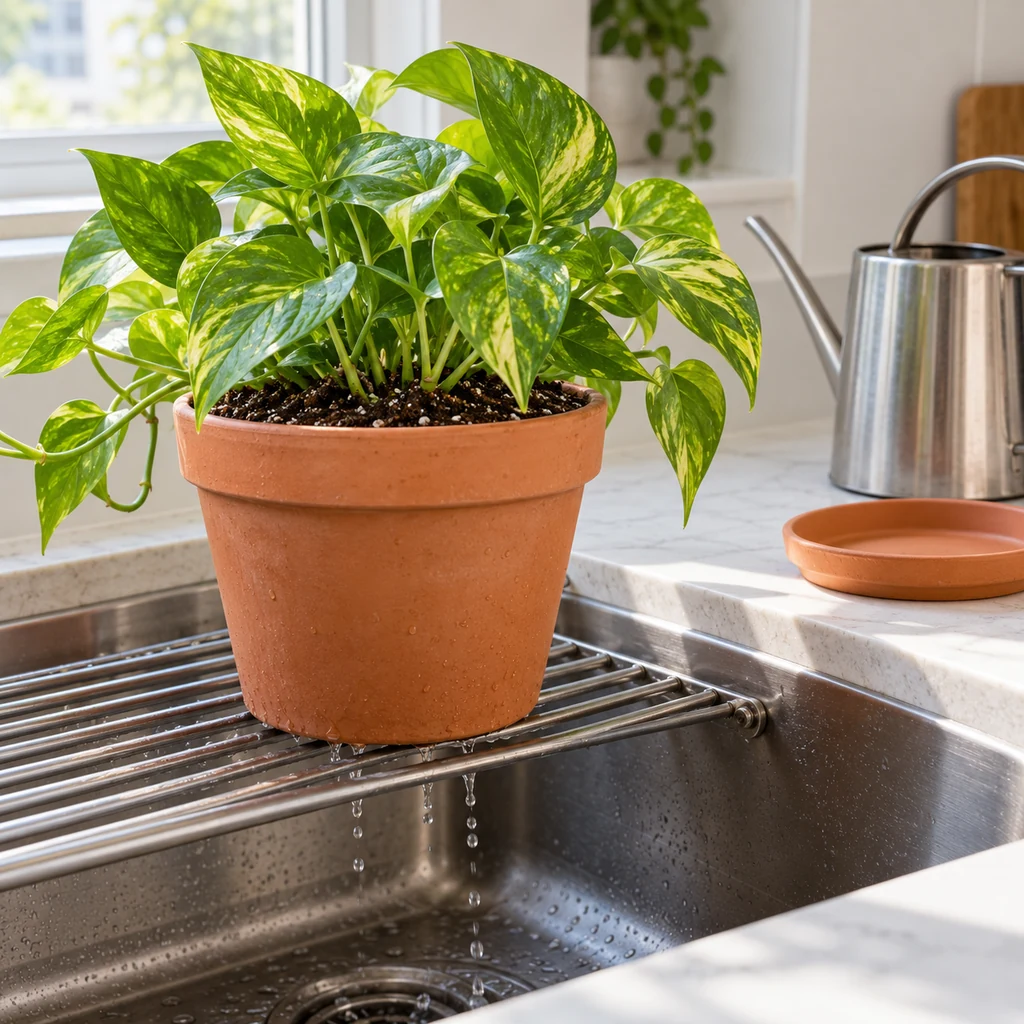
Water the fresh mix evenly until excess water runs from the bottom hole. Let the pot drain completely, then put it on its saucer and empty any collected water. Return the pothos to bright indirect light rather than suddenly moving it into strong direct sun. Check the mix before the next watering; do not keep it constantly wet just because it was recently repotted. Penn State’s pothos guidance emphasizes avoiding overwatering.
What to Expect After Repotting
Some leaves may briefly droop while roots settle, but a properly planted pothos should not need repeated soaking. Keep it in steady indirect light and check for new growth over the following weeks. If the mix stays wet for an unusually long time or the plant develops soft stems, inspect drainage and your watering routine. For everyday care, see our beginner plant-care checklist; when you travel, use a houseplant vacation watering plan instead of leaving the pot in standing water.
Common Repotting Mistakes
Choosing a dramatically larger pot: Too much extra mix can stay wet around a small root ball. Using a sealed decorative pot directly: Excess water needs a path out. Adding gravel under the mix: It takes away root space and does not solve drainage. Planting too deeply: Match the old soil line so the stems are not buried. Tearing every root loose: A gentle release of the outer circling roots is enough for a routine size-up.
Frequently Asked Questions
Should I repot a pothos as soon as one root appears?
No. Slide the plant out and check whether roots are densely circling the soil ball. Use multiple signs, including unusually fast drying, before changing pots.
Can I keep the same pot?
Yes, if you want to limit the plant’s size, but a severely crowded root ball needs careful root work and some fresh mix. A slightly larger pot is the simpler choice when you want continued growth.
When is the best time to repot?
Active spring growth is a convenient time, although a plant that truly needs more room can be repotted at another time. Avoid unnecessary disturbance when it is growing slowly.