
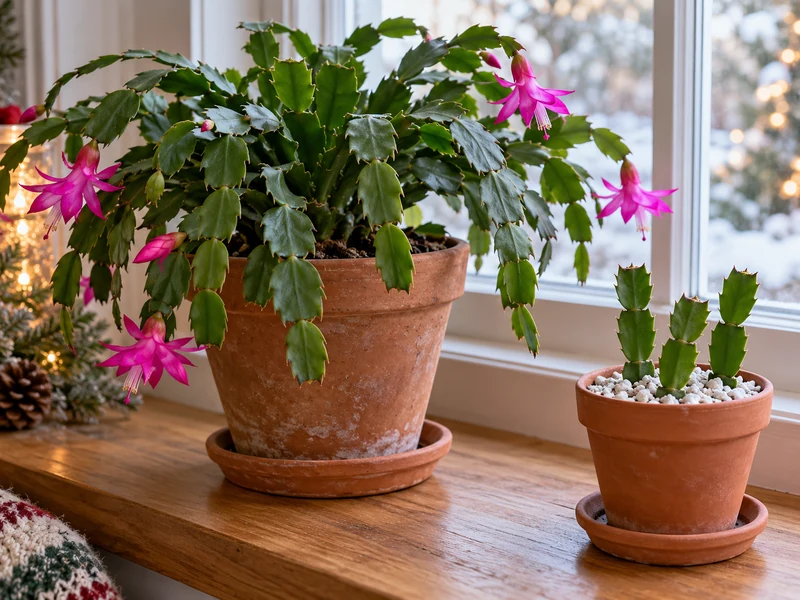
A holiday cactus can turn one healthy branch into a new plant, but the first week is where many cuttings go wrong: a freshly separated end goes into soggy soil, and the base softens before roots form. This guide shows how to propagate a Christmas cactus in perlite with a drained pot, an overnight callus, and a clear point at which to move the rooted cuttings into potting mix.
The short version: Separate two to five joined stem segments at a joint, let the cut end dry overnight, place the basal end about 1 inch deep in moist perlite, and keep it in bright indirect light. Check the medium as it dries. Roots commonly form in about six to eight weeks; transplant when they are at least 1 inch long.
These AI-generated step photographs are visual aids. Use the actual joints, drainage and root growth of your own plant to guide each step.
Which Holiday Cactus Is in the Photos?
The pointed teeth on these flattened green stems identify the plant shown as a Thanksgiving cactus (Schlumbergera truncata). It is often sold under the name “Christmas cactus.” A true Christmas cactus generally has smoother, scalloped stem edges. The cutting method below applies to these closely related Schlumbergera holiday cacti; the stem segments are stems, not leaves. Do not use this guide for an unrelated desert cactus or for Easter cactus without checking that plant’s needs.
If your plant has buds or open flowers, enjoy the display first and take cuttings after blooming. This avoids removing the tips that carry the flowers. If your main problem is disappearing buds rather than propagation, see our Christmas cactus bud-drop checks.
What You Need
- A healthy, established holiday cactus with several firm green stem chains
- Three cuttings, each made from two to five connected flat stem segments
- A small pot, around 4 inches wide, with a drainage hole and a saucer
- Clean horticultural perlite; coarse sand is another suitable rooting medium
- Water and a clean plate for the overnight drying stage
- A small wooden spatula or similar blunt tool for a later root check
- A well-drained potting mix and a small drainage pot for transplanting
You do not need a large pot, fertilizer or rooting hormone for this method. A small container is easier to monitor and less likely to hold a large volume of wet medium around a tiny unrooted cutting. If you use a reused pot, wash it before filling.
How to Propagate Holiday Cactus Cuttings in Perlite
Step 1: Choose a healthy, non-budded stem
Find a firm green chain with two to five flat segments and no soft, spotted or shriveled tissue. Trace it down to the narrow joint where it meets the next segment. Choose growth without a flower bud on its tip. The image isolates one suitable chain; the narrow joints tell you where it separates naturally.
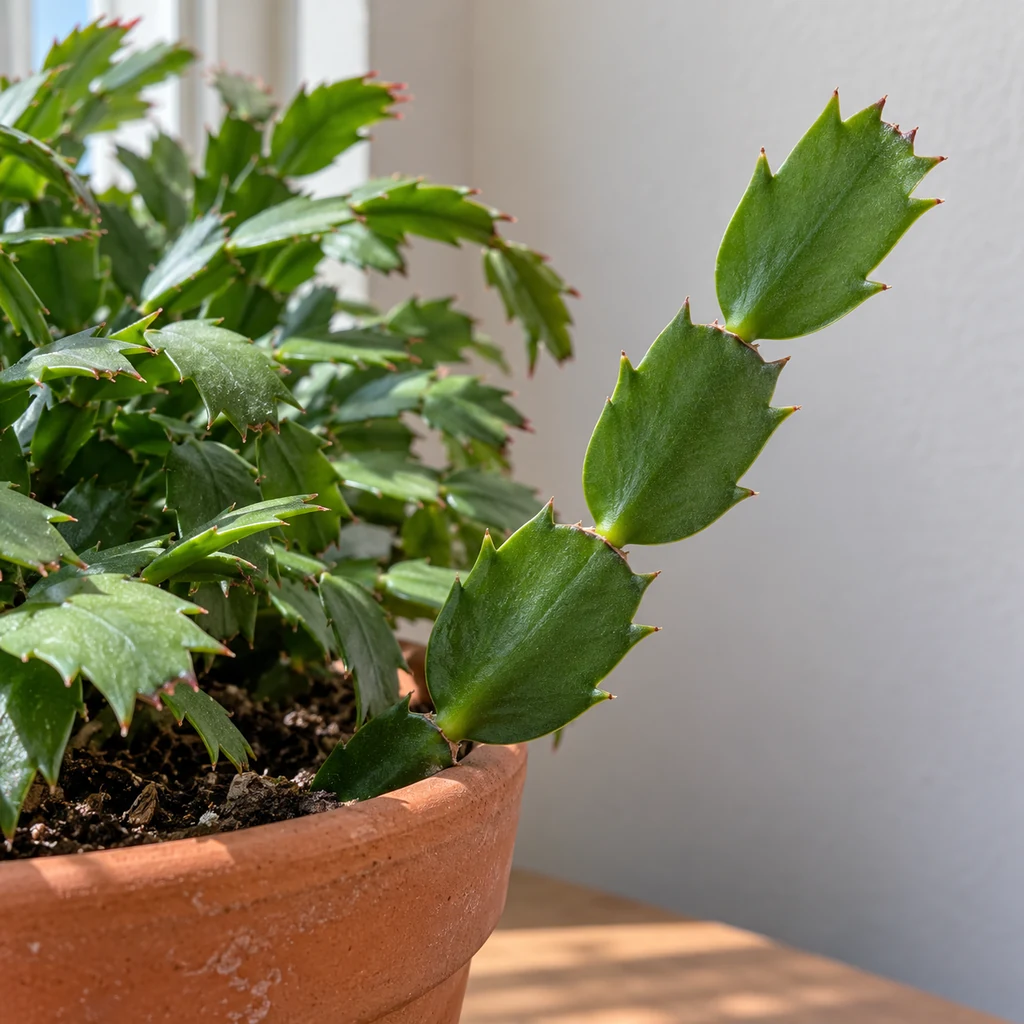
Step 2: Separate at the joint and callus overnight
Hold the parent stem steady and gently twist or pinch the chosen section off at a joint; a clean tool can also cut at that narrow connection. Do not tear through the middle of a segment. Lay the pieces separately on a clean, dry plate with the original basal ends pointing the same way. Leave them in a dry, airy place overnight so the separated ends can callus. Keep track of which end was attached to the parent: it is the end that goes into the perlite.
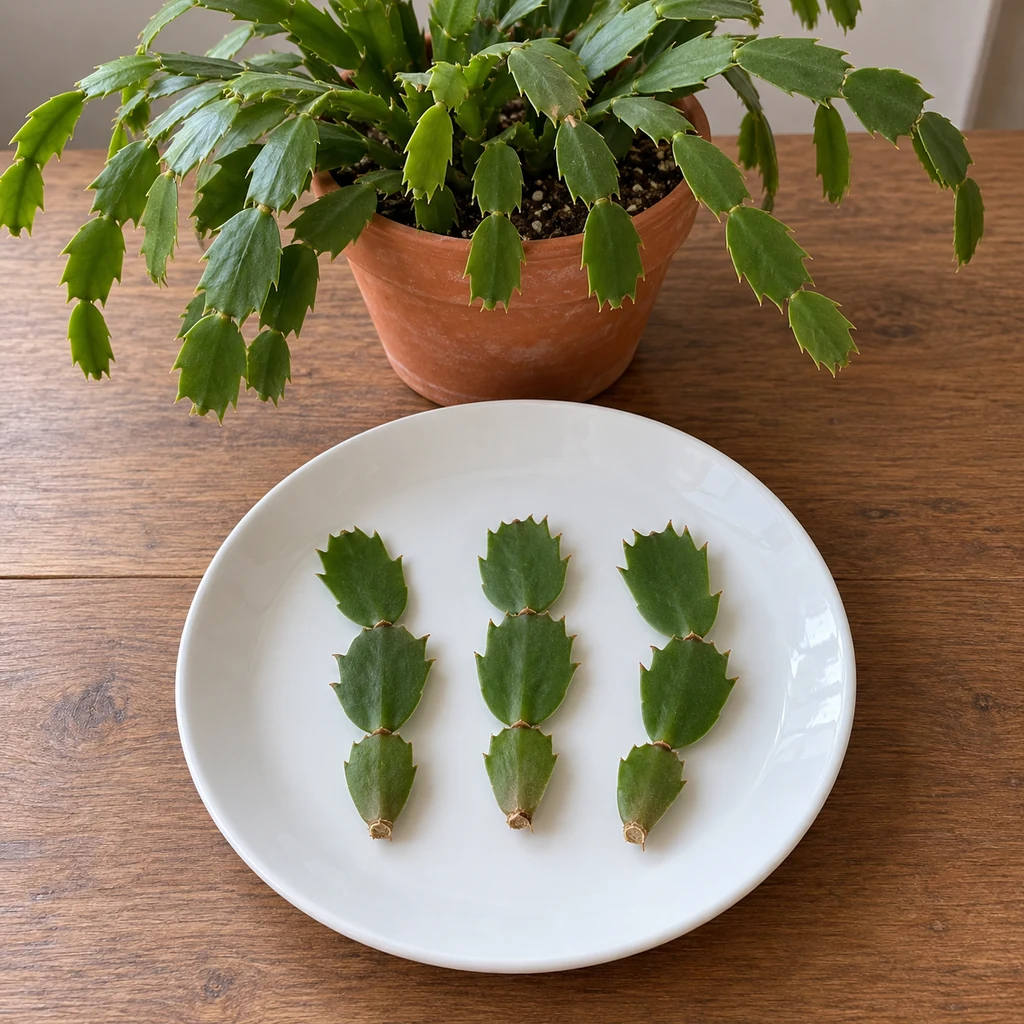
Step 3: Prepare a drained pot of moist perlite
Check the drainage hole before filling the pot. Add perlite, water it thoroughly, and allow the excess to run out for a few minutes. The medium should be moist and loose, not submerged or sitting in a pool in the saucer. The pot in the photo is small enough to hold three cuttings without crowding them.
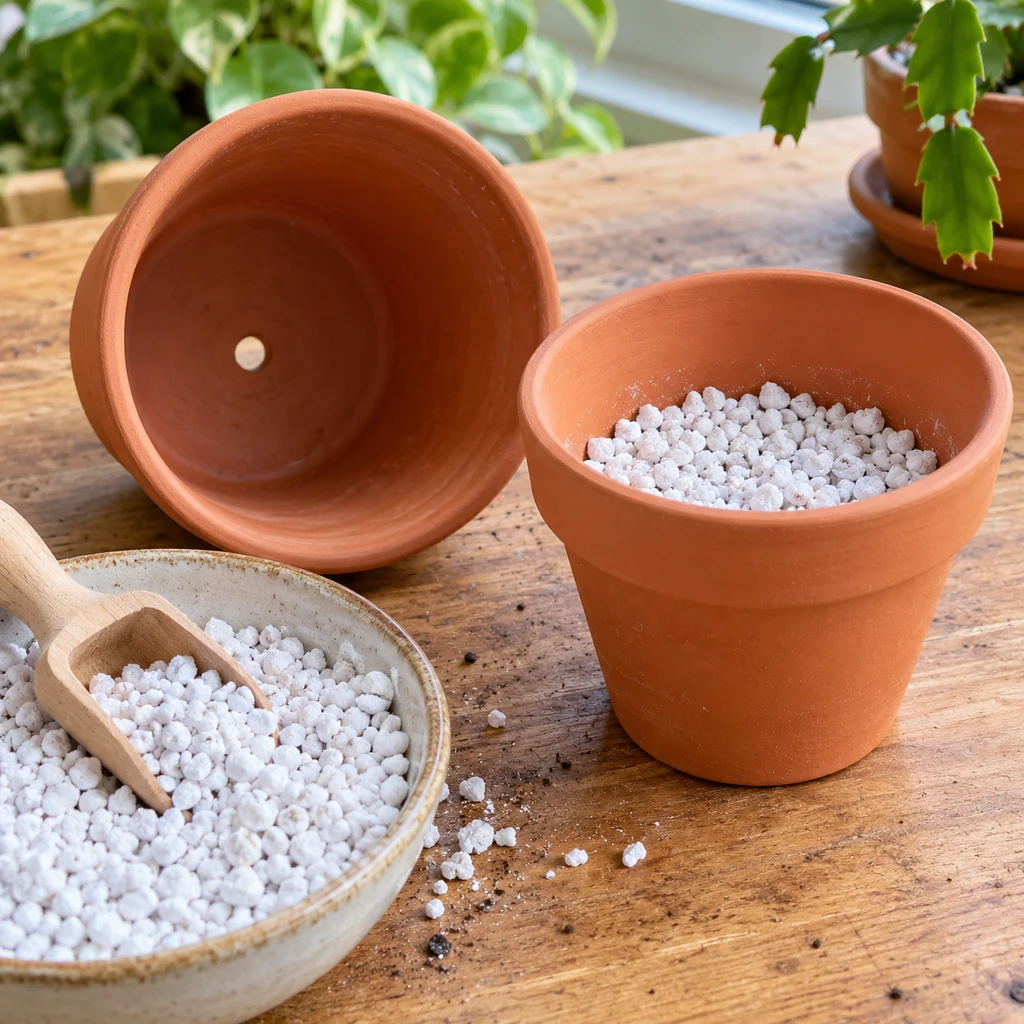
Step 4: Insert each cutting the right way up
Make a small opening in the damp perlite. Place each cutting with its original basal end downward, about 1 inch deep, then firm the perlite gently around it so it stands upright. Keep the segments above the surface separated enough for air to move between them. Never reverse a cutting: the old attached end is the rooting end. Water once more after planting, let the pot drain, and empty the saucer.
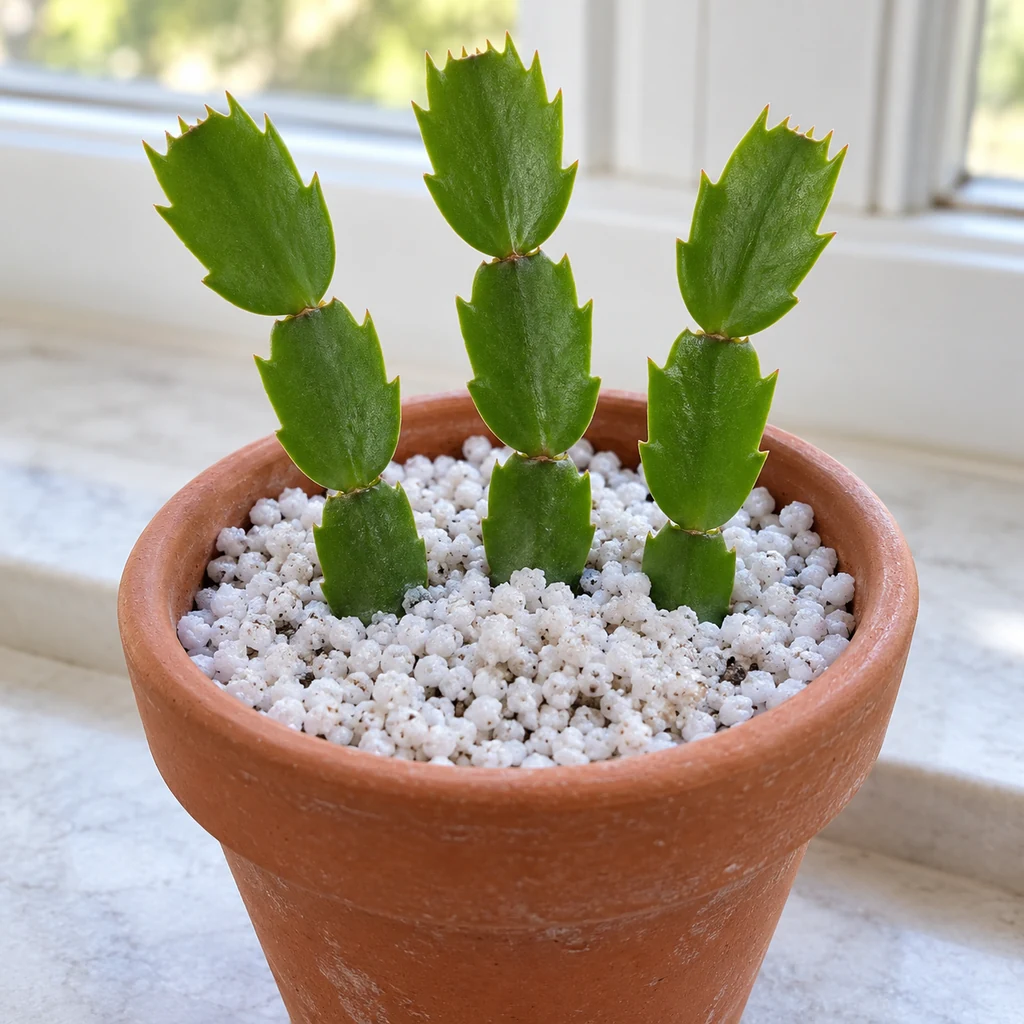
Step 5: Give bright indirect light and check moisture
Set the pot near a bright window where it receives filtered light rather than hot direct sun. Examine the perlite periodically. When it begins to dry, water and let the excess drain; do not follow a fixed daily schedule. The small sample beside the pot illustrates what the rooting medium looks like when checked. It is a comparison sample, not a cue to dig around the cuttings every day. Keep the saucer empty between waterings.
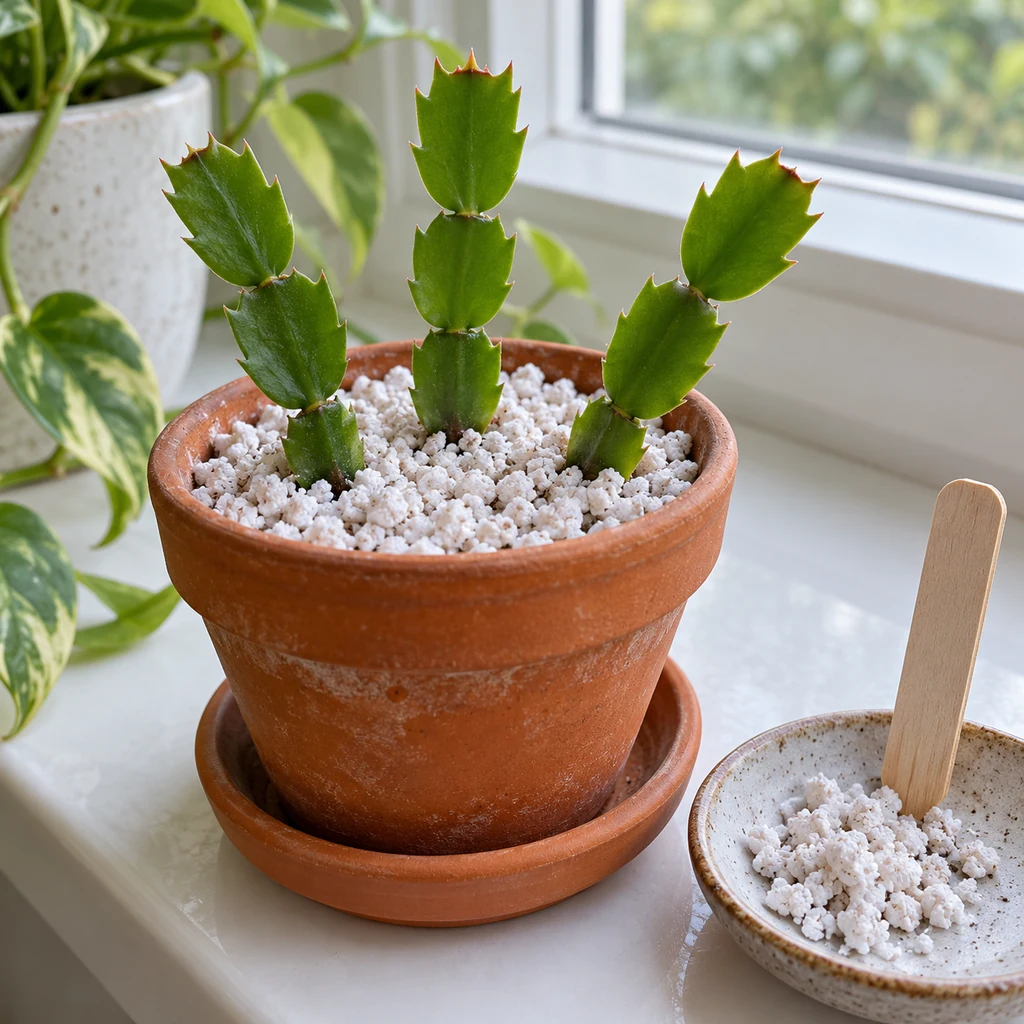
Step 6: Check for roots without yanking the stem
Expect rooting to take roughly six to eight weeks, although conditions can change the timing. Do not repeatedly tug on the top to “test” resistance. If you need to inspect a cutting, use a narrow blunt spatula to lift one carefully with some perlite and look for pale roots. The photograph shows the root end after a gentle check. A few tiny root nubs mean wait longer; roots about 1 inch or longer are a practical transplant signal. Set the cutting back gently if the root system is still short.
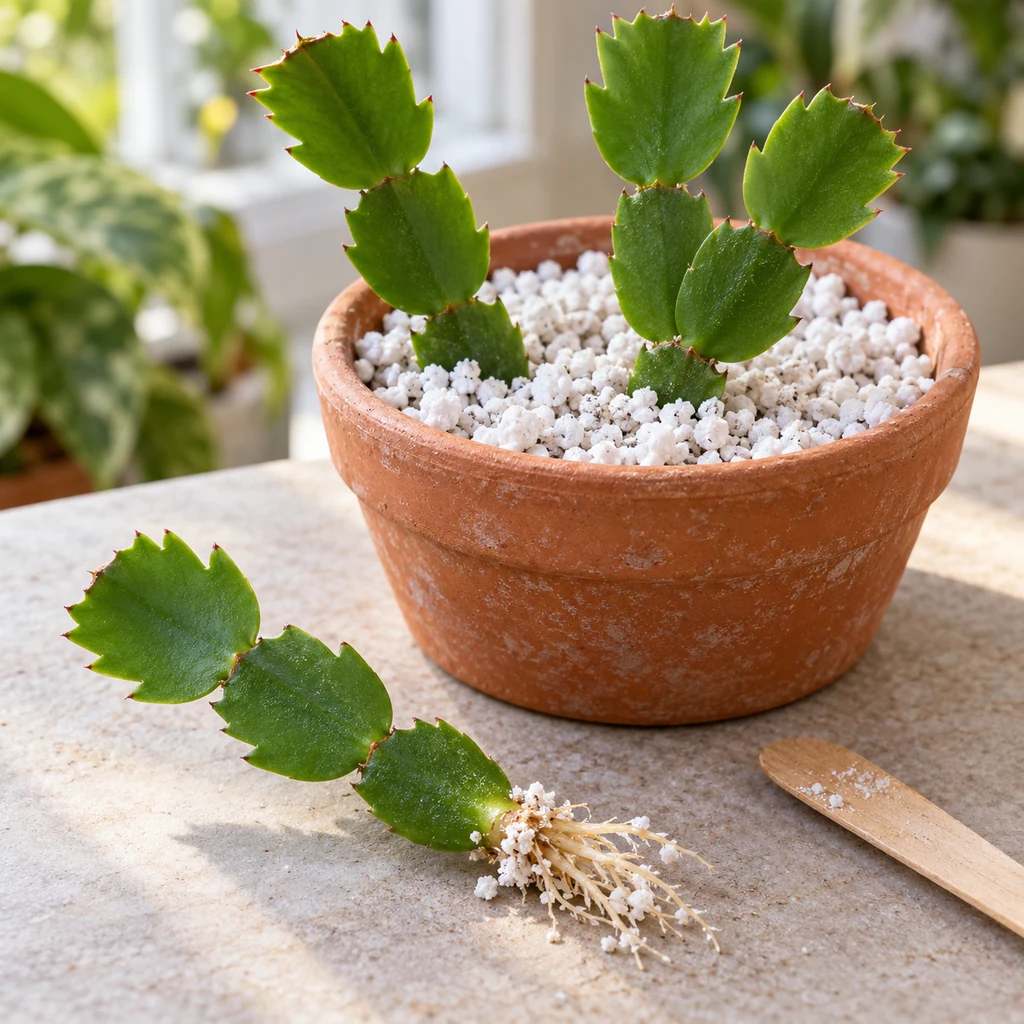
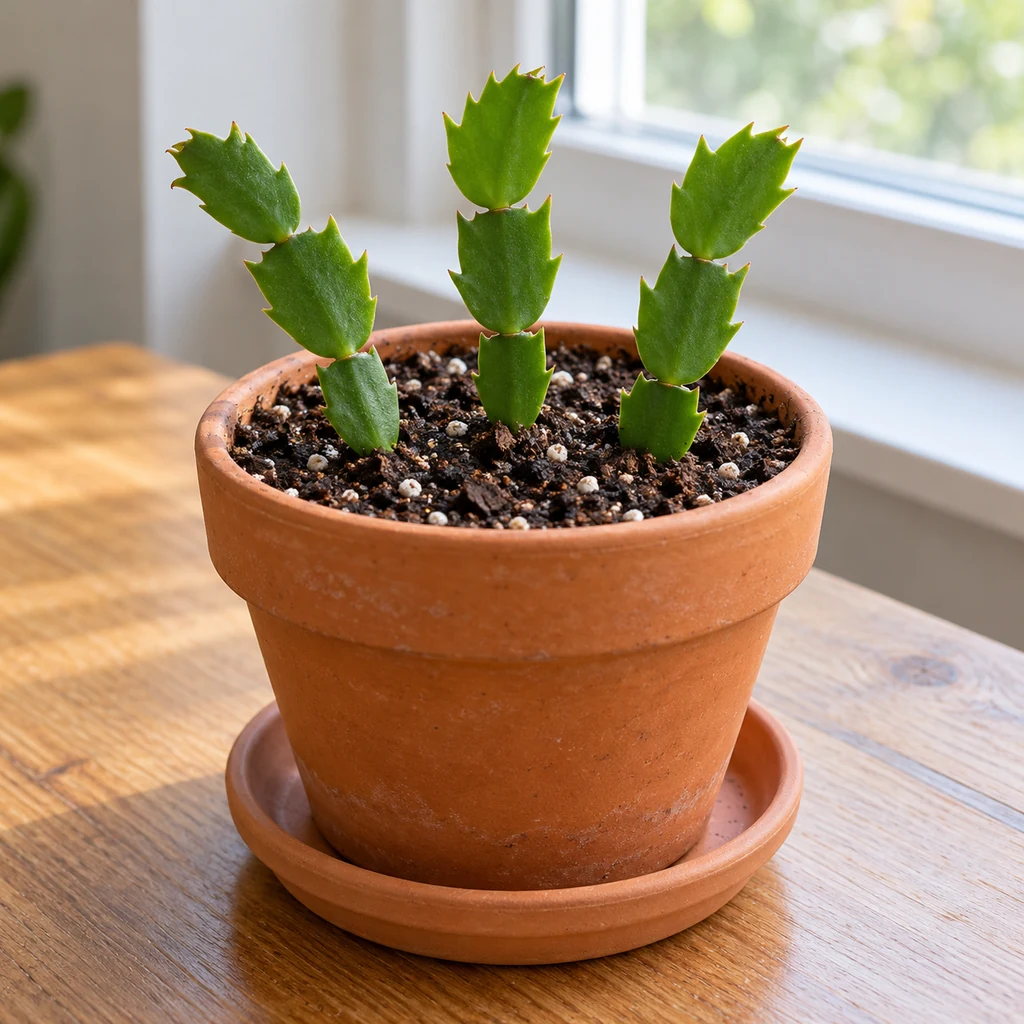
Step 7: Pot the rooted cuttings in a well-drained mix
Fill a small drainage pot with an airy, well-drained potting mix. Make openings for the roots, set the cuttings at about their former depth, and press the mix lightly enough to keep them upright. Water and allow the pot to drain completely. Keep it in bright indirect light while the roots settle.
What Can Go Wrong?
The base turns soft or dark
Remove the affected cutting and check whether the medium remains wet or water has collected in the saucer. Start again with firm healthy growth, a clean container and fresh draining medium. Callus the new cutting overnight. A rotted base will not be repaired by adding more water.
The segments wrinkle before roots appear
Check the perlite itself rather than assuming the plant needs a daily drink. If the medium has dried, moisten it and let excess water drain. If it is already wet, inspect the base for softness. A cutting with no roots cannot take up water like an established plant, so a slow start is possible.
Nothing seems to happen after a few weeks
Rooting is mostly invisible from above. Keep the light bright but filtered and the medium moist without saturation. Do one careful root inspection rather than lifting every cutting repeatedly. The six-to-eight-week range is a useful expectation, not a deadline.
The cutting falls over
Firm the perlite around the inserted basal section. If the cutting is unusually long, choose a shorter two- to three-segment piece next time. Avoid burying most of the chain merely to prop it up.
Aftercare and Other Holiday Plants
Once new roots are established, treat the young plant as a holiday cactus rather than a desert cactus: use bright filtered light, a pot that drains, and watering guided by the mix. Do not leave the pot standing in water. Flowering takes a mature, established plant and the right seasonal light and temperature conditions; a newly rooted cutting should be judged by healthy growth, not by whether it blooms right away.
Growing other seasonal plants indoors? Our hyacinth bulb-vase setup shows a different rooting process, while our poinsettia leaf-drop guide covers another common holiday houseplant problem.
Holiday Cactus Propagation FAQ
Can I root one segment?
A single segment may root, but a two- to five-segment section is the straightforward method used here. A three-segment cutting is easy to handle and leaves enough green growth above the perlite.
Should I propagate in water or perlite?
This guide uses perlite because the drained medium makes placement and moisture checks clear. Coarse sand is another rooting medium. If you prefer a water method, do not assume the same watering or transplant instructions apply.
Do I need rooting hormone?
No rooting hormone is required for the perlite method described here. Healthy material, the correct end down, drainage and patience matter more than an extra product.
When is the best time to take a cutting?
After flowering is a sensible time to prune and use the removed healthy segments. Avoid cutting off developing buds if your goal is to enjoy this season’s flowers.