
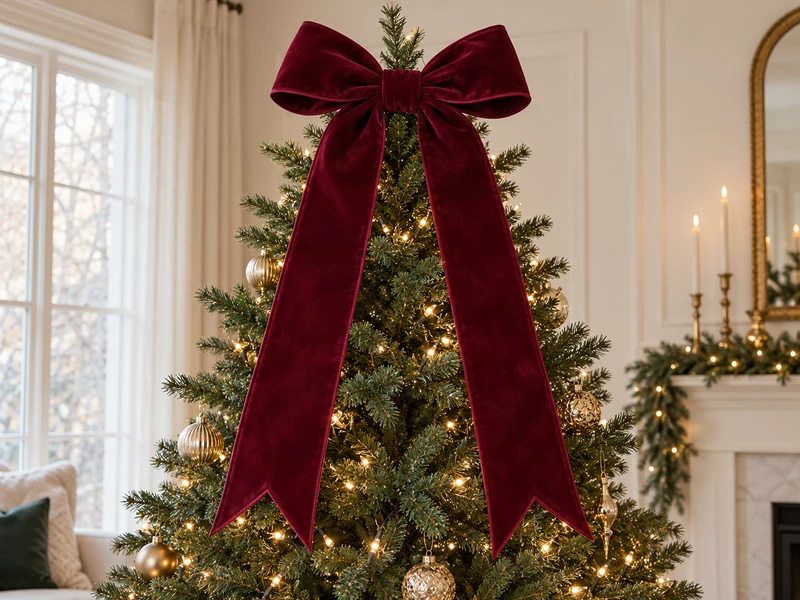
A soft velvet bow can look beautiful on a Christmas tree in a photo, then collapse or turn sideways as soon as you hang it. This DIY velvet Christmas tree topper bow uses wired-edge ribbon for shape and a separate floral-wire anchor for a secure attachment. The result is a broad two-loop bow with two long tails that can be adjusted after it goes on the tree.
Quick plan: Cut a short piece for the loops and a longer piece for the tails, pinch them together with floral wire, cover the center, trim the tails, then fasten the bow to a sturdy top stem. For a 6- to 7.5-foot tree, start with approximately 2½-inch-wide ribbon; adjust the proportions for your own tree before cutting.
These AI-generated step photographs are visual aids. Check your ribbon, wire, tree stem and light placement as you work.
Why This Bow Holds Its Shape
The wire sewn into both ribbon edges lets you curve the loops instead of relying on stiff fabric alone. A separate length of floral wire carries the bow’s weight at the center and connects it to the tree. If your ribbon has no wired edge, a large velvet loop may droop; make a smaller bow or choose wired velvet for this version.
Choose a stable central stem on an artificial tree or a sturdy upper branch on a real one. Do not use a strand of lights as an anchor, and never twist wire around an electrical cord. If the tree tip bends under the bow, move the attachment lower to a stronger branch or make a smaller, lighter bow.
Supplies and Dimensions
- About 9 to 10 feet of 2½-inch-wide wired-edge velvet ribbon in burgundy or another color
- One 40-inch ribbon length for the two bow loops
- One 60-inch ribbon length for two approximately 30-inch tails
- One 6-inch piece of narrow matching ribbon, about 1 inch wide, for the center wrap
- One 18- to 20-inch length of dark green floral wire and wire cutters
- Sharp fabric scissors, measuring tape and an optional temporary clothespin
The 40- and 60-inch lengths are starting dimensions, not a promise that every tree needs the same size. Before cutting, hold a loose length of ribbon near your tree and check the width and desired tail drop. Use a narrower ribbon and shorter tails for a tabletop tree. Keep the wire ends away from children and pets while you work.
How to Make a Velvet Christmas Tree Topper Bow
Step 1: Cut the loop piece and tail piece
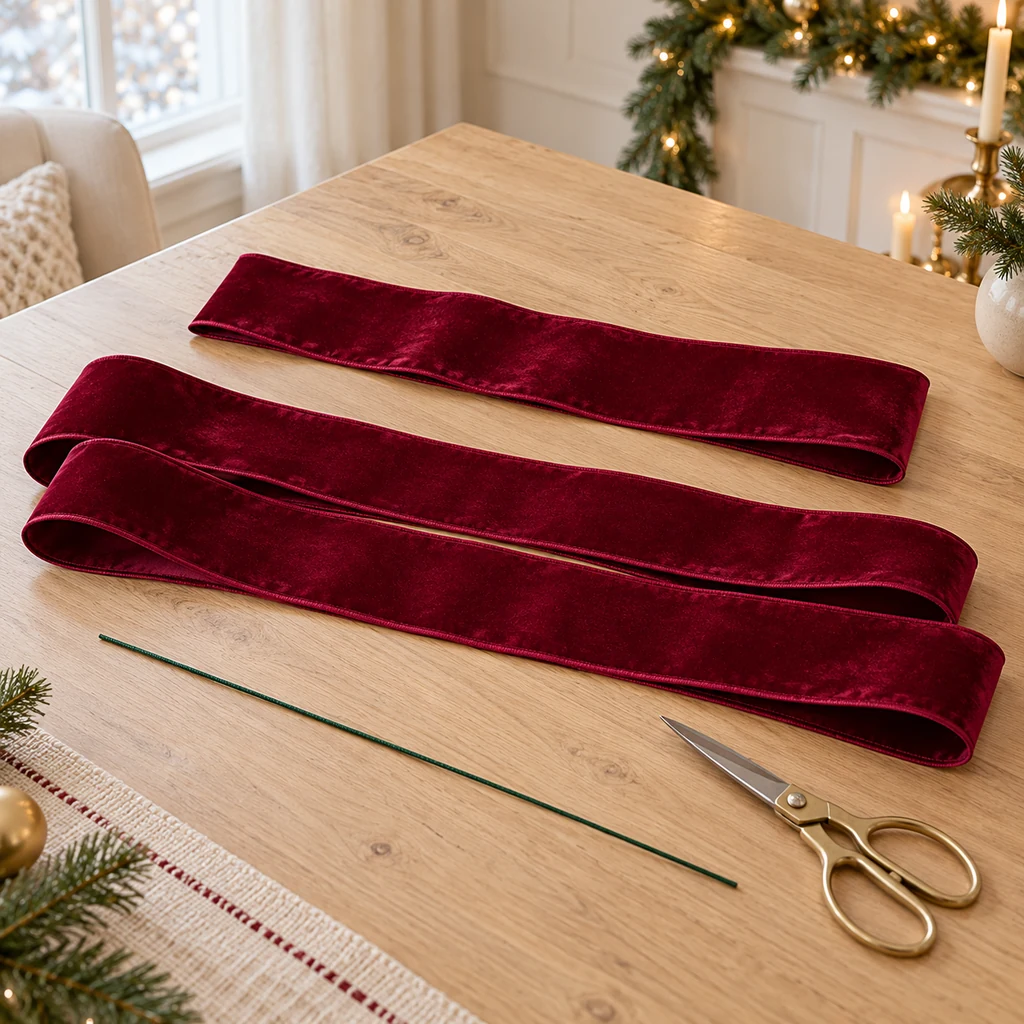
Measure and cut one 40-inch length of wide ribbon and one 60-inch length from the same spool. Cut the floral wire to about 18 to 20 inches. Put the shorter ribbon above the longer one on a clear table so you can see the two pieces separately. Leave the narrow center-wrap piece aside until Step 4; it is easier to fit after the middle has been wired.
Step 2: Fold two equal loops
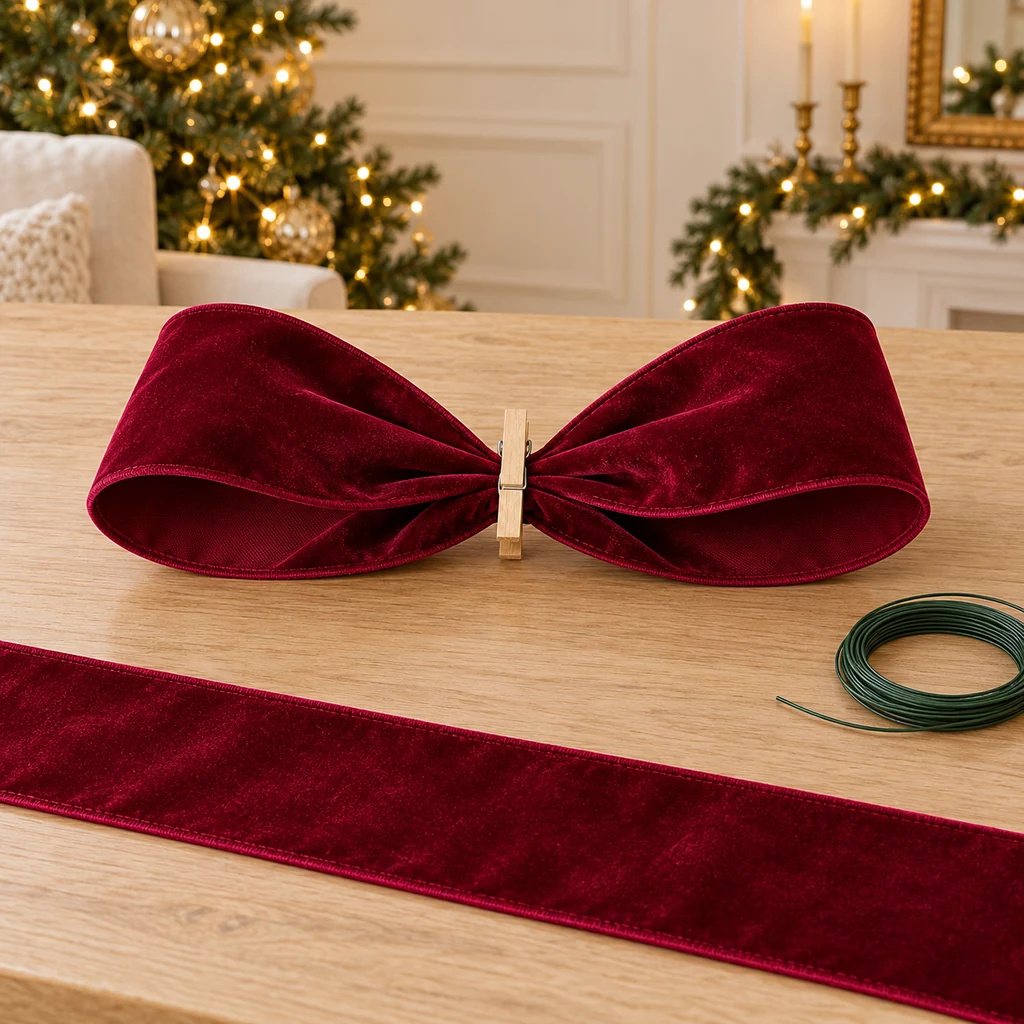
Bring both ends of the 40-inch piece inward so they overlap slightly at the middle. Pinch the overlapping center, leaving one broad loop on each side, approximately 8 to 9 inches from the pinch to the rounded outer edge. Adjust until both loops look alike. A clothespin can hold that pinch temporarily while you lay out the tails; remove it before wrapping the wire.
Step 3: Add the tails and secure the center
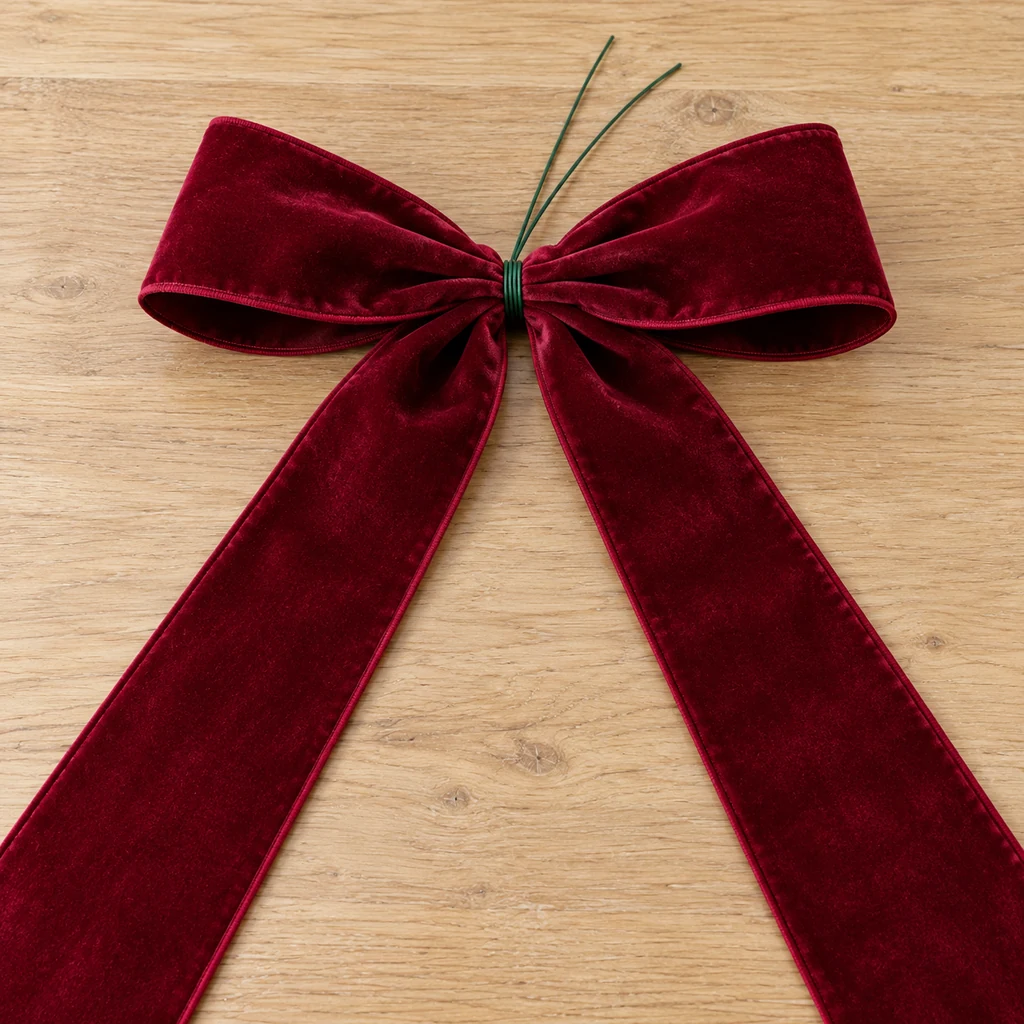
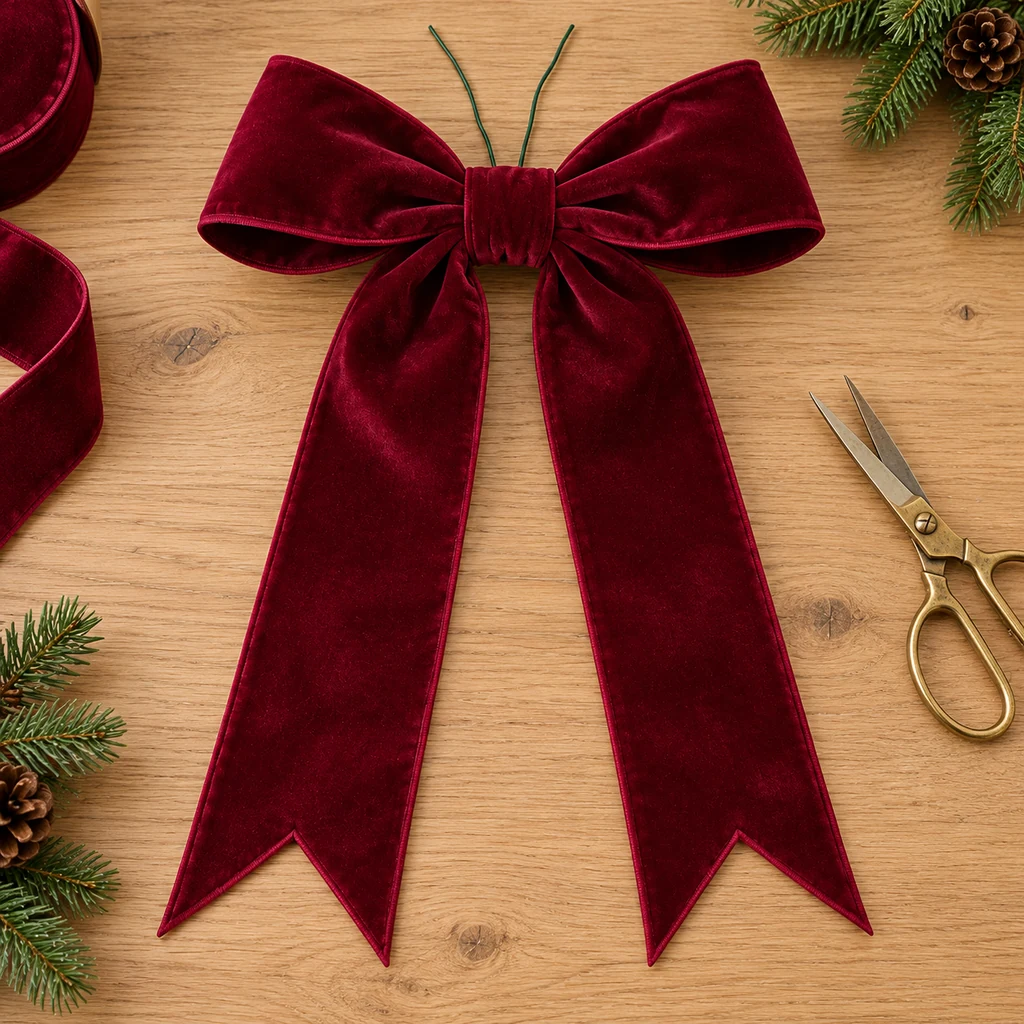
Find the midpoint of the 60-inch strip and lay it behind the pinched loop center so about 30 inches falls to each side. Remove the clothespin. Wrap the floral wire around both layers at the shared center two or three times, pulling snugly enough to hold the folds without crushing the velvet. Twist the wire once at the back and leave two long free ends; those ends will attach the bow to the tree.
Step 4: Cover the center and trim the tails
Wrap a 6-inch piece of narrow matching ribbon over the exposed wire at the front. Tie its ends firmly at the back, keeping the longer mounting-wire ends free. Shape the wired edges of both loops into gentle curves. Fold each tail end lengthwise and snip diagonally from the folded edge toward the outer edge to make a neat V notch; unfold and compare the two ends. Trim a little more only if needed.
Step 5: Wire the bow to a sturdy tree stem
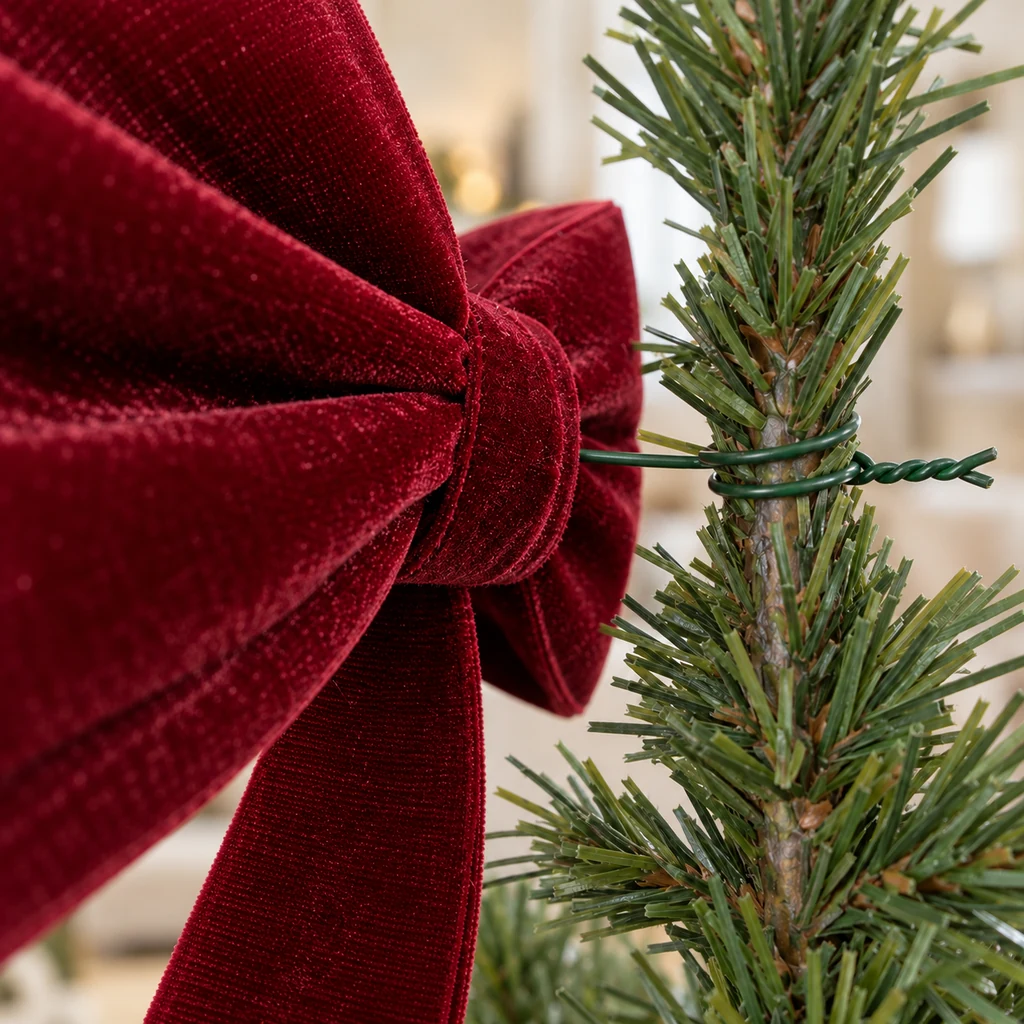
Place the bow close against a firm upright top stem, with its face toward the room. Working from behind the bow, take one free floral-wire end to each side of that stem and twist the ends together around it. Keep the connection snug but do not crush or snap the branch. Tuck sharp wire tips inward. The bow should sit close to the stem, not dangle from lights or a fragile tip. This side view shows where the anchor belongs.
Step 6: Fluff, separate the tails and check stability
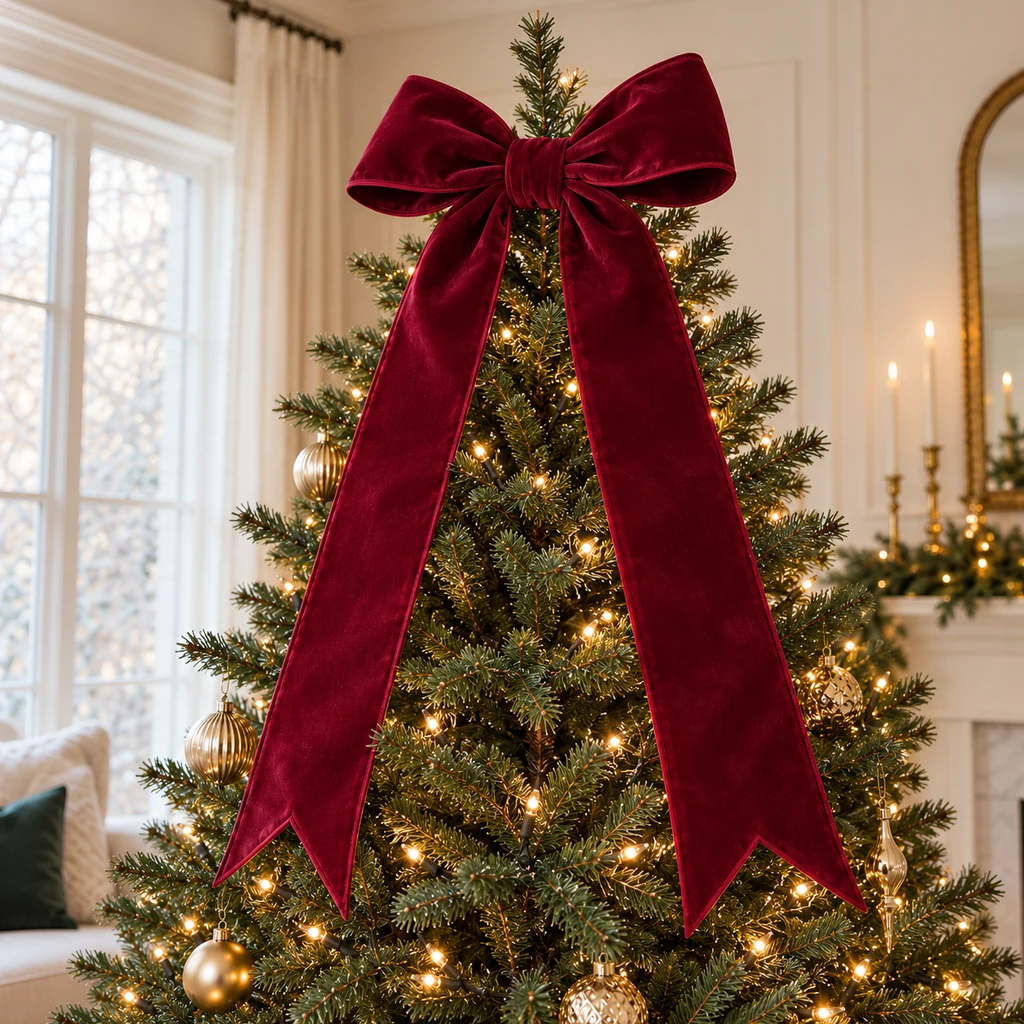
Curve each wired loop outward with your fingers, then spread the tails over different upper branches so they hang without twisting. Step back and look at the tree straight on. If the bow leans or the stem bends, take it down and choose a stronger attachment point; do not hide a weak connection with extra ornaments. Confirm that no wire pinches a light cord and that the tree remains stable.
If Your Bow Sags or Twists
The loops fold inward
Check that the ribbon really has wired edges along both sides. Gently roll each edge outward into a broad curve. If the velvet is unusually heavy, shorten the loops rather than pulling the center tighter.
The whole topper tips sideways
The attachment point may be too thin or the tails may be heavier on one side. Untwist the mounting wire, move the bow to a stronger stem and distribute the tails evenly. Avoid adding a rigid stick or hidden weight that could make the top of the tree less stable.
The tails look uneven
Lift both ends together and compare their drop before trimming. A small difference can be balanced by moving the tail strip slightly through the center binding if it is still loose; otherwise shorten the longer tail conservatively.
Storage and Styling Ideas
At the end of the season, untwist the mounting wire from the tree rather than pulling on the velvet. Coil the tails loosely and store the bow in a box large enough that the loops keep their shape. A tissue cushion inside each loop helps prevent crushing. Keep it dry and away from direct sunlight to protect the color.
For a coordinated handmade tree, pair this bow with our folded fabric pinecone ornaments. If you are decorating a nearby room, our nail-free window garland uses the same restrained burgundy-and-green palette. After the holidays, see how to store Christmas lights without tangling.
Velvet Tree Topper FAQ
Can I make it without floral wire?
A strong reusable plant tie can hold a smaller bow, but do not depend on a loose ribbon knot for a large, heavy topper. Whatever you use must hold the bow to a sturdy stem without contacting a light cord.
Can I use non-wired velvet ribbon?
Yes, for a smaller, softer bow. It will not keep the same broad upright loops as the wired version shown here, so set expectations and reduce the loop size.
Does the bow work on a real tree?
It can, if an upper branch is strong enough. Test the weight before shaping the tails; a flexible natural tip may not support a large velvet bow. Choose a smaller bow or a different topper if the branch bends.