
Learning how to highlight and contour is one of the easiest ways to make your makeup look more polished, balanced, and camera-ready. The goal is not to change your face or create harsh stripes. A good highlight and contour routine adds soft shadow where you want definition and subtle light where you want lift.
This beginner-friendly guide explains what to use, where to place each product, how to blend it naturally, and which mistakes to avoid. Use it as a practical face map the next time you do your makeup, whether you prefer a quick everyday look or a more sculpted glam finish.
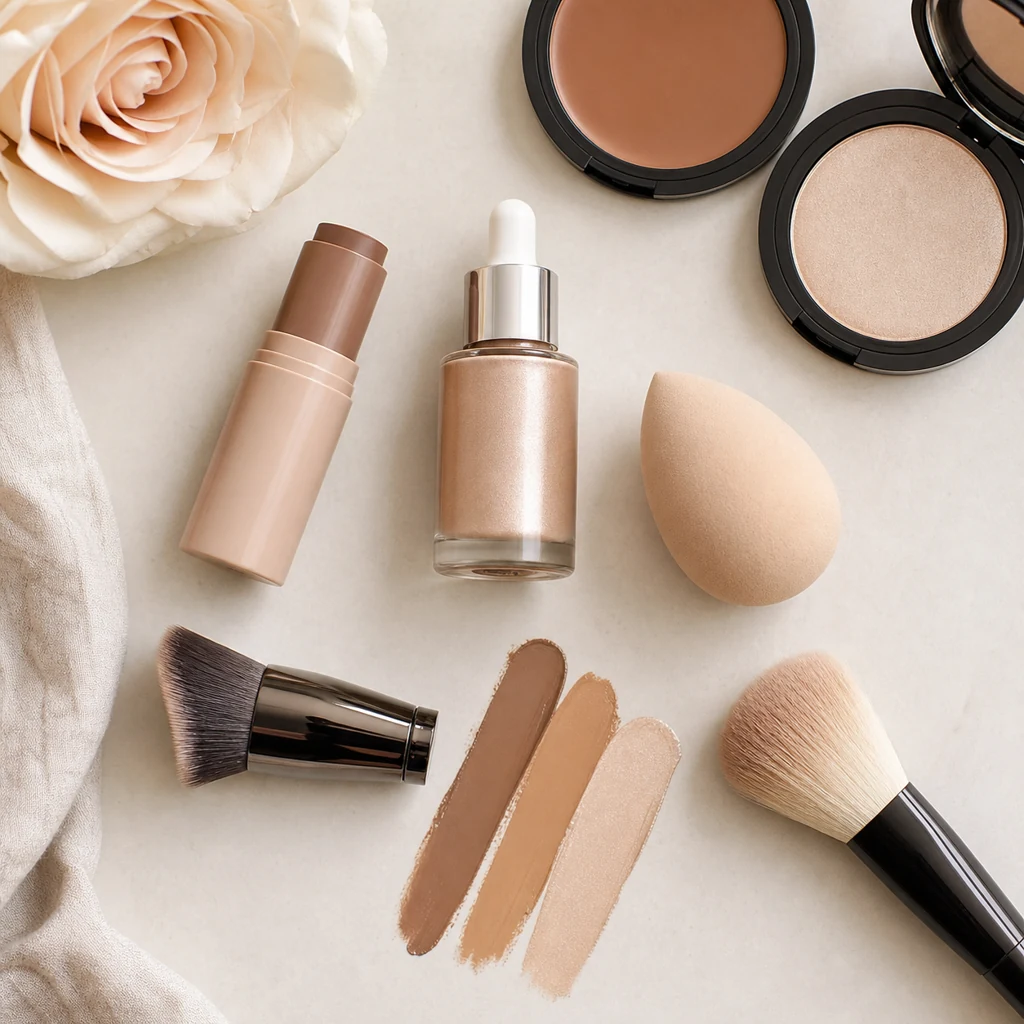
What Highlighting and Contouring Actually Do
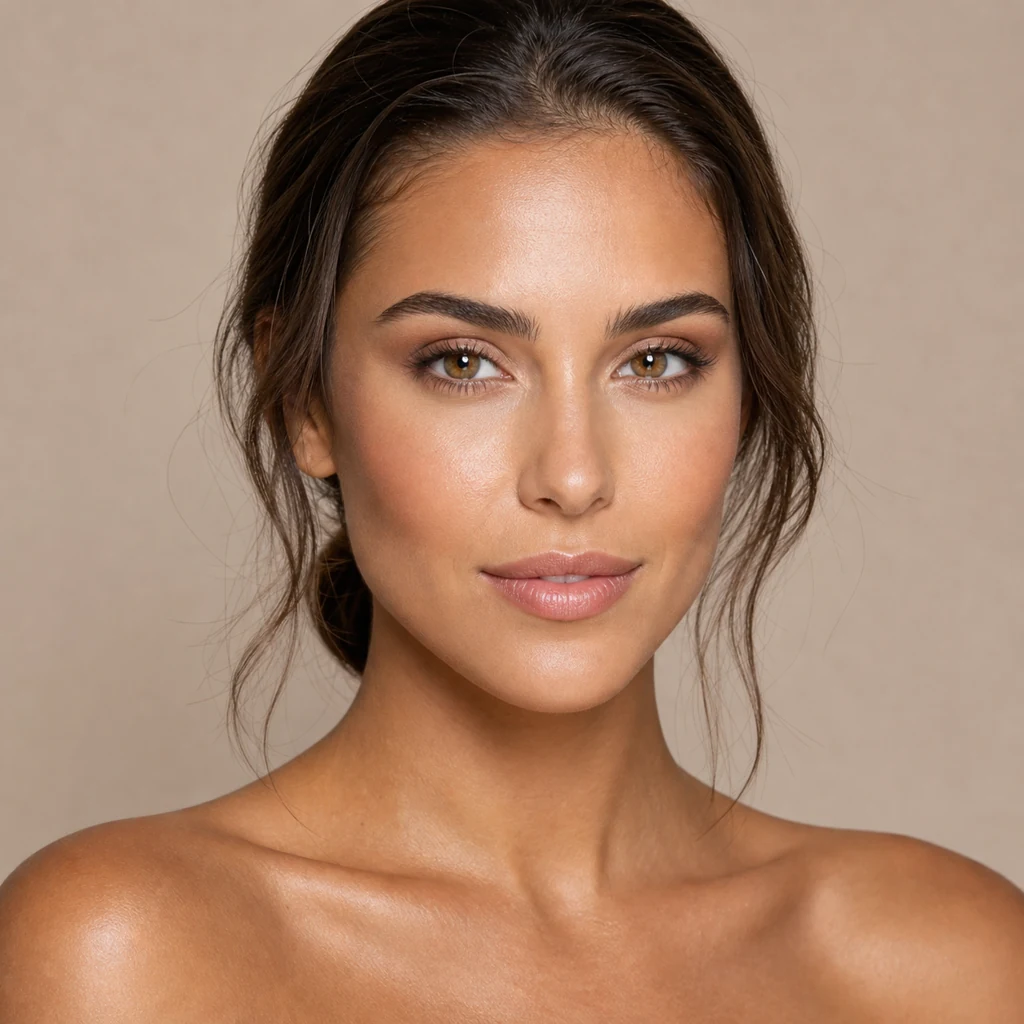
Contouring uses a shade slightly deeper than your skin tone to create the look of natural shadow. It is usually placed under the cheekbones, around the hairline, along the jawline, and sometimes on the sides of the nose. Highlighting does the opposite. It uses a lighter or more reflective product to bring certain areas forward, such as the tops of the cheekbones, the bridge of the nose, the brow bone, and the cupid’s bow.
The best contour and highlight looks are subtle. If someone notices stripes before they notice your face, the placement or blending is probably too strong. Think of contour as soft structure and highlight as fresh light.
What You Need Before You Start
You do not need a large makeup kit to learn this technique. A small set of well-chosen products is easier to control and usually looks more natural.
- Base product: foundation, skin tint, or concealer that matches your skin.
- Contour shade: one to two shades deeper than your skin tone with a neutral or slightly cool undertone.
- Highlight shade: a concealer one shade lighter or a soft luminous highlighter.
- Blending tool: a damp sponge for cream products or a fluffy brush for powders.
- Setting product: light powder or setting spray to keep everything in place.
If you are new to contouring, cream products are often easier because they blend into the skin before they set. Powder contour can be beautiful too, especially for oily skin or quick makeup days, but it is less forgiving if you apply too much at once.
Where to Apply Contour
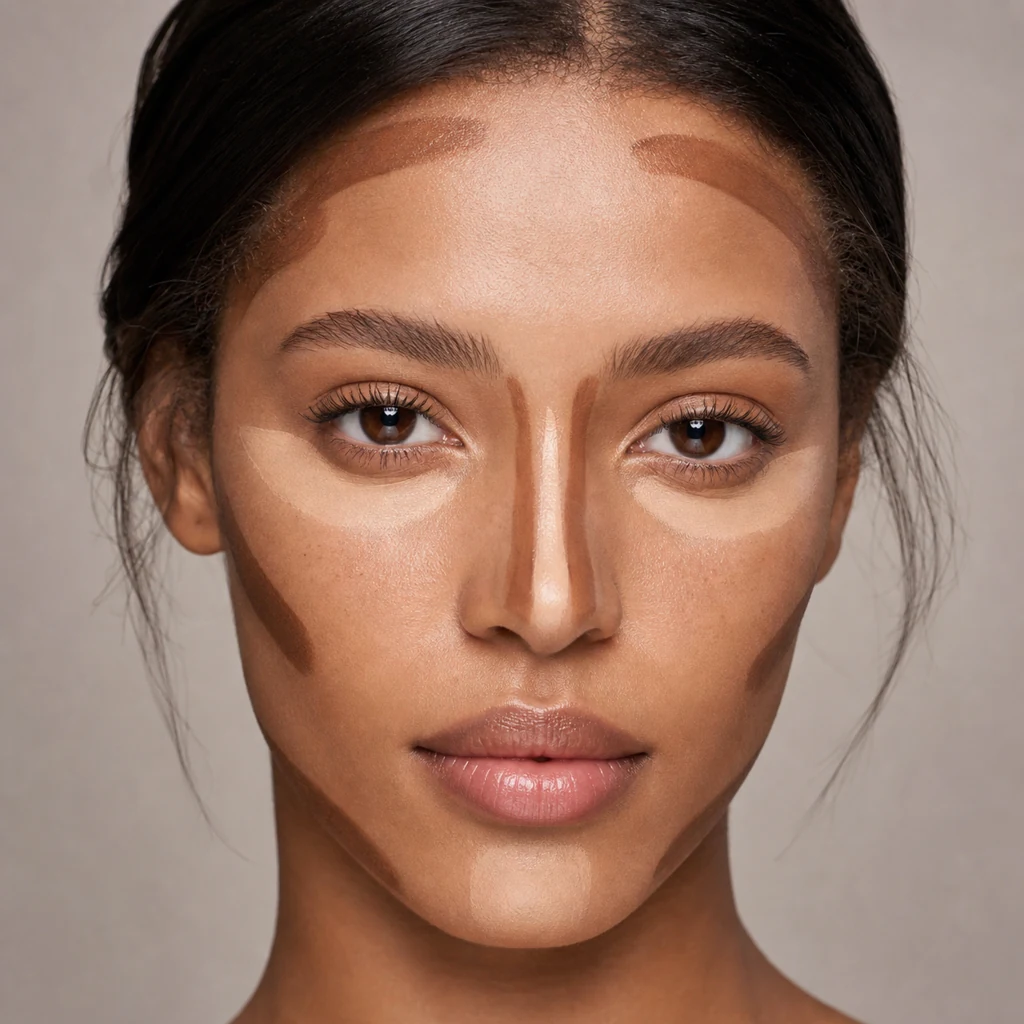
For most face shapes, start with the cheekbones. Place contour just under the cheekbone, beginning near the ear and stopping before you reach the center of the cheek. Keeping the product higher on the face gives a lifted effect; placing it too low can make the face look heavy.
Next, apply a small amount around the temples or hairline if you want warmth and balance. A light touch along the jawline can softly define the lower face, but avoid dragging the shade too far down the neck. For nose contour, use very little product and keep the lines close to the natural sides of the nose. Nose contour should be blended especially well because it sits in the center of the face.
Where to Apply Highlight
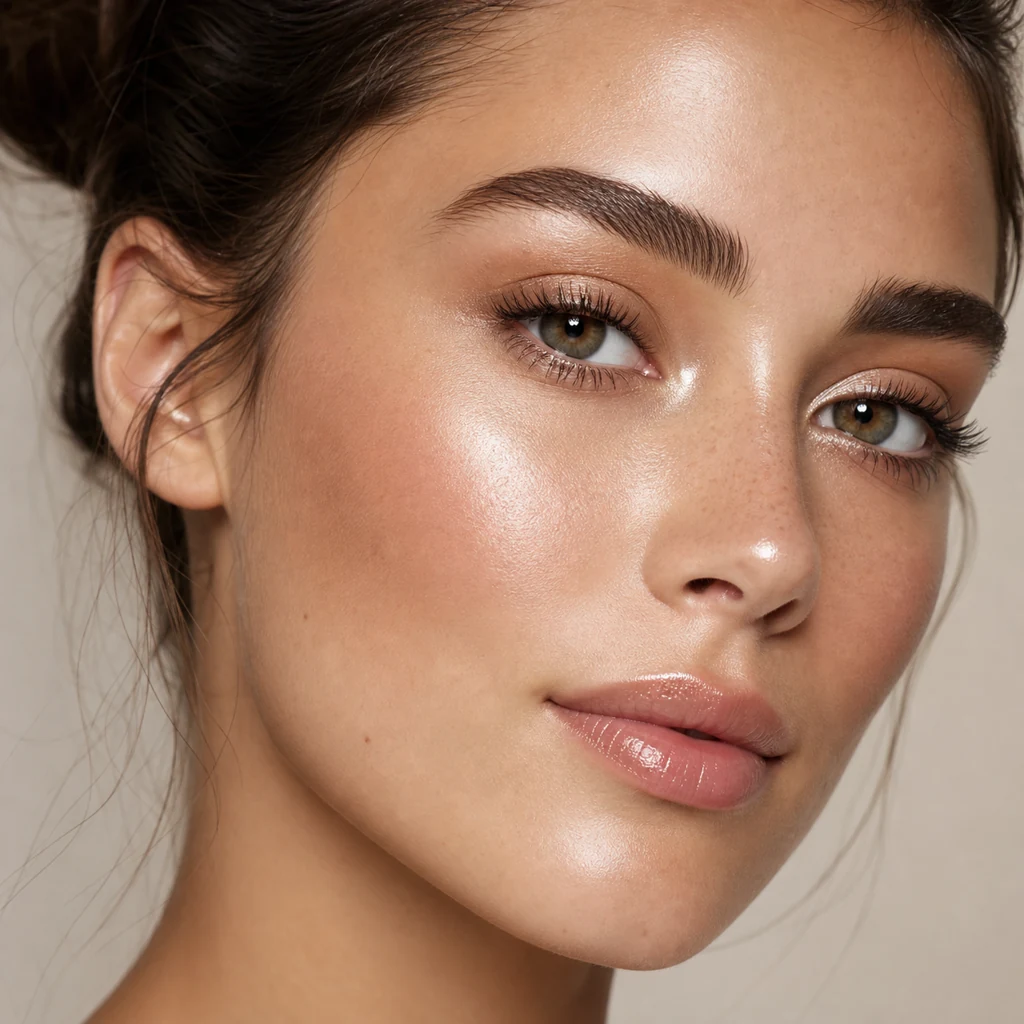
Apply highlight to the areas that naturally catch light. The safest places are the tops of the cheekbones, the center of the forehead, the bridge of the nose, the brow bone, and a small touch on the cupid’s bow. If you are using a lighter concealer, you can also brighten under the eyes in a small triangle or soft oval shape.
For everyday makeup, avoid using a very shiny highlighter on textured areas, active breakouts, or deep smile lines. A soft satin glow is more forgiving than a glittery finish. If you want a wearable look, build the highlight slowly and check it in natural light before adding more.
Step-by-Step Highlight and Contour Routine
Use this routine when you want a natural sculpted look without overcomplicating your makeup.
1. Apply Your Base First
Start with hydrated skin and a thin layer of foundation, skin tint, or concealer. Your base does not need to be full coverage. In fact, contour often looks better when the skin still has some natural texture and dimension.
2. Add Contour in Small Amounts
Place contour under the cheekbones, around the hairline, along the jawline, and only where needed on the nose. Use less than you think you need. You can always build the shape after blending.
3. Add Highlight to Lift the Face
Apply your lighter shade or luminous highlighter to the high points of the face. Keep it controlled, especially around the nose and forehead. The goal is soft brightness, not a wide shiny area.
4. Blend in the Right Direction
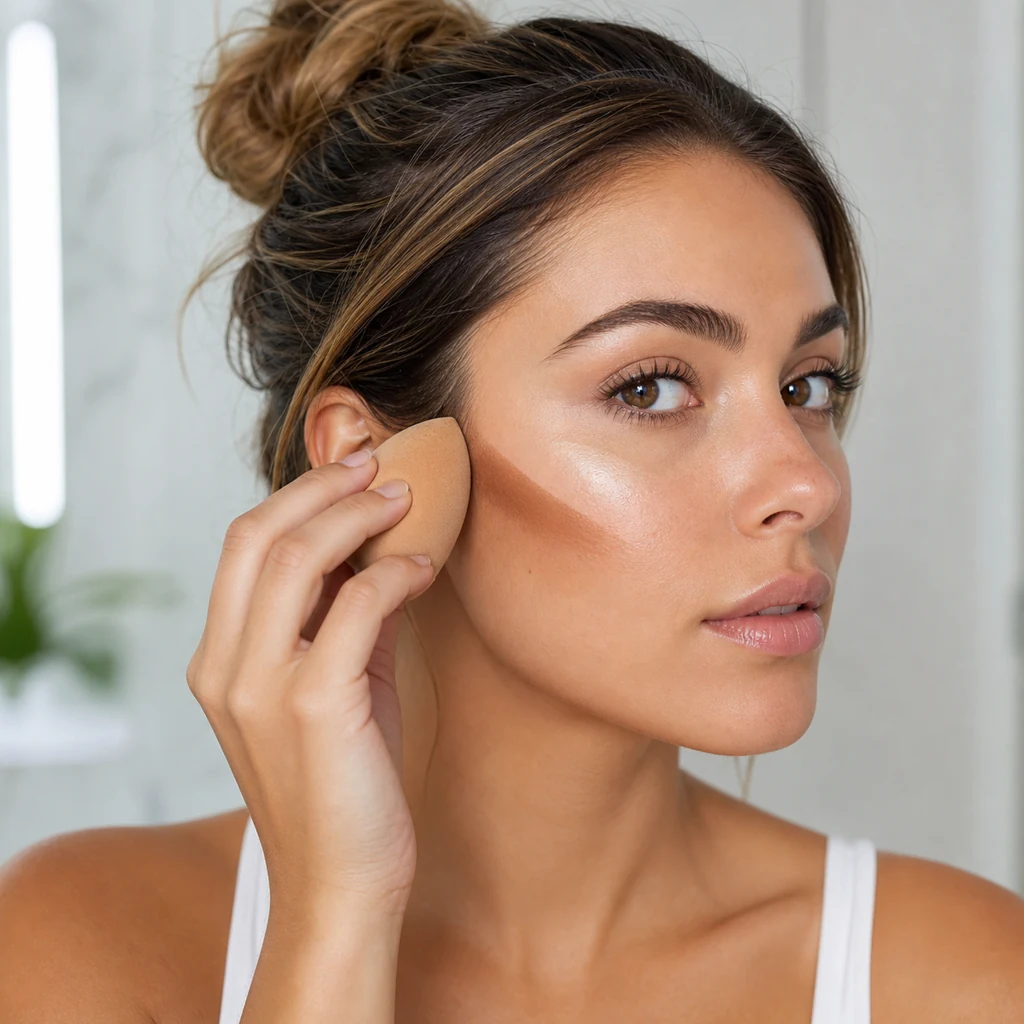
Blend contour upward toward the hairline and outward toward the edges of the face. Blend highlight by tapping, not wiping, so you do not move your base underneath. A damp sponge gives a softer finish, while a brush can offer more precision.
5. Set Lightly
Set the center of the face with a small amount of powder if you get oily or if your makeup creases. Leave the cheekbones slightly fresh if you want a skin-like glow. Finish with setting spray if you want the products to melt together.
Cream vs. Powder Contour
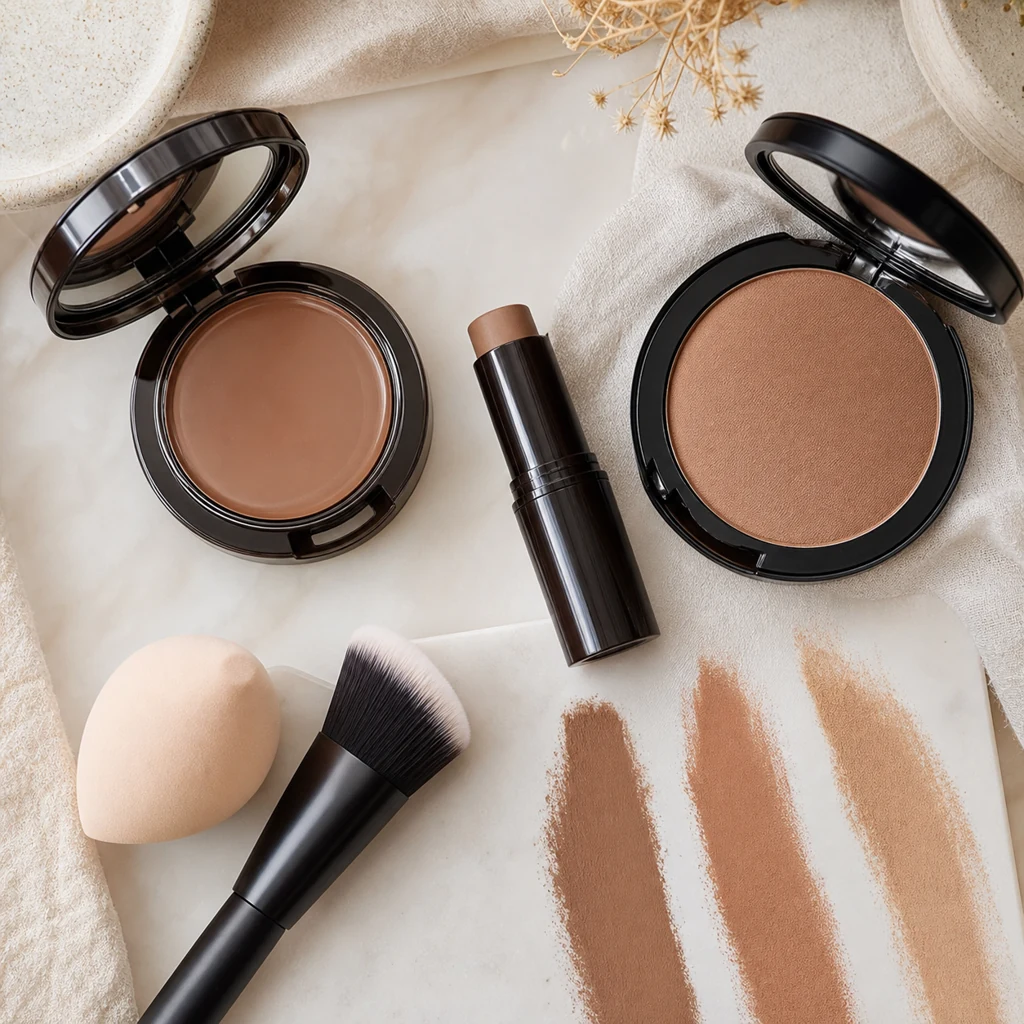
Cream contour is best when you want a natural, flexible finish. It works well before powder and can be blended with a sponge or dense brush. Powder contour is best when you want speed, oil control, or a softer matte result. If your skin is dry, cream may look smoother. If your skin is oily, powder may last longer.
You can also combine both, but keep the layers thin. Apply cream first, blend it fully, then set with a small amount of powder contour only where you want extra definition.
Tips for Different Face Shapes
Face shape guides can be helpful, but they are not strict rules. Use them as a starting point and adjust based on what looks balanced in the mirror.
- Round face: keep cheek contour slightly higher and blend upward for lift.
- Oval face: use light contour under the cheekbones and minimal jawline shading.
- Square face: soften the outer corners of the forehead and jaw with gentle blending.
- Heart-shaped face: balance the forehead with light temple contour and keep the chin highlight soft.
- Long face: avoid pulling contour too low; keep warmth around the hairline and cheeks.
If your main goal is making the nose look softer or more balanced, you may also like this related guide: 7 Makeup Tips To Make Your Nose Look Smaller And Thinner.
Common Highlight and Contour Mistakes
- Using a contour shade that is too warm: this can look orange instead of shadow-like.
- Placing cheek contour too low: this can pull the face downward.
- Skipping blending around the hairline: visible edges make contour look obvious.
- Using too much shimmer: strong highlighter can emphasize texture.
- Applying everything at once: thin layers are easier to fix and more natural.
For an everyday version of this look, pair your sculpting steps with a simple base, soft brows, and neutral lips. This everyday makeup routine for glowing skin is a natural next step if you want a full-face routine.
Beginner Highlight and Contour Checklist
- Choose a contour shade one to two shades deeper than your skin tone.
- Keep cheek contour high and stop before the center of the cheek.
- Apply highlight only to areas you want to bring forward.
- Blend cream products before they dry down.
- Use tapping motions around concealer and highlighter.
- Check your makeup in natural light before leaving the house.
- Set only where needed so the skin does not look flat.
FAQ
Do you highlight or contour first?
Most beginners find it easier to apply contour first, then highlight. This lets you place shadow, add brightness, and blend the two areas together without losing the shape.
Can I contour without foundation?
Yes. You can use contour over bare skin or tinted moisturizer as long as the product blends smoothly. For the most natural result, choose a cream formula and use a very small amount.
What shade should contour be?
Choose a shade one to two shades deeper than your skin tone. A neutral or slightly cool undertone usually looks more like a real shadow than a very warm bronzer.
Where should beginners avoid highlighter?
Avoid heavy shimmer on textured areas, large pores, deep lines, or active breakouts if you do not want to emphasize them. Use a soft glow on the cheekbones instead.
How do I make contour look natural?
Use less product, keep the placement high, blend the edges fully, and check your makeup in daylight. Natural contour should create quiet definition, not visible stripes.
Final Thoughts
Highlighting and contouring become much easier when you stop thinking of them as dramatic makeover steps and start treating them as light and shadow. Place contour where you want soft definition, add highlight where you want lift, and blend everything until the edges disappear. With the right shade, light layers, and a steady hand, this technique can look natural enough for daytime and polished enough for special occasions.