
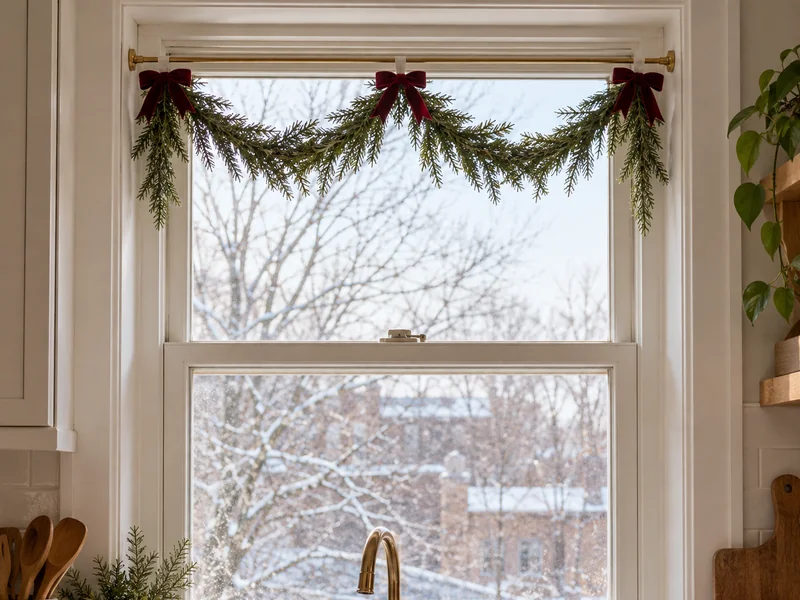
A festive window can make a small room feel dressed for the holidays, but drilling into trim or piling greenery on the sill is rarely appealing. A lightweight faux garland on a tension rod gives you a removable display inside a recessed window. The key is choosing a rod that fits the actual opening, keeping the decorations well below its rated load, and checking that the window still operates.
Quick plan: Measure the inside width, lay out a light garland and soft ties, test-fit a rod against solid side jambs, hang two shallow swags, then check the rod and sash clearance. This project uses no nails or adhesive; pressure-mounted rods can still mark weak paint or slip on unsuitable surfaces, so inspect your trim and follow your rod’s instructions.
These AI-generated step photographs are visual aids. Check your own window shape, rod rating, and clearance before installing decorations.
Will a Tension Rod Work in Your Window?
You need a recessed opening with two opposing, solid, reasonably flat side surfaces for the rod’s padded ends. Do not brace the rod against glass, a movable sash, a thin loose trim strip, or crumbling paint. Check the manufacturer’s width range and load rating for your rod; tension rods vary widely. The garland, ties, bows and any additions together must remain comfortably within that rating. When in doubt, use a shorter, lighter garland or choose a different mounting method.
Before buying supplies, open and close the window and note where the latch, blinds, curtains and ventilation path move. Never block a required exit or a window that must open easily. For a different nail-free greenery project, see our small-space Christmas stocking display or four-zone linen closet setup for storing seasonal linens afterward.
What You Need
- A slim adjustable tension rod whose stated width range covers the measured recess
- One lightweight faux evergreen garland, at least slightly longer than the visible span for two shallow swags
- Three or more short reusable soft fabric ties
- Optional small, lightweight fabric bows
- Tape measure and a clean dry cloth
Skip glass ornaments, wet real greenery, heavy battery packs and anything that could fall into a sink, onto a counter or onto a person. If the rod package requires a particular surface or installation method, use that guidance.
How to Hang a Christmas Garland on a Window Without Nails
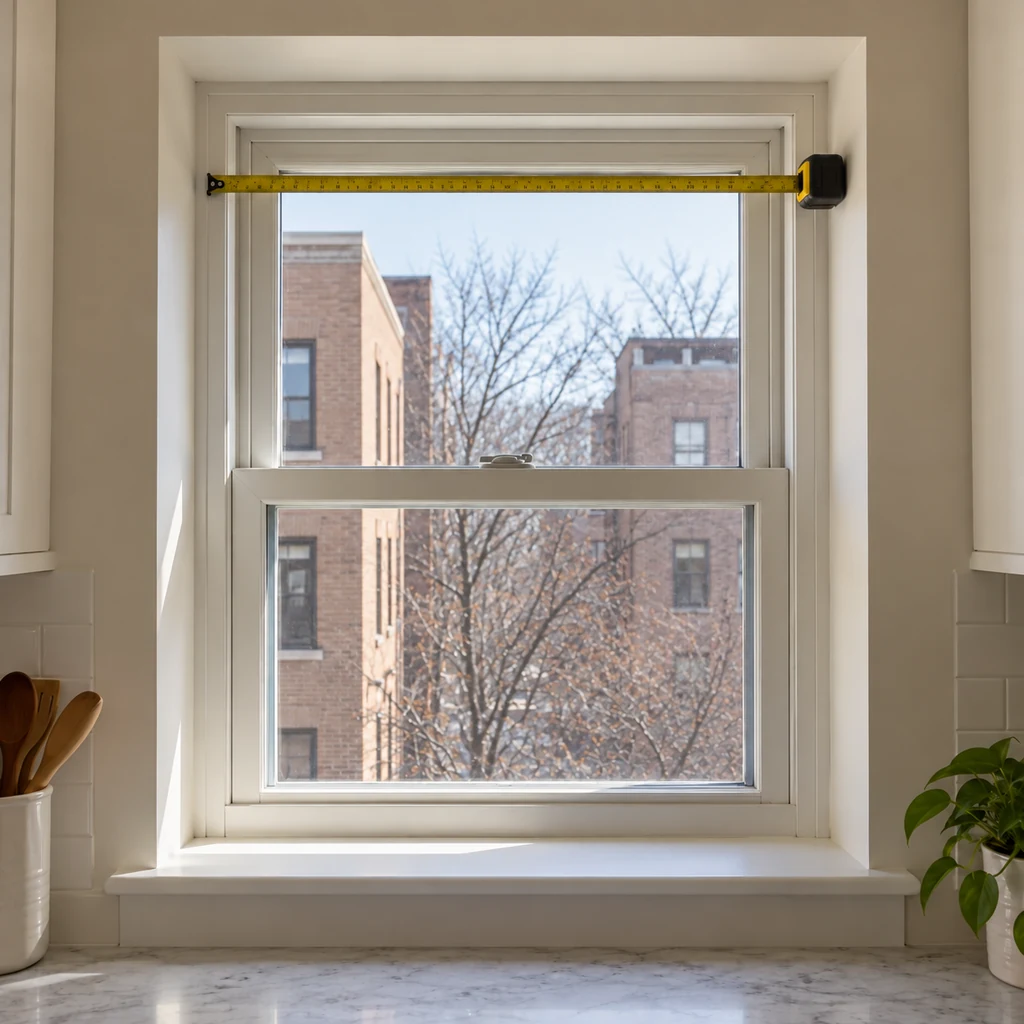
Step 1: Measure the inner recess
Measure the distance from the left inner jamb to the right inner jamb at the height where the rod will actually sit. Measure again a little lower if the opening is not perfectly square. Select a rod whose adjustable range includes that width without being at its absolute limit. In the photo, the tape spans the opposing inner surfaces rather than the outside edges of the decorative trim.
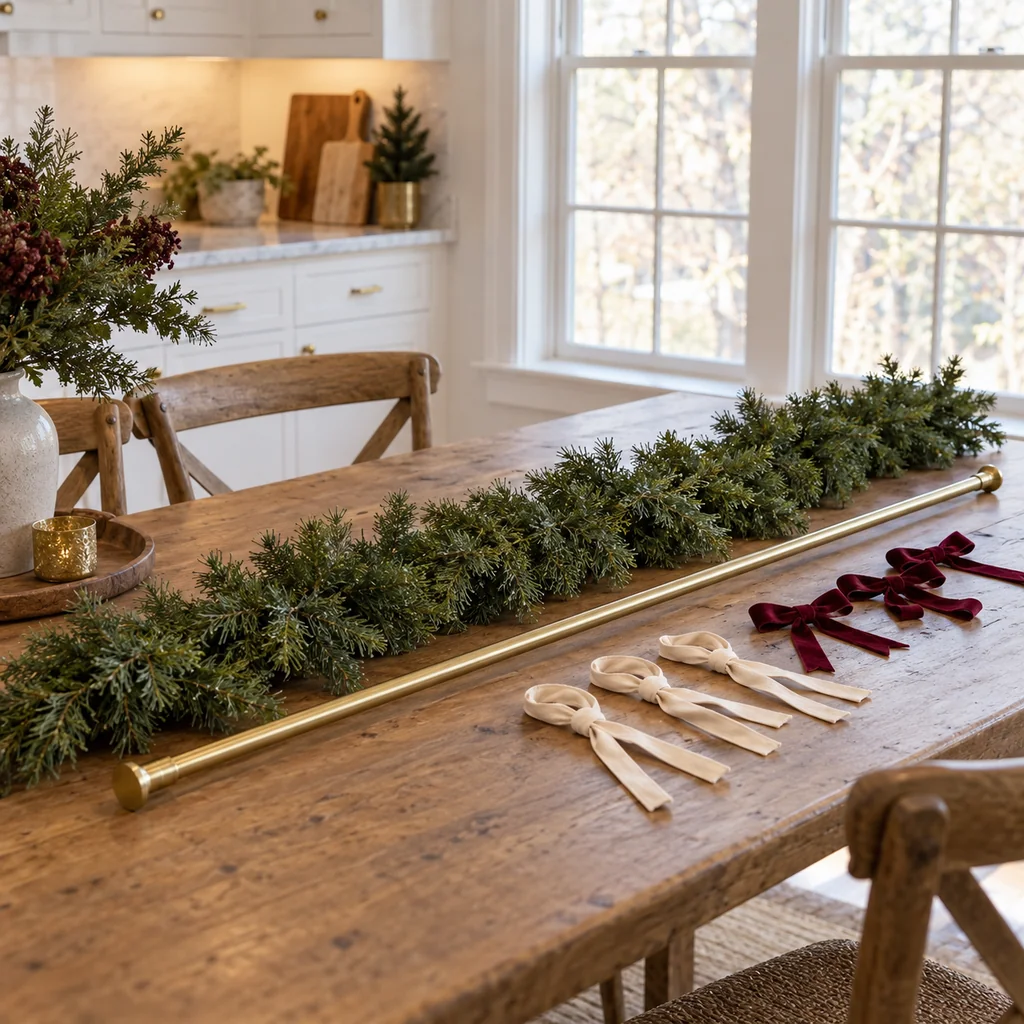
Step 2: Lay out a lightweight garland
Place the rod, garland, three soft ties and optional bows together on a table. Spread the faux greenery and remove anything unexpectedly heavy. Plan three support points—near each end and in the center—to form two gentle swags. Test the amount of droop against the window height. A compact, open display looks fuller than a dense bundle pushed against the glass.
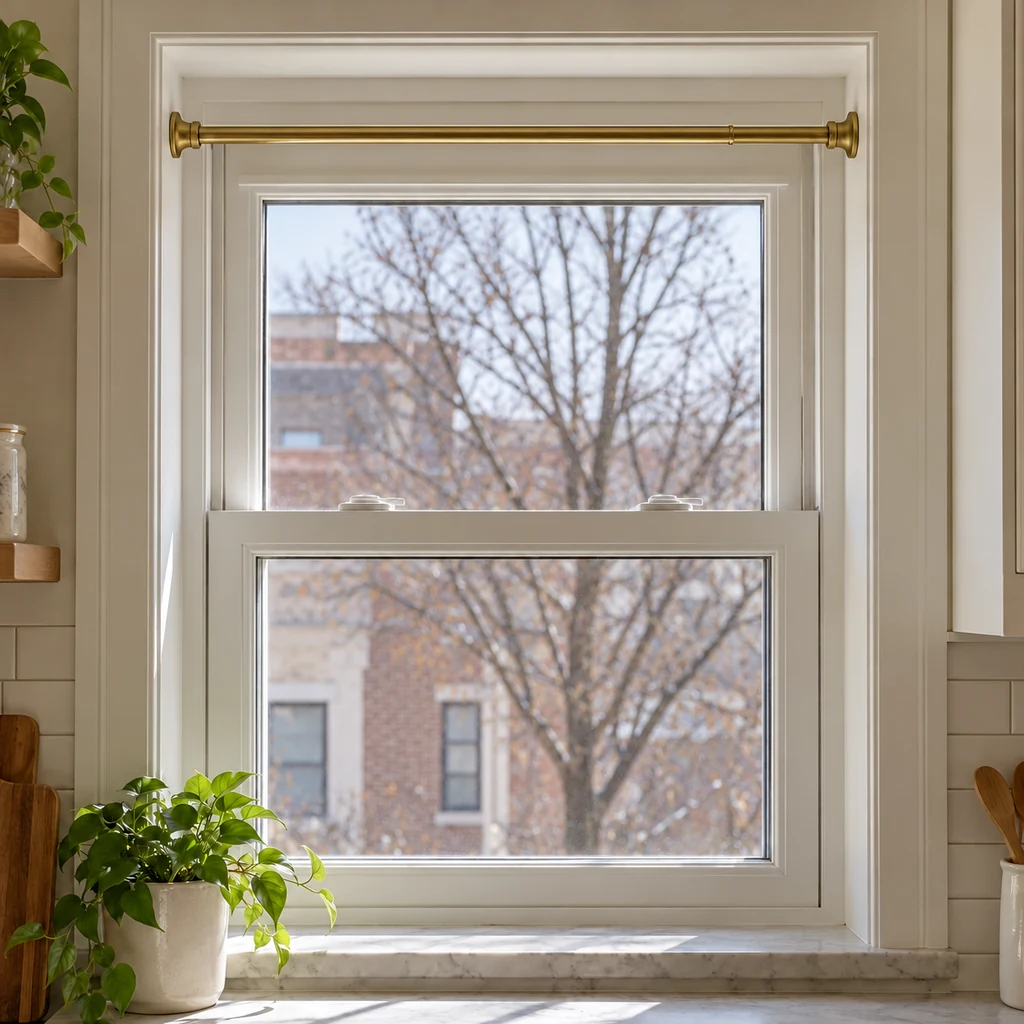
Step 3: Test-fit the tension rod
Wipe the two contact surfaces clean and dry. Install the bare rod near the upper inside edge using its manufacturer’s directions. Keep it level, with both padded ends resting fully against solid vertical jambs. Apply only the tension instructed for the product; over-tightening can damage trim. Gently test for movement before adding greenery. If it twists, slides, bows or presses on a movable window part, take it down and choose another location or mounting method.
Step 4: Tie on the garland in two shallow swags
Use one soft tie near each end and one at the center. Secure the garland to the rod without squeezing foliage into a tight lump. Let the greenery hang in two balanced, shallow curves; shift the center tie until both sides look even. The ties should carry the weight rather than a few delicate branch tips. Keep the rod’s overall load below its rating and leave space above the moving sash.
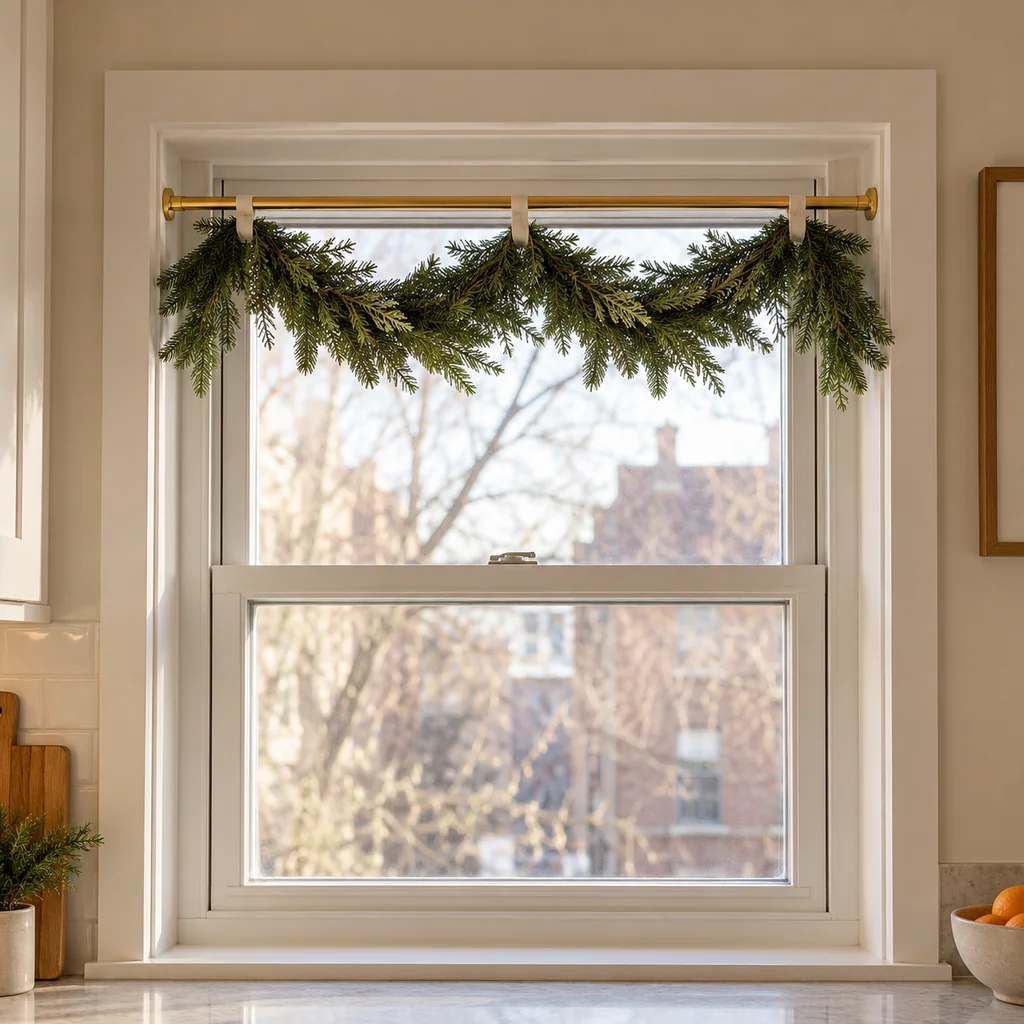
Step 5: Add bows and check the window
Add small fabric bows over the ties if you like. Stand back and check that the garland stays even; then operate the window slowly and confirm that the latch, sash, blind and curtain paths are clear. Do not force a sash against the decoration. Recheck the rod after the first day and whenever temperature or humidity changes. If it slips, remove weight immediately and relocate or replace the support instead of adding more tension blindly.
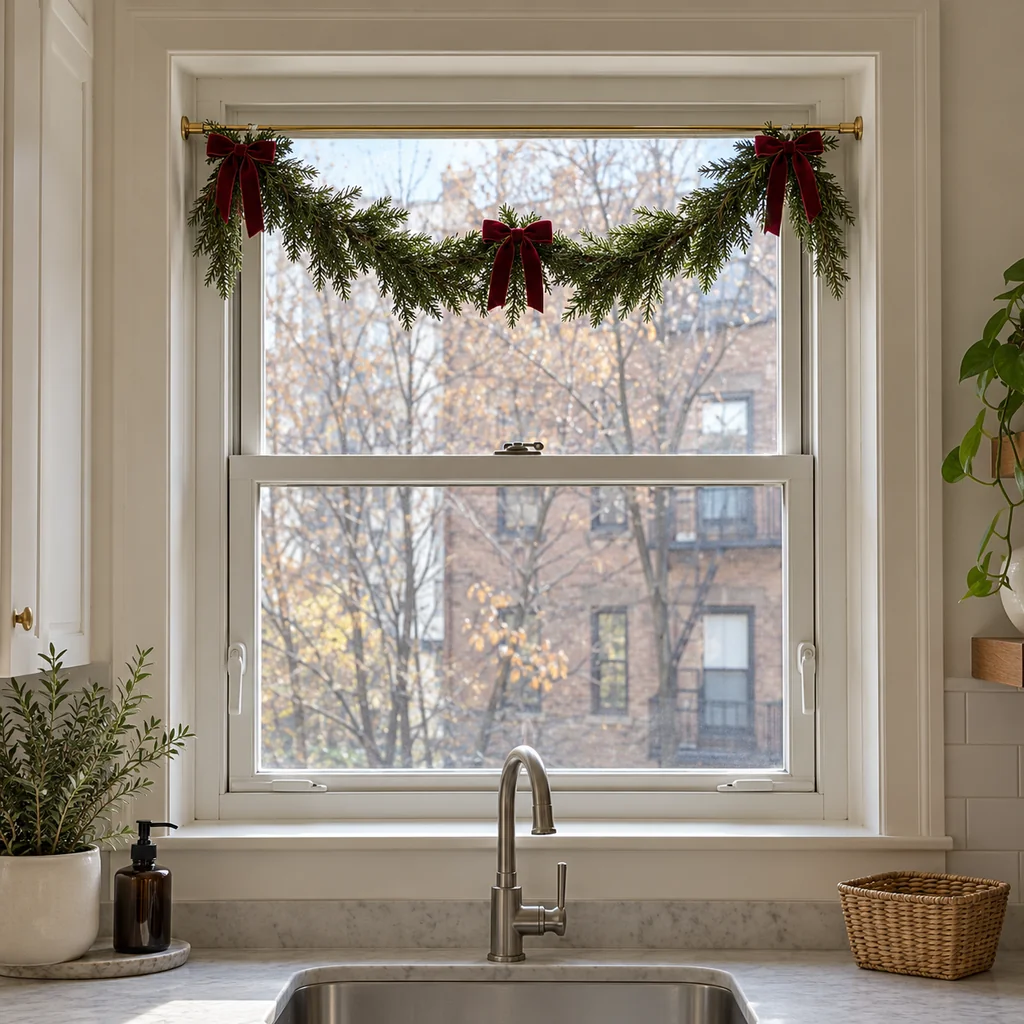
How to Take It Down and Store It
Untie the bows and fabric loops, support the garland as you lower it, and release the rod according to its instructions. Check the contact points for marks and clean the trim gently. Coil the faux greenery loosely rather than crushing it into a small box. Keep the ties and bows in a labeled pouch so the layout is easy to repeat next year. If your holiday setup includes loose string lights elsewhere, our Christmas light storage guide covers a separate no-tangle method.
Common Problems
The rod slips after the garland goes up
Take the garland down. Check the combined weight, width range, contact surfaces and installation directions. A lighter garland or a rod intended for that span is safer than adding more pressure to fragile trim.
The garland blocks the window
Shorten the drop by moving support ties closer to the ends and reducing the center sag. If the sash still touches it, remove the display from that window.
The swags look uneven
Move the center tie along the rod in small increments, then spread the branches. Keep the support points symmetrical even if the greenery’s fullness differs from side to side.
Window Garland FAQ
Can I use a real evergreen garland?
Fresh greenery is often heavier and can shed or dry out indoors. Use it only if the complete display remains within your rod’s rating and you can inspect it often. The lightweight faux method shown here is more predictable.
Can I hang lights on the same rod?
Only if the rod still has adequate capacity, the light set is intended for indoor use, the cord does not cross a moving sash or water source, and the manufacturer’s instructions allow that arrangement. The illustrated version intentionally uses no lights.
Is this guaranteed not to damage the window?
No. Even padded ends can mark weak paint or slip from a glossy, narrow or uneven surface. Test a suitable spot and stop if the trim shifts or the rod moves.