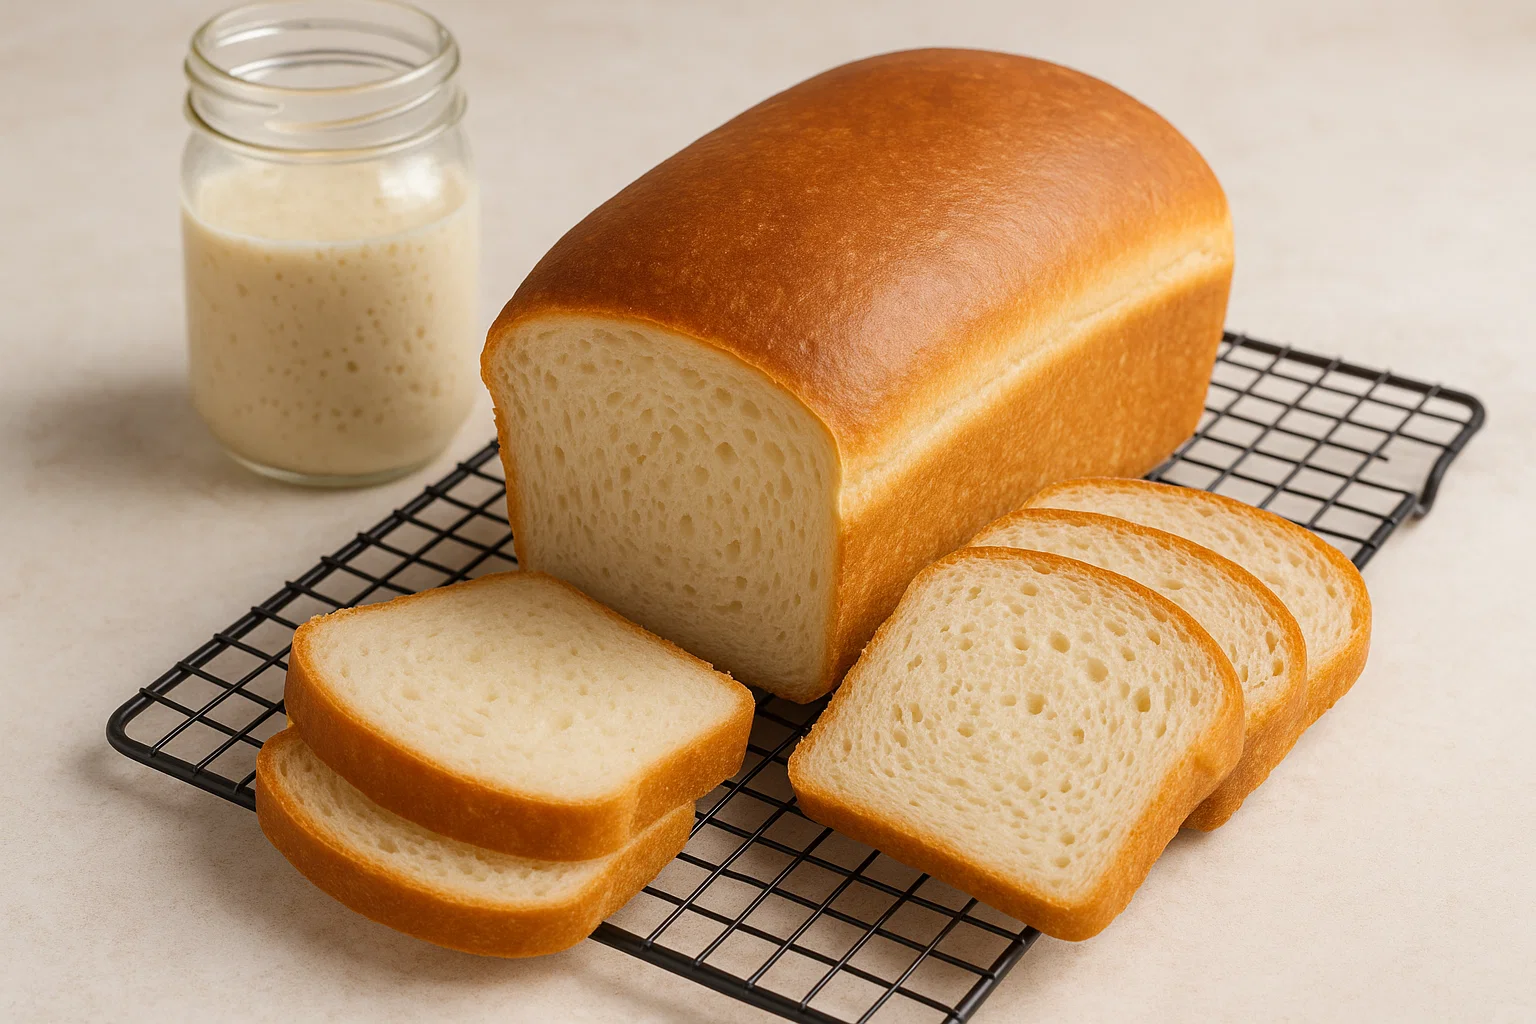
Have you ever taken a bite of a soft, airy sandwich and wondered, “How do they make bread this perfect?” Well, I did too — until I discovered the secret to making my own soft and fluffy sourdough sandwich bread at home. If you’re a fan of sourdough but also want that light, sandwich-friendly texture, you’re in the right place.
Making sourdough at home can seem daunting, but trust me, it’s easier than you think once you know the right technique. In this post, I’ll take you through every step of the process, including tips and tricks I’ve picked up along the way, so you can make bread that rivals anything you’d find at a bakery!
Why Sourdough Sandwich Bread?
There’s something special about sourdough bread — its tangy flavor, chewy texture, and delightful crumb. But many sourdough recipes can be dense or heavy, not exactly what you want for a sandwich. This recipe will give you the best of both worlds: the tang of sourdough with the soft, airy crumb that makes it perfect for sandwiches.
I still remember the first time I had sourdough bread that was soft enough to use for sandwiches. It was nothing like the dense, crusty versions I’d tried before. I wanted to make it myself, so after some experimentation, I created a recipe that balances the unique flavor of sourdough with the fluffiness that makes it ideal for a PB&J or classic BLT.
Ingredients for Soft & Fluffy Sourdough Sandwich Bread
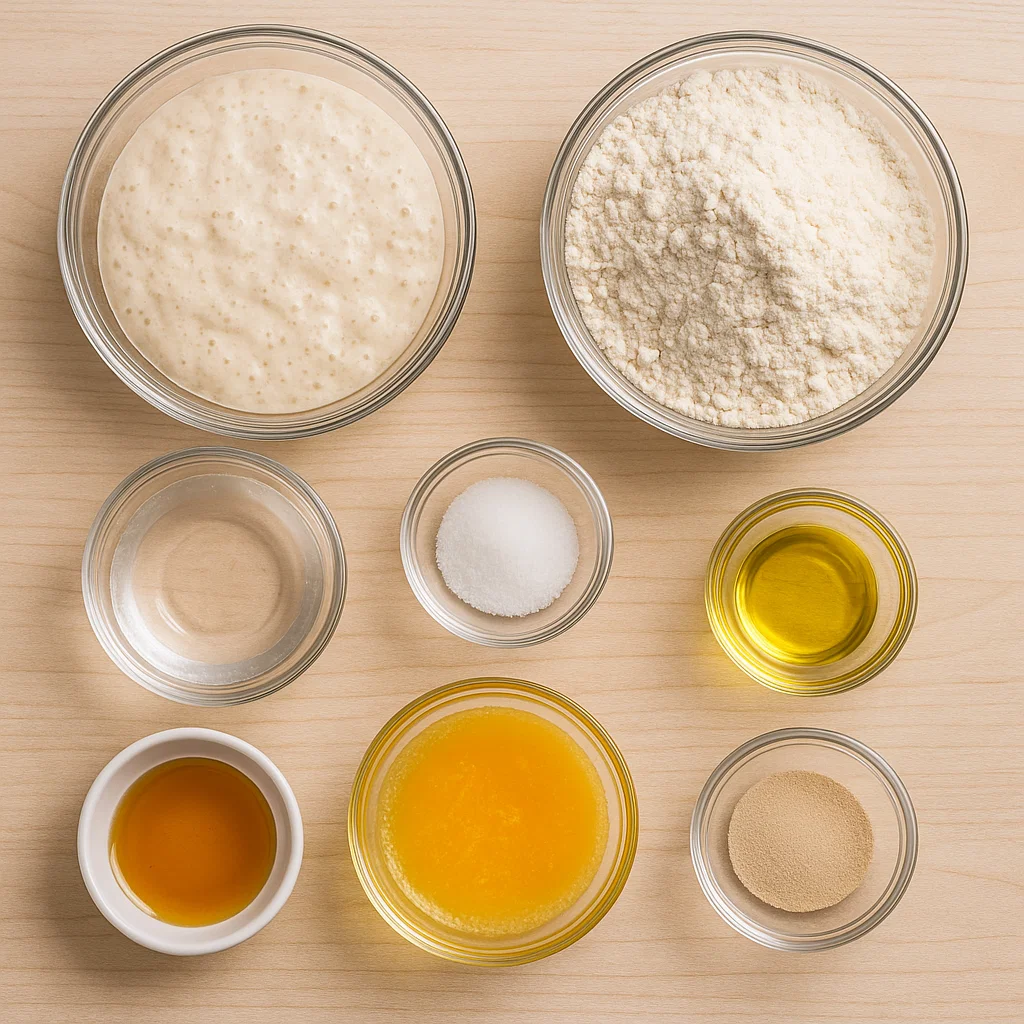
Before diving into the steps, let’s get your ingredients ready. Here’s what you’ll need for this soft and fluffy sourdough bread:
- 1 cup (240g) sourdough starter (100% hydration)
- 1 cup (240g) warm water (around 100°F/37°C)
- 3 ½ cups (440g) all-purpose flour
- 1 ½ teaspoons salt
- 1 tablespoon honey (for a touch of sweetness)
- 2 tablespoons unsalted butter (melted, for softness)
- 1 tablespoon olive oil (for moisture)
- 1 teaspoon instant yeast (optional, for extra rise)
Why Use Instant Yeast in Sourdough?
You might be wondering: “But I thought sourdough doesn’t need yeast?” And you’re right! Sourdough starter itself has natural wild yeast. But adding a small amount of instant yeast helps give the dough a boost, making it extra fluffy and giving you a more predictable rise — especially helpful for beginners.
Step-by-Step Guide to Soft & Fluffy Sourdough Sandwich Bread
Step 1: Mix the Dough
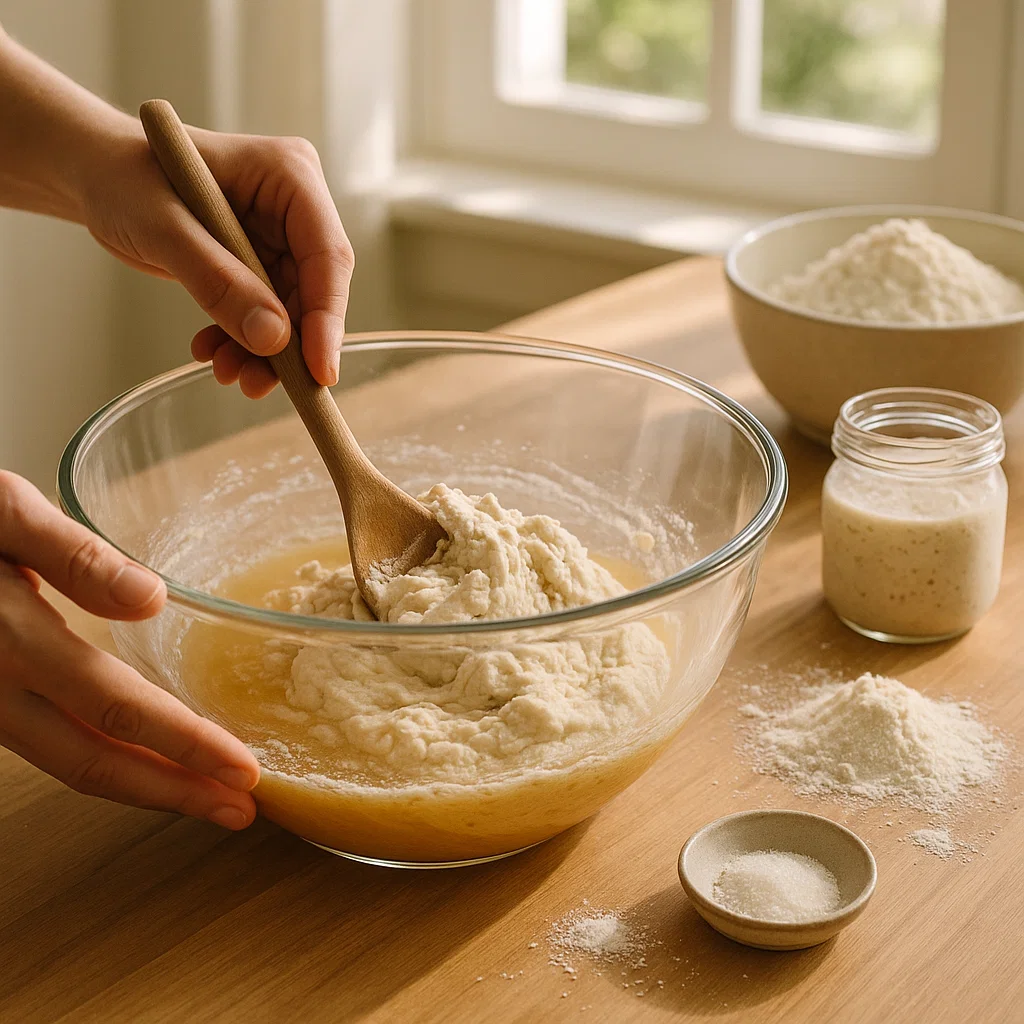
Start by dissolving the honey in warm water (about 100°F/37°C) in a large mixing bowl. Stir in the sourdough starter until it’s fully dissolved. If you’re using yeast, add it in at this point.
Next, add the flour and salt to the bowl. Mix everything together until a shaggy dough forms. This should only take a few minutes, so don’t worry if it’s not perfectly smooth at first.
Step 2: Knead the Dough
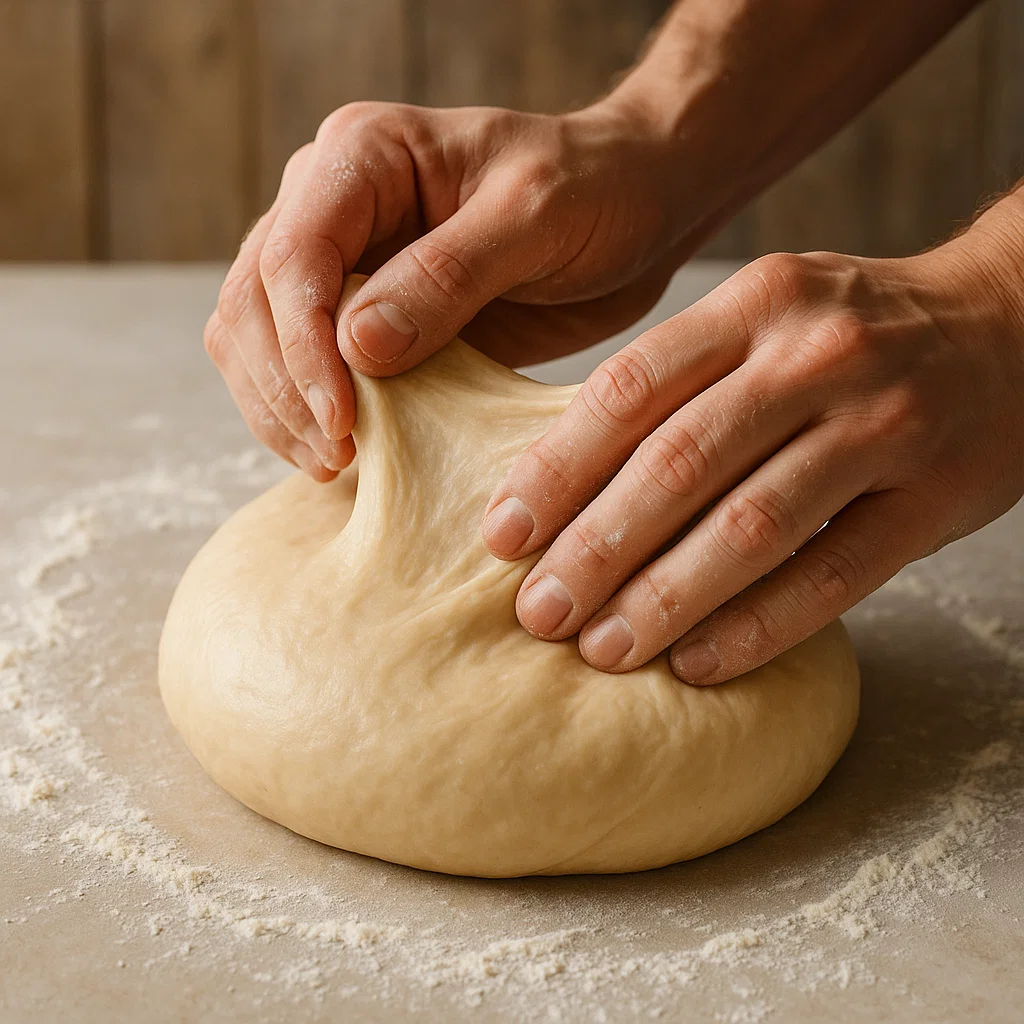
Turn the dough onto a floured surface and knead for about 8 to 10 minutes until the dough is smooth and elastic. If you’re using a stand mixer, you can knead with the dough hook for about 6-7 minutes on medium speed.
This step is essential for developing the gluten that will give your bread its structure and softness. The dough should feel soft and slightly tacky, but not too sticky. Visually, the dough should be smooth with a slight sheen, and when you stretch it, it should form a thin membrane without tearing (this is called the “windowpane test”).
Step 3: Bulk Fermentation (First Rise)
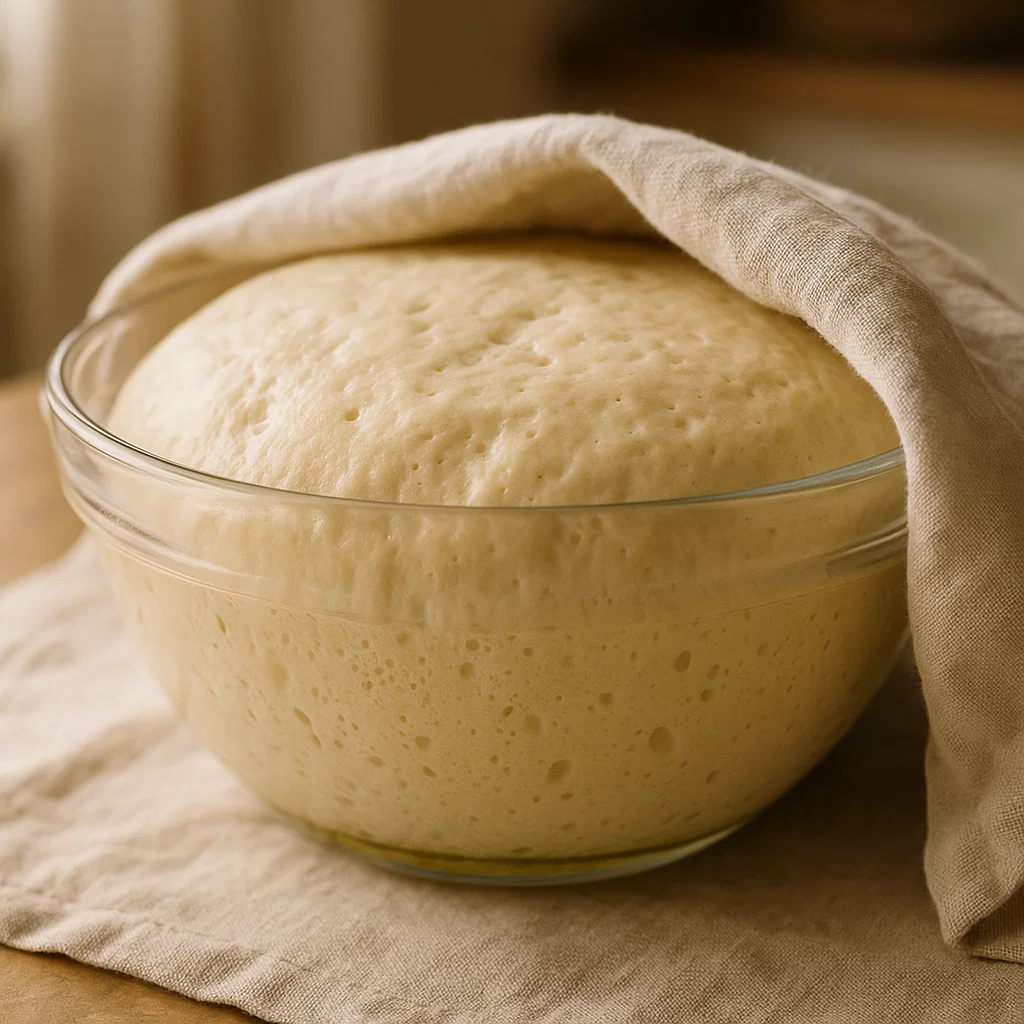
Once you’ve kneaded the dough, place it in a lightly oiled bowl, cover it with a damp towel, and let it rise for about 4 to 6 hours at room temperature. The dough should double in size, and you’ll start to see air bubbles forming inside.
I recommend using the “poke test” to check for readiness: Gently poke the dough with your finger, and if the indentation stays, it’s ready for the next step. If not, let it rise a bit longer.
Step 4: Shape the Dough
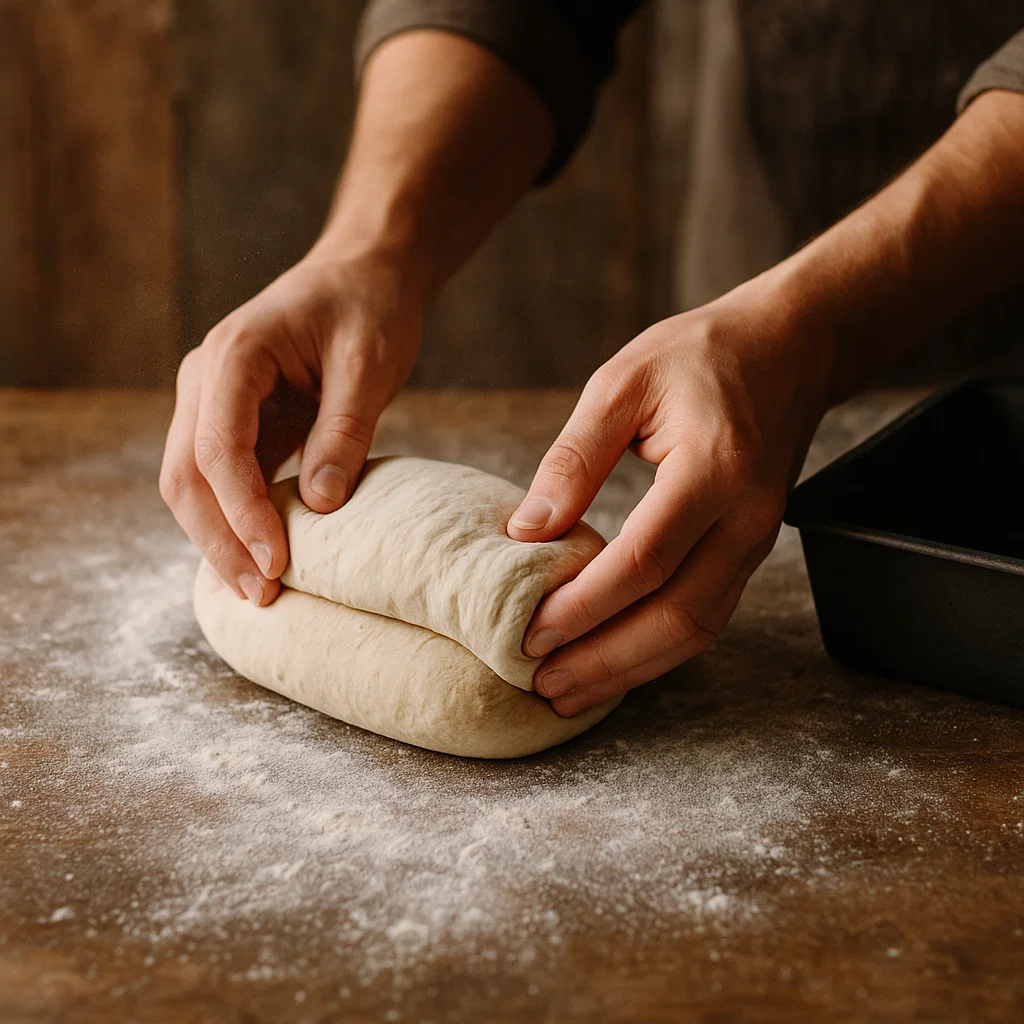
After the first rise, gently punch down the dough to release excess air. Turn it out onto a lightly floured surface, and shape it into a loaf. To do this, flatten the dough into a rectangle, then fold the edges towards the center and roll it up tightly. Pinch the seams to seal.
Place the shaped dough into a greased 9×5-inch loaf pan. Cover it again with a damp towel and let it rise for another 2 to 3 hours until it has risen above the edge of the pan.
Step 5: Preheat the Oven
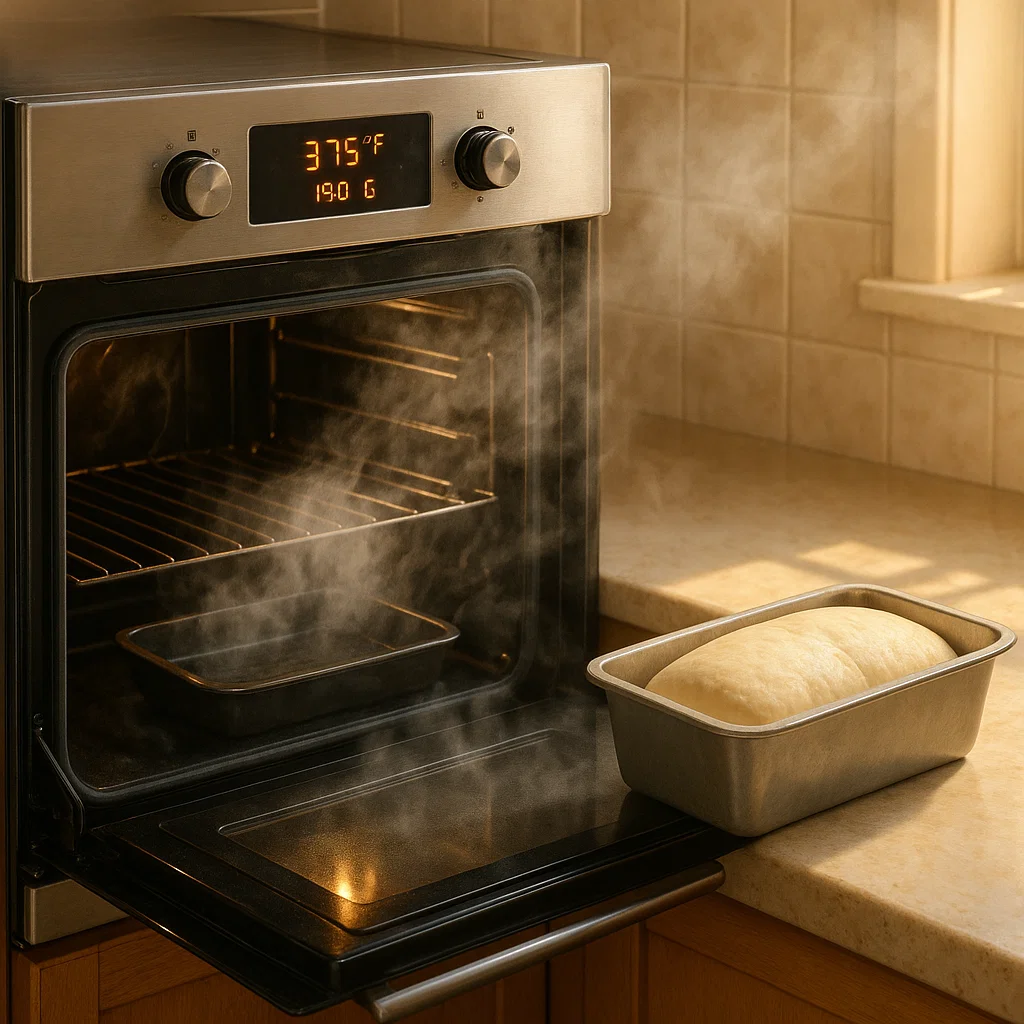
Preheat your oven to 375°F (190°C) about 30 minutes before baking. Here’s a pro tip: Place a shallow pan of water at the bottom of the oven while it preheats. The steam created from the water will help prevent the bread’s crust from forming too quickly, allowing the loaf to expand more freely and rise higher. This step is key for a soft, fluffy texture, especially for sandwich bread.
Step 6: Bake the Bread
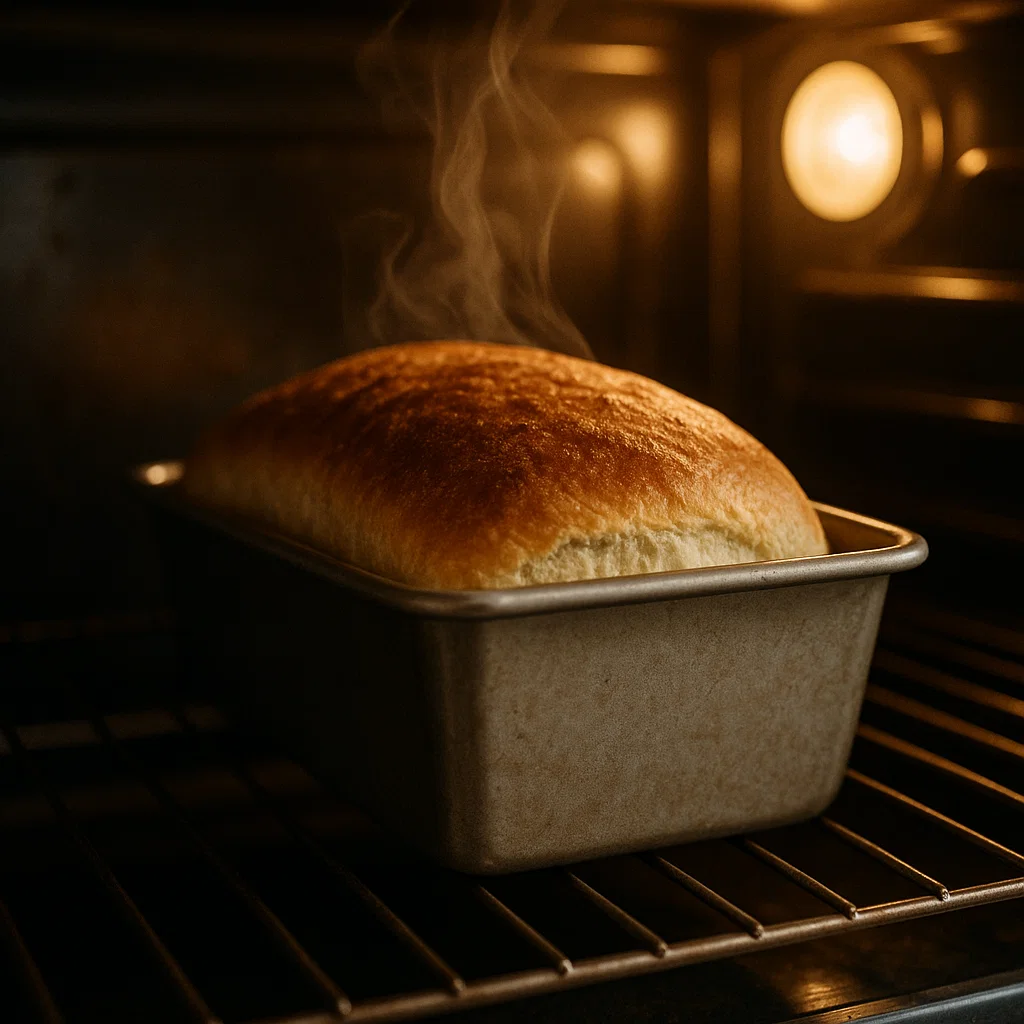
Once the dough has risen, bake the bread for about 30 to 35 minutes until it’s golden brown on top and sounds hollow when tapped. If you’re unsure, you can check the internal temperature with a kitchen thermometer — it should read around 200°F (93°C) when fully baked.
Step 7: Cool and Slice
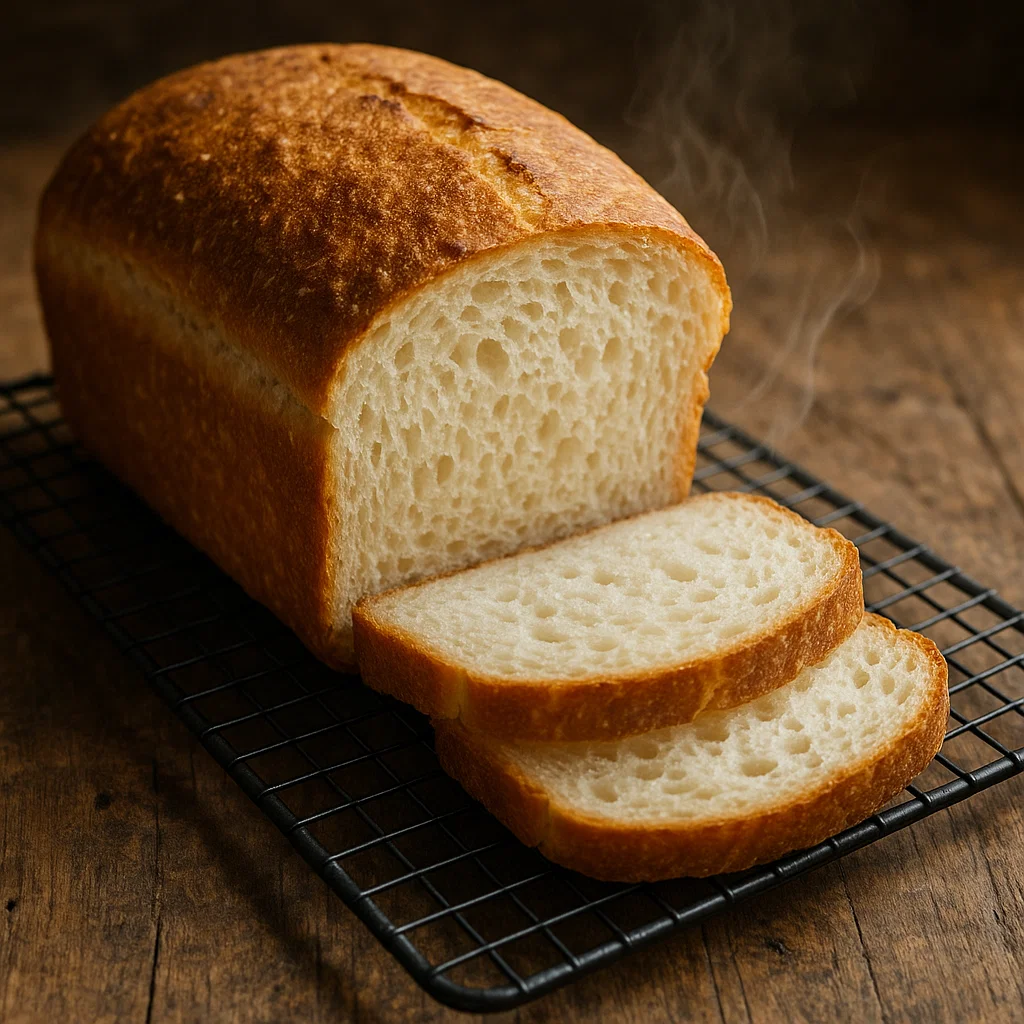
Once your bread is out of the oven, let it cool in the pan for 10 minutes before transferring it to a wire rack to cool completely. Trust me, it will be hard not to slice into it right away, but giving it time to cool ensures the bread sets properly and is easier to slice.
Tips for Perfect Sourdough Sandwich Bread
- Starter Health: Make sure your sourdough starter is active and bubbly before using it in the recipe. A sluggish starter will result in slower rises and denser bread.
- Flour: While all-purpose flour works perfectly fine for this recipe, you can experiment with bread flour for a slightly chewier texture.
- Kneading: Kneading is crucial for the development of gluten. If you’re new to bread making, don’t skip this step — it’s what gives your bread that perfect soft texture.
- Rising Time: Rising times can vary depending on room temperature and the activity of your starter. If your kitchen is cold, you may need to give the dough extra time.
Frequently Asked Questions (FAQ)
Can I make this bread without instant yeast?
Yes! You can omit the instant yeast, but the rise may take longer without it. Just be sure your sourdough starter is very active.
Can I freeze this bread?
Absolutely! Once the bread has cooled completely, slice it and wrap it tightly in plastic wrap. Store it in a freezer-safe bag for up to 3 months. When you’re ready to eat, just thaw and toast it for the perfect sandwich.
What if I don’t have a 9×5-inch loaf pan?
If you don’t have a loaf pan, you can shape the dough into a round boule and bake it on a baking sheet or in a Dutch oven. Just adjust the baking time accordingly.
Final Thoughts: A Recipe You’ll Love Making Again and Again
Now that you know how to make soft and fluffy sourdough sandwich bread, it’s time to put your skills to the test. This recipe not only results in perfect bread for sandwiches but is a great way to learn about sourdough and bread-making in general. Plus, there’s nothing quite like the satisfaction of enjoying homemade bread fresh out of the oven.
Ready to make your own soft and fluffy sourdough sandwich bread? Grab your sourdough starter and get started today — your taste buds will thank you!