
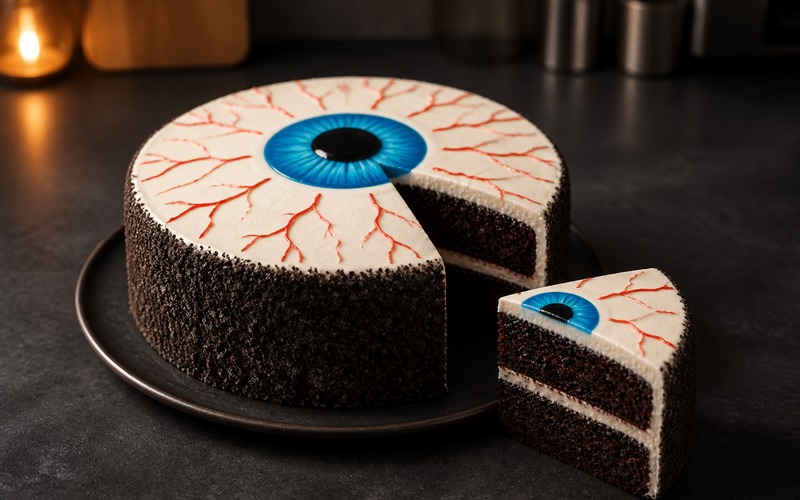
Looking for a spooky but delicious Halloween dessert? This Oreo Eyeball Cake combines moist chocolate cake, creamy buttercream, crunchy Oreo crumbs, and one dramatic candy eye. The design is easy to follow when each component is added in order.
RECIPE CARD
How to Make an Oreo Eyeball Cake
Timing and serving details are shown only when they are available in the original recipe.
Ingredients
- 1 box chocolate cake mix, plus the ingredients required on the package
- 1 cup finely crushed Oreo cookies
- 2 cups white buttercream frosting
- Red gel food coloring
- 1 large flat edible candy eyeball decoration
- Edible black writing gel
Quick Method
Condensed overview. Use Full Instructions for the complete method, timing and doneness details.
- Bake and Cool the Cake Layers: Prepare the chocolate cake mix according to the package directions. Divide the batter between two greased 8-inch round pans and bake as directed. Let…
- Add the Oreo Filling: Place one chocolate cake layer on a cake board. Spread a thin, even layer of white buttercream over the top, then sprinkle with about…
- Frost and Coat the Cake: Cover the stacked cake with the remaining white buttercream, smoothing the top and sides with an offset spatula. Keep the top white. Press the…
- Pipe the Red Veins: Tint a small spoonful of buttercream with red gel coloring and transfer it to a fine-tip piping bag. Pipe thin branching lines from the…
- Add the Candy Eye and Chill: Place the large candy eyeball in the center of the cake. Use a small amount of edible black writing gel around the pupil or…
Oreo Eyeball Cake Ingredients
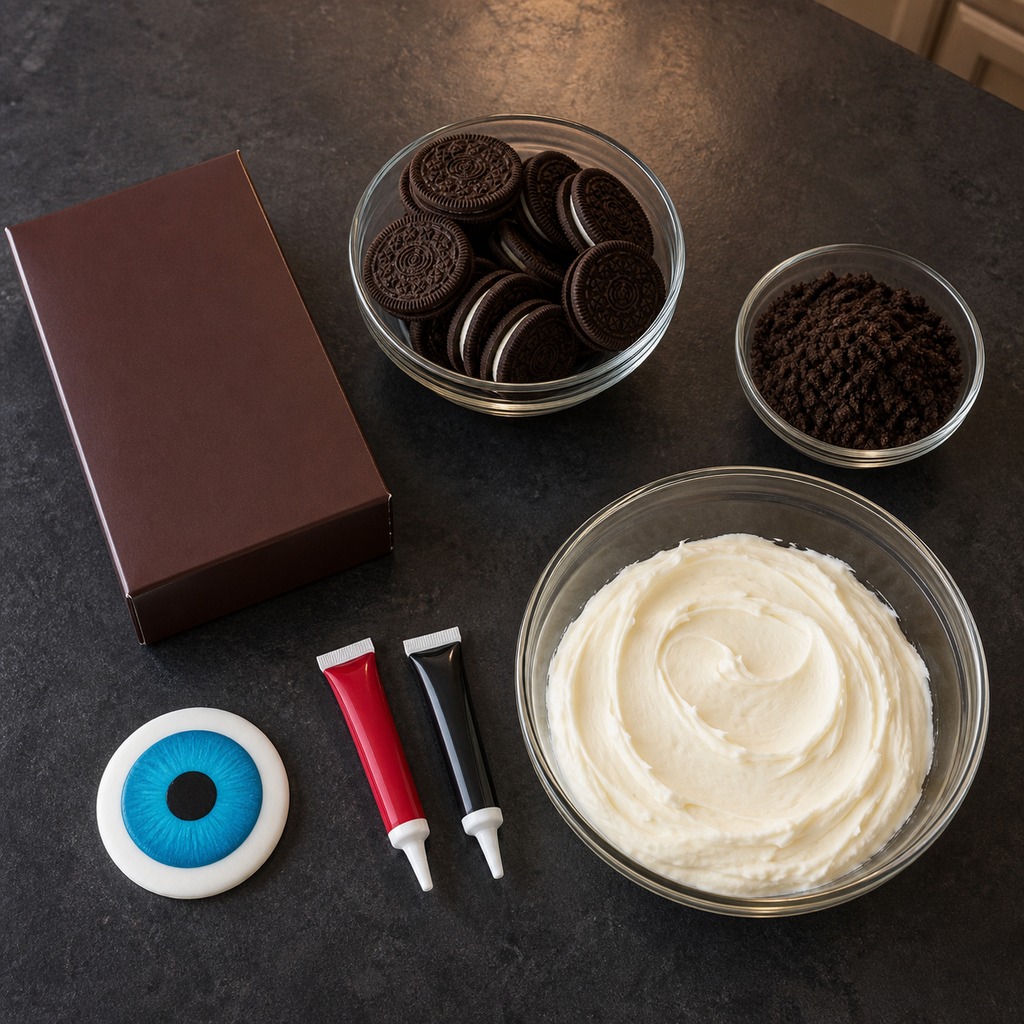
- 1 box chocolate cake mix, plus the ingredients required on the package
- 1 cup finely crushed Oreo cookies
- 2 cups white buttercream frosting
- Red gel food coloring
- 1 large flat edible candy eyeball decoration
- Edible black writing gel
How to Make an Oreo Eyeball Cake
Step 1: Bake and Cool the Cake Layers
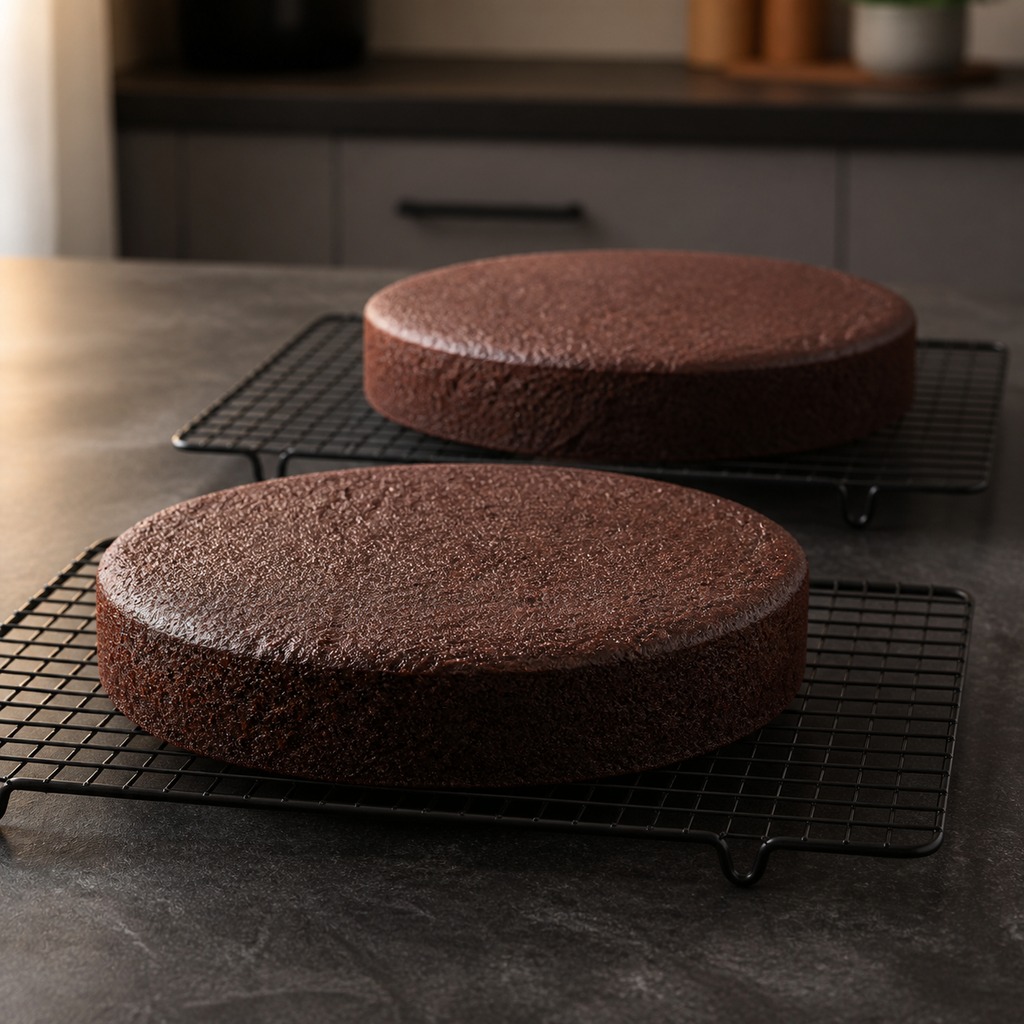
Prepare the chocolate cake mix according to the package directions. Divide the batter between two greased 8-inch round pans and bake as directed. Let the cakes cool in their pans briefly, then transfer them to wire racks and cool completely before decorating.
Step 2: Add the Oreo Filling
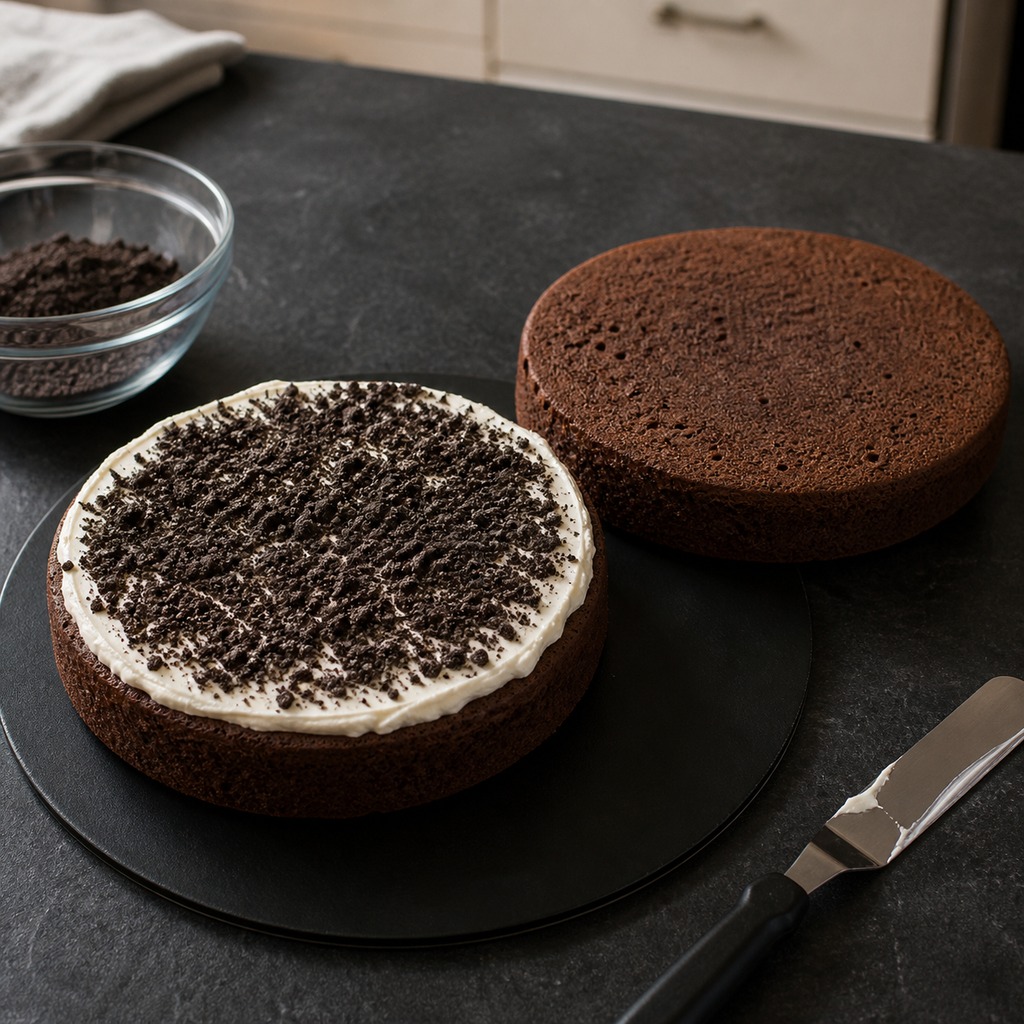
Place one chocolate cake layer on a cake board. Spread a thin, even layer of white buttercream over the top, then sprinkle with about half of the fine Oreo crumbs. Center the second cake layer over the filling and press very gently to secure it.
Step 3: Frost and Coat the Cake
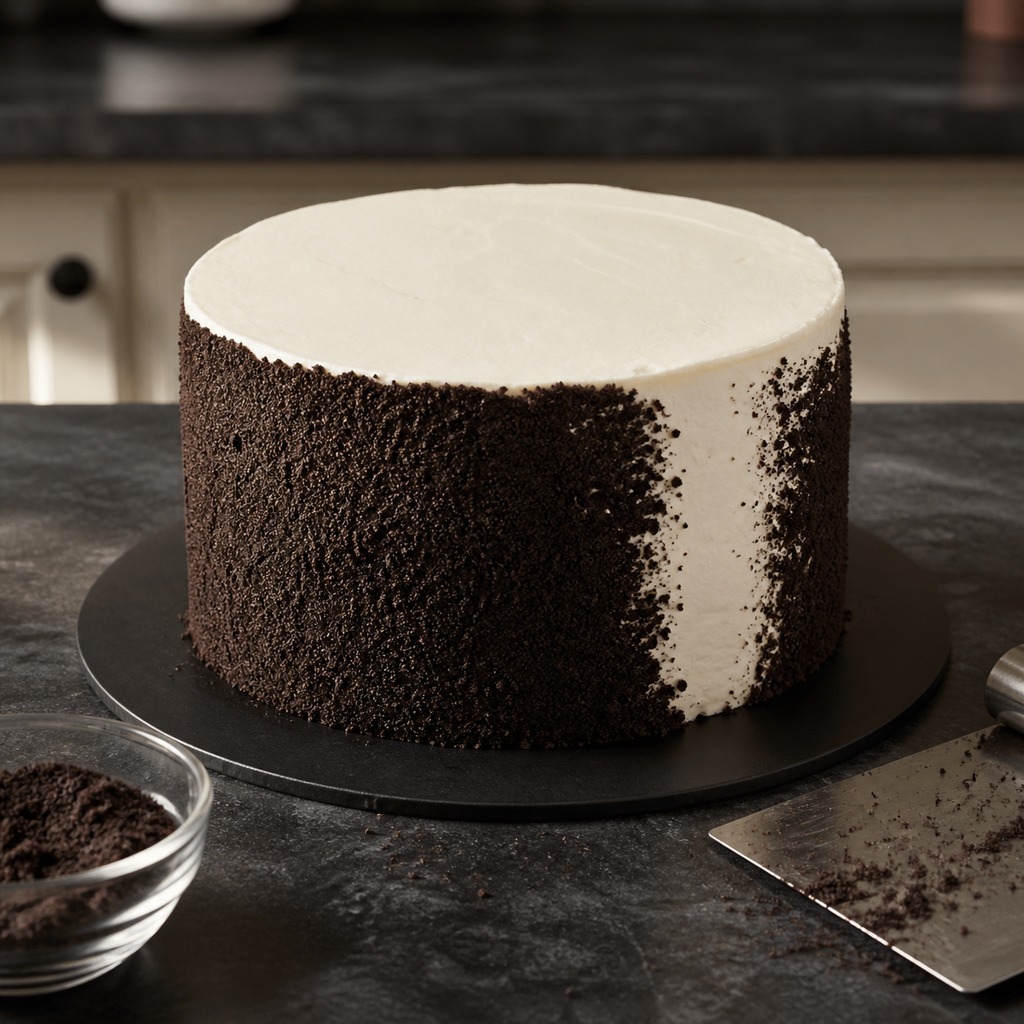
Cover the stacked cake with the remaining white buttercream, smoothing the top and sides with an offset spatula. Keep the top white. Press the remaining fine Oreo crumbs evenly onto the vertical sides until the buttercream is covered.
Step 4: Pipe the Red Veins
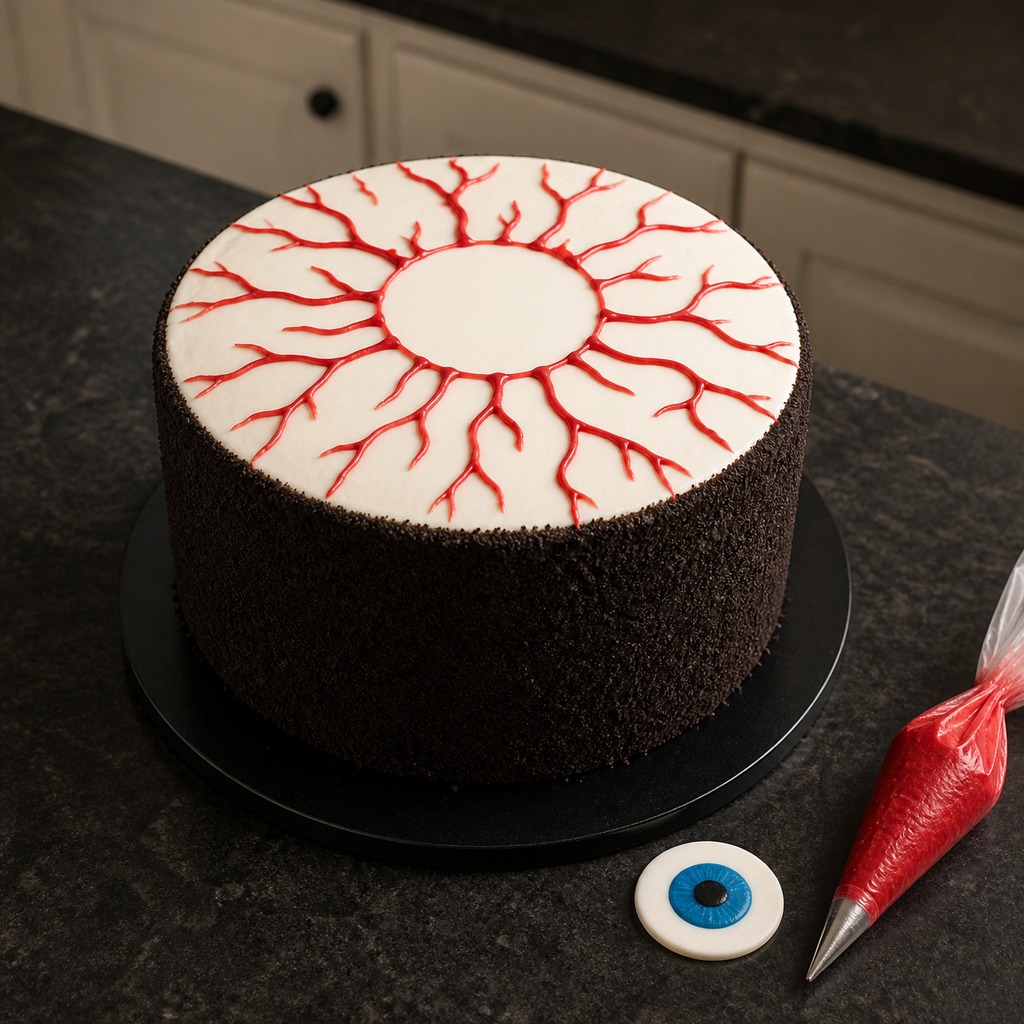
Tint a small spoonful of buttercream with red gel coloring and transfer it to a fine-tip piping bag. Pipe thin branching lines from the outer edge of the white cake top toward the center. Leave a clean round space in the middle for the candy eye.
Step 5: Add the Candy Eye and Chill
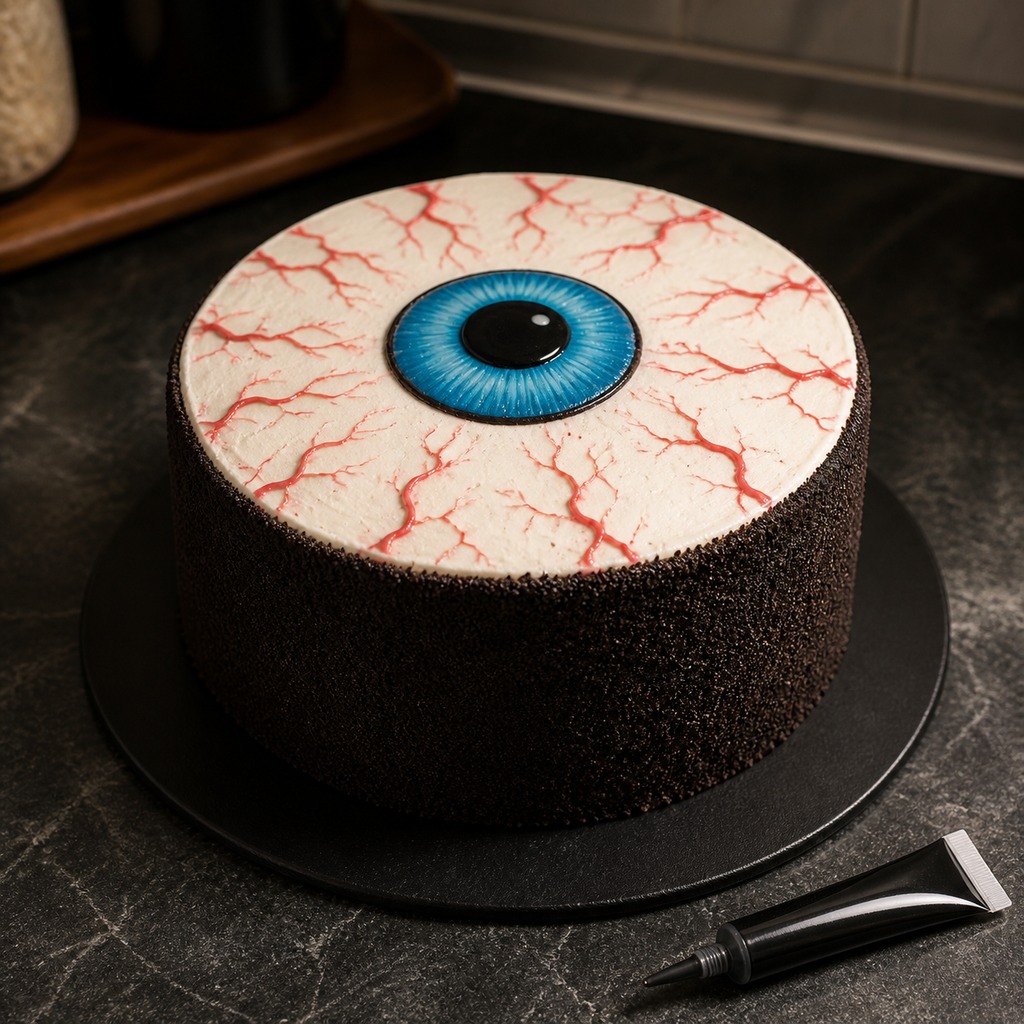
Place the large candy eyeball in the center of the cake. Use a small amount of edible black writing gel around the pupil or iris edge to add definition. Refrigerate the finished cake for at least 30 minutes before slicing.
Tips for the Best Eyeball Cake
- Cool the cake fully: Warm cake can melt the buttercream and loosen the Oreo coating.
- Crush the cookies finely: Small crumbs adhere to the sides more evenly than large pieces.
- Keep the veins thin: Use a small piping opening and light pressure for delicate branches.
- Chill before cutting: A short chill firms the frosting and helps each slice stay neat.
Why You’ll Love This Halloween Cake
The Oreo Eyeball Cake balances a creepy party-ready design with familiar chocolate-and-cream flavors. Its dark cookie sides, bright white top, red veins, and bold blue eye create a strong centerpiece for Halloween gatherings without requiring complicated sculpting.