
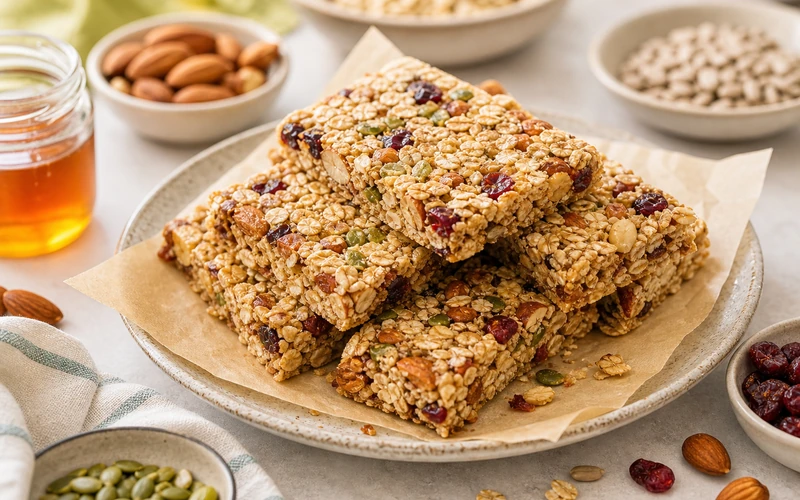
Homemade Granola Bars are one of the most useful make-ahead snacks because they travel well, store well, and can be adjusted to match whatever flavors you already like. A good bar should hold together without turning hard, feel chewy instead of dry, and have enough oats, nuts, or seeds to stay satisfying between meals.
The easiest version relies on a simple binder such as nut butter plus honey or maple syrup, then uses rolled oats and mix-ins for texture. Once that balance is right, the bars fit just as easily into breakfast prep as they do lunchboxes or afternoon snacks. This guide covers the ingredient structure, how to keep the bars from crumbling, and the best ways to prep and store them for the week.
Why Homemade Granola Bars Work
These bars work because the formula is simple enough to repeat without feeling rigid. Rolled oats give structure, nut butter helps everything bind, and a liquid sweetener keeps the bars chewy once chilled or baked. That base can lean nutty, fruity, chocolatey, or seed-heavy depending on what you want from the batch.
They are also practical for breakfast and snack prep. A pan of bars can cover several mornings or keep a week of grab-and-go snacks ready in the fridge. If you already rotate simple breakfasts such as baked oatmeal muffins or easy weekday snacks like healthy banana pancakes for slower mornings, homemade granola bars fit naturally into the same routine.
Ingredients and Smart Swaps
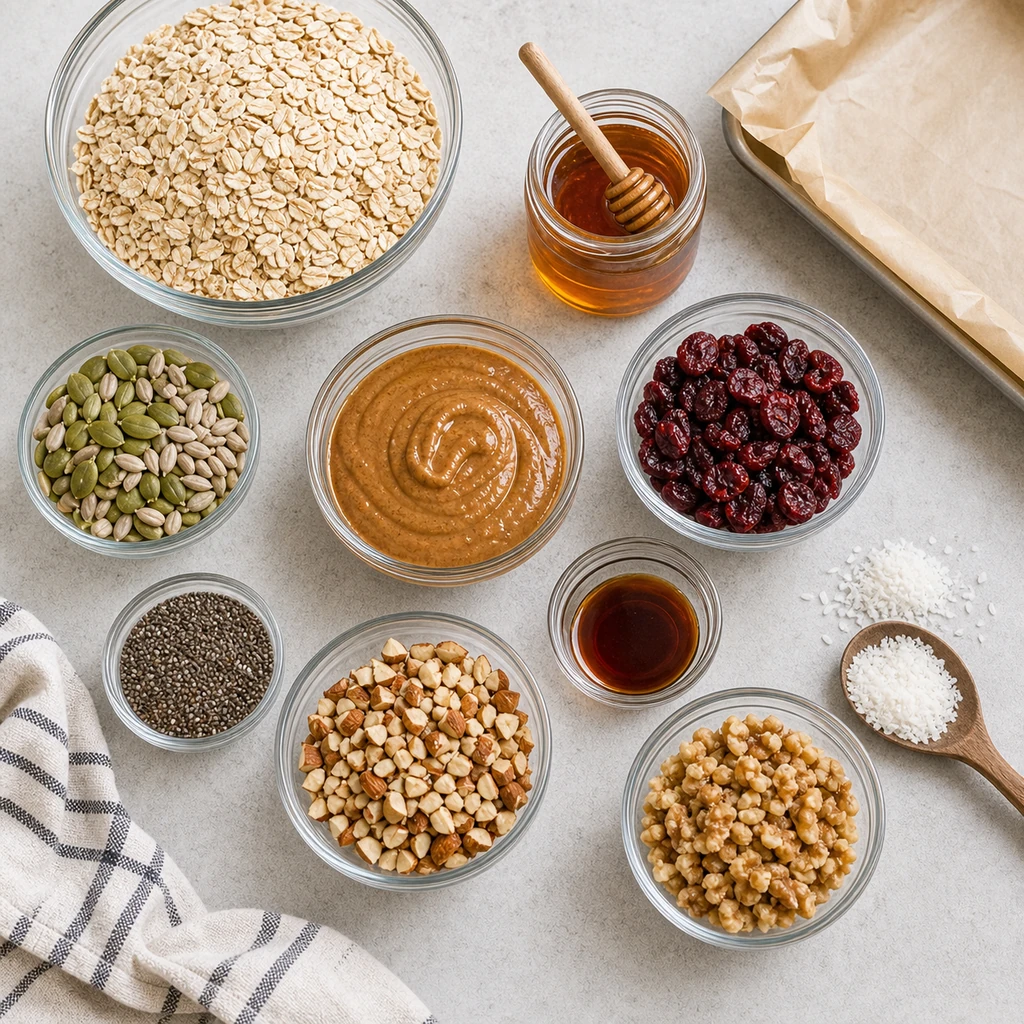
The most dependable bars start with old-fashioned rolled oats. They hold their shape better than quick oats and give more chew. From there, you only need a binder and a handful of mix-ins.
- Oats: rolled oats give the best structure.
- Binder: almond butter, peanut butter, or cashew butter all work well.
- Sweetener: honey or maple syrup helps the bars stay cohesive.
- Add-ins: chopped nuts, sunflower seeds, pumpkin seeds, coconut, or dried fruit.
- Flavor support: vanilla, cinnamon, and a pinch of salt make the bars taste fuller.
If you want a softer bar, use more nut butter and slightly fewer dry mix-ins. If you prefer one with more crunch, toast some of the oats or nuts first. Small chocolate chips can work too, but they are best stirred in after the mixture cools slightly.
How to Mix and Press the Bars
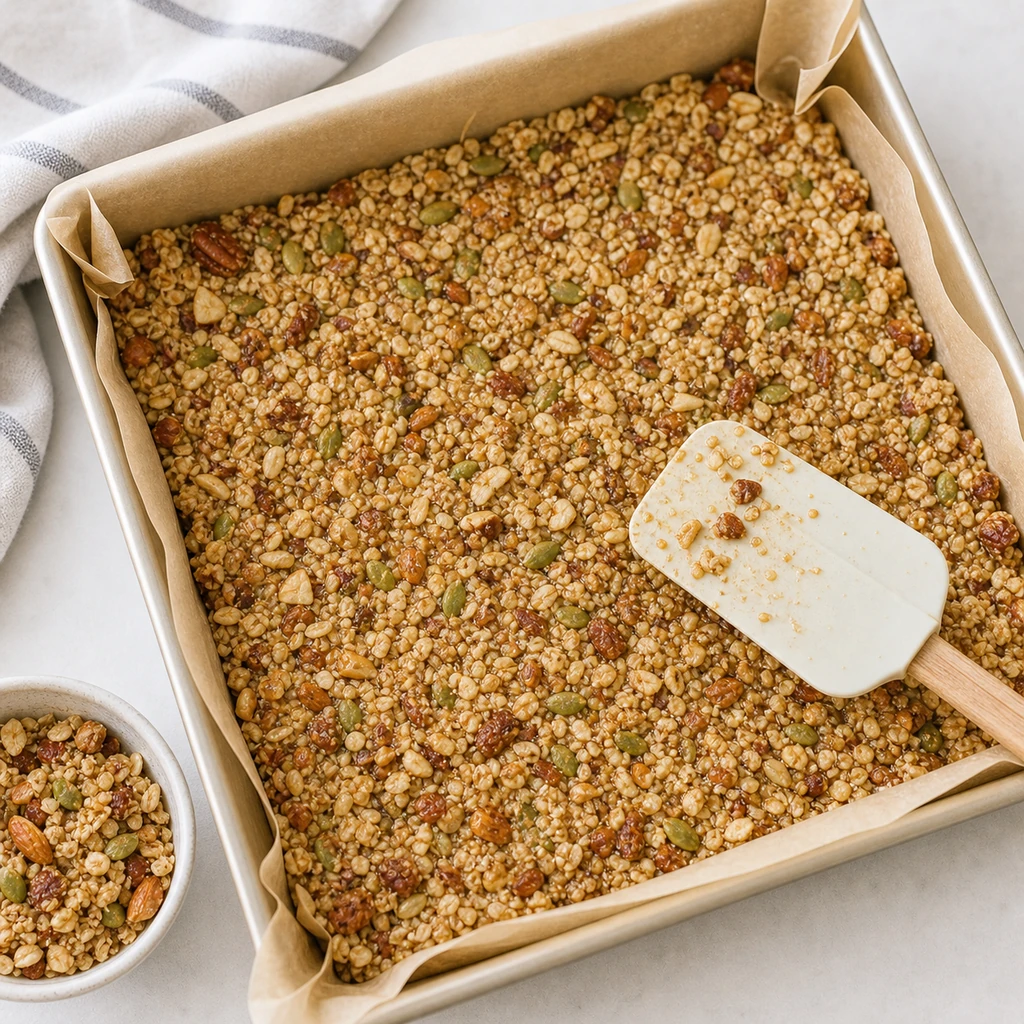
Start by stirring the dry ingredients together so the oats, seeds, and fruit are distributed evenly. Warm the nut butter and sweetener just enough to loosen them, then pour that mixture over the dry ingredients. Stir until every oat looks lightly coated.
Once the mixture goes into the pan, press it down firmly and evenly. That step is what keeps the bars from breaking apart later. Use the back of a measuring cup, a spatula, or a sheet of parchment to compact the mixture into the corners and flatten the top.
Chilling is usually enough for no-bake bars, while baked versions need a short bake and a full cool-down before slicing. Either way, clean edges come from patience. If the bars are still warm or soft in the center, they are more likely to crumble.
Best Flavor Combinations
Peanut butter with dried cranberries and pumpkin seeds is an easy starting point because it balances sweet, tart, and nutty flavors. Almond butter with chopped almonds, coconut, and dark chocolate works well if you want something a little richer. For a more breakfast-like version, try cinnamon, walnuts, and raisins.
You can also lean more protein-heavy by using extra seeds and a thicker nut butter, or go lighter with more oats and dried fruit. Bars like these pair nicely with portable breakfasts and lunchbox ideas, especially if you already use prep-friendly options such as mason jar layered lunches during busy weeks.
Storage, Meal Prep, and Packing
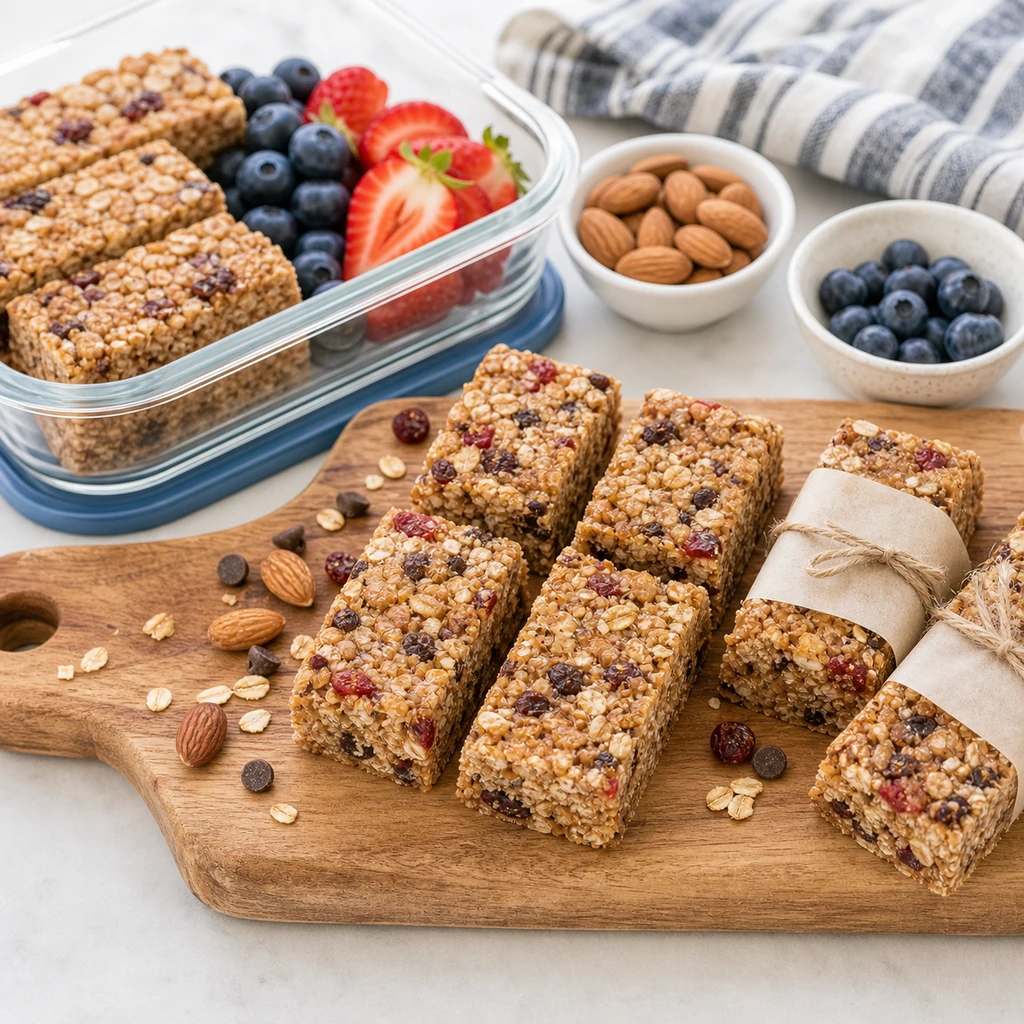
Homemade granola bars keep well in the refrigerator for about a week when stored in an airtight container. Put parchment between layers so they do not stick together. If the bars are softer, chilled storage helps them stay neat and easy to pick up.
They also freeze well. Wrap them individually or place them in a freezer bag with parchment between each layer. That makes it easy to pull out one bar at a time for lunch prep, travel snacks, or a quick breakfast alongside fruit and yogurt.
Common Reasons Granola Bars Fall Apart
The first issue is usually too many dry ingredients compared with the binder. If the mixture looks crumbly in the bowl, it will be even more fragile after slicing. Another common problem is not pressing firmly enough into the pan. Loose corners almost always mean crumbly bars.
Slicing too early can also ruin the texture. The bars need time to set all the way through, whether that happens in the fridge or after baking. Let them cool fully, then use a sharp knife for cleaner edges. If the first batch seems too dry, a little more nut butter or sweetener in the next round usually fixes it.
Homemade Granola Bars Checklist
- Use rolled oats for better structure and chew.
- Warm the nut butter and sweetener enough to coat the oats evenly.
- Do not overload the mixture with dry add-ins.
- Press the mixture firmly into every corner of the pan.
- Chill or cool the bars fully before slicing.
- Store with parchment between layers.
- Freeze extra bars for longer snack prep.
- Adjust the binder if the first batch feels too crumbly.
FAQ
Are homemade granola bars better baked or no-bake?
Both can work well. No-bake bars are softer and quicker, while baked bars usually feel a little firmer and toastier.
Why are my granola bars crumbly?
They usually need more binder, firmer pressing, or more time to chill or cool before slicing.
Can I make granola bars without nut butter?
Yes. Seed butter can work well, and some recipes rely on a syrup-based binder, though the texture may be a little different.
How long do homemade granola bars last?
Most batches keep about a week in the refrigerator and longer in the freezer when wrapped well.
Final Thoughts
Homemade Granola Bars are one of the easiest ways to keep a useful snack ready without much effort. Once you know how much binder the oats need and how firmly to press the pan, the recipe becomes easy to adapt with different nuts, seeds, and fruit. That makes one batch go a long way through breakfast, snack time, and lunch prep.