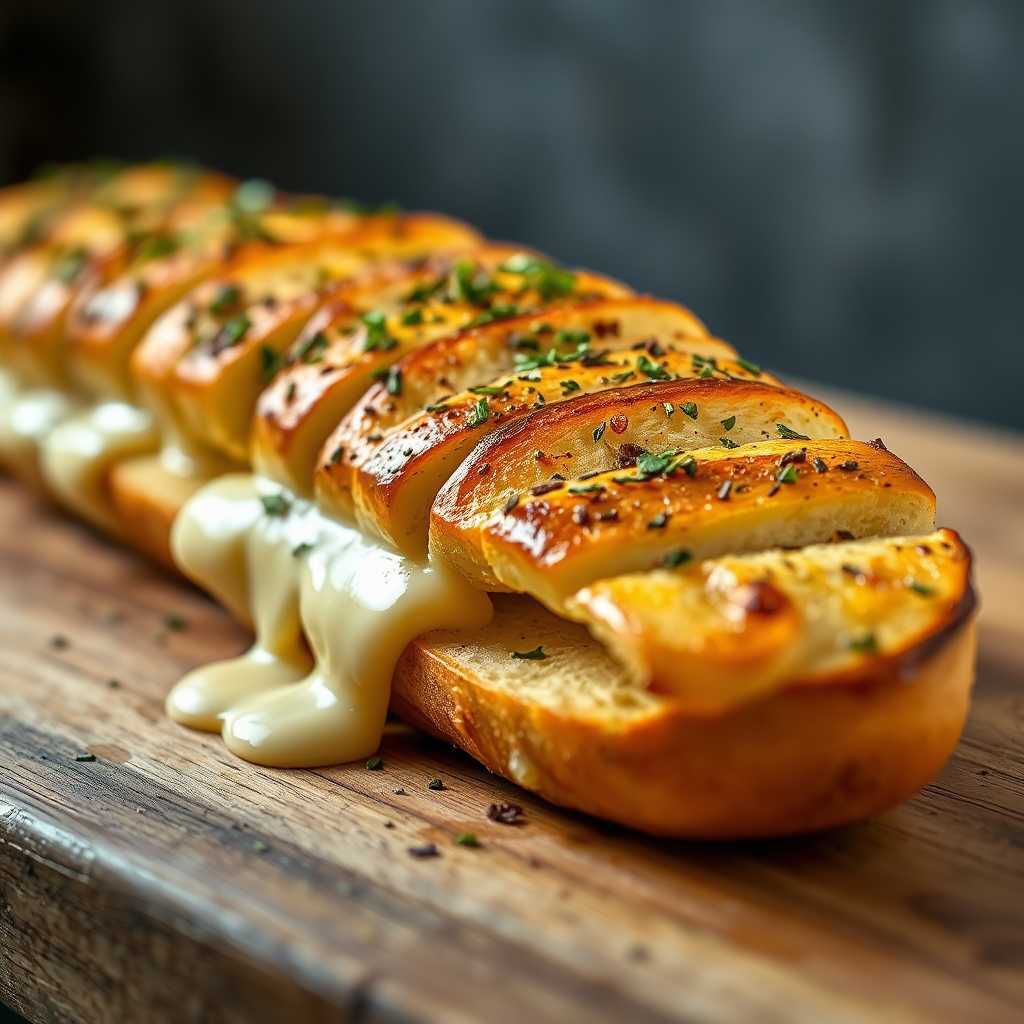
There’s something magical about the combination of garlic, butter, and cheese – it’s a comfort food lover’s dream come true. I remember the first time I tasted Hasselback Cheesy Garlic Bread; it was at a friend’s dinner party. As soon as I took my first bite, I was hooked! The crispy outer edges and the gooey, cheesy inside were nothing short of divine. If you’re looking for a new twist on classic garlic bread that’s guaranteed to impress, this recipe is for you.
In this blog post, I’ll walk you through how to make Hasselback Cheesy Garlic Bread, step by step, so you can recreate that same delightful experience in your own kitchen. Let’s dive into this mouthwatering recipe!
Why Hasselback Cheesy Garlic Bread is a Game Changer
Hasselback style isn’t just for potatoes – this method works wonders on bread too! Imagine a loaf of bread sliced thinly, almost all the way through, but still held together. Each slice gets stuffed with a rich garlic butter mixture and topped with gooey, melted cheese. This style of preparation ensures each bite is packed with flavor and texture, making it the ultimate party appetizer or a savory side dish for any meal.
Ingredients You’ll Need for Hasselback Cheesy Garlic Bread
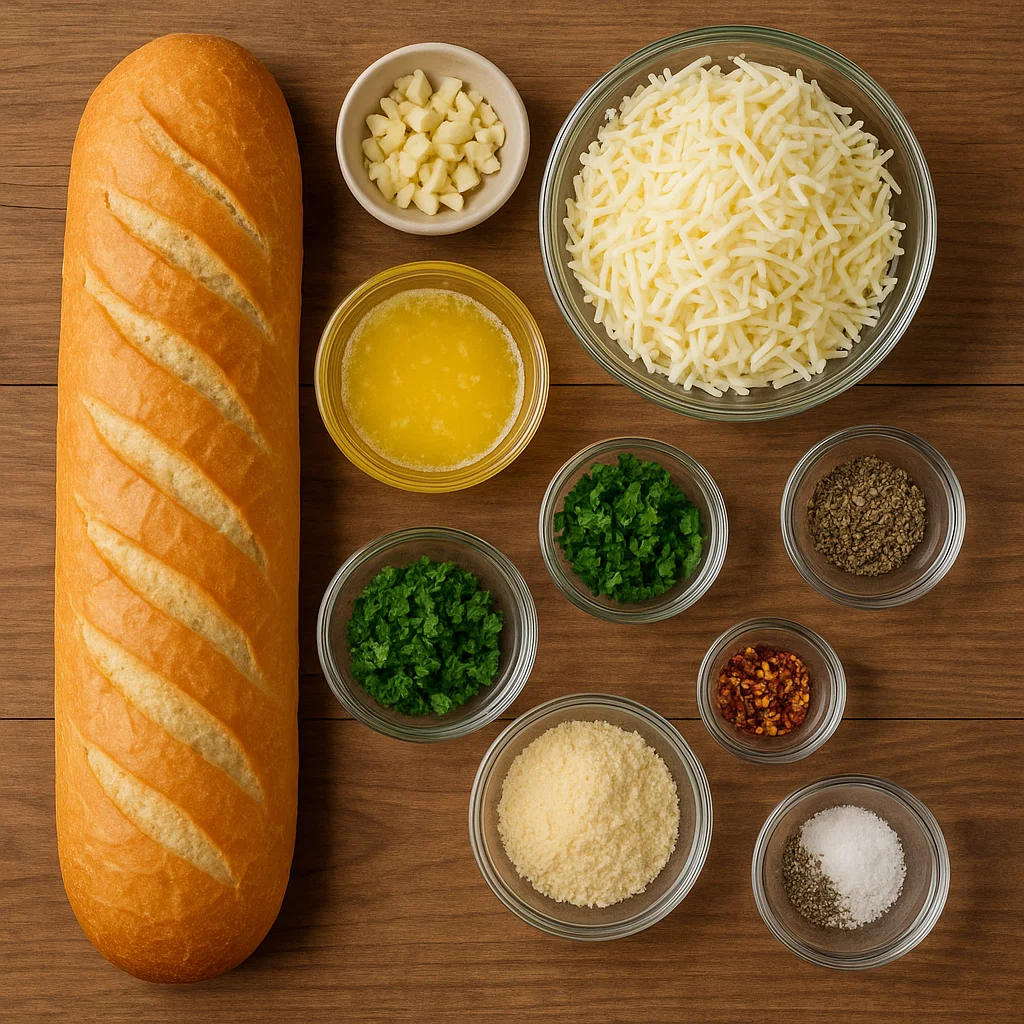
Before we get started, here’s what you’ll need:
- 1 loaf of French bread (or any hearty bread of your choice)
- 6 cloves of garlic, minced
- 1/2 cup unsalted butter, melted
- 1 cup shredded mozzarella cheese
- 1/2 cup grated Parmesan cheese
- 2 tablespoons fresh parsley, chopped
- 1 teaspoon dried oregano
- 1/4 teaspoon red pepper flakes (optional for a little kick)
- Salt and pepper, to taste
Step-by-Step Instructions to Make Hasselback Cheesy Garlic Bread
Step 1: Preheat Your Oven and Prepare the Bread
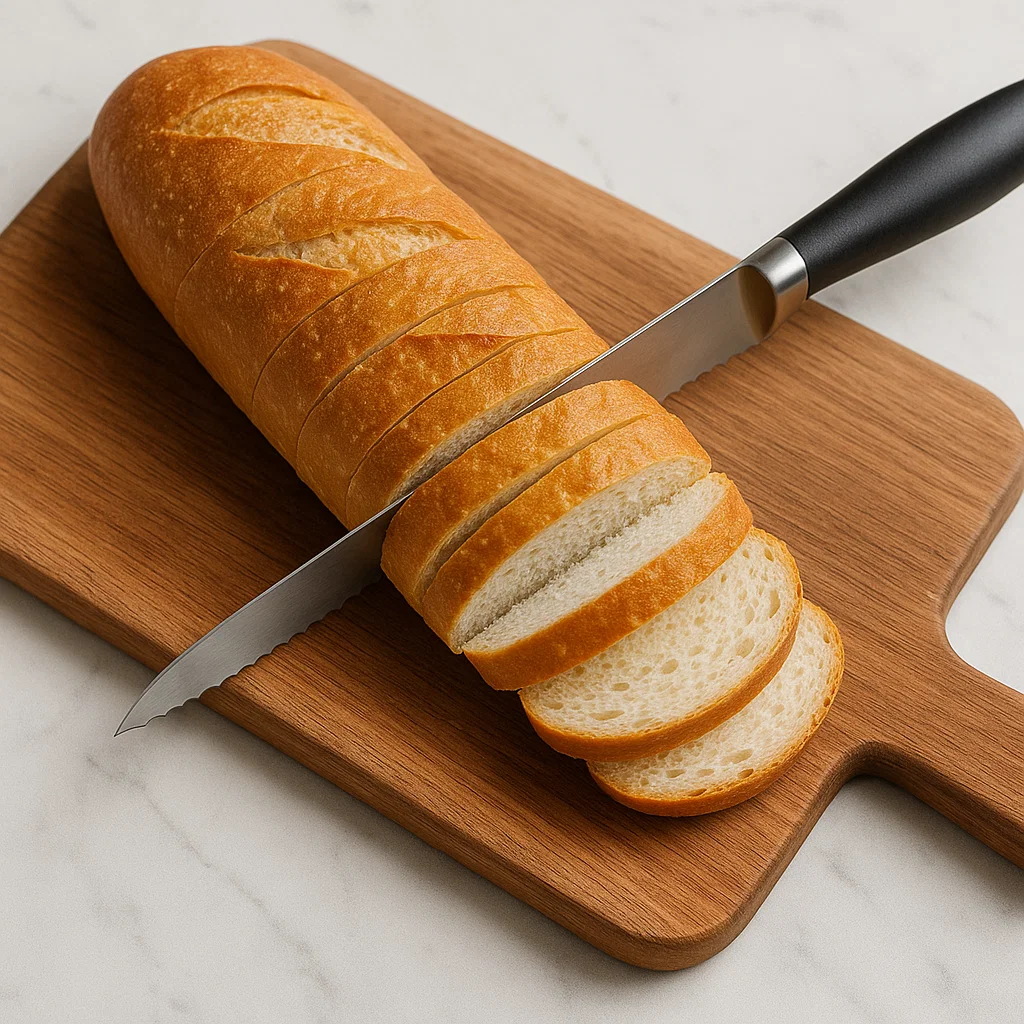
Start by preheating your oven to 375°F (190°C). While it’s heating, grab your loaf of French bread. Place it on a cutting board and slice it about 3/4 of the way through. Be careful not to cut all the way through, as you want the bread to stay connected at the bottom. Aim for about 1/2-inch thick slices.
Step 2: Make the Garlic Butter Mixture

In a small bowl, combine the melted butter, minced garlic, dried oregano, and red pepper flakes. Stir until everything is well mixed. Season with salt and pepper to taste. This flavorful butter will be the key to infusing your bread with that irresistible garlic taste.
Step 3: Stuff the Bread with Garlic Butter
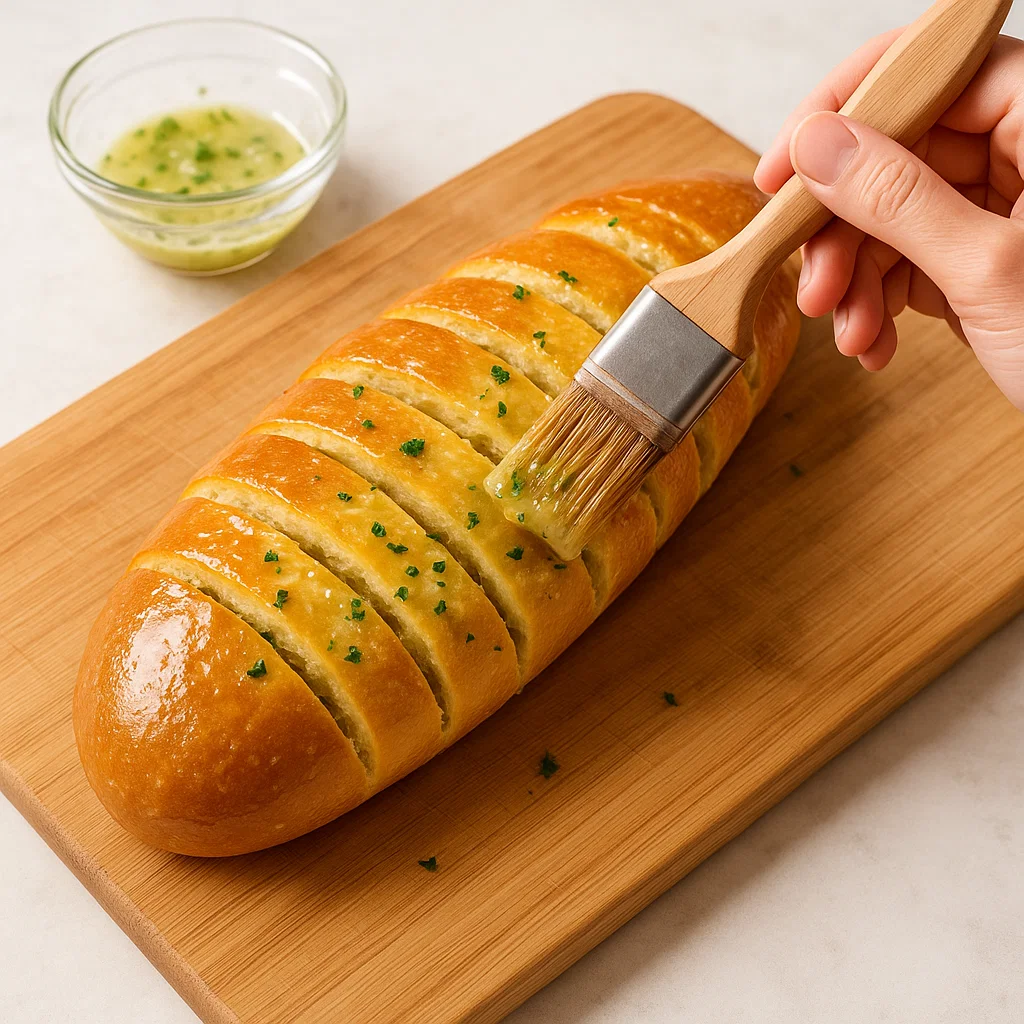
Using a spoon or a pastry brush, carefully pour or brush the garlic butter mixture into the crevices between the slices of bread. Be generous – you want each slice to soak up the flavor. The butter will melt and seep into the bread, giving it that deliciously rich taste.
Step 4: Add the Cheese
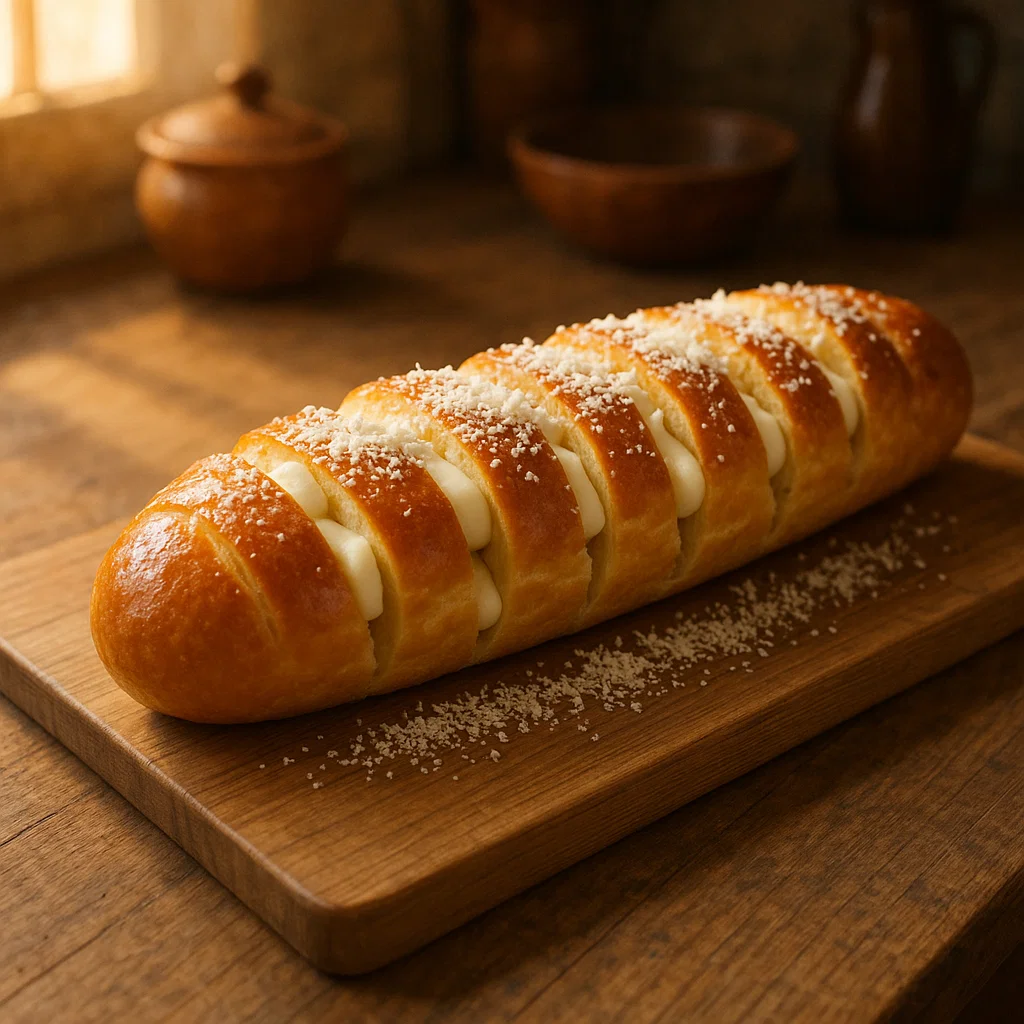
Now comes the fun part – adding the cheese! Start by stuffing shredded mozzarella cheese into the crevices between the slices of bread. You can pack it in there, so each slice gets its fair share. After that, sprinkle the grated Parmesan cheese on top of the bread. The Parmesan will crisp up nicely as the bread bakes, adding a golden, cheesy crust to every bite.
Step 5: Bake the Bread
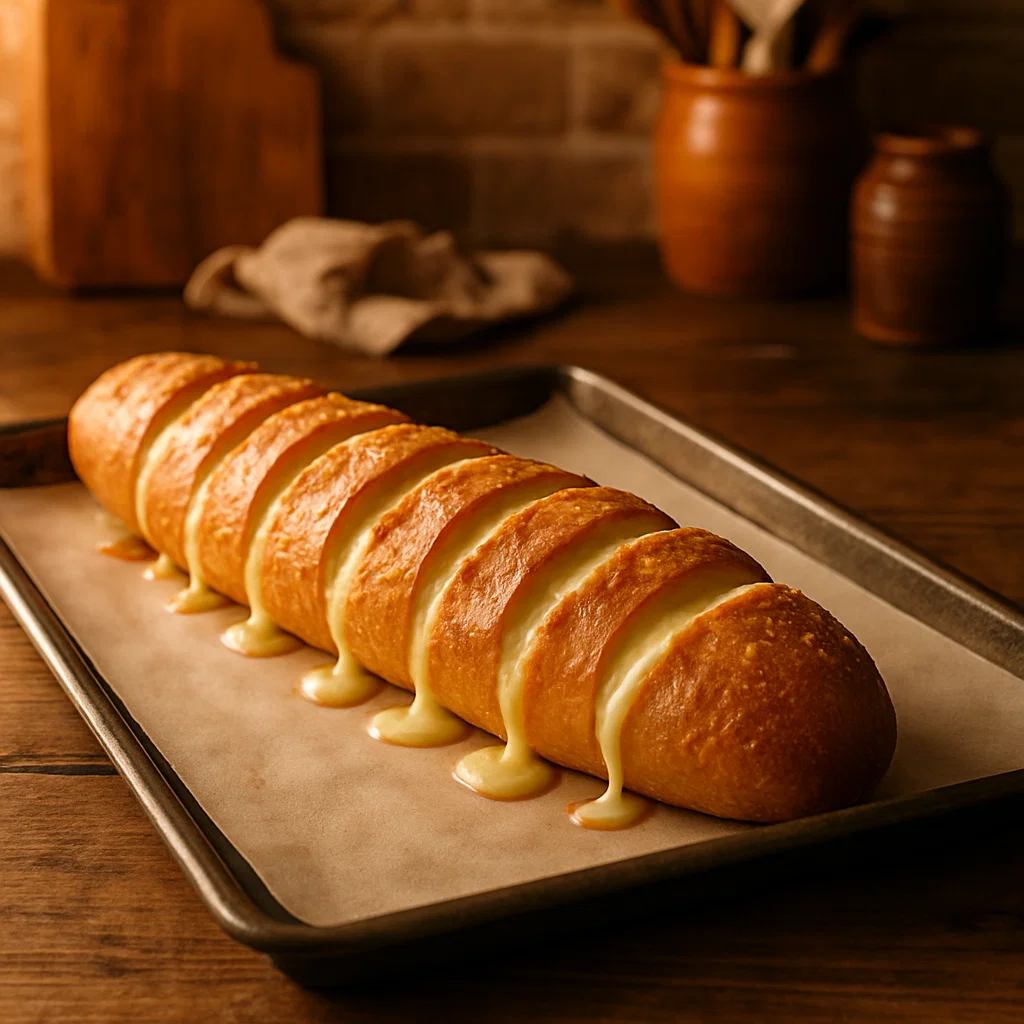
Place the bread on a baking sheet lined with parchment paper, and cover it loosely with aluminum foil. Bake in the preheated oven for 15-20 minutes, or until the bread has absorbed the butter and the cheese begins to melt.
After that, remove the foil and bake for an additional 5-7 minutes to allow the cheese to turn golden brown and bubbly. You’ll know it’s ready when the edges are crispy, and the center is warm and cheesy.
Step 6: Garnish and Serve
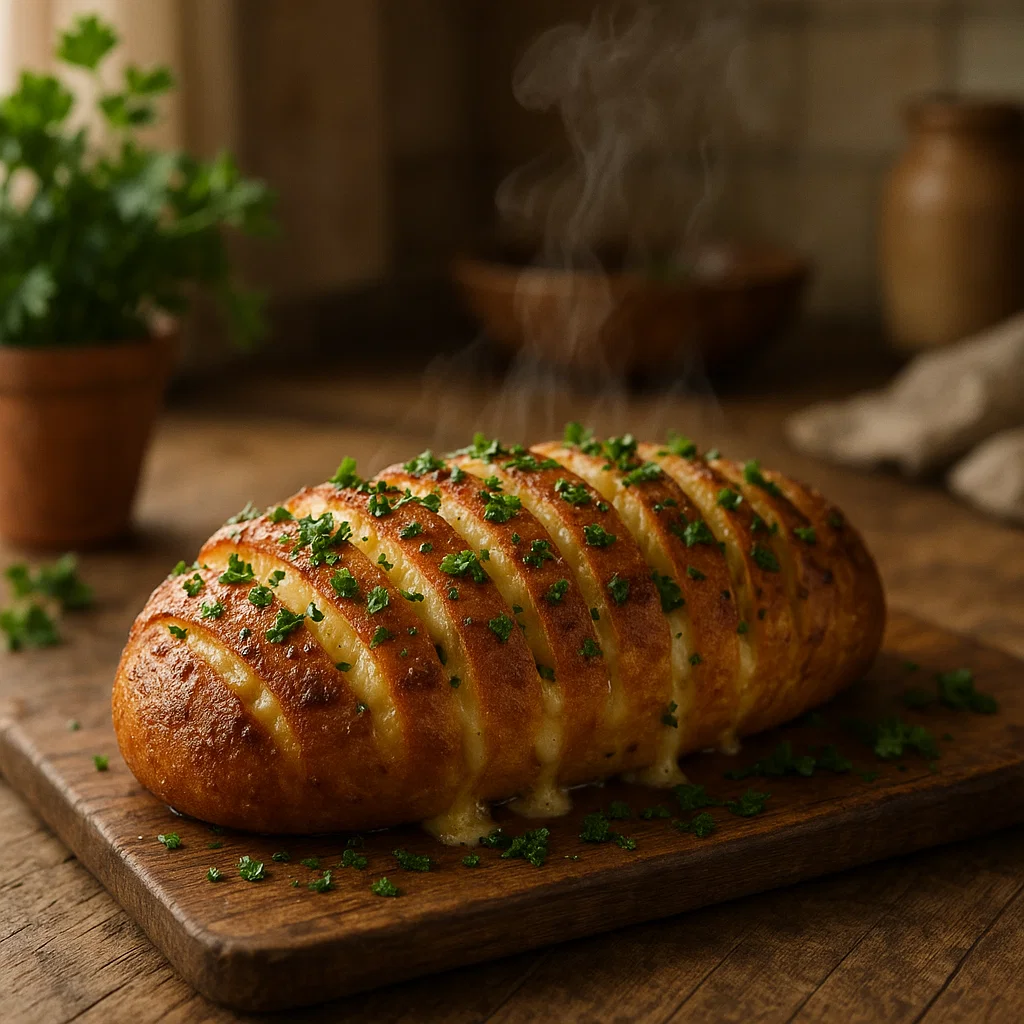
Once your Hasselback Cheesy Garlic Bread is out of the oven, garnish it with fresh parsley for a pop of color and flavor. Slice between the gaps and serve immediately while it’s still warm and gooey. You’ll have a crispy, cheesy, garlic-infused bread that will disappear in no time!
Tips for the Best Hasselback Cheesy Garlic Bread
- Choose a hearty loaf of bread, like a French baguette or a sourdough loaf, for the best texture.
- Use a high-quality butter for extra richness. The better the butter, the more flavorful your bread will be!
- Play around with the cheese – try adding cheddar or even cream cheese for a different twist on the classic recipe.
- If you’re a garlic lover like me, feel free to add extra garlic to the butter mixture.
- For a spicier version, add jalapeños or crushed red pepper flakes.
FAQs About Hasselback Cheesy Garlic Bread
Q: Can I make this recipe ahead of time?
A: Yes! You can prepare the bread and stuff it with garlic butter and cheese, then cover it and refrigerate it for up to 24 hours before baking. Just make sure to bake it fresh when you’re ready to serve.
Q: Can I use a different type of bread?
A: Absolutely! While French bread works well for this recipe, you can use other hearty breads like sourdough, ciabatta, or even challah for a different flavor.
Q: Can I freeze this bread?
A: You can freeze the assembled, unbaked bread. Wrap it tightly in plastic wrap and foil, then store it in the freezer for up to 3 months. When you’re ready to bake, just pop it into the oven from frozen and bake as usual.
Conclusion: Try It Today!
Hasselback Cheesy Garlic Bread is more than just a side dish – it’s an experience! With crispy edges, a soft, cheesy center, and the rich flavor of garlic butter, it’s impossible not to love. Whether you’re hosting a dinner party or just looking for a comforting snack, this recipe will never disappoint.
Ready to make this irresistible treat? Grab your ingredients, preheat your oven, and dive into making the best garlic bread you’ve ever tasted. Don’t forget to share your creations with friends and family – they’ll thank you for it!