
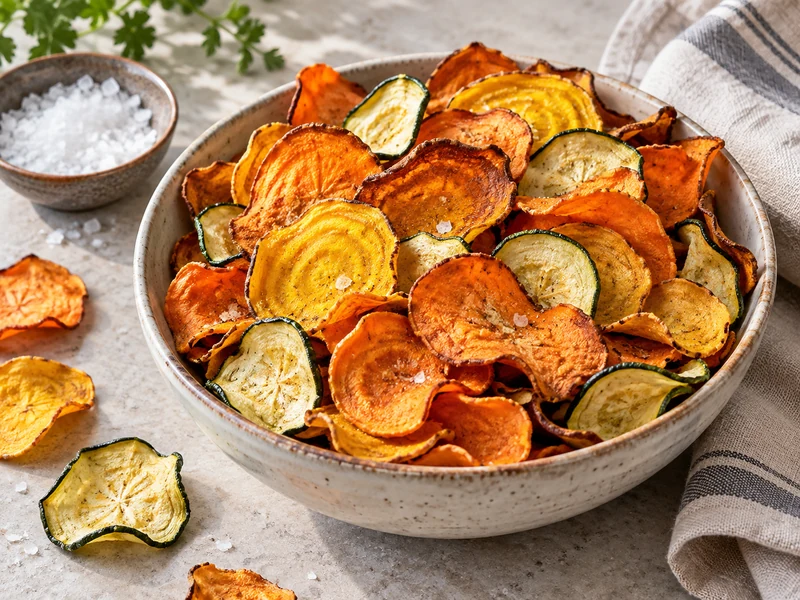
Homemade vegetable chips can deliver the crisp edges and savory seasoning of a snack bag while letting each vegetable keep its own flavor. This recipe combines sweet potato, golden beet, zucchini, and carrot, all cut into very thin rounds and baked slowly rather than fried. The result is a colorful batch with naturally varied shapes: root vegetables become firm and crunchy, while zucchini turns delicate and lightly crisp.
RECIPE CARD
Crispy Baked Veggie Chips Recipe
Ingredients
- 1 medium sweet potato (about 8 ounces)
- 1 medium golden beet (about 6 ounces)
- 1 medium zucchini (about 7 ounces)
- 1 large carrot (about 4 ounces)
- 1 tablespoon extra-virgin olive oil
- 1/2 teaspoon fine sea salt
- 1/2 teaspoon smoked paprika
- 1/4 teaspoon garlic powder
- 1/8 teaspoon ground black pepper
Quick Method
Condensed overview. Use Full Instructions for the complete method, timing and doneness details.
- Preheat the Oven and Prepare the Pans: Set the oven to 300°F (150°C) and position racks in the upper and lower thirds. Line two large rimmed baking sheets with parchment paper.…
- Slice the Vegetables Evenly: Scrub and dry the sweet potato, golden beet, zucchini, and carrot; peeling is optional. Trim the ends. Using the mandoline guard, slice every vegetable…
- Remove Surface Moisture: Spread the slices on clean absorbent kitchen towels and press gently with a second towel. Pay special attention to the zucchini, which holds more…
- Coat and Season Lightly: Divide the vegetables among separate bowls. Whisk the olive oil, sea salt, smoked paprika, garlic powder, and black pepper together, then distribute the mixture…
- Arrange, Bake, and Rotate: Arrange the slices in a single layer without overlap, grouping vegetables by type. Bake for 15 minutes, rotate the pans from front to back…
- Cool Completely for the Best Crispness: Transfer finished chips to the wire racks in a single layer and let them cool for 10 minutes. They become crisper as steam escapes.…
The technique matters more than complicated ingredients. Uniform slicing, careful drying, a restrained amount of oil, and enough room on the pans make the greatest difference. Because the vegetables contain different amounts of moisture, begin checking early and remove finished chips individually instead of waiting for every slice to brown at the same moment.
Why You’ll Love It
- Four vegetables in one batch
- Simple pantry seasoning
- Flexible doneness control
The mixed tray balances sweet, earthy, and mild flavors, while familiar seasonings support the vegetables instead of masking them. Individual slices can leave the oven as soon as they crisp, so slower pieces keep baking without sacrificing the finished chips.
Ingredients
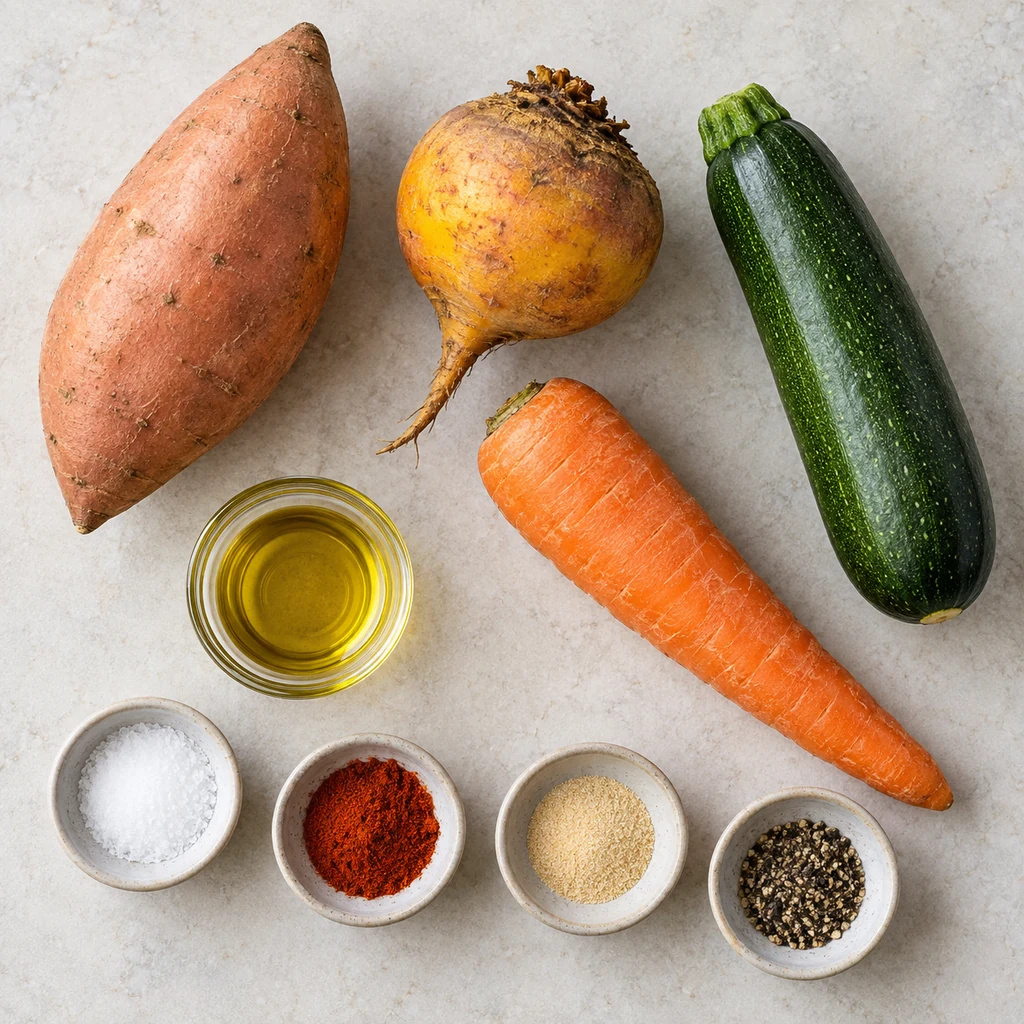
- 1 medium sweet potato (about 8 ounces)
- 1 medium golden beet (about 6 ounces)
- 1 medium zucchini (about 7 ounces)
- 1 large carrot (about 4 ounces)
- 1 tablespoon extra-virgin olive oil
- 1/2 teaspoon fine sea salt
- 1/2 teaspoon smoked paprika
- 1/4 teaspoon garlic powder
- 1/8 teaspoon ground black pepper
You will also need two large rimmed baking sheets, parchment paper, two wire cooling racks, and a mandoline slicer with a safety guard or a very sharp knife. A mandoline produces the most even chips, but it must always be used with its hand guard.
Step-by-Step Instructions
1. Preheat the Oven and Prepare the Pans
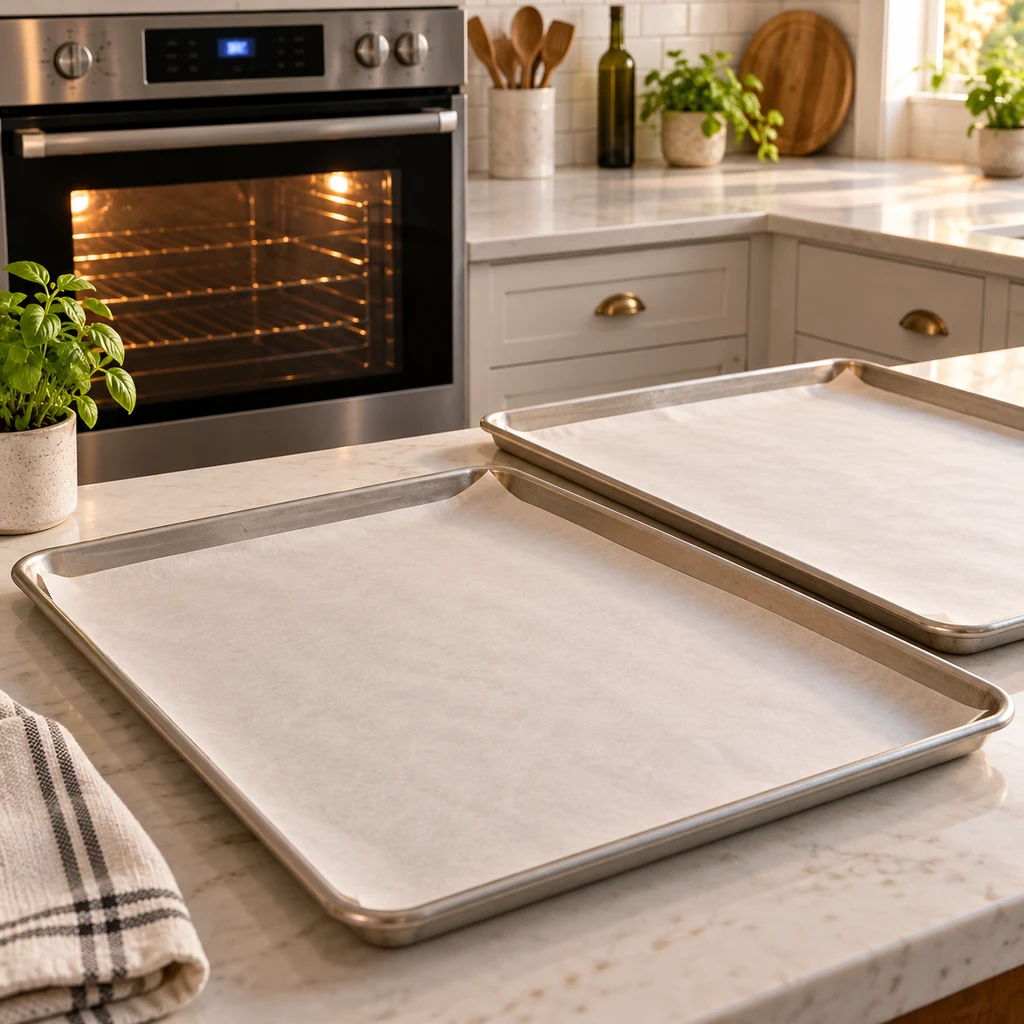
Set the oven to 300°F (150°C) and position racks in the upper and lower thirds. Line two large rimmed baking sheets with parchment paper. Place two wire racks nearby for cooling. A low oven removes moisture gradually, giving the centers time to dry before the thin edges become too dark.
2. Slice the Vegetables Evenly
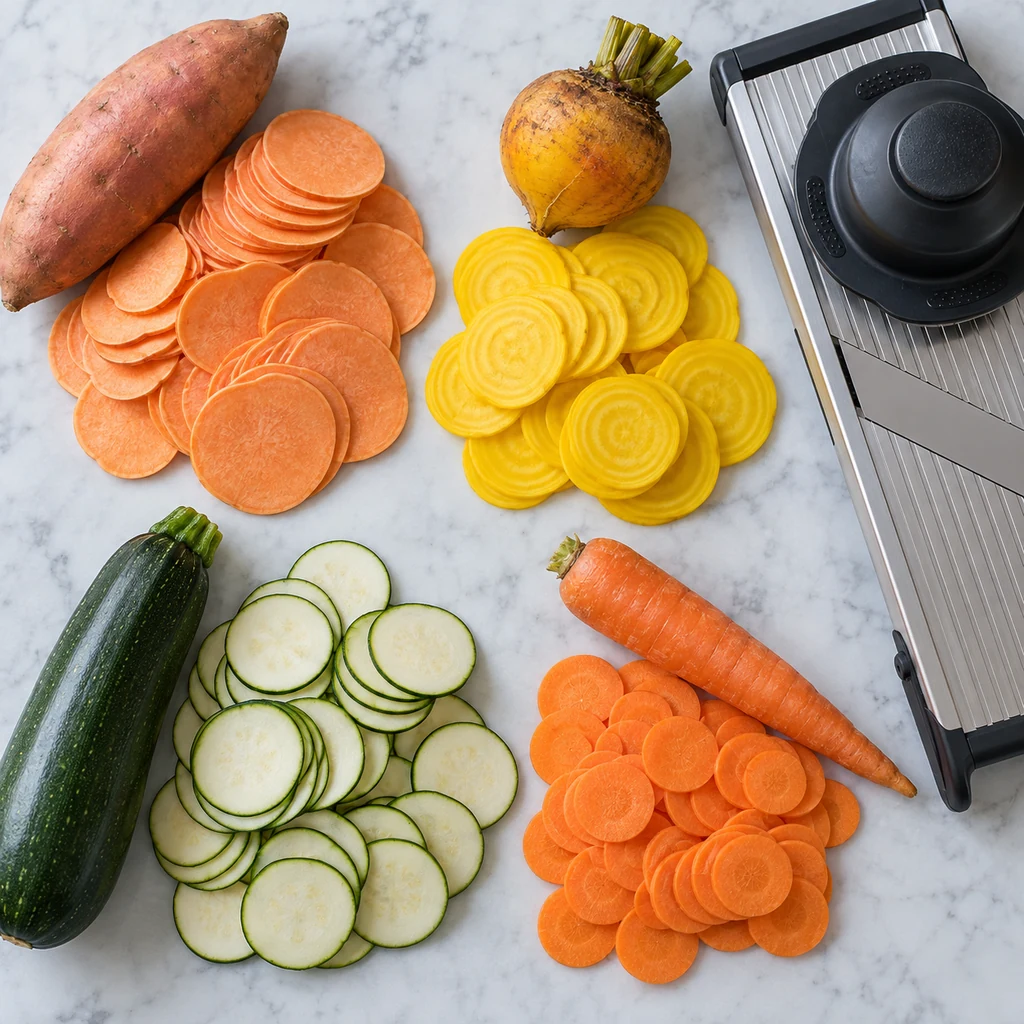
Scrub and dry the sweet potato, golden beet, zucchini, and carrot; peeling is optional. Trim the ends. Using the mandoline guard, slice every vegetable into rounds about 1/16 inch thick. Keep each vegetable in a separate pile so you can monitor its baking time. If using a knife, work slowly and reject noticeably thick pieces rather than mixing them with thin slices.
3. Remove Surface Moisture
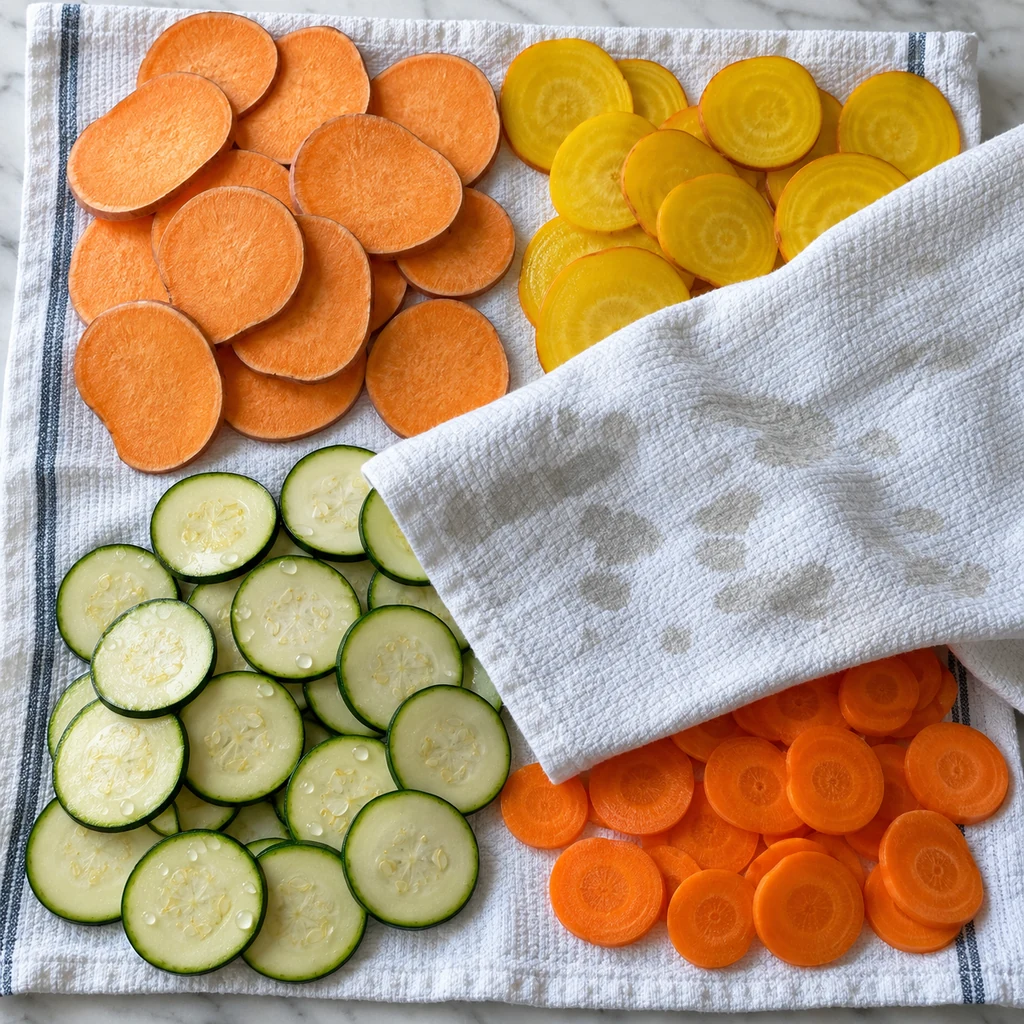
Spread the slices on clean absorbent kitchen towels and press gently with a second towel. Pay special attention to the zucchini, which holds more surface water than the root vegetables. Dry slices brown more evenly and require less oven time. Do not salt them yet, because salt can pull moisture back to the surface while the pans are being arranged.
4. Coat and Season Lightly
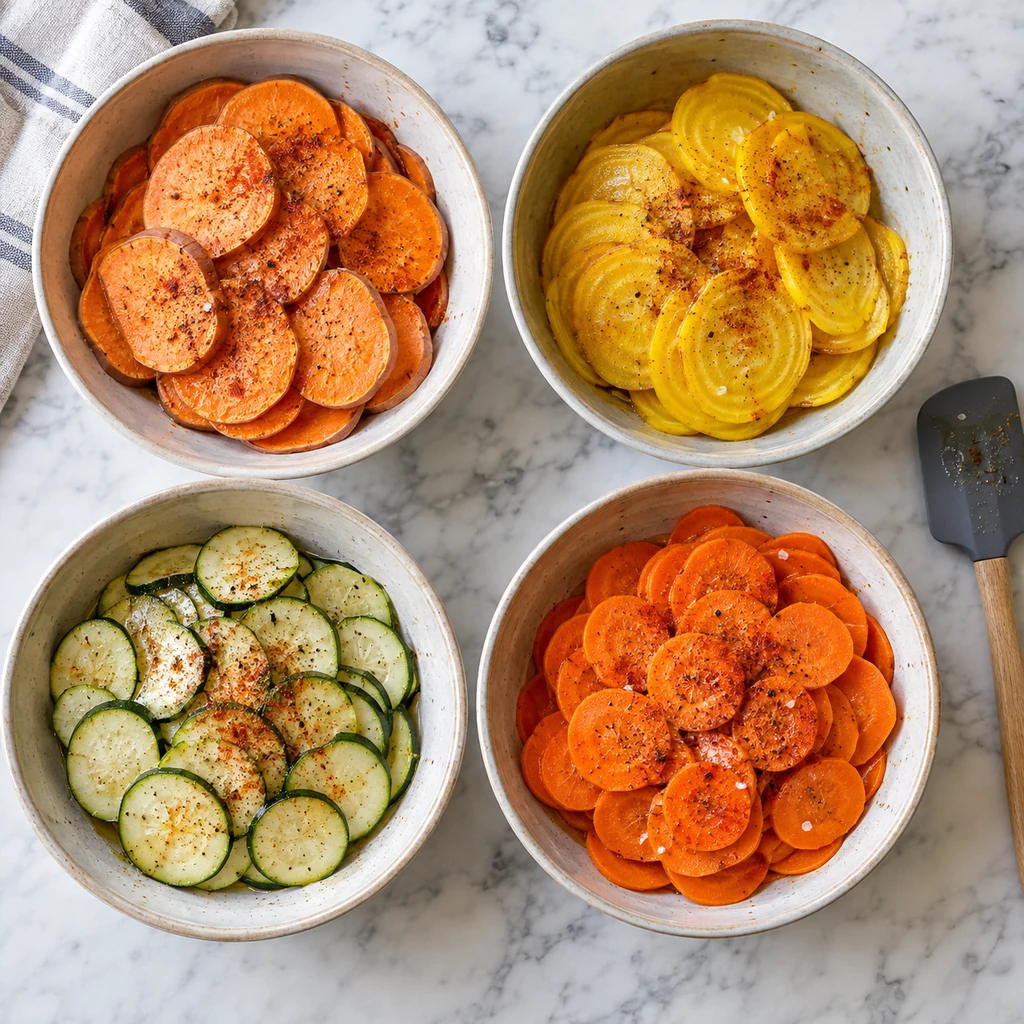
Divide the vegetables among separate bowls. Whisk the olive oil, sea salt, smoked paprika, garlic powder, and black pepper together, then distribute the mixture evenly over the four bowls. Toss gently until each slice has only a thin sheen. Excess oil makes baked chips leathery, so there should be no puddle in the bottom of any bowl.
5. Arrange, Bake, and Rotate
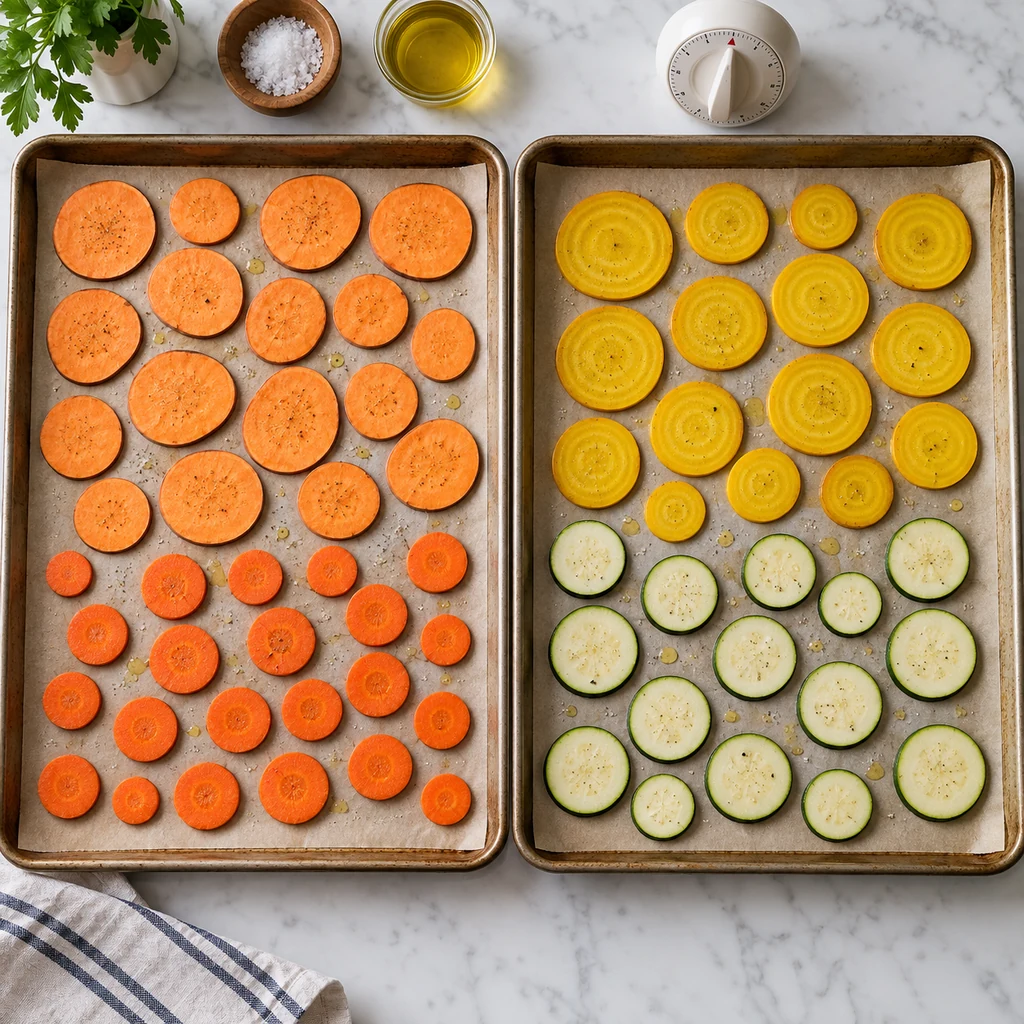
Arrange the slices in a single layer without overlap, grouping vegetables by type. Bake for 15 minutes, rotate the pans from front to back and switch their rack positions, then begin checking every 5 minutes. Remove individual chips when their centers look dry and their edges curl and lightly brown. Zucchini may finish first; thicker root slices may need the full 35 minutes. Do not wait for every chip to finish together.
6. Cool Completely for the Best Crispness
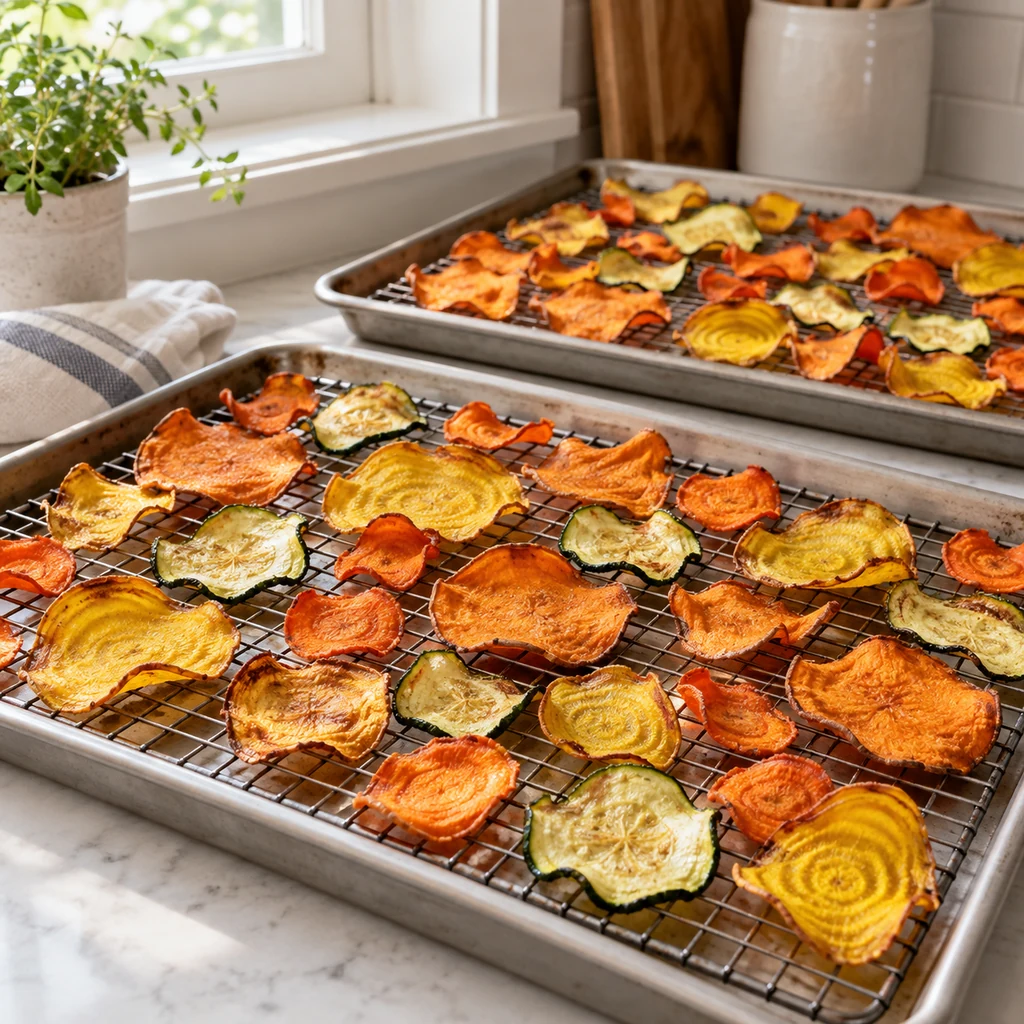
Transfer finished chips to the wire racks in a single layer and let them cool for 10 minutes. They become crisper as steam escapes. If a cooled chip still bends instead of snapping, return it to the oven for 3 to 5 minutes, watching closely. Serve once completely cool, or store only after no warmth remains.
Substitutions & Variations
Red beet can replace golden beet, although it will stain nearby slices and may need its own bowl and pan area. Parsnip works in place of carrot, and purple sweet potato can replace the orange variety with the same slicing method. Avoid combining kale leaves with this batch because they cook much faster and need a separate temperature and timing.
For a milder blend, omit smoked paprika and use only salt, garlic, and pepper. For gentle heat, replace the black pepper with a small pinch of cayenne. Dried rosemary can be crushed finely and substituted for smoked paprika, but use no more than 1/4 teaspoon so the woody herb does not overwhelm the thin chips.
What to Serve With
Serve the chips as a snack on their own or beside a cool dip such as plain yogurt mixed with lemon and herbs. They also add crunch to a lunch plate with sandwiches, soup, or a chopped salad. For casual hosting, place the chips in a wide shallow bowl rather than a deep container; this reduces trapped steam and keeps the delicate zucchini pieces from being crushed.
Storage and Recrisping
These chips are best on the day they are baked. Once completely cool, keep them in an airtight container at room temperature for up to two days. If they soften, spread them on a parchment-lined pan and warm at 275°F (135°C) for 3 to 5 minutes. Cool them again before serving. Do not refrigerate, because condensation makes thin chips lose their crisp texture.
How to Judge Doneness Without Burning
Color alone is not a reliable signal because golden beet stays bright while sweet potato darkens more visibly. Look for dry-looking centers, curled edges, and a slice that releases easily from the parchment. A chip can feel slightly flexible while hot and still crisp during cooling, so move likely finished pieces to the rack before deciding they need more oven time.
Check the smallest rounds first and use tongs to remove them one at a time. If an edge turns deep brown while the center remains soft, that slice was probably thicker than the others. Lowering the oven temperature at that point will not correct uneven thickness; remove the dark slice and allow the uniformly cut pieces to continue baking. Staying near the oven during the final 10 minutes prevents a properly dried batch from crossing quickly into burnt flavors.
Frequently Asked Questions
Why are some vegetable chips crisp while others are soft?
Vegetables and slice thicknesses release moisture at different rates. Keep varieties grouped, use uniformly thin slices, and remove each chip when it is ready. A soft chip can usually be baked a few minutes longer after the crisp ones are removed.
Can I bake all the slices on one pan?
Not for this quantity. Crowding traps steam and prevents browning. Use two large pans and bake in batches if necessary, keeping every slice in direct contact with the parchment and leaving a little space around it.
Do I have to use a mandoline?
No, but even 1/16-inch rounds are difficult to cut consistently by hand. A sharp chef’s knife can work if you move slowly. When using a mandoline, always attach the safety guard and stop before the vegetable becomes too small to hold securely.