
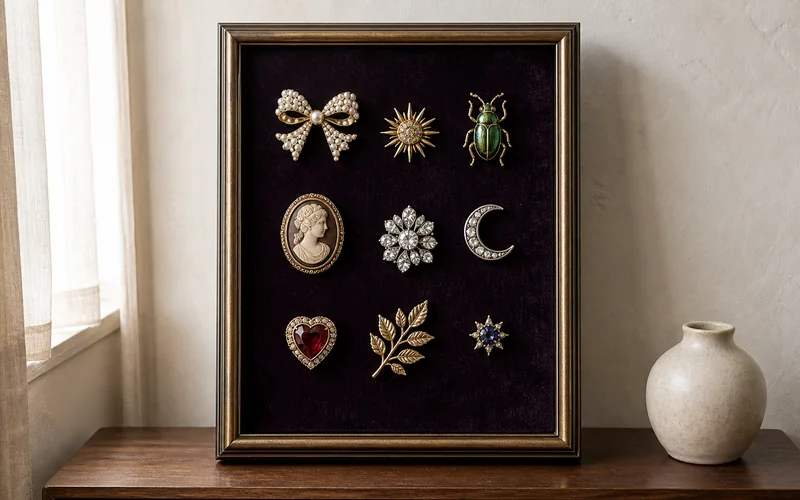
Vintage brooches deserve more than a closed jewelry box. This velvet-lined display turns nine favorite pins into removable wall art while protecting the character that makes every piece special. The deep plum background also gives pearls, crystals, gold, and colored stones dramatic contrast.
DIY Vintage Brooch Display Frame Plan
The finished project uses a 12×16-inch antique-brass shadow box and a three-by-three arrangement. Choose a frame at least 1 inch deep so raised brooches are not pressed against the glass. For easy access, remove the glass; keep it only when every pin has at least 1/2 inch of clearance.
Materials and Tools
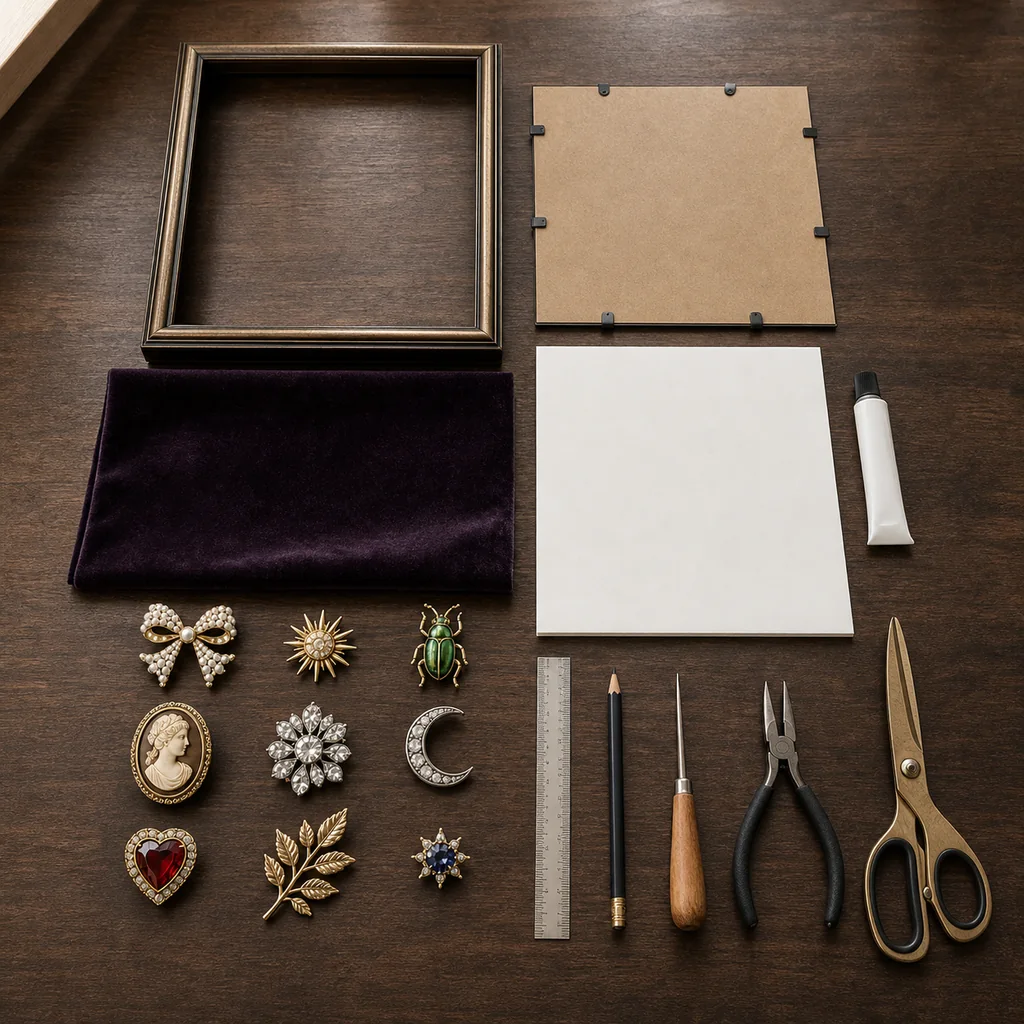
- One 12×16-inch shadow box
- One sheet of 3/16-inch acid-free foam board
- Plum cotton velvet, approximately 18×22 inches
- Nine vintage brooches in mixed shapes
- Archival fabric adhesive or acid-free double-sided tape
- Craft knife, metal ruler, cutting mat, pencil, scissors, and awl
- Optional kraft paper for a placement guide
Step 1: Cut the Foam Board
Remove the backing and measure the actual opening rather than relying on the labeled frame size. Cut the foam board 1/8 inch smaller in both directions. Test the fit; it should slide in without bowing yet leave no visible gap.
Step 2: Wrap the Board in Velvet
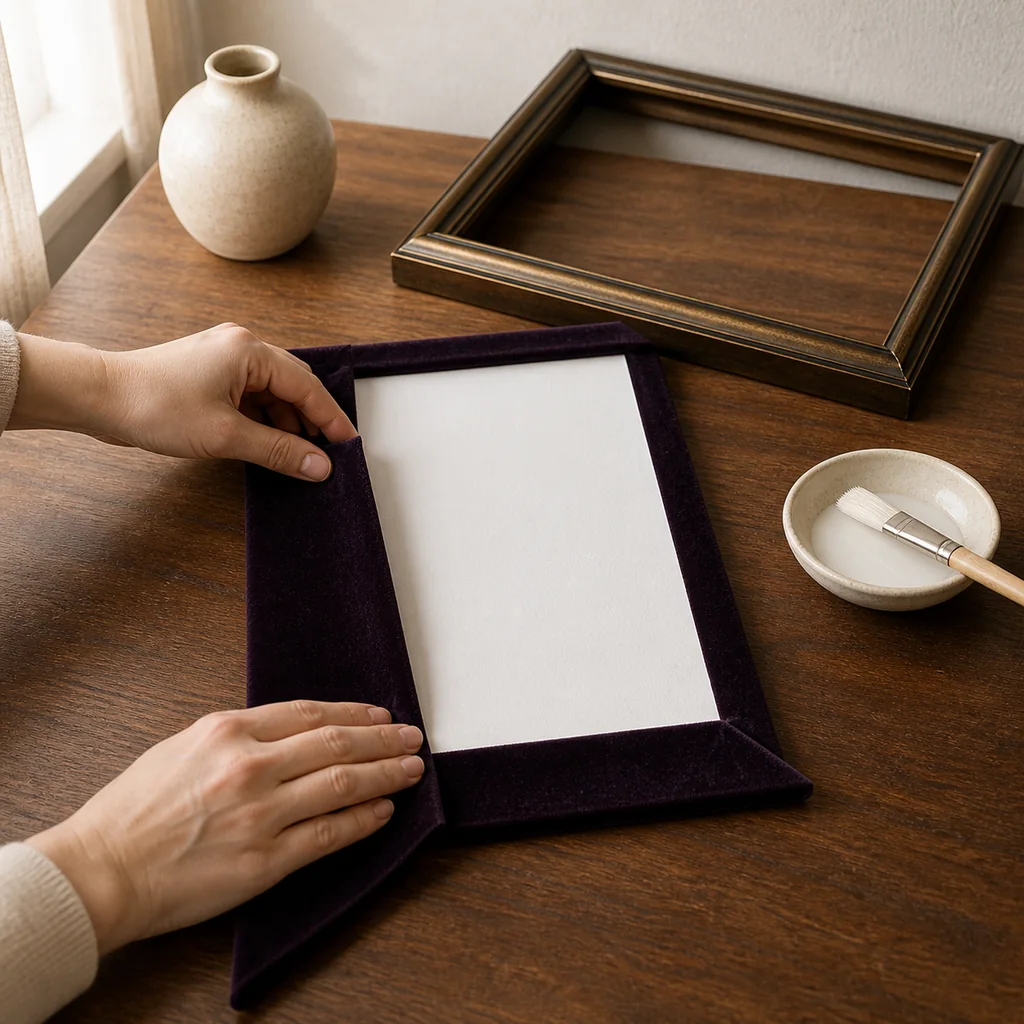
Cut velvet with a 2-inch border around the board. Place it face down, center the foam board, and smooth the pile outward with clean hands. Secure one long back edge, pull the opposite edge just taut enough to remove ripples, then attach the remaining sides. Fold the corners like a neatly wrapped gift and trim excess bulk.
Keep adhesive on the back only. Glue on the visible surface can flatten the velvet and create dark, stiff patches.
Step 3: Plan a Balanced Arrangement
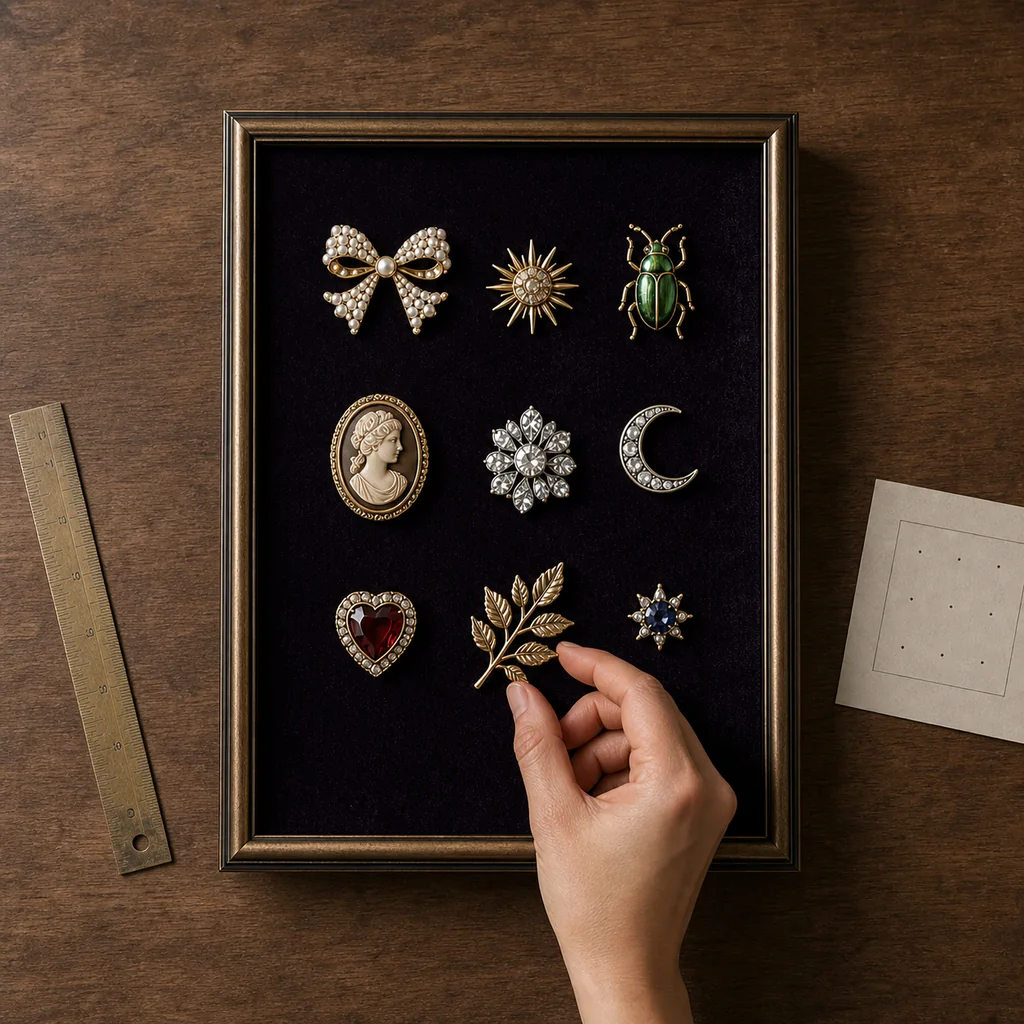
Return the covered board to the frame and lay it flat. Cut nine small paper shapes that match the brooches, then test a three-by-three grid before handling the jewelry. Place the largest piece near the center and distribute bright stones, pearls, and metallic shapes across the composition. Leave about 1 inch between pieces.
Step 4: Attach the Brooches Without Glue
Mark only the pin-entry points with a removable fabric pencil. Open one brooch, guide its pin through the velvet and the front layer of foam, then close the clasp so it rests flat. If the backing is dense, make a tiny starter hole with an awl—never force a delicate pin.
Repeat from the center outward and check the spacing after every row. Do not glue the jewelry. The pin-and-clasp method keeps the collection wearable and lets you refresh the display seasonally.
Step 5: Finish and Hang the Frame
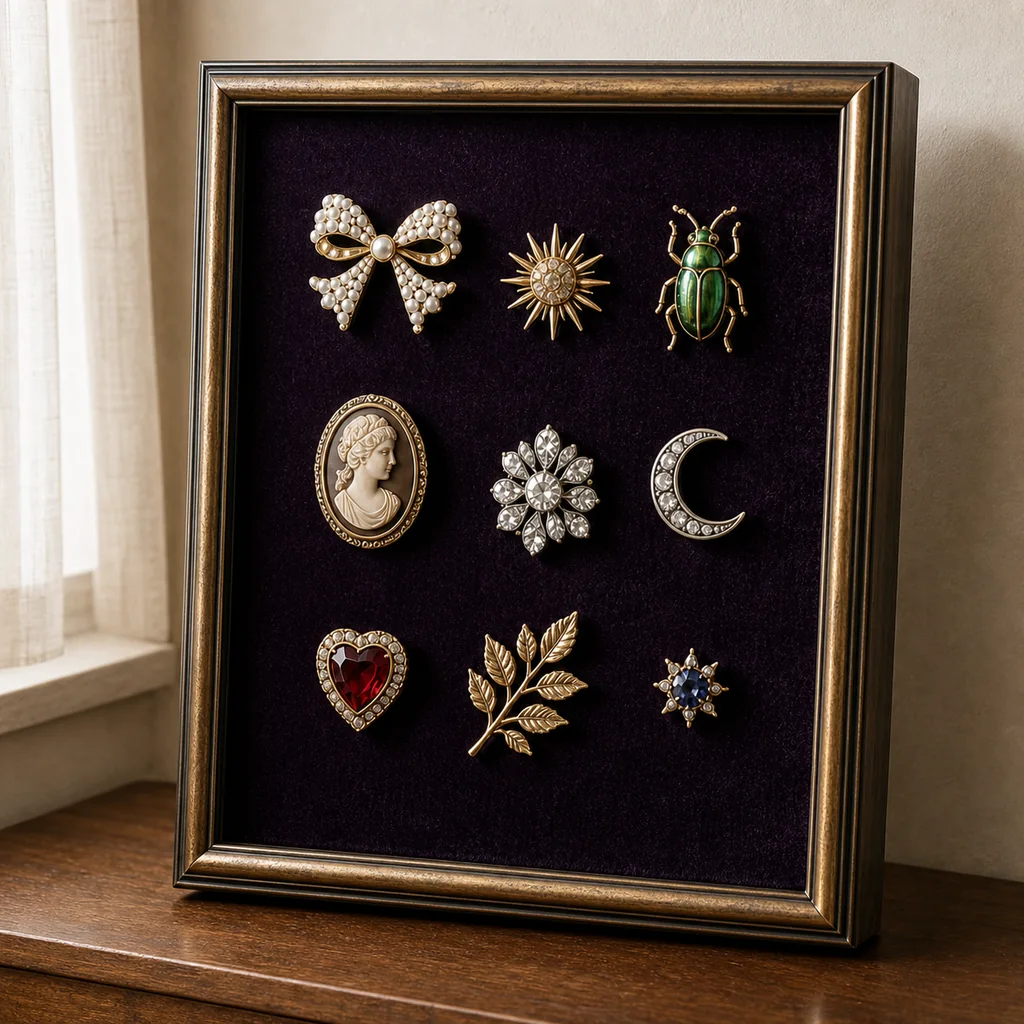
Reassemble the shadow box and confirm that no clasp scratches the frame backing. Hang it from hardware rated above the completed weight, away from direct sunlight, bathrooms, and heating vents. Sun can fade velvet and stones, while moisture may tarnish metal.
Safety and Care
- Wear eye protection when cutting board and keep the awl covered between uses.
- Mount the frame beyond the reach of children and pets because pins are sharp.
- For valuable heirlooms, consult a jewelry conservator before display.
- Remove dust with a camera blower or very soft brush; never spray cleaner onto the frame.
Continue the collected vanity look with a hand-painted bow trinket dish or this fluted perfume display stand. If you enjoy dimensional framed crafts, try the botanical moth shadow box next.
Frequently Asked Questions
Can I use earrings or pendants too?
Yes. Sew small clear loops to the velvet before wrapping the board, then hang pieces from those loops. Avoid adhesives that could damage jewelry finishes.
How do I stop heavy brooches from tilting?
Add a second tiny support hole for the clasp end or place a short, hidden stitch beneath the lower edge. Keep the support removable.
Final Notes
The secret is restraint: one rich fabric, one consistent frame, and enough breathing room around each brooch. Photograph the arrangement before fastening it so the final grid stays faithful to your best layout.