
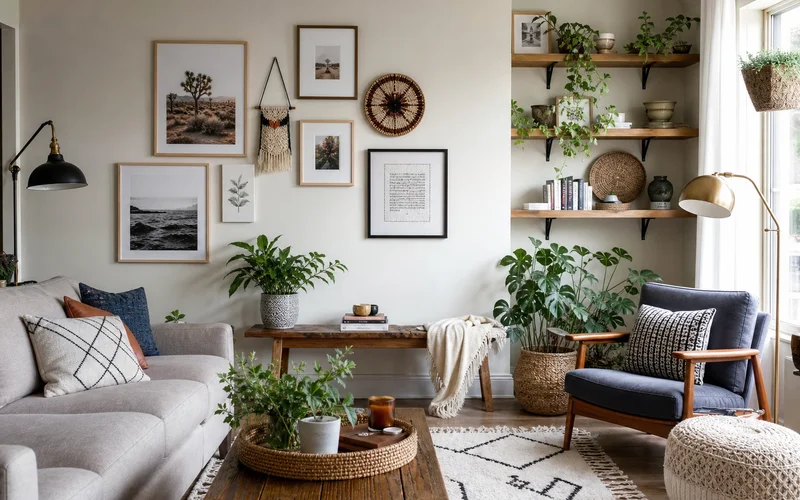
Your home should feel like yours—not a showroom copy of someone else’s Pinterest board. The good news is that you do not need a big renovation budget or professional contractors to get there. Simple DIY projects can add color, storage, texture, and personality to any room while keeping costs low and creativity high.
This guide walks through eight approachable DIY projects to give your space a personal touch: gallery walls, floating shelves, accent walls, reading nooks, custom canvas art, macrame plant hangers, upcycled furniture, and styled decor vignettes. Each idea works on its own or stacks together for a room-by-room refresh. For more inspiration, explore our tutorials on DIY scalloped floating shelves, outdoor lighting ideas for your patio, and making your home feel cozy and inviting.
Why DIY Projects Make a Space Feel Personal
Store-bought decor can look polished, but handmade and customized pieces tell a story. A gallery wall of travel photos, a shelf you built yourself, or a dresser you painted on a rainy weekend carries meaning that mass-produced items rarely match. DIY also lets you control scale, color, and budget—you choose materials, pace, and style instead of settling for what is in stock.
Start with one project that solves a real problem in your home. Maybe the entryway feels bare, books are stacked on the floor, or a bedroom wall looks flat. Finish that project completely before moving to the next. Small wins build confidence and keep half-finished crafts from cluttering your space.
1. Create a Gallery Wall
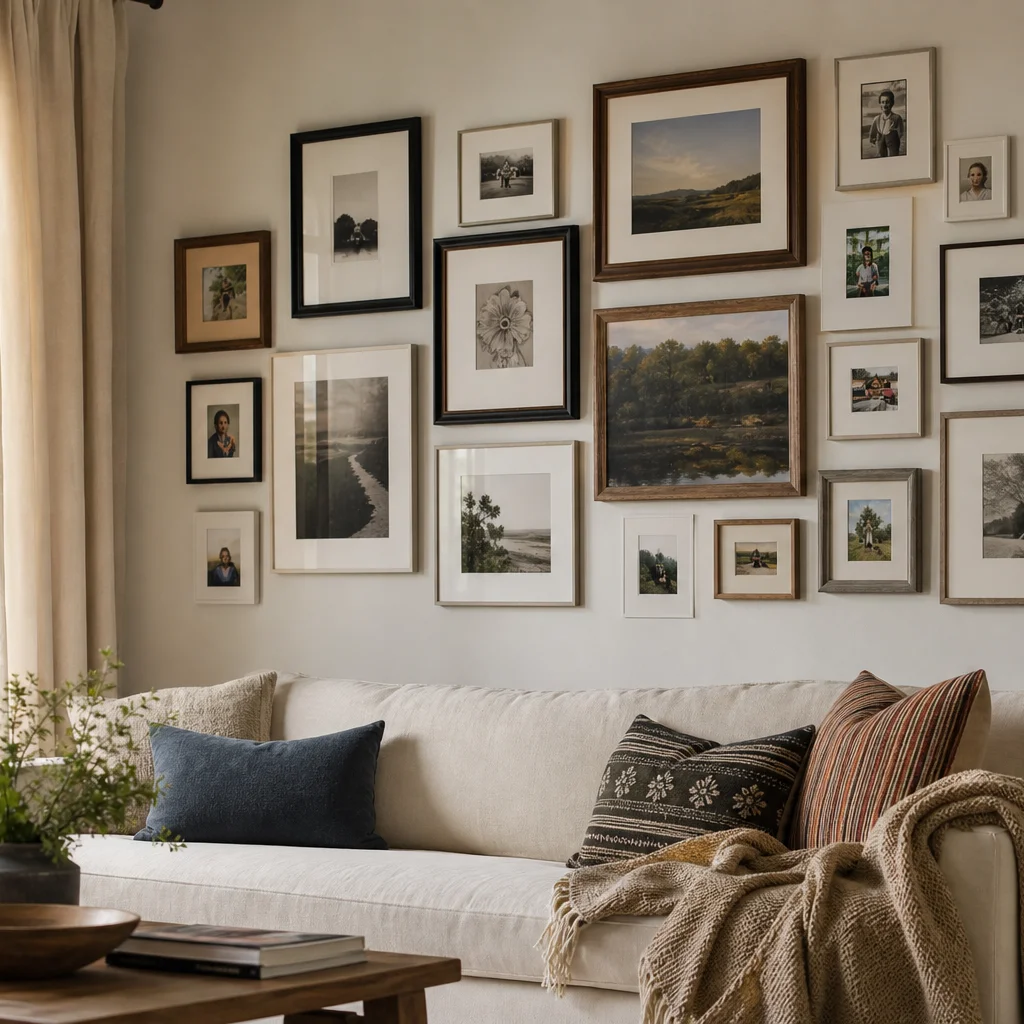
A gallery wall is one of the fastest ways to fill a blank wall with personality. Mix frame sizes, finishes, and art types—family photos, postcards, thrifted prints, and one or two larger statement pieces. Lay frames on the floor first to test spacing, then use painter’s tape to mark anchor points on the wall before hammering nails.
For a collected look, avoid a perfect grid unless that fits your style. Offset frames slightly and leave breathing room between groupings. Command strips work well for lightweight frames in rentals where nail holes are restricted. Swap pieces seasonally or when you find new art at flea markets and estate sales.
Skill level: Beginner
Time: One to three hours
Best for: Living rooms, stair walls, hallways, and home offices
2. Build Floating Shelves
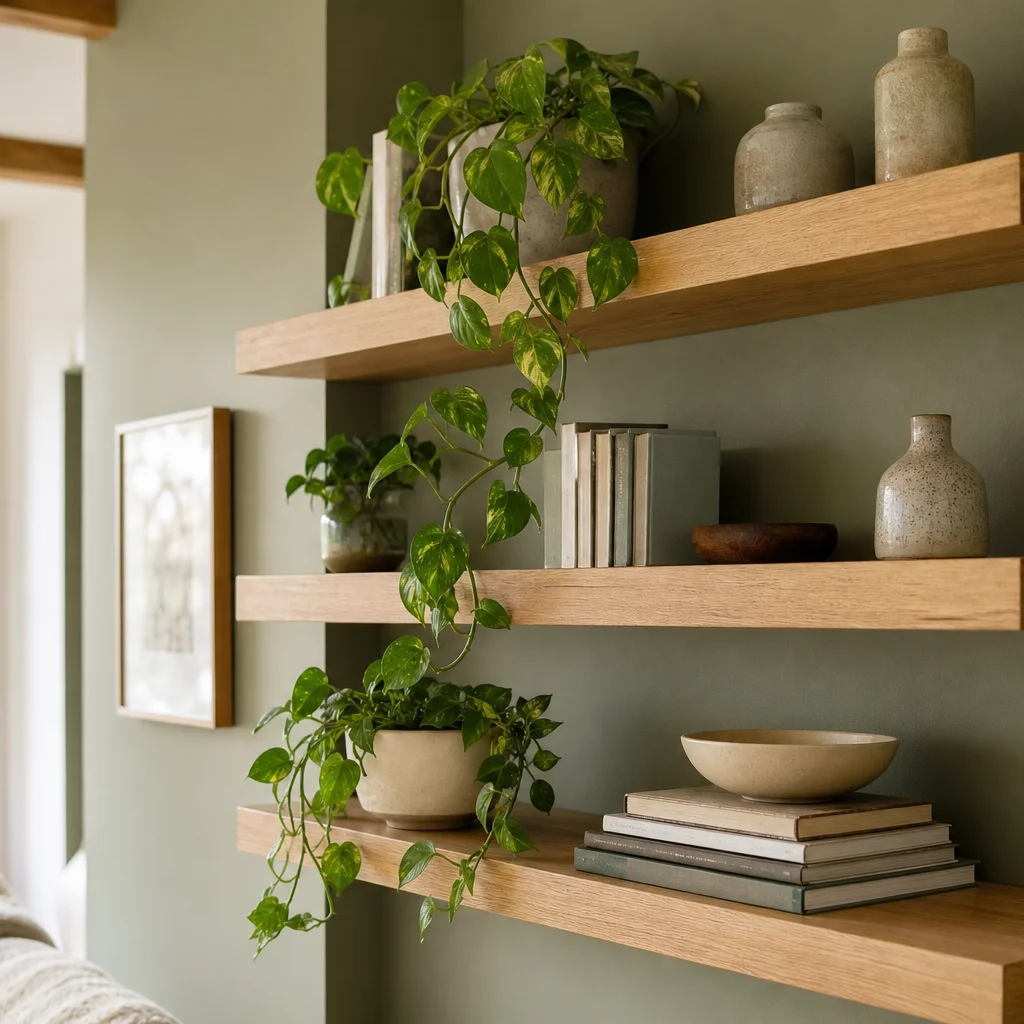
Floating shelves add display space without bulky furniture. You can buy ready-made kits or build simple shelves from pine boards, brackets, and wood stain or paint. Measure twice, use a level, and locate wall studs—or use appropriate drywall anchors anchors anchors anchors for lighter loads.
Style shelves with books, trailing plants, small vases, and objects that reflect your interests. Keep heavy items near bracket points and leave some open space so the display does not feel crowded. For a decorative twist, try scalloped edges or painted backs as shown in our scalloped floating shelf tutorial.
Skill level: Beginner to intermediate
Time: Half day including dry time
Best for: Bedrooms, kitchens, bathrooms, and reading corners
3. Paint an Accent Wall
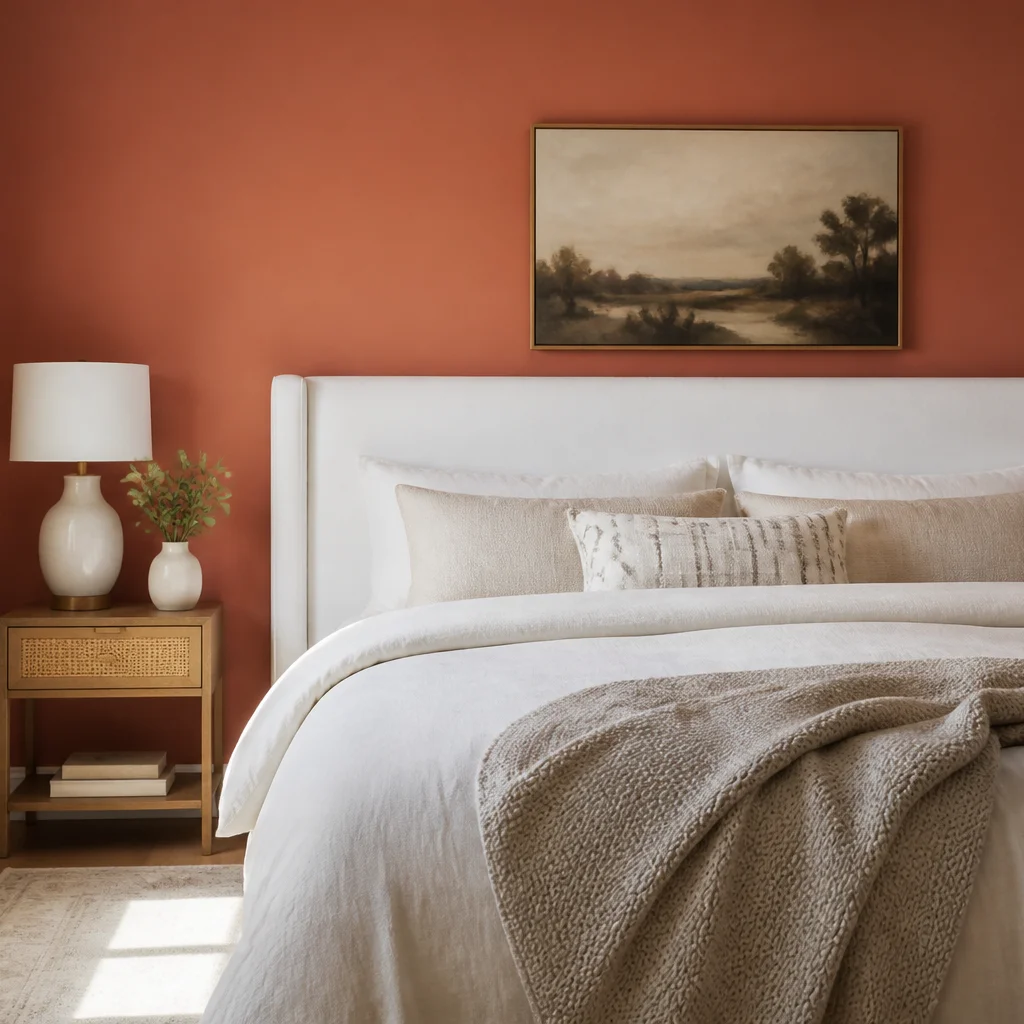
An accent wall changes the mood of a room with a single gallon of paint. Choose a wall that naturally draws the eye—behind the bed, sofa, or dining table. Bold terracotta, deep navy, and soft sage green are versatile choices that pair well with neutral furniture in most US homes.
Prep matters: clean the wall, fill holes, tape trim, and apply primer if you are covering a dark color. Test a sample patch in morning and evening light before committing. Feeling adventurous? Try color blocking, vertical stripes, or a simple stencil pattern for extra detail without wallpaper cost.
Skill level: Beginner
Time: One weekend with dry time
Best for: Bedrooms, living rooms, and home offices
4. Design a Cozy Reading Nook
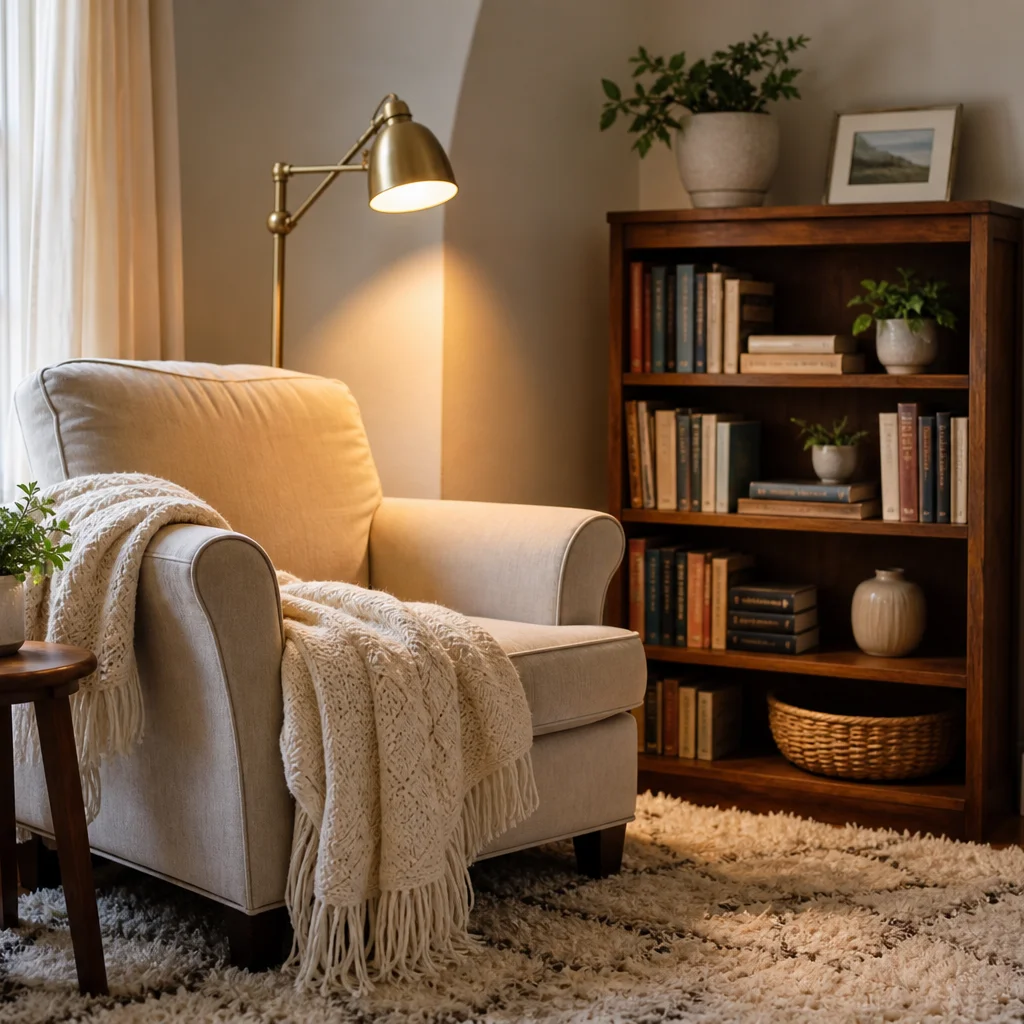
A reading nook turns an unused corner into a daily retreat. You need a comfortable seat, good lighting, and a spot for books or a small side table. An armchair, floor cushions, or a built-in window bench all work depending on your space and budget.
Add a soft throw, a rug to define the zone, and a lamp with warm bulbs around 2700K to 3000K. Keep a basket nearby for current reads and headphones. If the nook sits near a window, add a sheer curtain for glare control during daytime reading sessions.
Skill level: Beginner
Time: One to two hours to assemble
Best for: Living rooms, bedrooms, and sunrooms
5. Make Custom Canvas Art
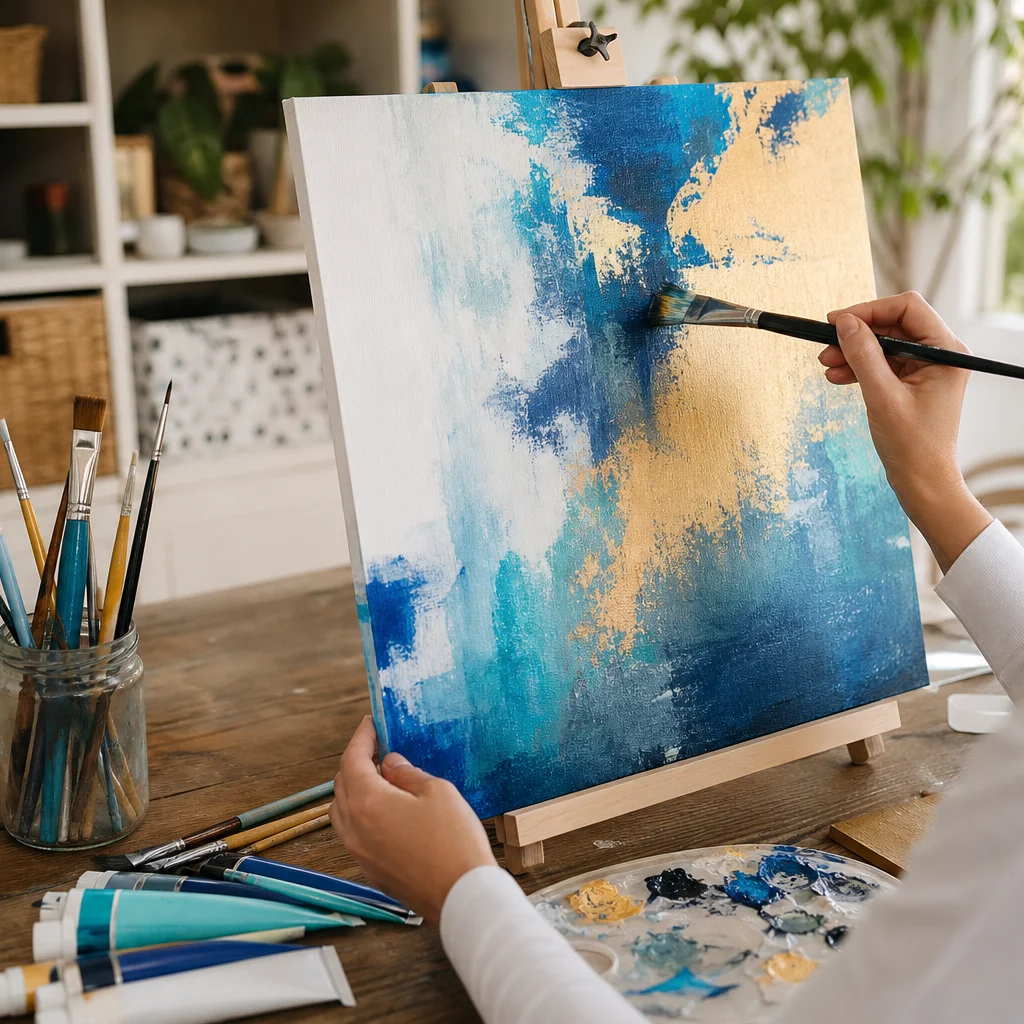
Blank canvases, acrylic paint, and a few brushes are enough to create original wall art. Abstract designs are forgiving for beginners—layer colors, blend with a dry brush, and stop before the piece feels overworked. Stencil a favorite quote in a clean font for a motivational piece in a home office.
Protect your work surface with newspaper or a drop cloth. Let each layer dry fully before adding the next. Frame finished canvases or hang them gallery-style with sawtooth hangers. One large custom piece can anchor a room better than several small generic prints.
Skill level: Beginner
Time: One to four hours depending on size
Best for: Living rooms, bedrooms, and creative workspaces
6. Craft a Macrame Plant Hanger
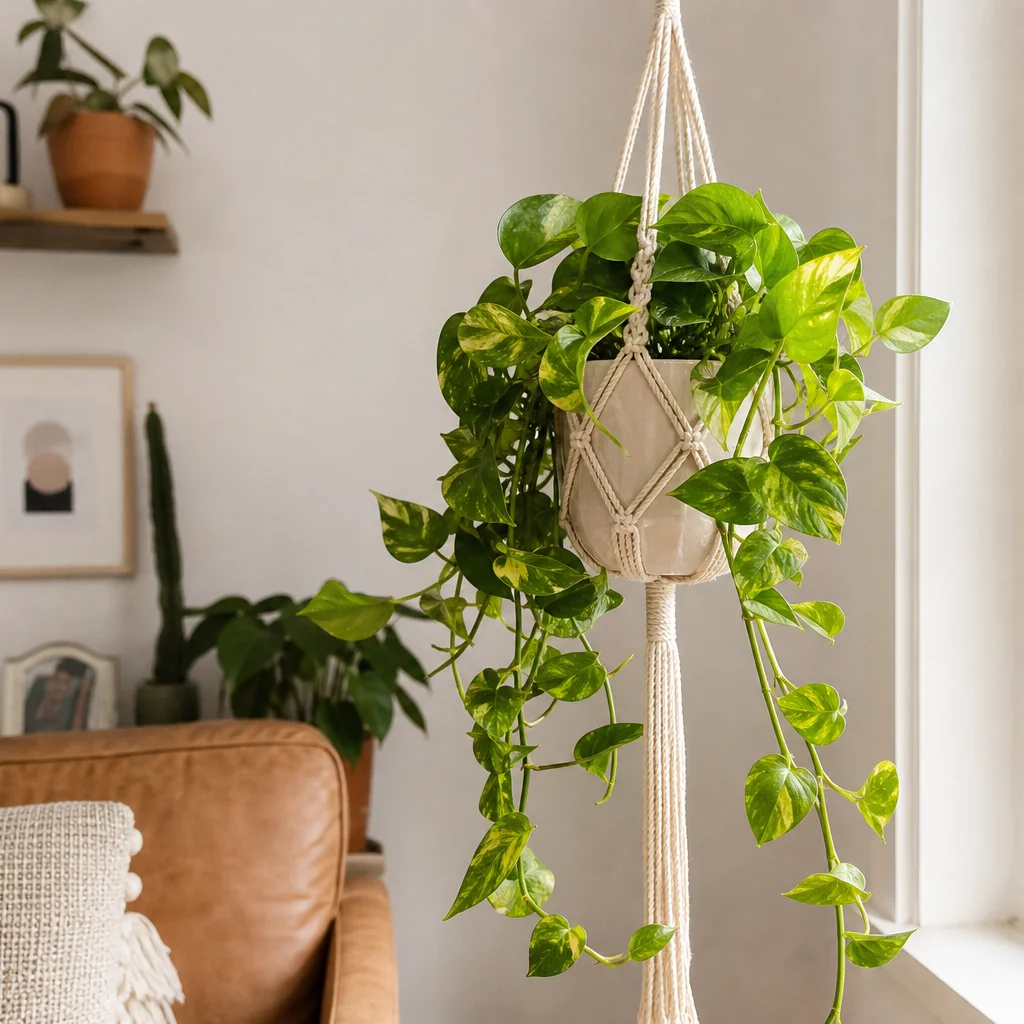
Macrame plant hangers add bohemian texture and bring greenery off flat surfaces. Basic knots—lark’s head, square knot, and spiral stitch—are easy to learn from short video tutorials. Cotton cord, a wooden ring, and a pot with a saucer are the core supplies.
Hang near a window with appropriate light for your plant. Pothos, spider plants, and trailing philodendron work well in hangers. Test the knot strength before hanging heavier ceramic pots. Make extras as gifts—they cost far less than store-bought versions.
Skill level: Beginner
Time: One to two hours for a simple design
Best for: Living rooms, kitchens, and sunny bedrooms
7. Upcycle Furniture with Paint and Hardware
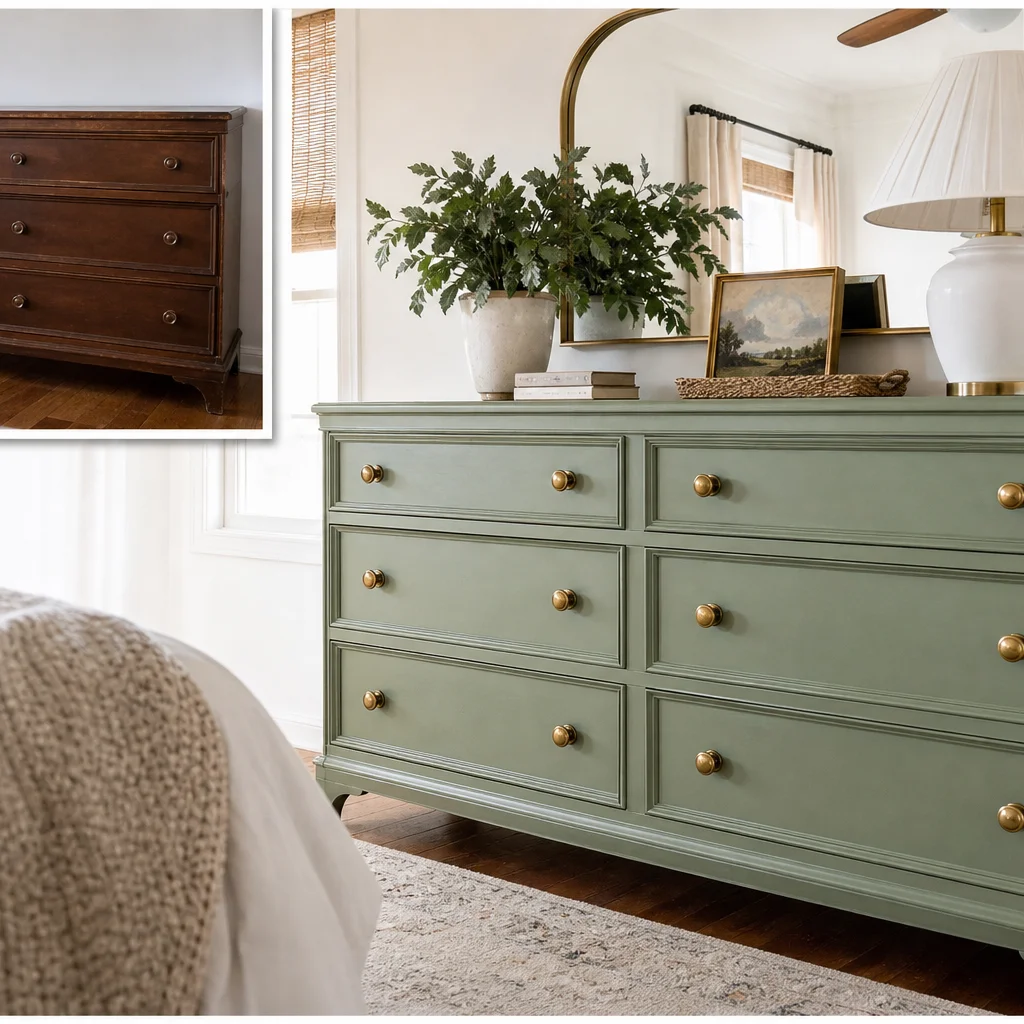
Thrifted dressers, side tables, and chairs become custom pieces with sandpaper, primer, paint, and new knobs or pulls. Clean surfaces thoroughly, scuff-sand glossy finishes, and use primer on laminate or dark wood for even coverage. Satin or semi-gloss paint holds up well on high-touch furniture.
Replace dated hardware with brass, matte black, or ceramic knobs from hardware stores or online marketplaces. Let paint cure fully before moving pieces back into daily use—usually several days depending on product instructions. One upcycled dresser can transform a bedroom for a fraction of new furniture cost.
Skill level: Beginner to intermediate
Time: One weekend including dry time
Best for: Bedrooms, entryways, and home offices
8. Style a Decorative Table Vignette
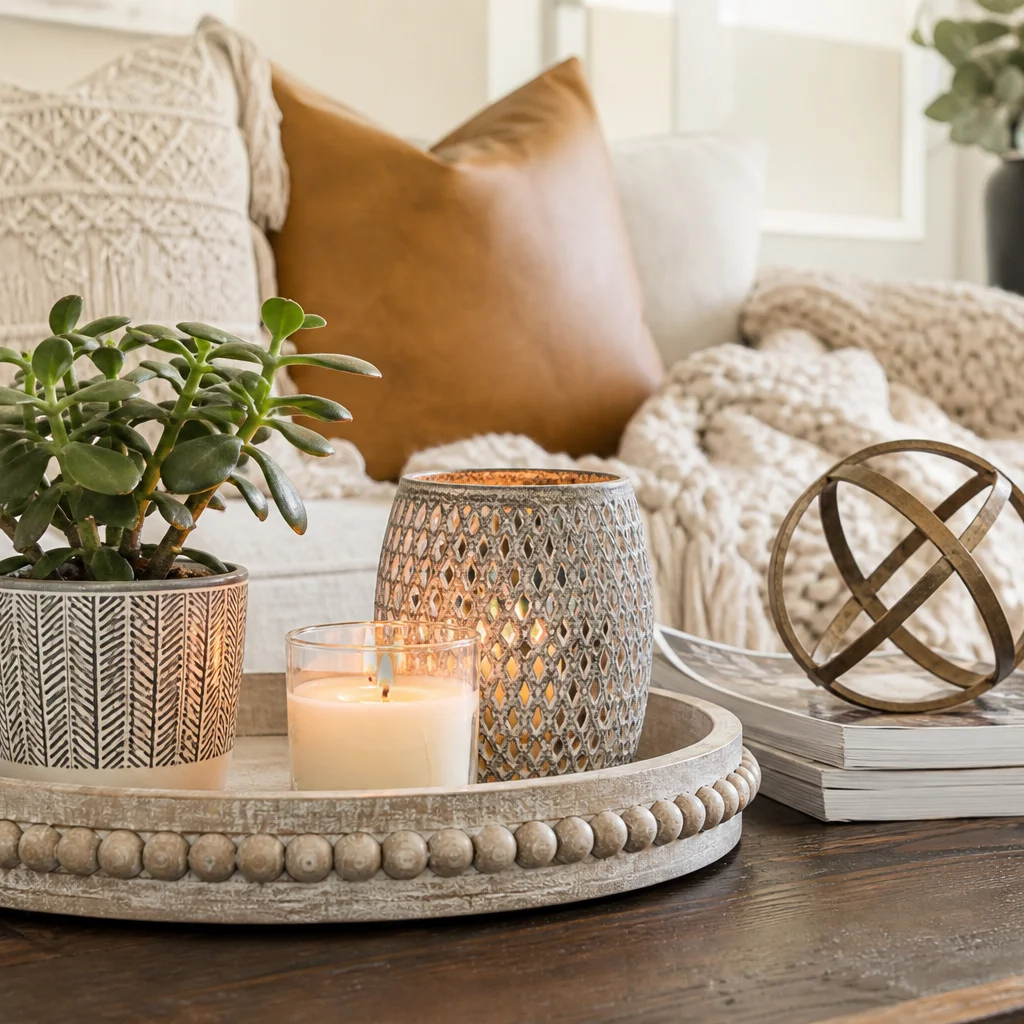
Not every DIY project requires tools. Styling a coffee table or console vignette is a low-cost way to make a room feel finished. Start with a tray to corral items, then layer height with books, a small plant or candle, and one personal object such as a bowl of collected shells or a vintage camera.
Stick to odd numbers—three or five items—and repeat one accent color from elsewhere in the room. Edit ruthlessly: if an object does not belong, remove it. Refresh vignettes seasonally by swapping flowers, textiles, or small decor without buying major new pieces.
Skill level: Beginner
Time: Thirty minutes
Best for: Living rooms, entry tables, and dining sideboards
DIY Space Refresh Checklist
Use this checklist before and during your projects to stay organized and on budget.
- Choose one room and one goal such as more storage, color, or coziness.
- Measure walls and furniture before buying shelves, frames, or paint.
- Gather tools and materials in one place to avoid mid-project store runs.
- Test paint and layout with samples and floor arrangements first.
- Locate wall studs or use rated anchors for shelf and hanger safety.
- Protect floors and furniture with drop cloths during paint and sanding.
- Work in good lighting so colors and finishes read accurately.
- Finish one project completely before starting the next.
- Photograph finished zones to track progress and plan future updates.
- Declutter surfaces so your DIY work stays visible and impactful.
How to Prioritize Your DIY Projects
If time and money are limited, start with the project that fixes your biggest daily frustration. Bare walls? Begin with a gallery wall or accent paint. Clutter on the floor? Build floating shelves. A flat, impersonal room? Combine a reading nook with a styled vignette. Paint and shelf projects deliver the strongest visual impact per dollar, while macrame and canvas art add personality at low material cost.
Spread larger projects across weekends so your home stays livable. Sand and prime furniture outdoors or in a garage when possible. Ask a friend to help hang heavy shelves—two sets of hands make leveling much easier.
Frequently Asked Questions
What are the easiest DIY projects for beginners?
Gallery walls, accent walls, styled vignettes, and simple canvas art require minimal tools and are hard to get wrong. Floating shelves and macrame hangers add one or two new skills but remain approachable with basic instructions.
How much do these DIY projects typically cost?
Most projects on this list run between $20 and $150 depending on size and materials. Paint and thrifted furniture keep costs down; custom frames and specialty hardware raise them slightly. Many vignette and gallery wall updates cost under $50.
Can renters do these DIY projects safely?
Yes. Use removable hooks, Command strips, and freestanding furniture updates where lease rules restrict drilling or painting. Peel-and-stick wallpaper can substitute for accent paint in some spaces. Always review your lease before making permanent changes.
Which DIY project makes the biggest visual impact?
Accent walls and gallery walls change how an entire room reads within a day. Floating shelves add function and style simultaneously. Combining two or three projects in one room creates a cohesive custom look faster than scattering small decor buys.
What tools do I need for basic home DIY?
A hammer, level, measuring tape, screwdriver, drill, painter’s tape, and sandpaper cover most projects here. Add a stud finder for shelves and proper safety gear—goggles and a mask—for sanding and painting.
How do I keep DIY projects from looking homemade?
Prep surfaces carefully, use quality paint and hardware, and limit your color palette to two or three tones per room. One well-finished piece beats several rushed projects. Step back frequently and edit displays before calling a project done.
Final Thoughts
DIY projects to give your space personality do not require expert skills or unlimited free time. Pick the idea that matches your room, your budget, and the feeling you want—warm, creative, organized, or calm. Build a gallery wall this weekend, paint an accent wall next month, and add handmade details over time. Layer by layer, your home becomes a reflection of the life you live in it.