

A pressed-flower pumpkin gives you the color and texture of autumn without carving, glitter, or an arrangement that has to be thrown away next week. The key is to use a dry, matte craft pumpkin and genuinely flat botanicals. Fresh petals, damp leaves, and thick puddles of glue can wrinkle, stain, or lift from the curved surface.
This guide makes one reusable eight-inch decorative pumpkin with a diagonal botanical cascade. Expect about 60 to 90 minutes of hands-on work, plus drying time set by your chosen decoupage medium. The result is intended for indoor decoration only—not for food contact, outdoor display, candles, or use near heat.
Why This No-Carve Version Works
A faux papier-mâché or similarly matte craft pumpkin gives water-based decoupage medium something to grip. A diagonal arrangement is forgiving because it follows several ribs instead of fighting the curve in a perfect horizontal band. Larger leaves establish the shape; smaller flowers and fern tips disguise awkward gaps.
Botanical color will naturally soften with light exposure, even under a clear finish. That is part of working with real plant material. Displaying the pumpkin away from direct sun and damp air helps it look better for longer.
Materials
- One matte ivory faux pumpkin, approximately eight inches wide
- Fully dried pressed leaves, fern pieces, and flowers
- Matte water-based decoupage medium compatible with the pumpkin surface
- One small soft flat brush, plus a clean spare brush
- Blunt craft tweezers
- Plain kraft paper for planning the arrangement
- A dry, lint-free cloth
- Parchment paper or a washable work mat
Step-by-Step Instructions
1. Sort and Test the Pressed Botanicals
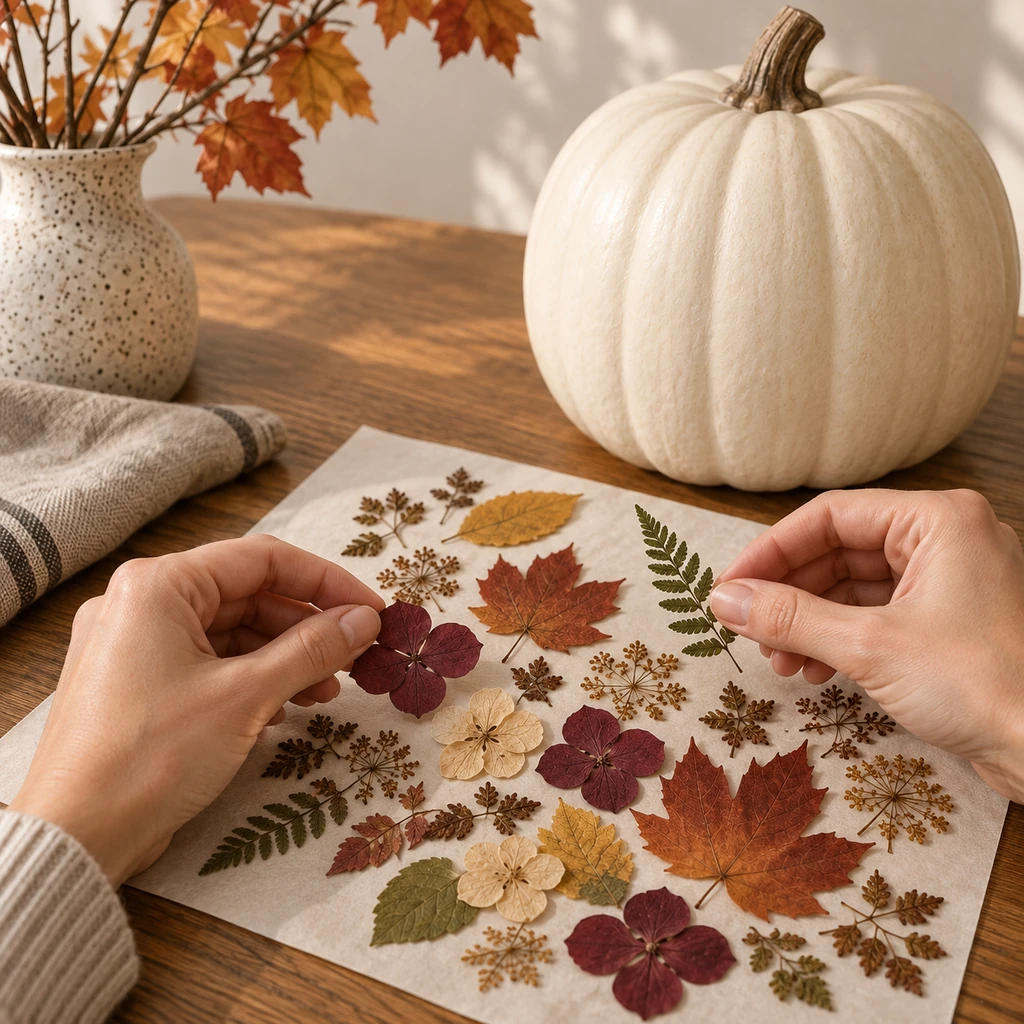
Lay the botanicals on kraft paper and reject anything that feels cool, flexible from moisture, fuzzy, or thick at the center. A properly pressed petal should feel dry and paper-thin. If you pressed the plants yourself, keep them under clean absorbent paper and weight until they are fully dry; the time can vary widely with the plant and room conditions.
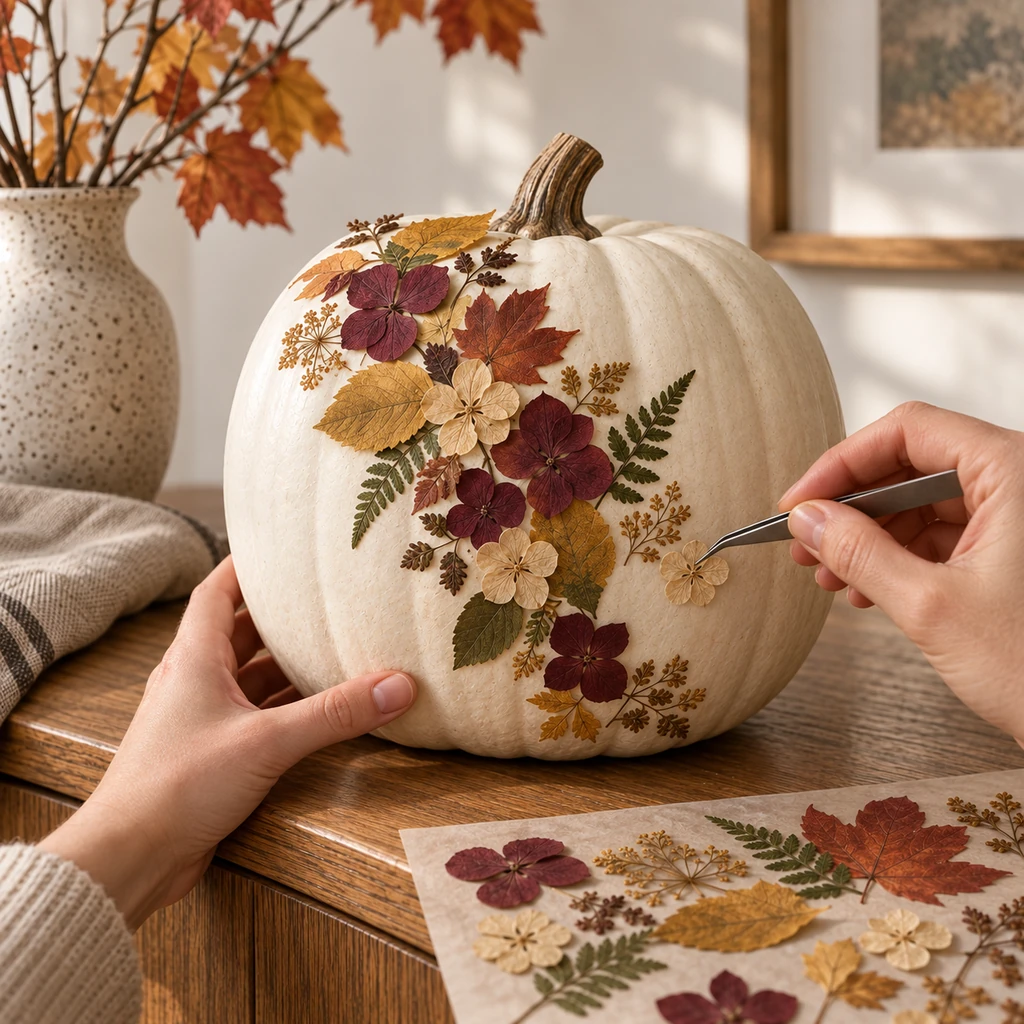
Build a limited palette before opening the adhesive. For the arrangement shown here, use two or three rust and mustard leaves as anchors, burgundy hydrangea-style petals for contrast, beige flowers for light areas, and small fern pieces for movement. Keep several extras because fragile pieces can split.
2. Clean and Test the Pumpkin Surface
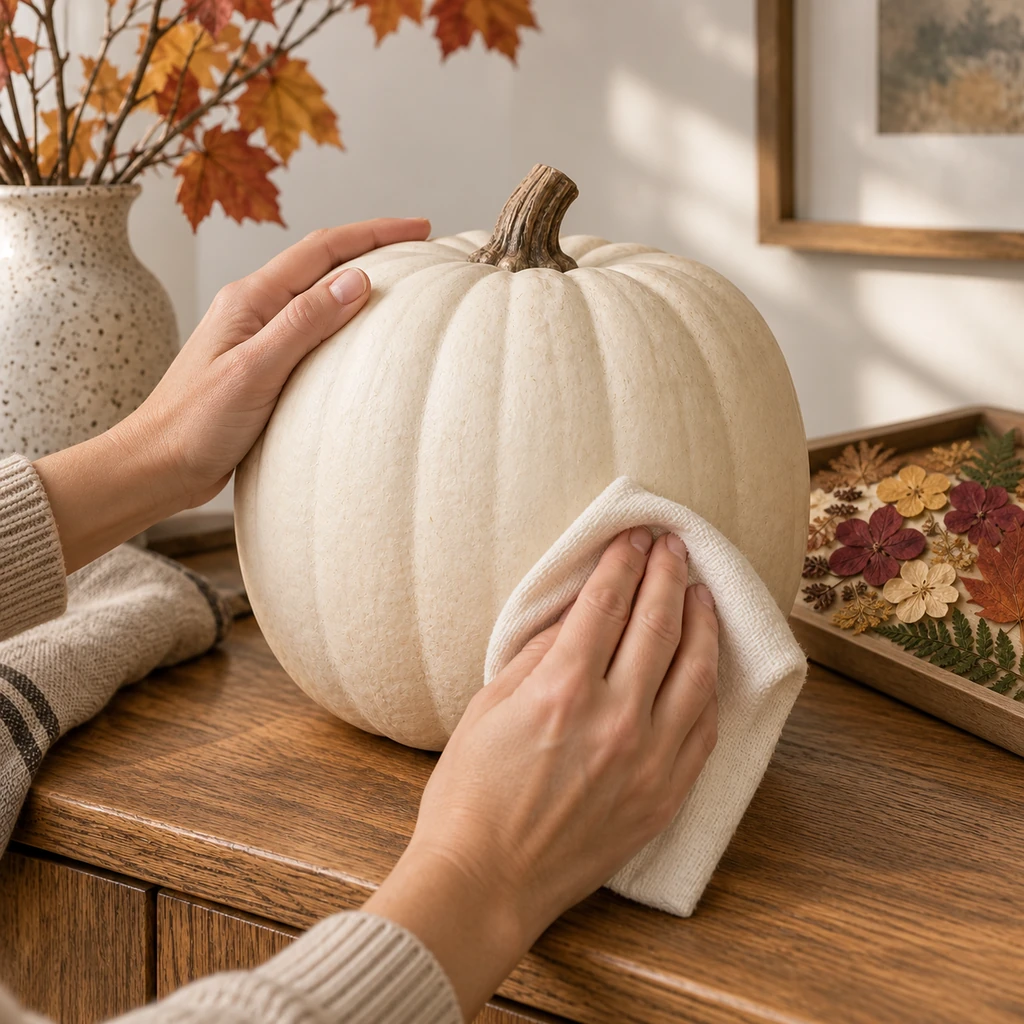
Wipe the pumpkin with a dry lint-free cloth, paying attention to dust trapped in the ribs. Do not soak papier-mâché, cardboard, or an unknown coating. Let the surface return to room temperature if it has been stored in a cold garage or basement.
Test a dot of decoupage medium underneath the pumpkin. Allow it to dry for the period stated on the label, then check for softening, staining, or poor adhesion. A matte surface usually behaves more predictably than a slick plastic finish. If the test peels away cleanly, choose a medium or primer specifically approved for that surface rather than forcing the project.
3. Plan the Cascade Before Gluing
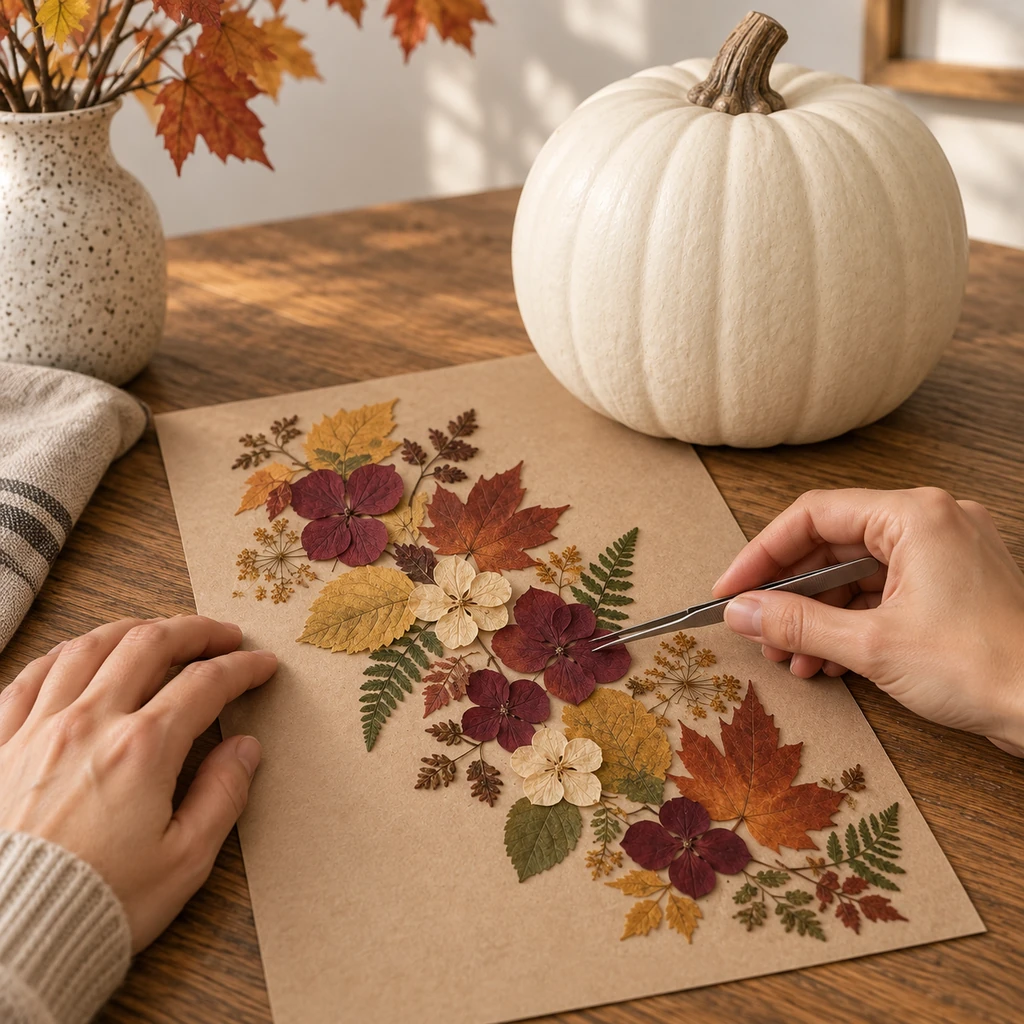
Arrange the botanicals on kraft paper in a loose diagonal S shape. Start with the largest leaf near the upper third, place a second anchor lower and slightly across the center, then taper the design toward the base. Photograph the arrangement with your phone so you have a quick reference after the pieces are moved.
Do not try to copy every gap exactly. The pumpkin ribs will change the spacing. Instead, remember the order of the anchor pieces and keep delicate filler flowers grouped by size. Leave plenty of ivory surface visible; the negative space is what keeps the design from looking like a solid sticker.
4. Attach the Anchor Leaves One Small Section at a Time
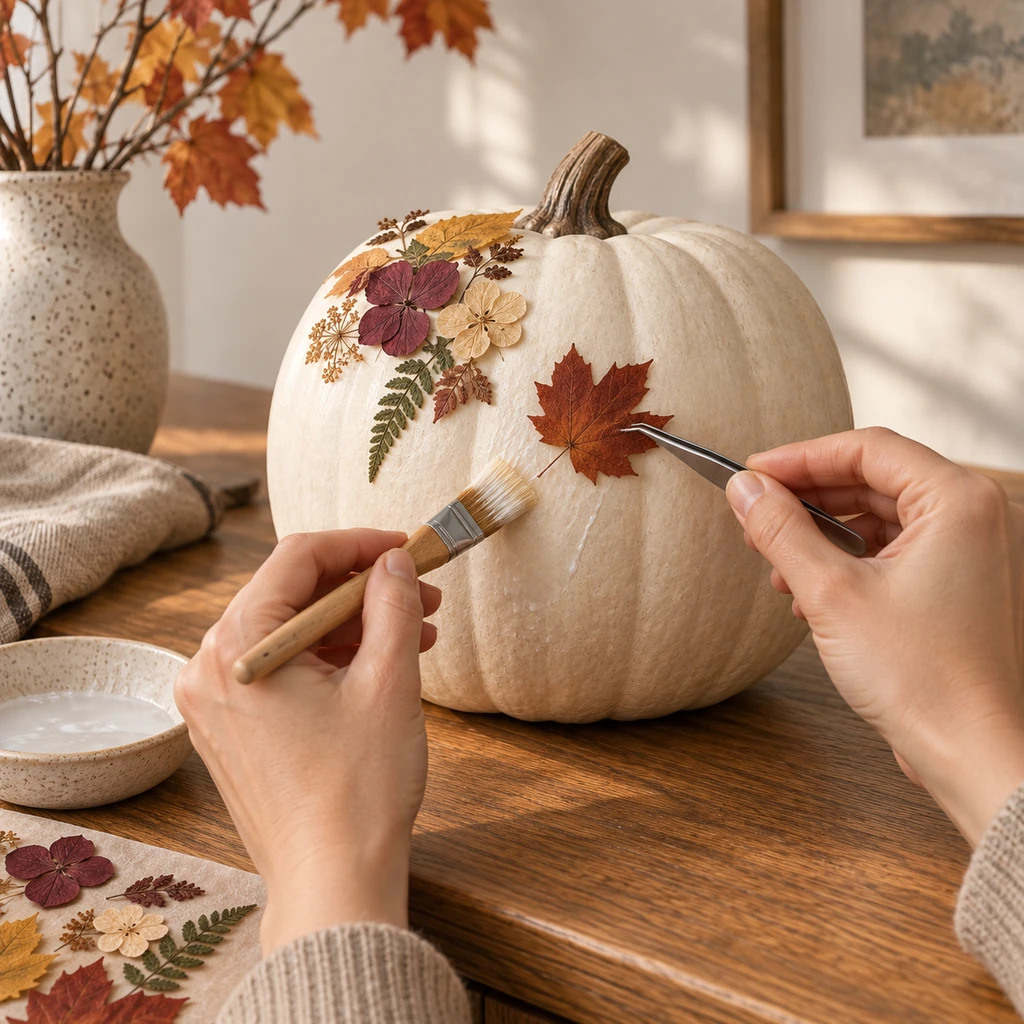
Set the pumpkin on its side only if it can be supported without rolling; otherwise keep it upright and rotate it as you work. Brush a very thin layer of medium over an area only slightly larger than the first leaf. Lower the leaf with blunt tweezers, starting at its center and allowing the edges to settle naturally across the rib.
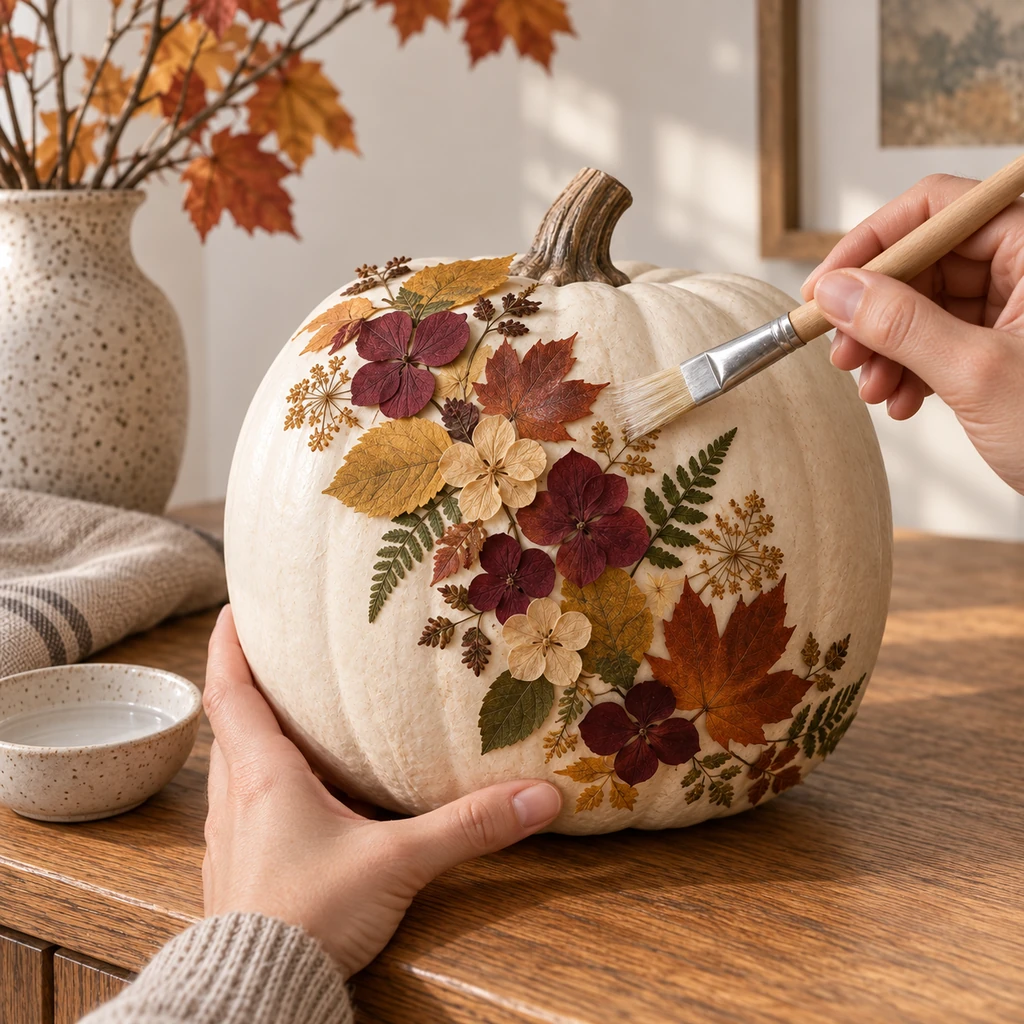
Use a clean soft brush to tap—not scrub—from the center vein toward the edges. If an edge refuses to follow a deep groove, do not flood it with adhesive. A smaller leaf may fit that curve better. Continue with the remaining anchor leaves, overlapping only where the pieces can lie flat.
5. Fill the Gaps Without Covering the Pumpkin
Add the burgundy petals and beige flowers around the anchor leaves, then use fern tips and tiny stems to soften abrupt edges. Rotate the pumpkin often and check the design from the distance at which it will be displayed. Stop before every ivory gap is filled.
For brittle flowers, hold the piece with tweezers at its sturdy center rather than by a petal tip. If something tears, remove it while the medium is still workable and replace it; brushing repeatedly over a broken petal usually makes the damage more obvious. Wipe stray adhesive from undecorated areas with the method recommended by the product manufacturer.
6. Dry, Add a Thin Protective Coat, and Cure
Leave the pumpkin untouched until the first layer is dry according to the medium label. Then inspect the edges in side light. Secure only the areas that have lifted. When everything is stable, apply one very thin final coat with a clean soft brush, moving from each botanical’s center toward its edge.
A topcoat can improve surface protection, but it cannot make real botanicals waterproof, sun-proof, or permanent. Let the pumpkin cure in a dry, ventilated place away from children and pets for the full period stated on the label. Do not set it directly on finished furniture until the base is completely dry and non-tacky.
Substitutions & Variations
- No pressed flowers: Use thin, fully dried fern tips and small autumn leaves; avoid thick stems that bridge the pumpkin ribs.
- Slick plastic pumpkin: Choose a primer and adhesive approved for that plastic, and test both underneath before decorating.
- Minimal version: Place one restrained botanical cluster near the stem instead of building a full diagonal cascade.
- Darker pumpkin: Use pale beige flowers, muted gold leaves, and small green ferns for readable contrast.
- Child-friendly assembly: An adult should identify and prepare the plants and supervise adhesive use; skip brittle or irritating material.
Common Problems and Practical Fixes
Petals wrinkle: The adhesive layer may be too wet or the flower too thick. Work with a thinner coat and smaller, flatter pieces. Do not keep brushing once delicate petals begin to soften.
Edges lift from the ribs: Let the center attach first, then tap down each edge. If the curve is too deep, replace the piece with a smaller botanical instead of adding a puddle of medium.
The finish turns cloudy: Heavy layers, trapped moisture, or an incompatible product can cause cloudiness. Stop, allow the area to dry fully, and consult the manufacturer before adding another coat.
The design looks crowded: Remove loose pieces before they are glued. A clear diagonal path and visible ivory surface are more effective than filling every space.
Display and Storage
Display the finished pumpkin indoors on a dry shelf, console, or covered table away from direct sunlight, steam, radiators, and open flames. A small felt pad beneath the base can protect furniture if the manufacturer permits it. Pair it with the chunky yarn pumpkin wreath or no-sew sock pumpkins for a coordinated, neutral autumn display.
At the end of the season, dust it gently with a clean soft brush. Wrap it loosely in acid-free tissue and store it upright in a rigid box in a dry interior closet. Do not crush the decorated side or seal it in plastic if any part still feels cool or tacky.
Frequently Asked Questions
Can I use a real pumpkin?
A real pumpkin contains moisture and eventually deteriorates, so it is not the best choice for a keepsake made with fragile pressed plants. This tutorial is designed for a dry faux craft pumpkin.
Can I display it outdoors?
No. Ordinary pressed botanicals and water-based craft finishes are not reliably weatherproof. Rain, humidity, sunlight, and temperature changes can damage the design.
Will the flowers keep their exact color?
Not indefinitely. Natural pigments can fade or shift, especially in direct light. Keeping the piece indoors and away from sunny windows slows the change but does not eliminate it.