
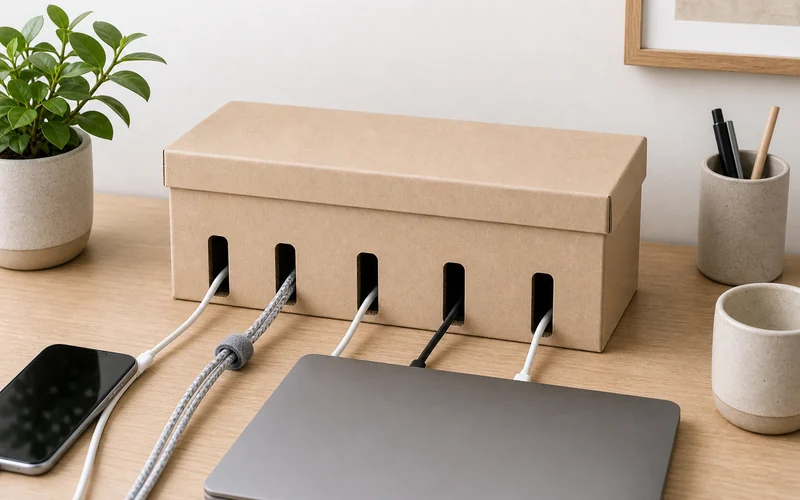
A DIY cord organizer box is a simple way to calm down desk, shelf, or nightstand cable clutter without buying another plastic organizer. The idea is straightforward: hide the extra cable length inside a ventilated box, route the cords through neat front slots, and keep the devices you use every day easy to plug in.
This project works best for light everyday charging cables and a modest power strip setup. It should never be used to hide heat, overload outlets, or cover damaged cords. Keep safety first, then make the box tidy enough to sit in plain view.
What This Cord Organizer Box Solves
Most cable clutter is not caused by too many devices. It is caused by extra cord length, loose adapters, and cables crossing each other on the same surface. A box gives those loose parts one place to live.
- Hides extra cable length without permanent changes.
- Keeps charging cables pointed toward the device area.
- Makes a desk, shelf, or nightstand easier to wipe clean.
- Uses basic materials you may already have at home.
Materials
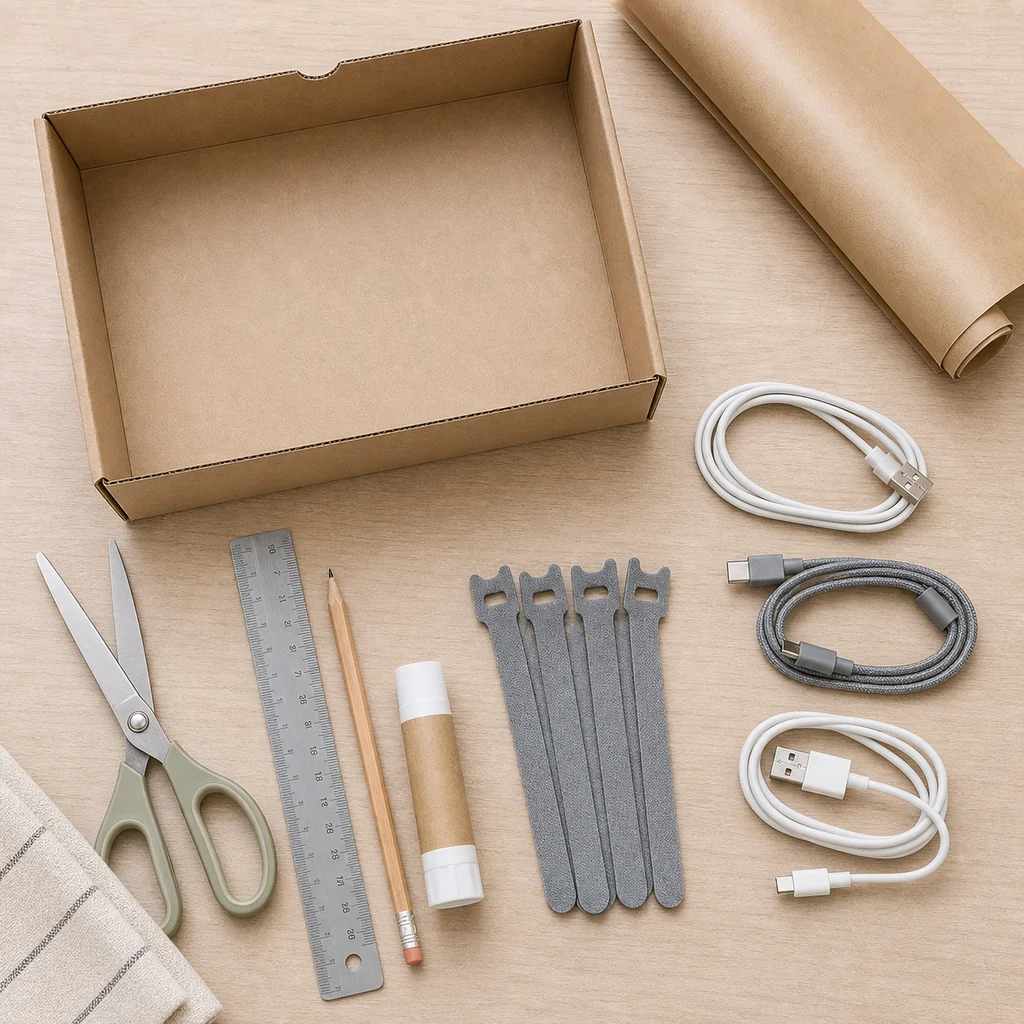
- Small sturdy cardboard box with lid
- Ruler or measuring tape
- Pencil
- Scissors or craft knife
- Cutting mat or thick scrap cardboard
- Glue stick, double-sided tape, or craft glue
- Kraft paper, peel-and-stick paper, or fabric
- Fabric cable ties
- Optional adhesive felt pads for the bottom
Before You Start: Safety Check
Use this organizer only with cords and power strips that are in good condition. Do not cover adapters that run hot, do not overload the strip, and do not block ventilation. If a plug, adapter, or cable feels hot during normal use, keep it outside the box.
- Inspect cords for cracks, frays, or bent prongs.
- Leave side or back openings for airflow.
- Keep liquid, candles, and plants with drainage away from the box.
- Use the box for tidy routing, not for hiding electrical problems.
How to Make a DIY Cord Organizer Box
1. Pick the right box size
Choose a box large enough for the power strip and the extra cable loops, but small enough to sit where you need it. A shoebox, photo box, or sturdy shipping box can work if the cardboard is firm.
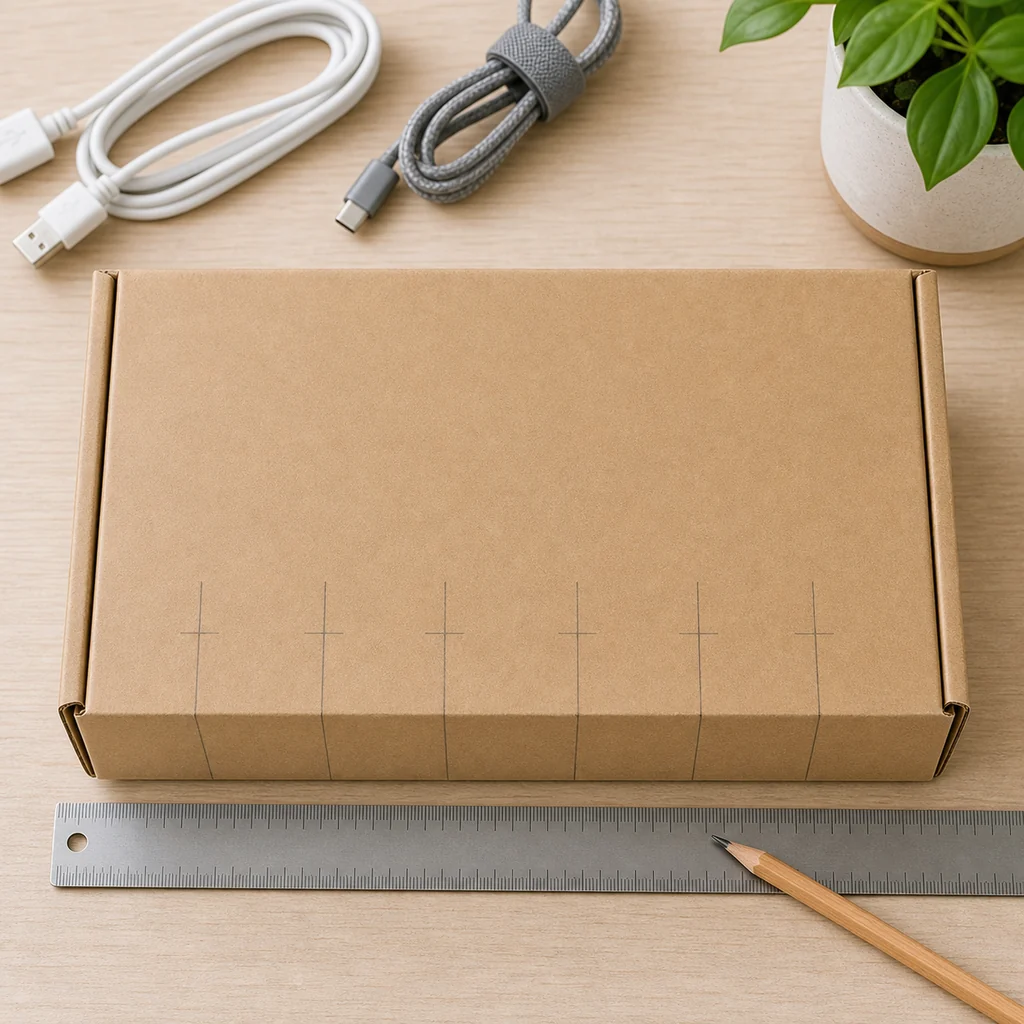
2. Mark the cable slots
Place the cables in front of the box and decide where each cord should exit. Mark simple slot positions along the front edge. Keep the slots wide enough for the cable, but not so wide that the front looks messy.
3. Cut clean openings
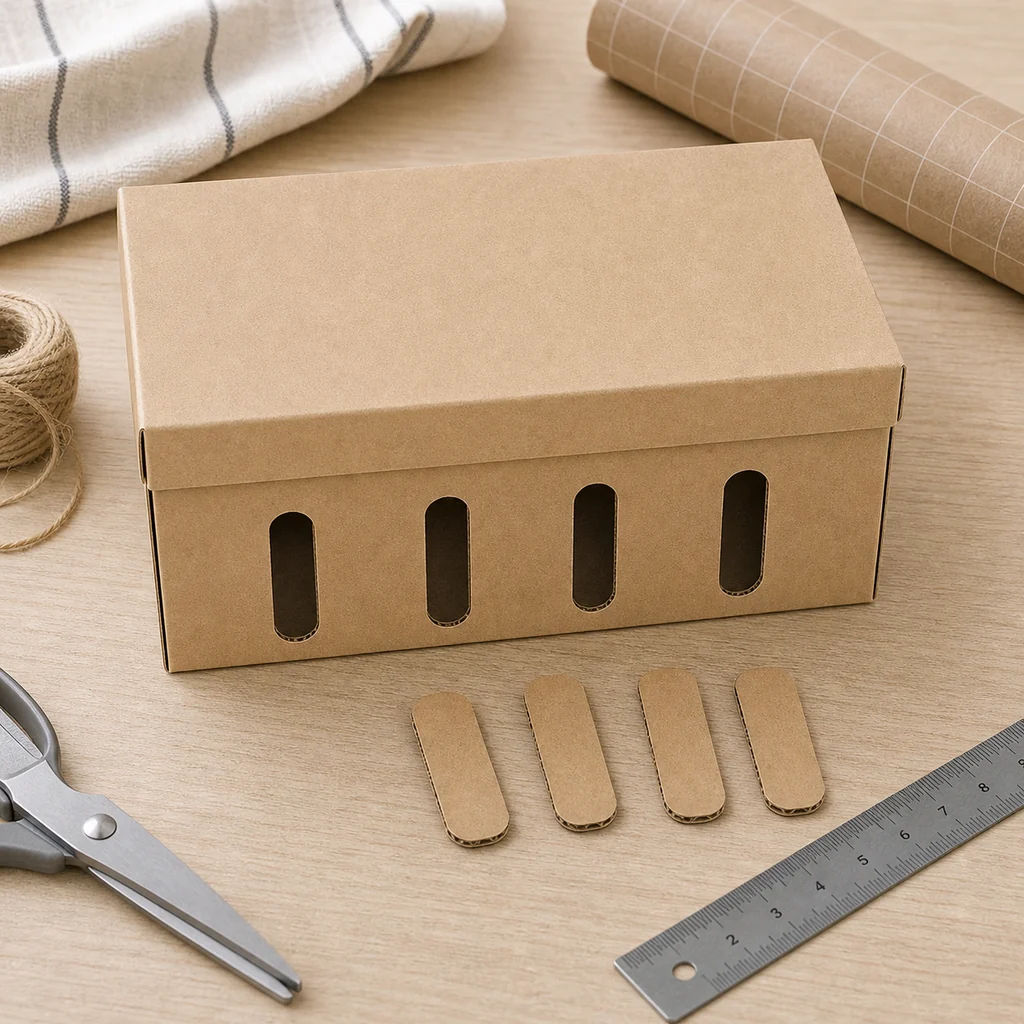
Cut each slot slowly. If you use a craft knife, place a cutting mat or thick scrap cardboard underneath. Smooth any rough edges with folded paper or tape so the cords do not rub against sharp cardboard.
4. Cover the box
Wrap the outside with kraft paper, peel-and-stick paper, or fabric. Keep the slot openings clear. A simple neutral finish usually blends into a desk or shelf better than a busy pattern.
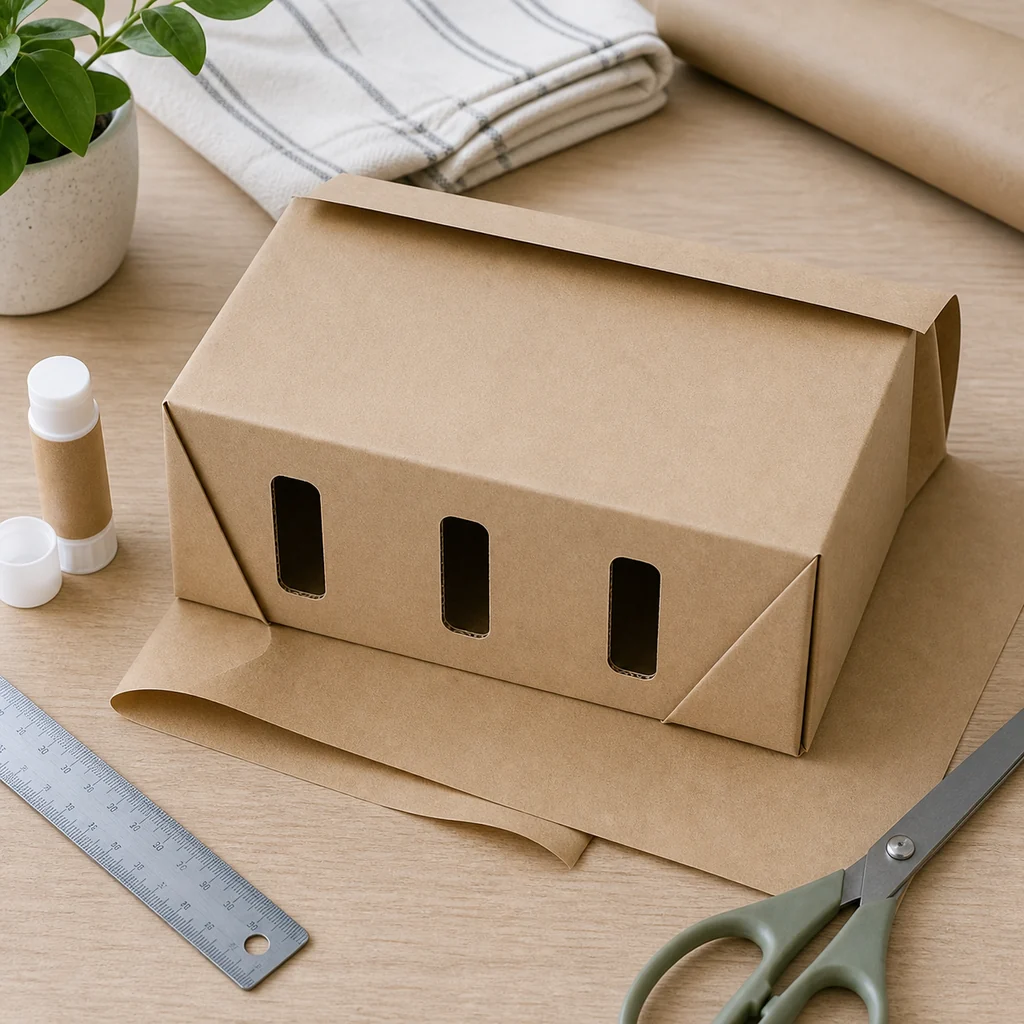
5. Route the cords inside
Place the power strip inside, gather extra cable length into loose loops, and secure each loop with a fabric tie. Avoid tight bends. Pull the charging ends through the front slots and keep the wall plug or main cord exiting from the back.
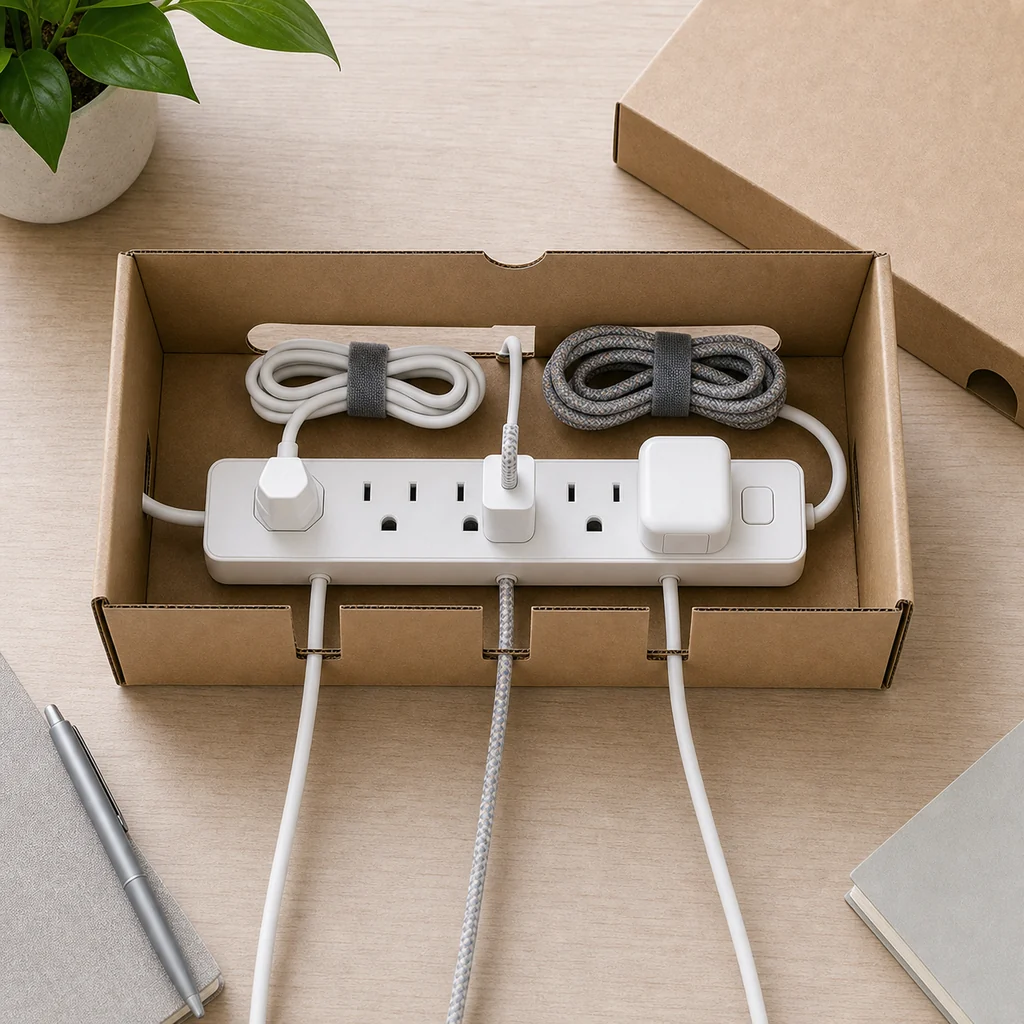
6. Test the setup
Plug in the setup and use it for a short test. Confirm that the lid closes without pinching cords, that no adapter is trapped under pressure, and that the cables slide through the slots easily.
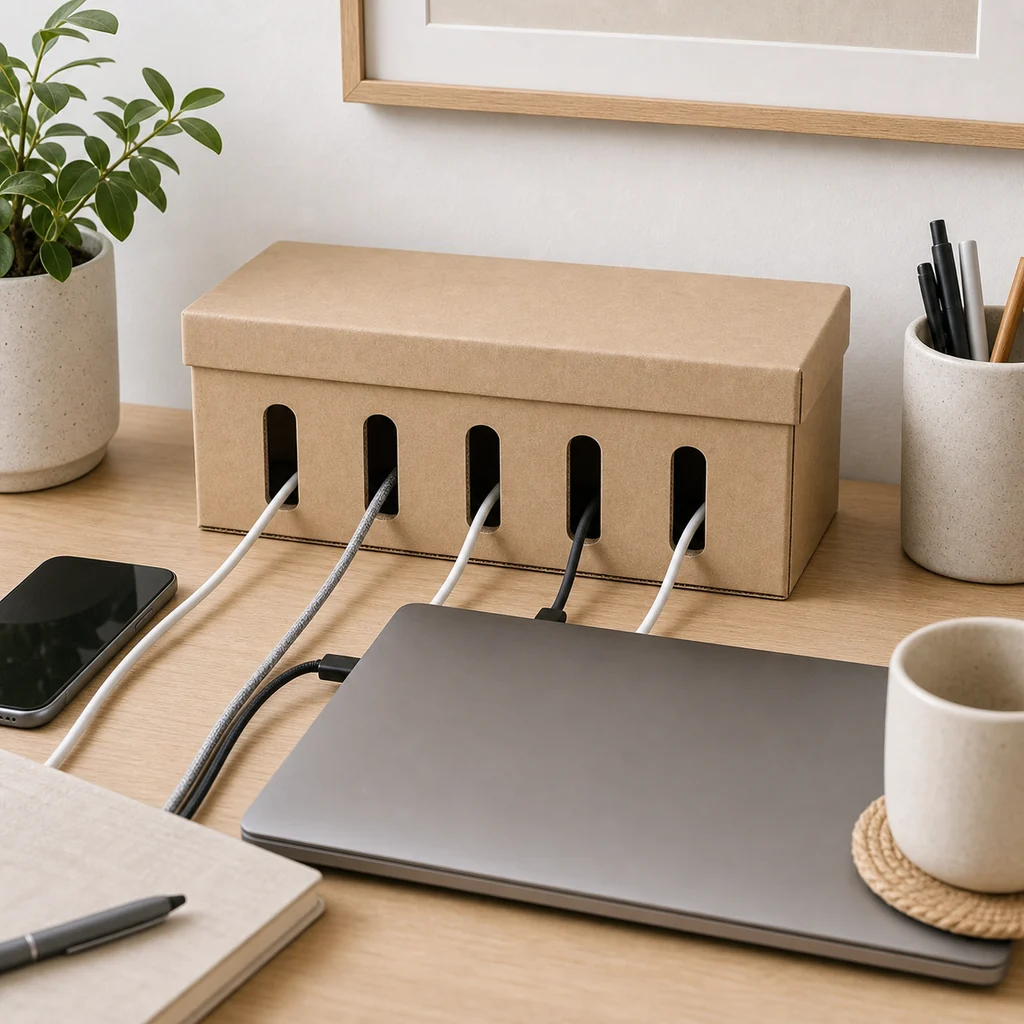
Where to Use It
Desk charging zone
Place the box near the back corner of the desk and route only the cables you use daily through the front. Store rarely used cords elsewhere so the box does not become another junk drawer.
Nightstand cable cleanup
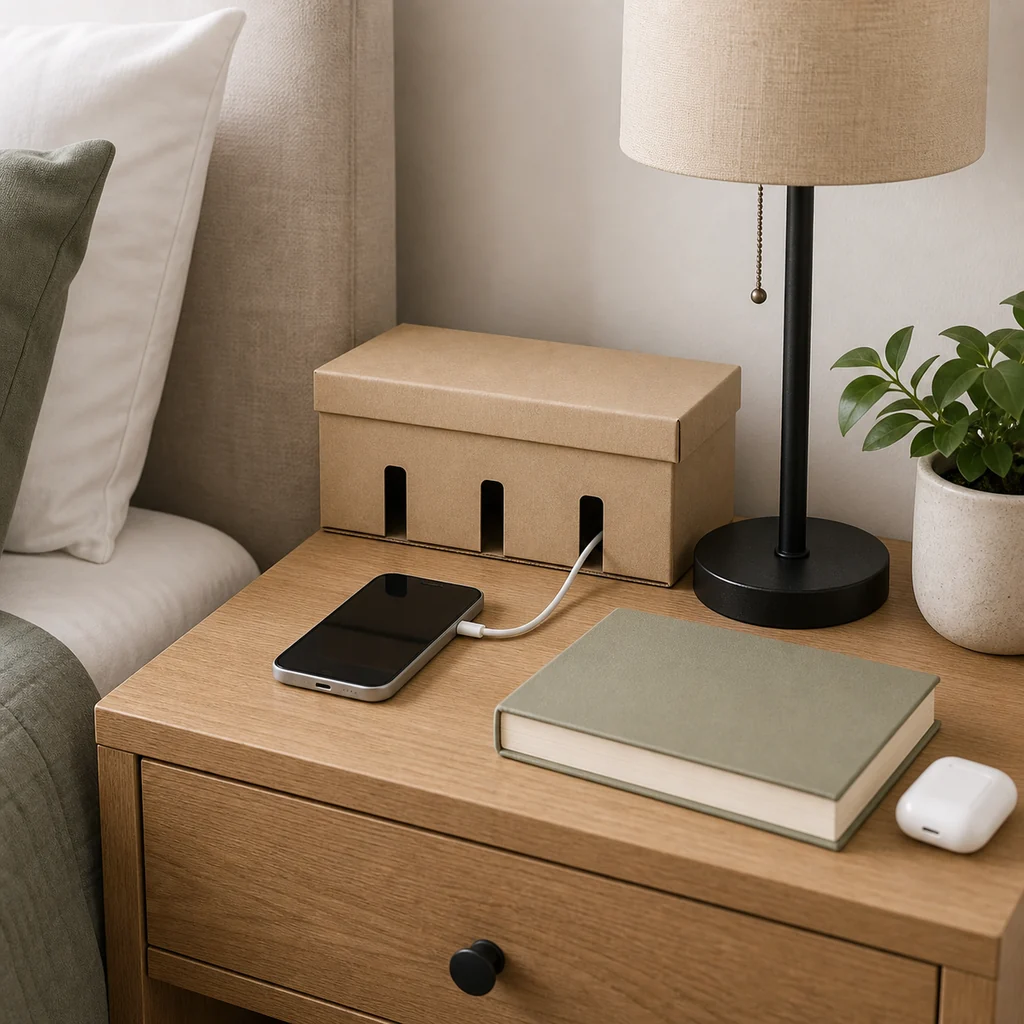
Use a smaller box on a nightstand and keep only one or two charging cords inside. Leave room around lamps, water glasses, and anything that could spill.
Shelf or office cabinet
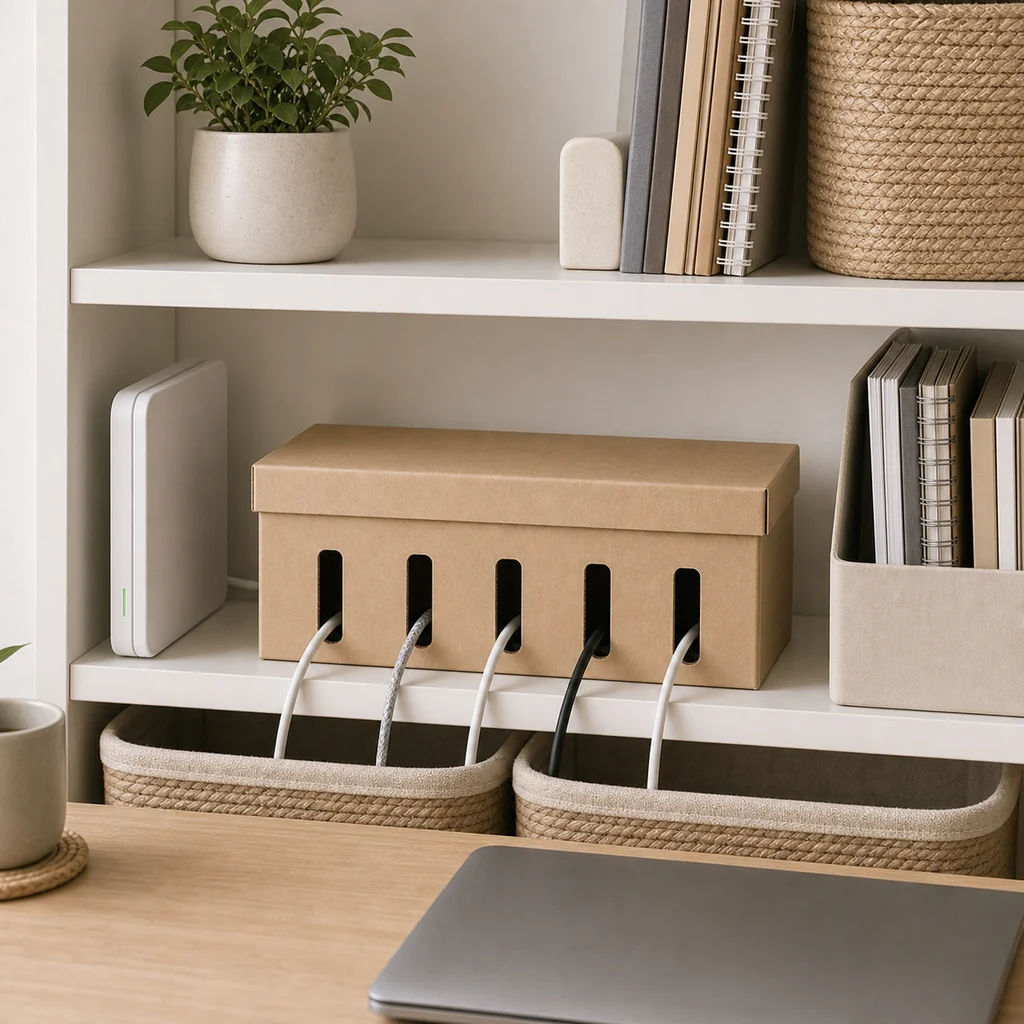
A shelf is useful for chargers, router-style cords, or a compact office setup. Keep the back open enough for airflow and check the box regularly for dust.
Small Upgrades That Make It Better
- Add felt pads to the bottom so the box slides less.
- Use fabric cable ties instead of tape for easier changes.
- Cut a larger back opening for the main cord and airflow.
- Use a removable lid so you can inspect cords quickly.
- Pick a paper color that blends with the desk or shelf.
Common Mistakes to Avoid
Making the slots too small
Tight slots make cords harder to move and may damage the cable jacket over time. Leave a little space so cables can slide without force.
Stuffing in too many adapters
A cord organizer should reduce visual clutter, not hide a crowded electrical setup. Keep bulky adapters outside if they need air or feel warm.
Skipping the test run
Before placing the box permanently, test every cord. Make sure nothing is pinched, strained, or difficult to unplug.
Quick Project Checklist
- Choose a sturdy box with a removable lid.
- Mark front slots before cutting.
- Smooth rough edges around every opening.
- Cover the box after cutting, not before.
- Loop extra cable length loosely with fabric ties.
- Test for heat, pinching, and easy access.
For more practical home projects, see 8 Practical DIY Storage Ideas for Small Spaces, Paper Clutter Organization System for a Tidy Home, and Digital Declutter Checklist for Phone, Laptop, and Cloud Storage.
DIY Cord Organizer Box FAQ
Can I use any cardboard box?
Use a sturdy box that does not collapse when the lid is opened and closed. Thin cereal-box cardboard is usually too flimsy for this project.
Is it safe to put a power strip inside?
It can be safe for a light setup if cords are in good condition, airflow is not blocked, and the strip is not overloaded. If anything feels warm, crowded, or damaged, keep it outside the box.
How do I keep the box from sliding?
Add felt pads, rubber feet, or a small non-slip mat underneath. Keep the main cord relaxed so it does not tug the box forward.
Can I change the cables later?
Yes. That is why a removable lid and fabric cable ties are helpful. You can open the box, swap one cord, and close it again without rebuilding the organizer.